Quick and Easy Summer Tote Transformation

I spotted this straw bag at a local thrift store and knew I wanted to make it into something great. It’s a really strong and sturdy base, but it’s a little too winter-looking. This tutorial will teach you how to make a summer tote!
Tools and materials:
- Tote bag
- Clothesline
- Scissors
- Needle-nose plier

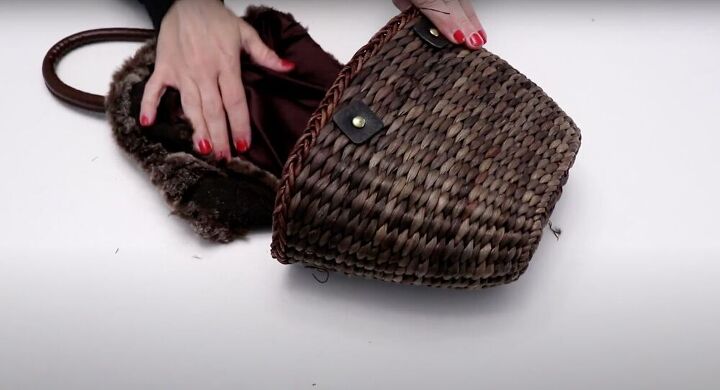
Remove unwanted pieces
Let’s start by snipping off the fur. Just grab some scissors and clip it off on the outside and then once you can flip it over, snip the inside (including the lining). Next, pull the handless off with your hands (being careful not to damage the straw). Once you’ve pulled off all the unwanted pieces, clean up the bag by taking off any leftover details and making sure the inside of the bag is clean.
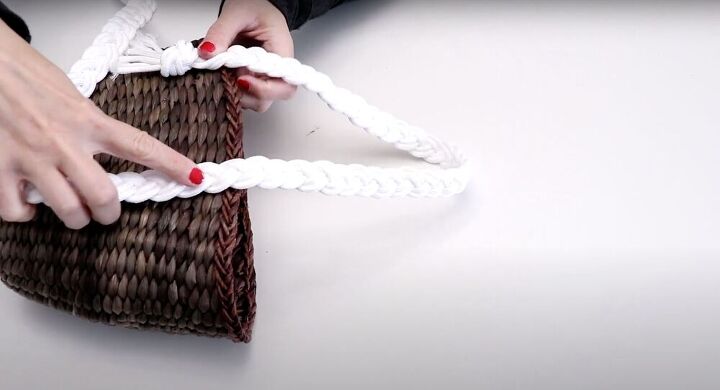
Make your handles
Grab your clothesline and cut out six equal-length strands. Tie a knot at the edge of the strands and tape the whole bunch down to your work table. Take two of each, bunch them together and make a braid. Measure out two equal handles and cut the braid in half. To secure the ends grab a large safety pin and stab all six ends through the safety pin. Do this on all four ends and then cut off any excess.
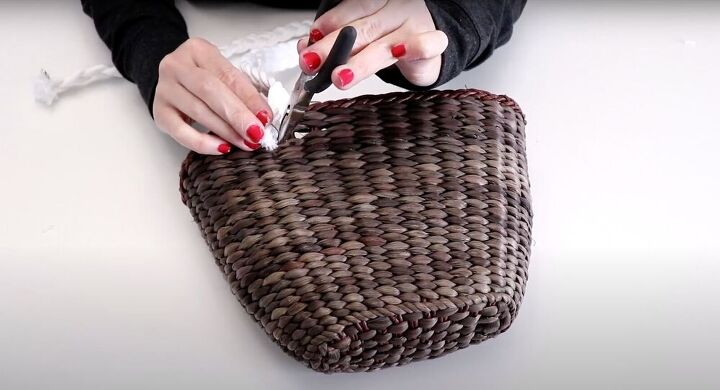
Attach your straps
Using a needle nose plier, open up a small space in between the weaving (without wrecking any of it). While holding the weaving open, stick one of the ends through the hole you’re creating from the outside. Next, pull it tight from the inside and watch the safety pin act as an anchor. Attach the second end of the strap to the same side and then repeat on the other side with the second strap.
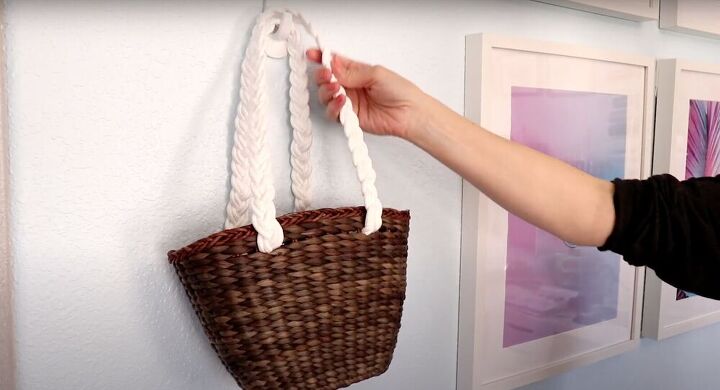
This tutorial is great for anyone looking for an easy and versatile summer bag. As long as the safety pins are your anchor, it is so easy to switch out your handles for different colors, styles, and lengths!
The author may collect a small share of sales from the links on this page.


Comments
Join the conversation