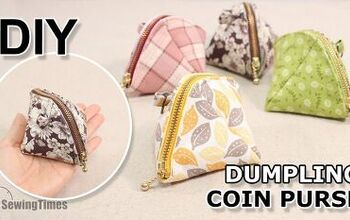
Adorable Coin Purse With Flex Frame Closure DIY

This snap-close coin purse is a perfect project if you’re looking for something easy, fun, and super cute to make. Follow my tutorial for clear, simple, step-by-step instructions. Let’s get crafting!
Tools and materials:
- Outer fabric
- Inner fabric
- Interfacing
- 10 cm (4 inch) flex frame
- Iron
- Measuring tape
- Ruler
- Marker
- Scissors
- Pins
- Sewing machine
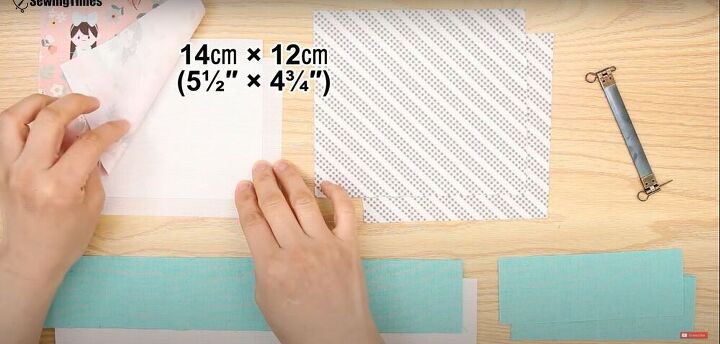
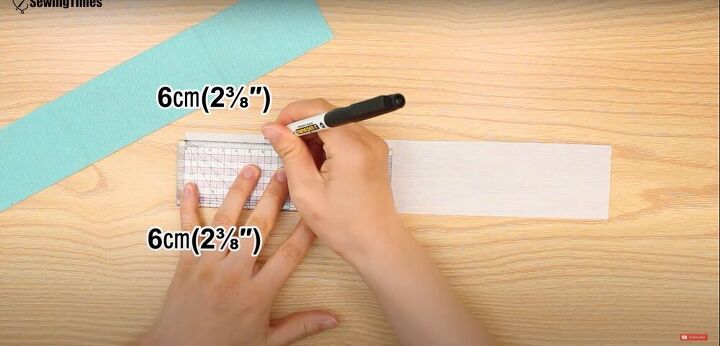
Prepare pieces
Prepare all your fabric and interfacing pieces as shown in the video from 0:37-1:57.
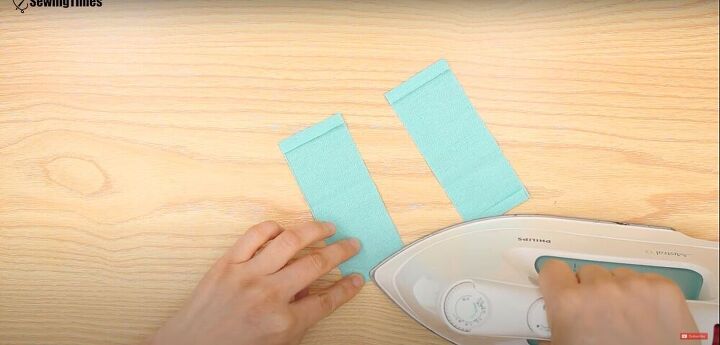
Fold, iron, and sew
Make a 1 centimeter (⅜ of an inch) fold on the side edges of both small rectangles, and iron the fold in place. Then sew down the edges.
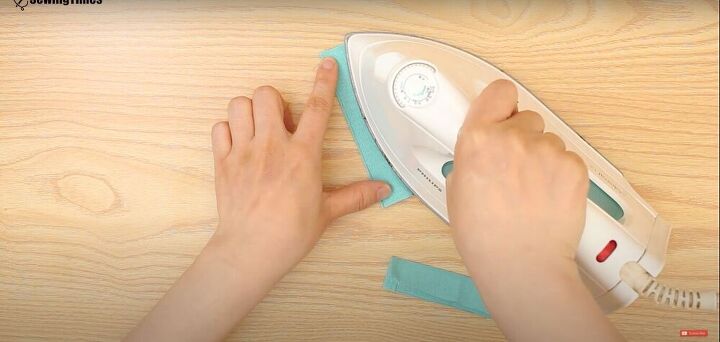
Fold and iron
After the edges are sewn down, fold each rectangle in half lengthwise, and iron down the fold.
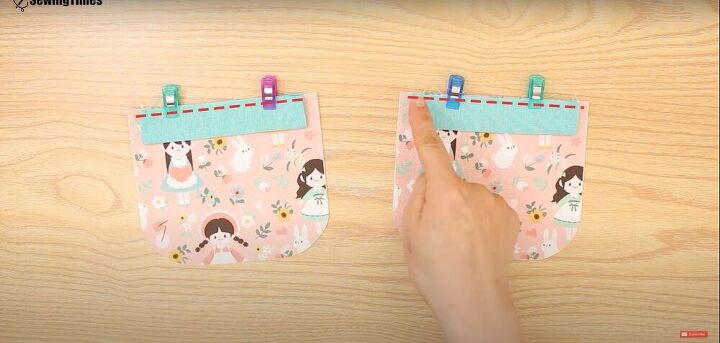
Pin and sew
Pin the folded rectangles to the outer fabric, with the raw edges of the rectangle aligned with the top edge of the outer fabric, and sew.
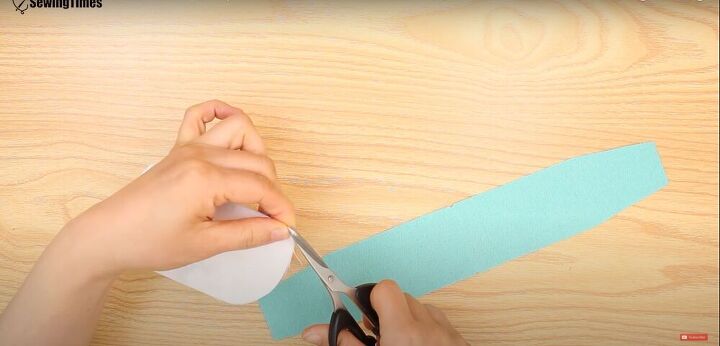
Prepare the long rectangle
Attach the interfacing and cut the fabric of the long rectangle piece as shown in the video from 3:19-4:00.
Notch
Snip notches in the centers of the long edges of the rectangle, and the bottom edges of the outer fabric.
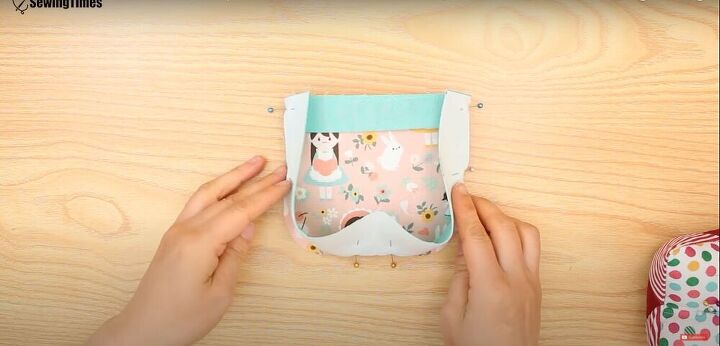
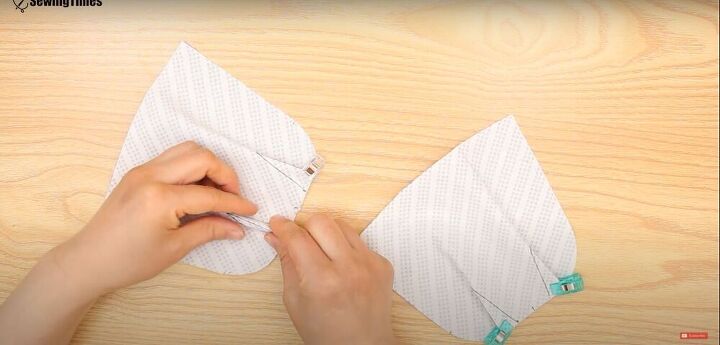
Pin
Pin one side of the out fabric to the long rectangle, right sides together, along the side and bottom edges. Leave the curved edges unpinned.
Snip
Make a series of small snips along the edges of the rectangle that match with the curved edges of the outer fabric.
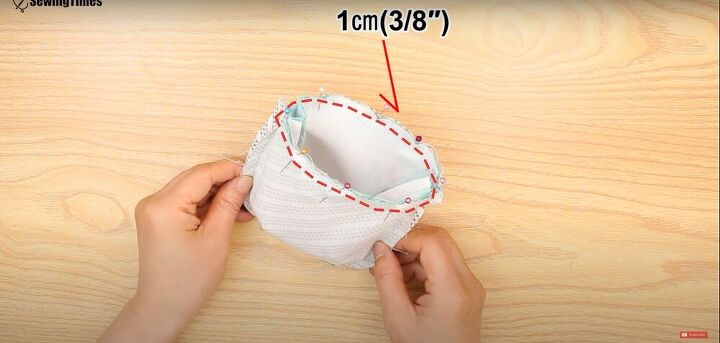
Pin and sew
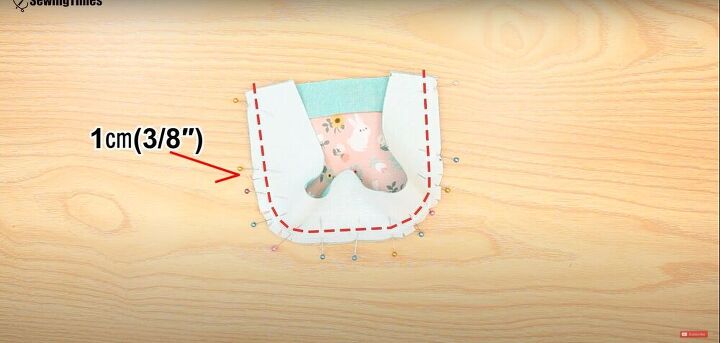
Pin the snipped edges of the rectangle to the curved edges of the outer fabric, and sew it down, leaving a 1 centimeter (⅜ of an inch) seam allowance.
Repeat
Repeat the process of snipping, pinning and sewing with the second piece of the outer fabric.
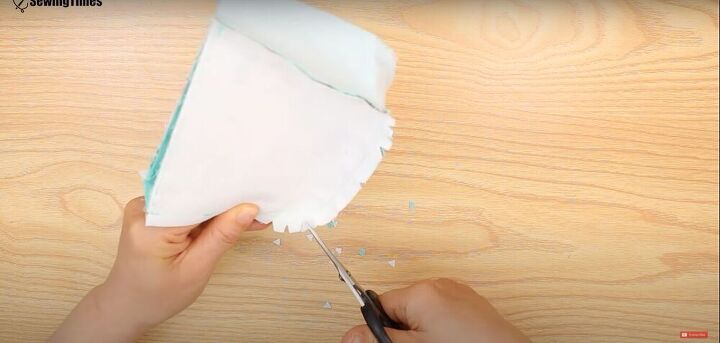
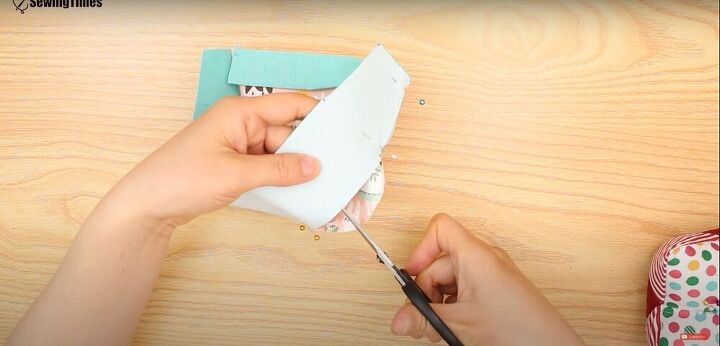
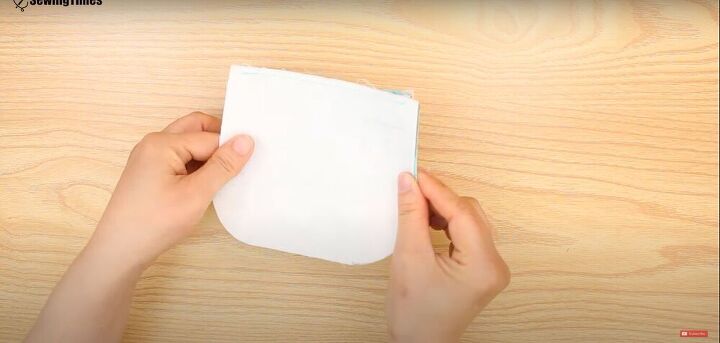
Cut
Cut a series of small, triangular notches in the seam allowances along the curved edges of the purse.
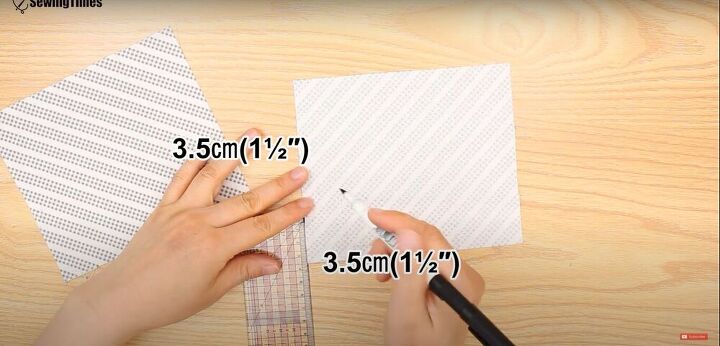
Mark and cut
Mark and cut the inner fabric pieces as shown in the video from 6:11-6:52.
Pin and sew
Pin and sew the darts on the inner fabric pieces.

Pin and sew
Pin and sew the side and bottom edges of the inner fabric pieces together, leaving a 1 centimeter (⅜ of an inch) seam allowance. Leave a gap in the stitching along one side.
Turn, pin, and sew
With the outer fabric turned right side out, and the inner fabric still inside out, insert the outer layer into the inner layer. Pin the top edges together and sew.
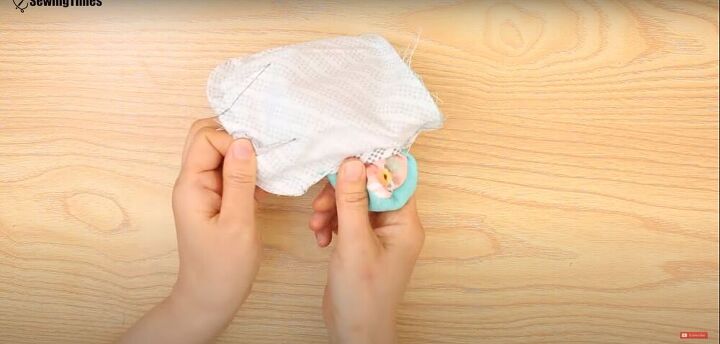
Turn right side out
Pull the outer layer out through the gap in the stitching on the side of the lining, and flip the lining so the right side of the fabric is visible.
Sew
Sew the gap in the stitching of the lining closed.
Topstitch
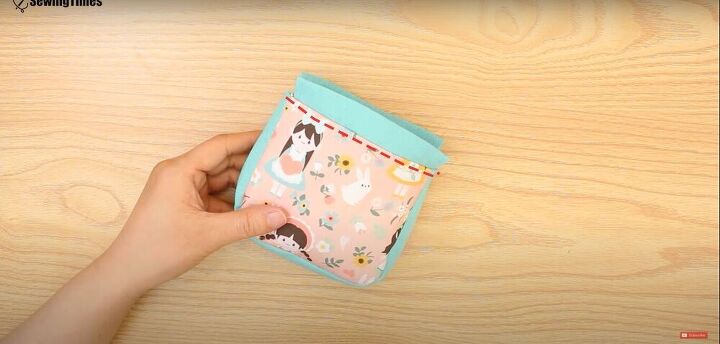
Push the lining into the bag, then sew a topstitch all the way around the top edge of the bag.
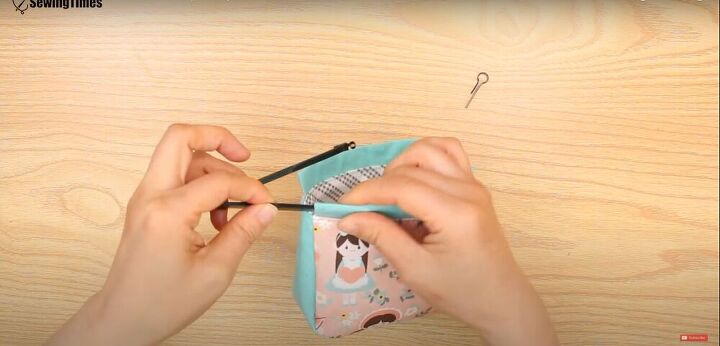
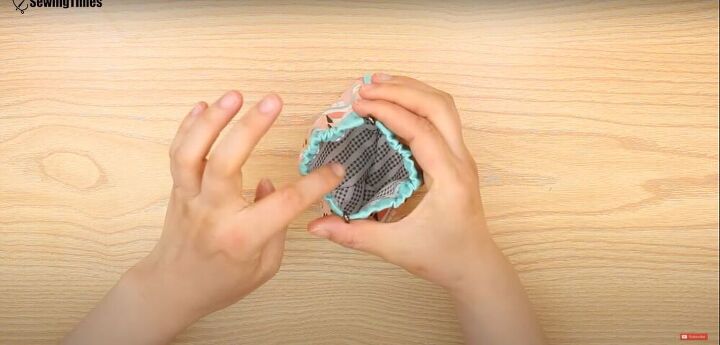
Insert the flex frame
Remove the pin on one side of the flex frame. Insert the arms of the frame into the fabric channels at the opening of the bag, and then replace the pin.
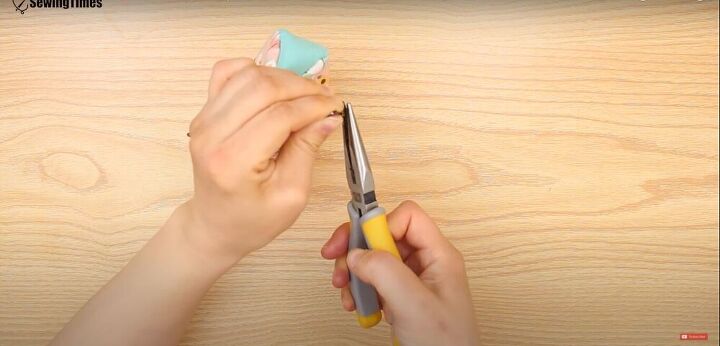
Secure
Twist the end of the pin upwards with pliers to secure it.
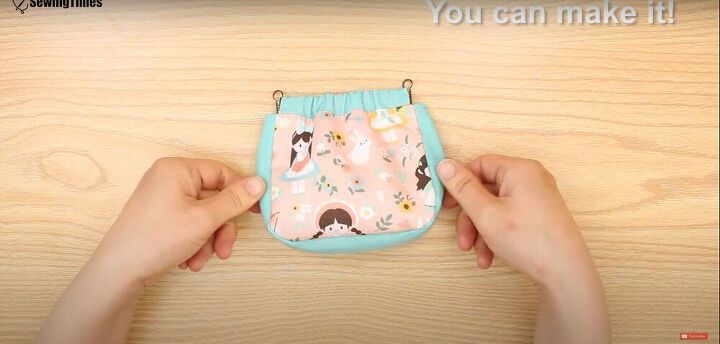
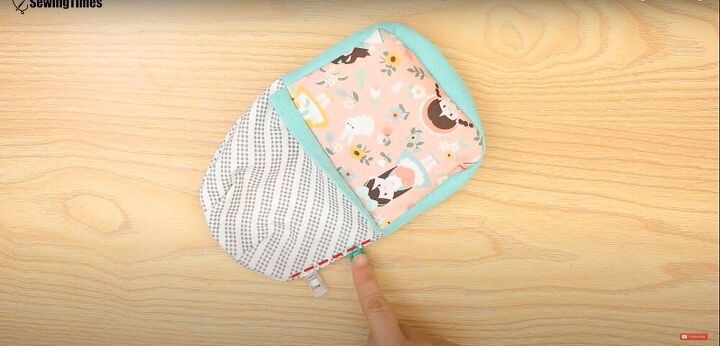
You’re done! You made a super cute coin purse.
Let me know what you think of this DIY coin purse tutorial. If you sew a coin purse of your own, I would love to see the results.
The author may collect a small share of sales from the links on this page.


Comments
Join the conversation