How to DIY a Unique Belt Bag

This tutorial will teach you what to do with old belts to make this brilliant DIY belt bag. This cage bucket style is both practical and stylish. Follow along to learn how to make one for yourself.
Tools and materials:
- Pins
- Ruler
- Thread set
- Seam ripper
- Marking tool
- Tape measure
- Sewing machine
- Heavy duty snaps ⅝”
- Fashion grommet kit ½”
- Extra strong heavy duty threads
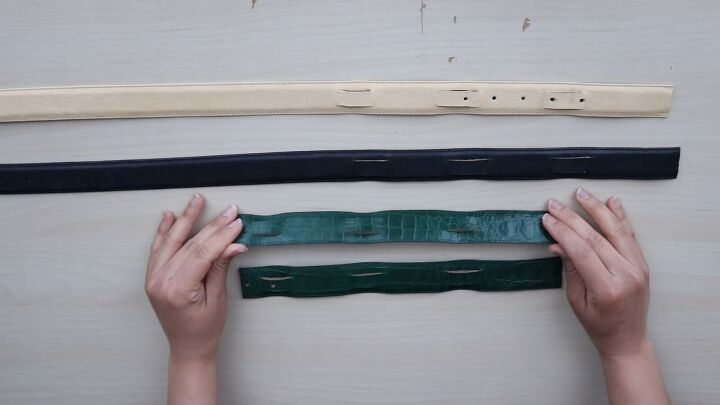
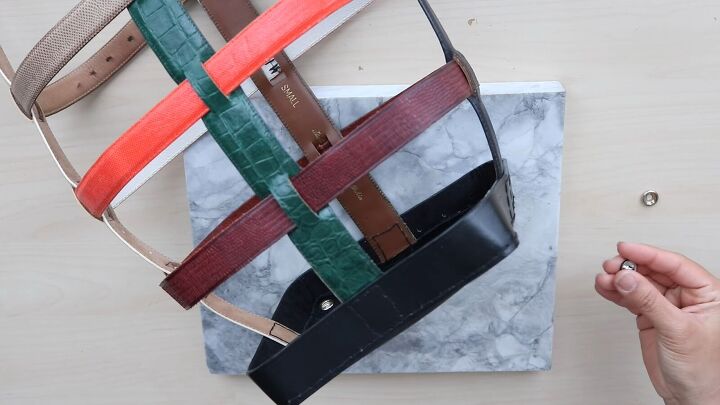
- Leather belts or strips (at least 7)
- 1 yd heavy duty canvas
- 2 Upholstery hand needles
- Sewing awl or ice pick
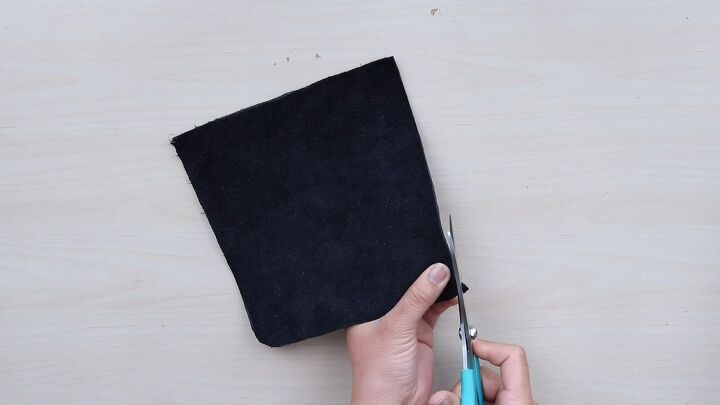
- Leather square 7”x7”
- Cord 3/16”; 1 yd
- Glue gun
- Tile or cutting surface
- Utility (Exacto) knife
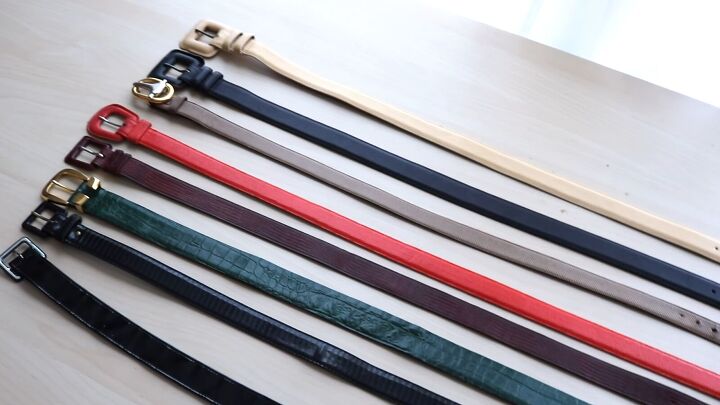
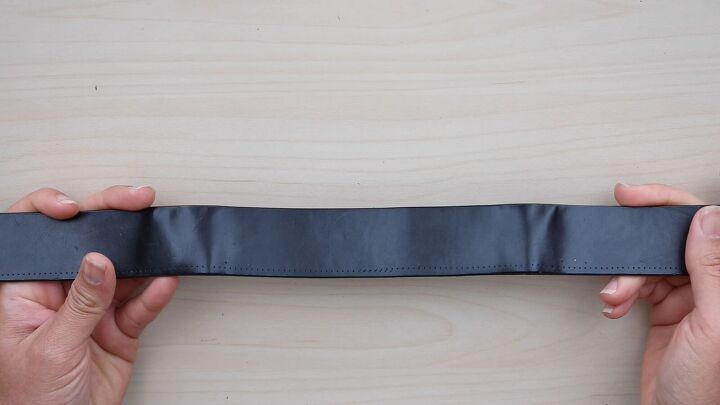
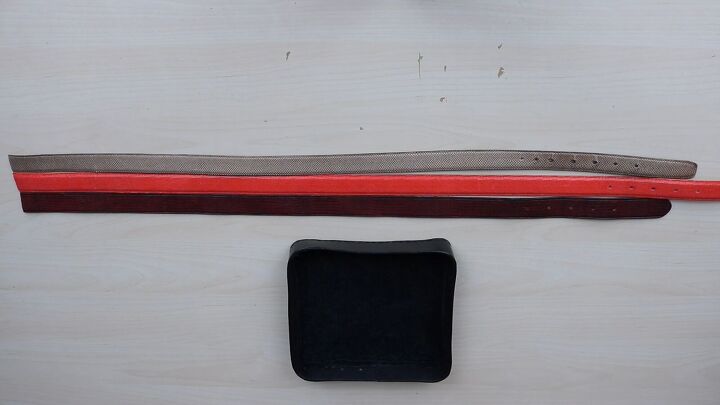
Here are the belts I had on hand to make this DIY belt bag.
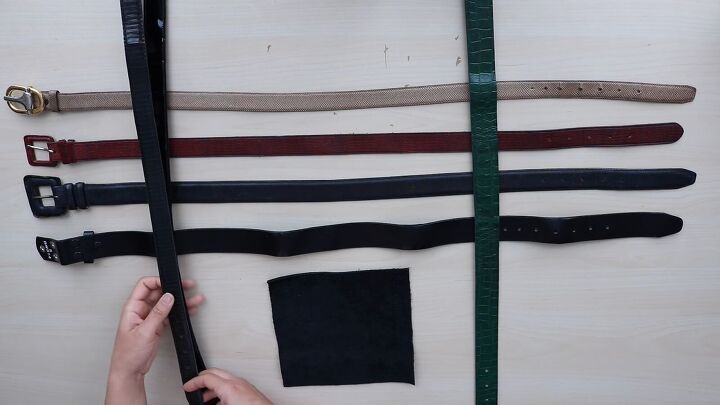
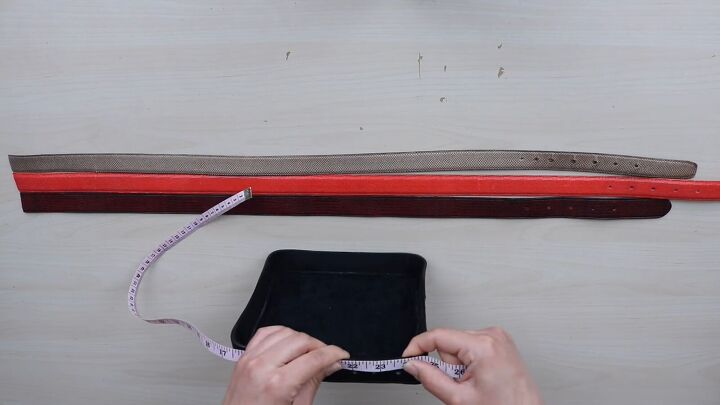
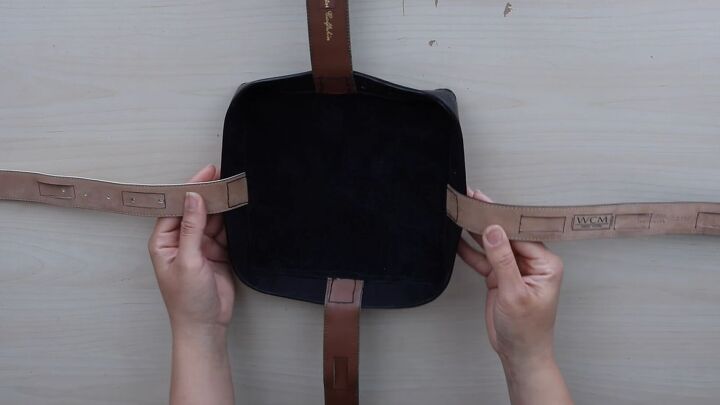
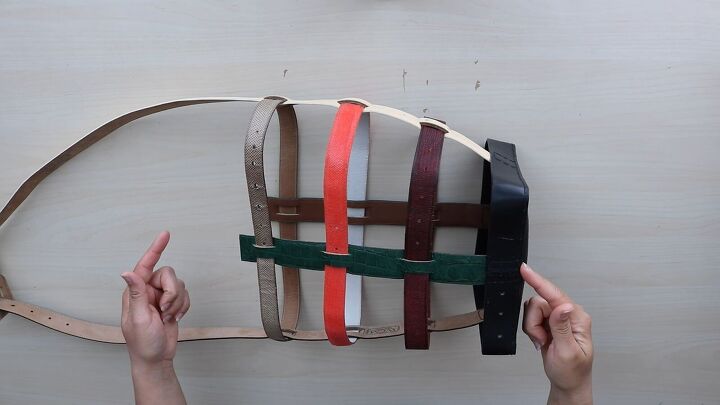
1. Set up the layout
Make sure you have 4 belts to go horizontally, and 3 to be placed vertically, 2 of which should be the same width (those will be the shoulder straps). The leather square will be the base of the purse.
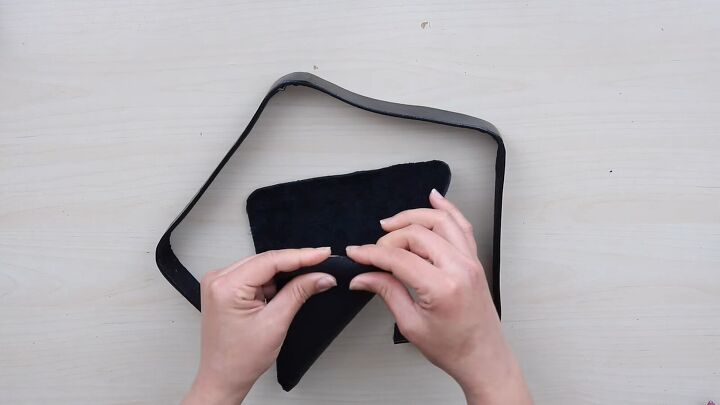
2. Construct the base
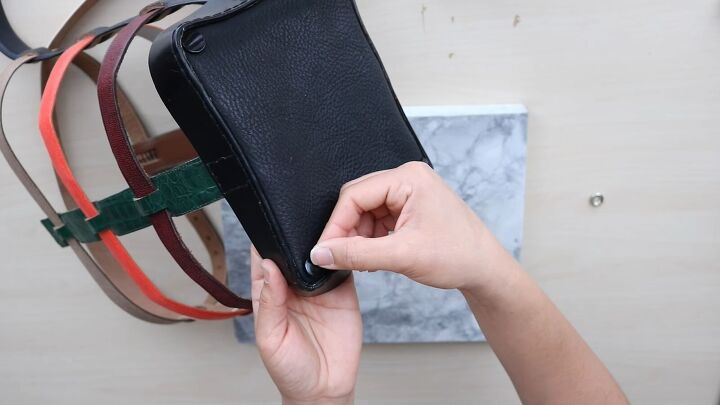
Start by removing the belt closure.

Then clip the corners of the base to match the belt’s shape.
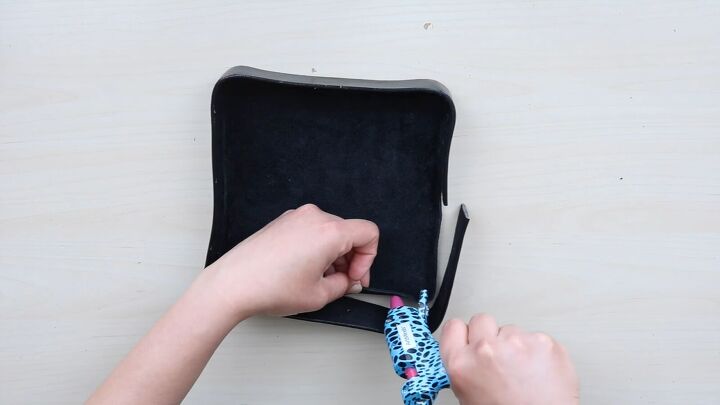
Using your ruler and tracing tool, mark a line ¼” from the edge.
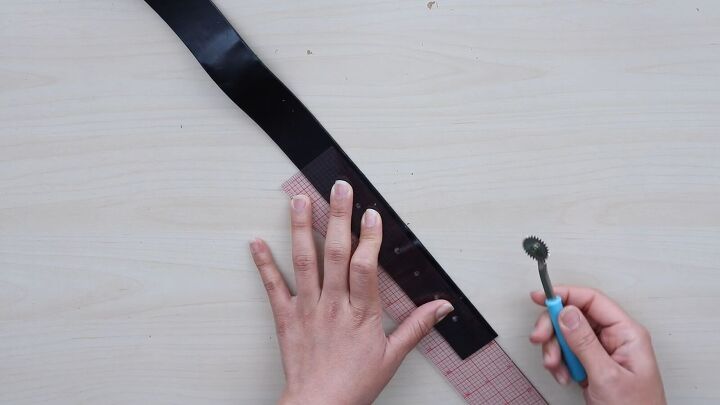
Repeat this on all 4 sides.
Taking the base, bend the edge about a ½” to attach the belt.
Use your glue gun to attach the belt all around the base.
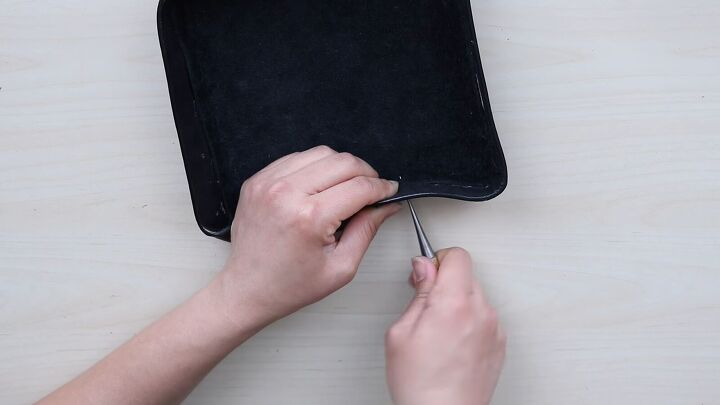
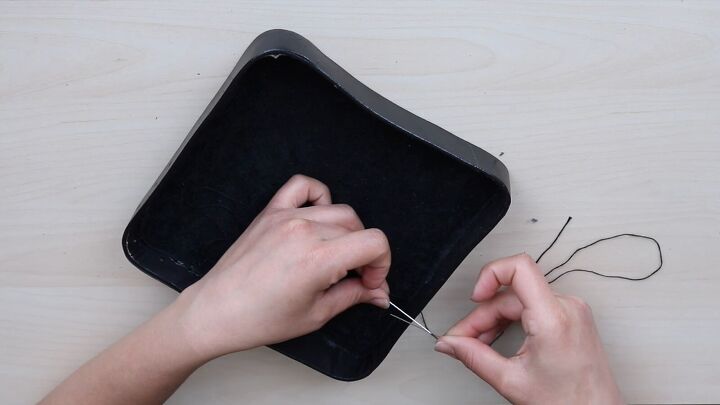
Next, use the awl to make stitching holes every ½”, following the line you made with the tracing wheel.
Next, take a piece of heavy-duty thread with a needle on each end.
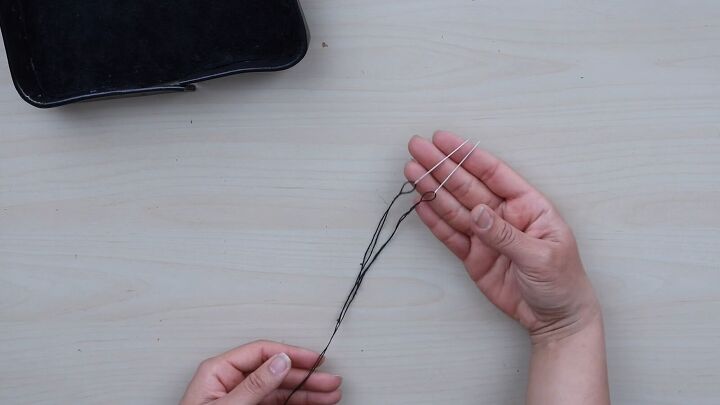
Then, sew a saddle stitch. (See video 2:40-2:48)
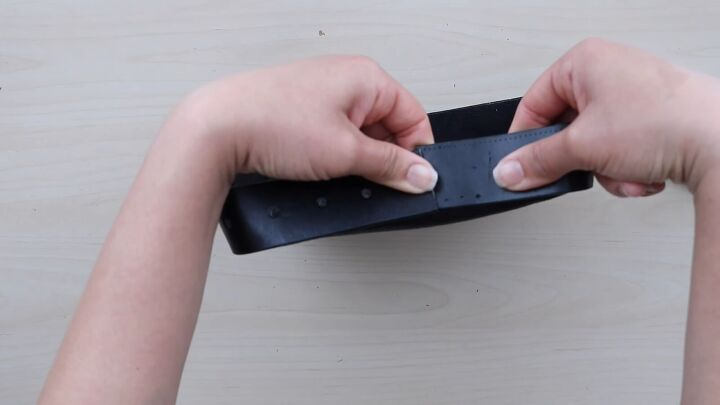
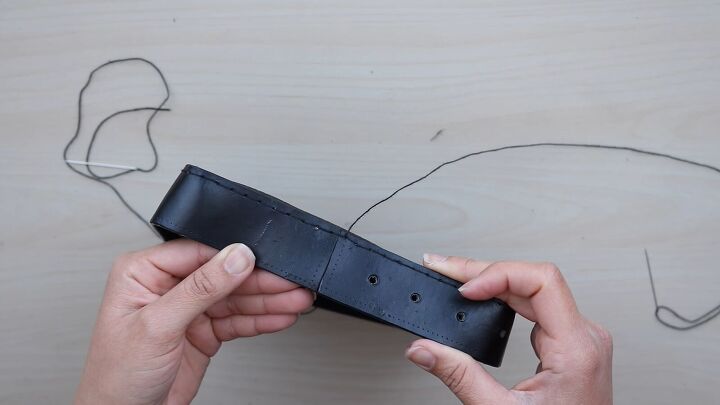
To complete the base, close the sides with a zigzag stitch, coupled with the saddle stitch.
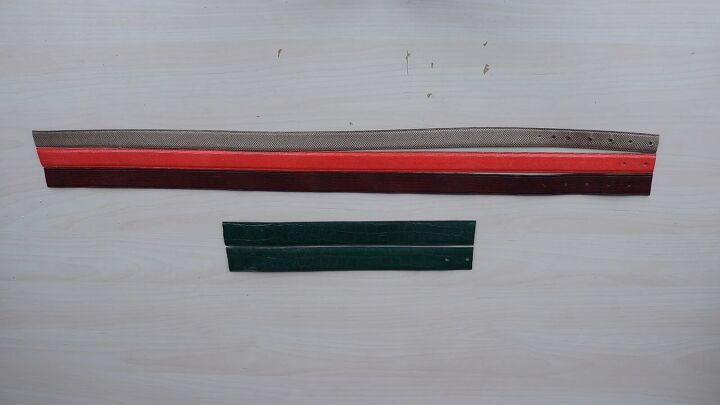
3. Prepare the other belts
Now, starting with the smaller belts, remove the buckles.
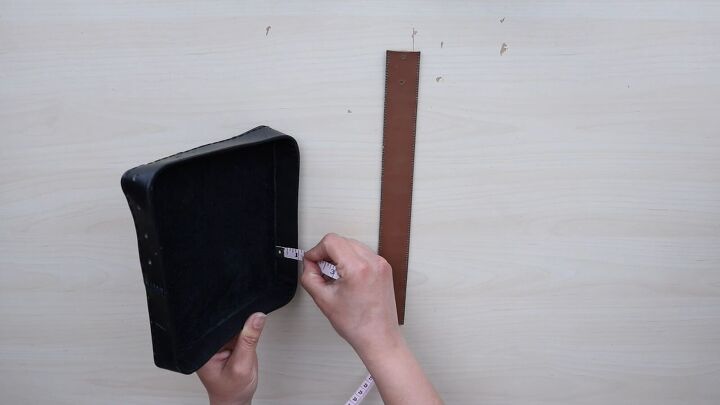
Then measure the perimeter of the base to cut the belts the same length.
Once those are cut, also cut the vertical panels in half, with each piece measuring 12”.
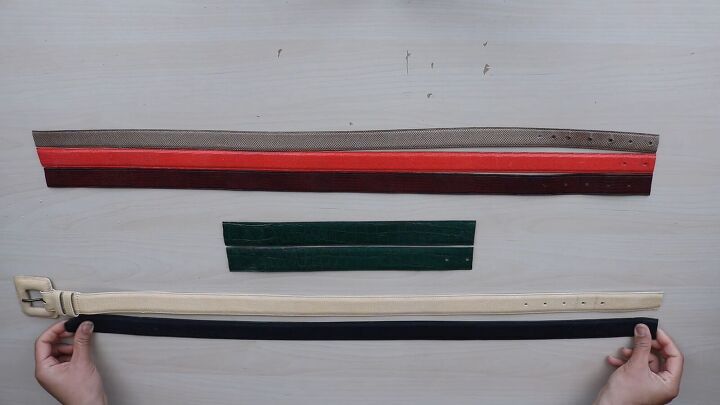
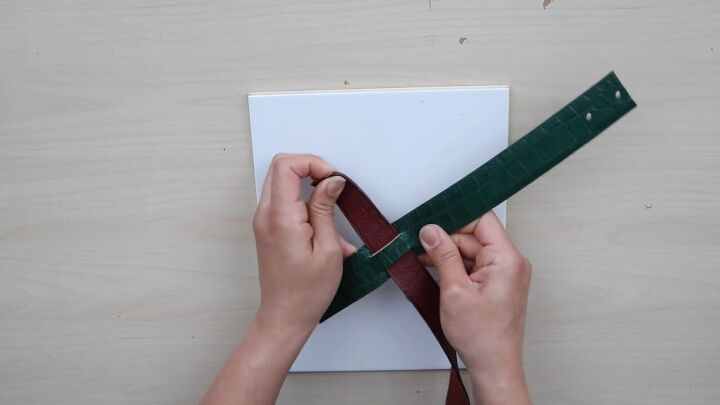
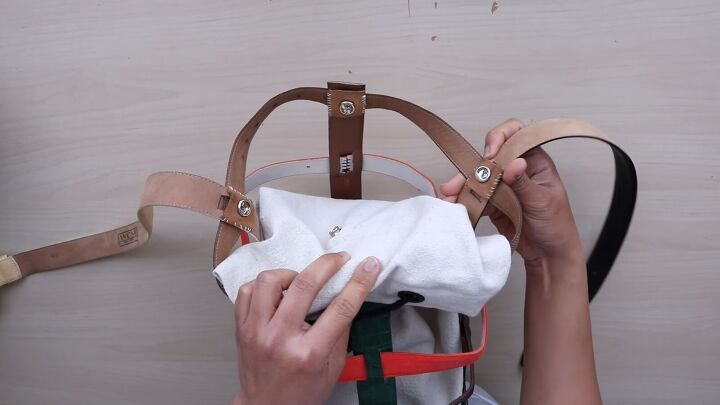
As for the other 2 belts, keep one buckle intact to join them at the shoulders.
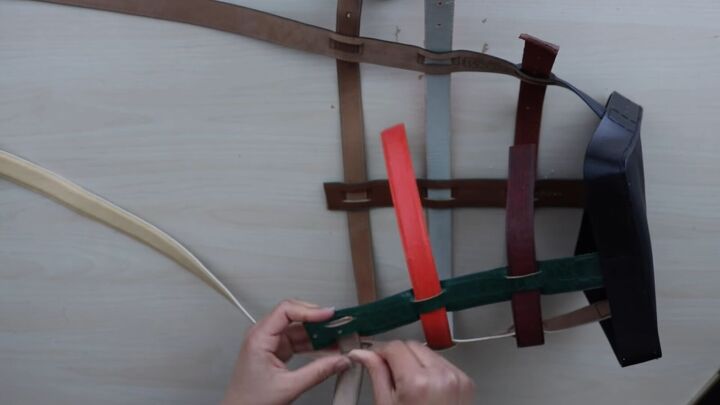
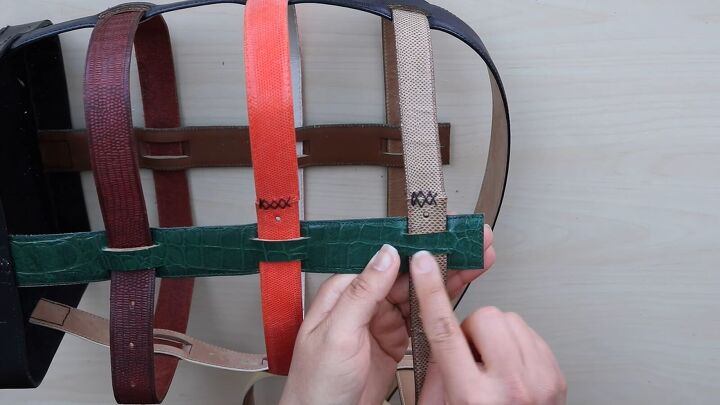
4. Cut the grooves and thread the belts
First, determine how much of the vertical strips will be needed to attach to the base.
Taking that into account, measure that amount (for me it was 3”) from the bottom of the strip to start your first groove.
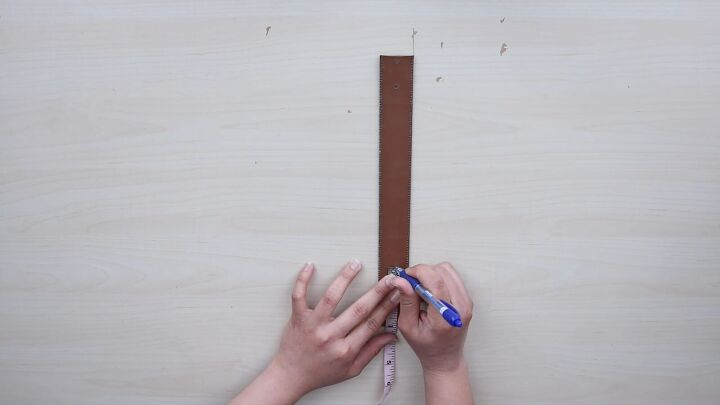
Space the belts about 2” apart with each groove measuring 1½”. This measurement for the grooves allows for a ½” of wiggle room for the 1” belts.
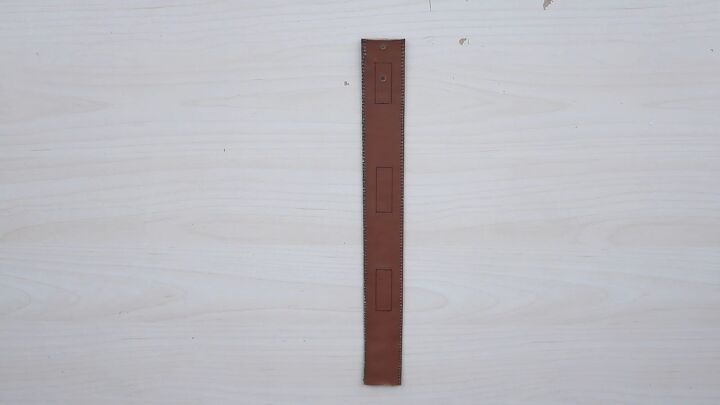
Next, on top of a cutting surface, cut the grooves out carefully with a utility knife.
Then, you can check to make sure the small belts fit through.
Repeat for all vertical strips.
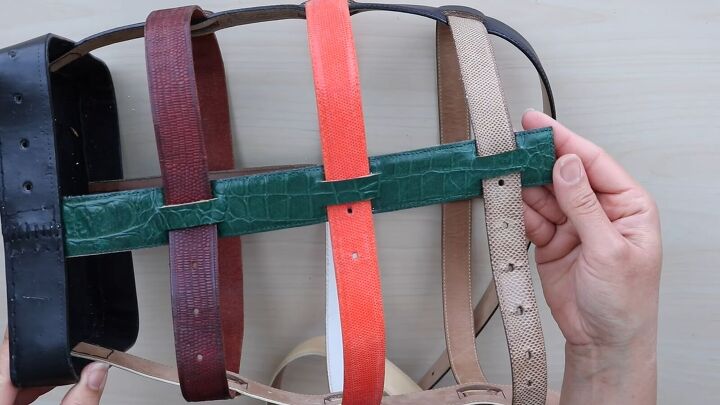
Use a saddle stitch to attach them to the sides of the base.
At this point, thread the small belts through the grooves.
With the bag finally taking shape, close the sides with a zig zag stitch in combination with the saddle stitch.
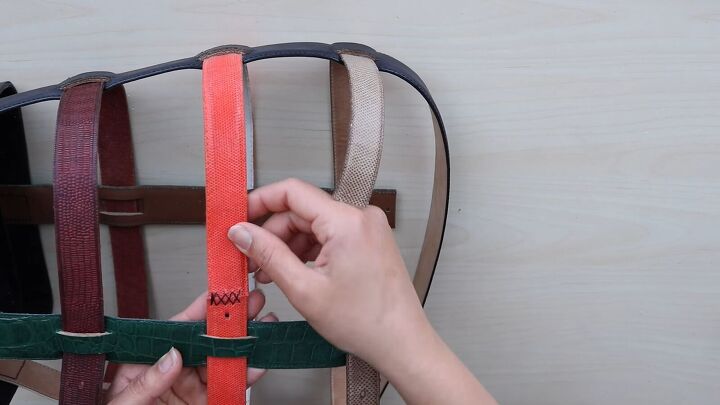
Then, tuck the seams under the grooves to conceal them.
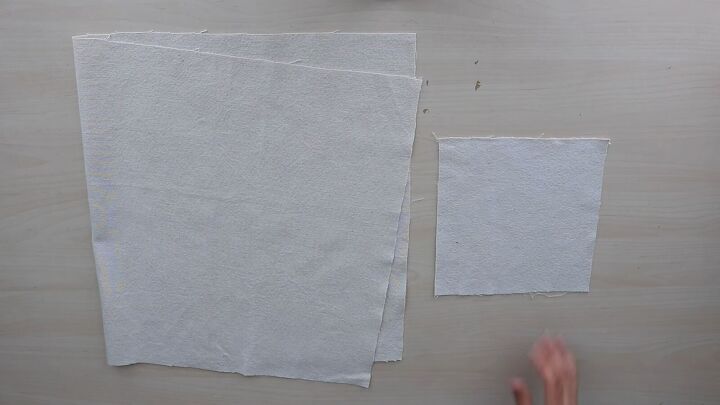
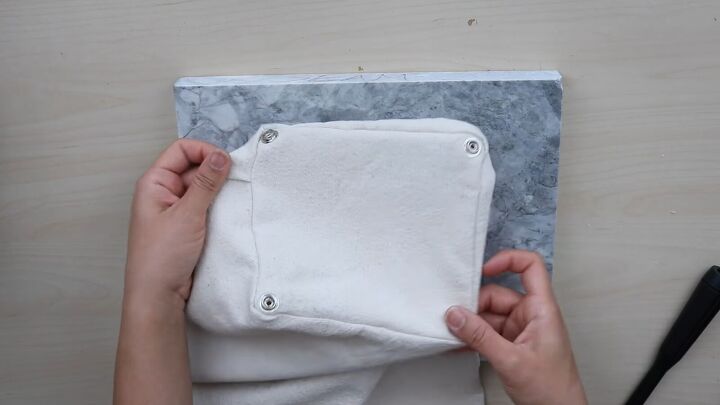
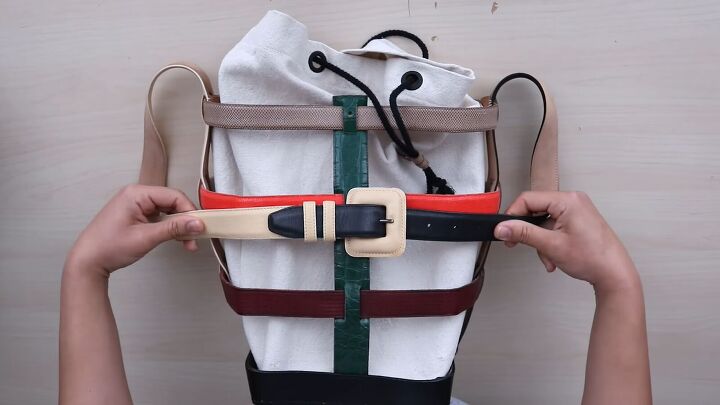
5. Make the drawstring insert
Cut 2 pieces of canvas, 1 the size of the base and the other the perimeter of the bag plus the height, adding 6 inches.
Here’s the canvas fabric cut to those measurements. Not shown is the pocket detail I added inside at a later point.
After piecing the bag together, fold the top over 1½” with allowance. Then, insert the grommets, following the instructions on the pack.
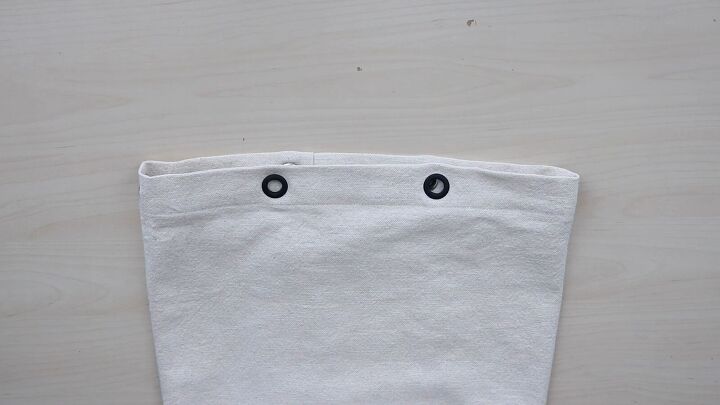
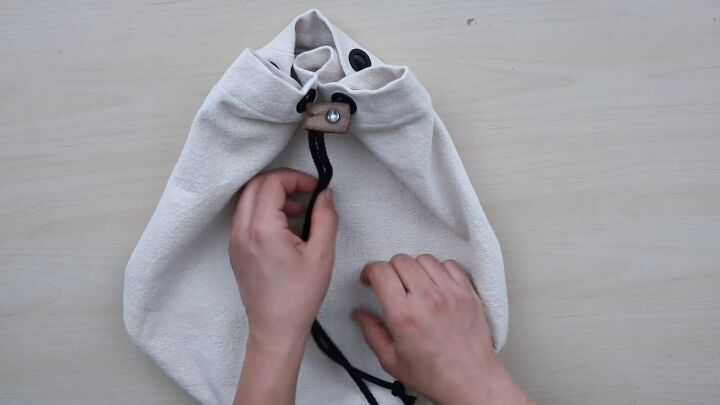
Feed the cord through the grommets, then make a knot at each end.
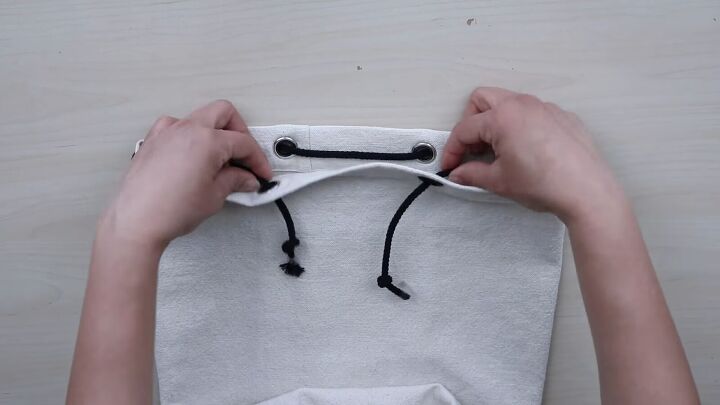
Then, reuse a piece from one of the buckles as a cord stopper.

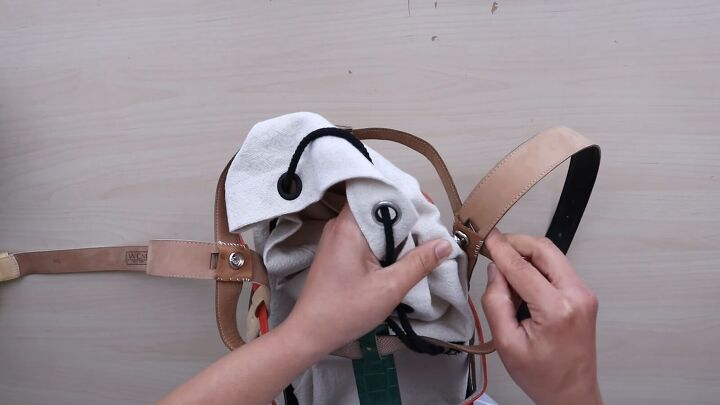
6. Insert the snaps
The set includes 4 parts–a cap, socket, post and stud. Insert the cap and socket at all 4 corners of the base.
From underneath:
From inside:
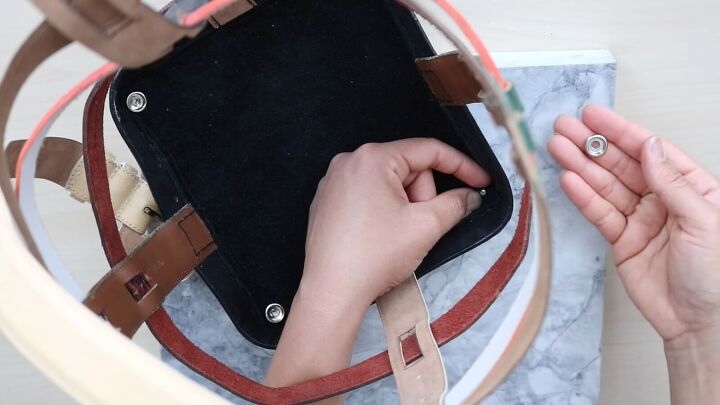
Do the same thing with the canvas using the post and stud.
Lastly, place another 4 snaps on the top of each joint.
Because the joints were too thick to insert the snaps regularly, I had to improvise by attaching them to a piece of leather before sewing them on with heavy duty thread. Snap the canvas insert to the bag.
Close the shoulder strap with the original belt closure.
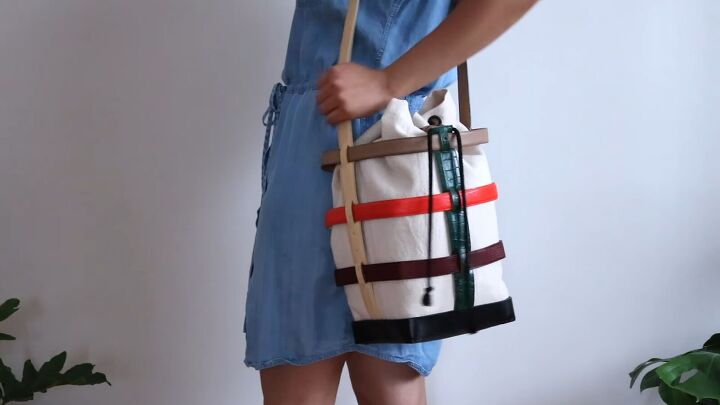
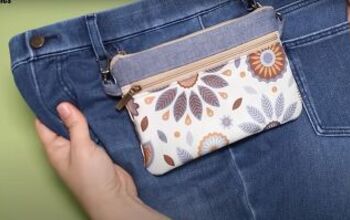
DIY belt bag
Then, your upcycled cage bag is complete!
If you’ve created this unique DIY belt bag, I’d love to see your version in the comments below.
If you enjoyed this tutorial, check out my post on How to Update Old Boots with Paint.
The author may collect a small share of sales from the links on this page.


Comments
Join the conversation