Use This Relaxing DIY Macrame Purse Tutorial to Make a Unique Bag

I had this really old purse that I wanted to spruce up. Instead of going for the typical embellishment or paint route, I decided to be a little unique and transform it into a lovely DIY macrame purse.
What is macrame?
For those of you who don’t know, it’s a gorgeous knotting technique, and can be applied to so many of your DIY projects. Follow me as I show you how to make a DIY macrame purse.
Tools and materials:
- Yarn
- Hanger or stick
- Old purse
- Scissors
- Glue gun
- Glue
- Thread
1. Set your space
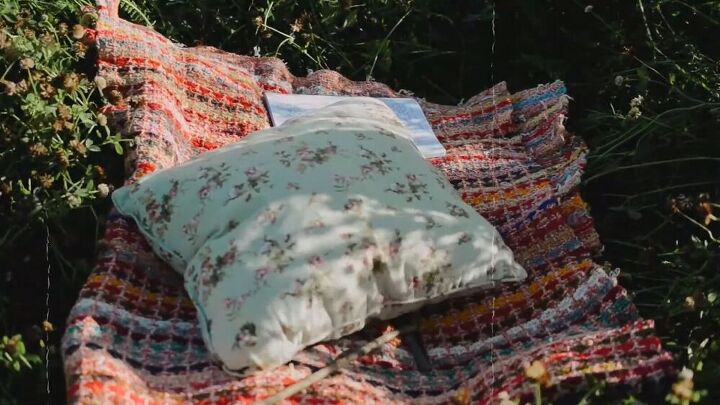
For this macrame purse tutorial, I decided to set my workstation in the beautiful outdoors. You can do this anywhere you feel would be relaxing and inspirational. Whether it's in front of your TV, in a park, or on the beach - the choice is yours.
Remember, the knotting process takes time, so make your setup worthwhile.
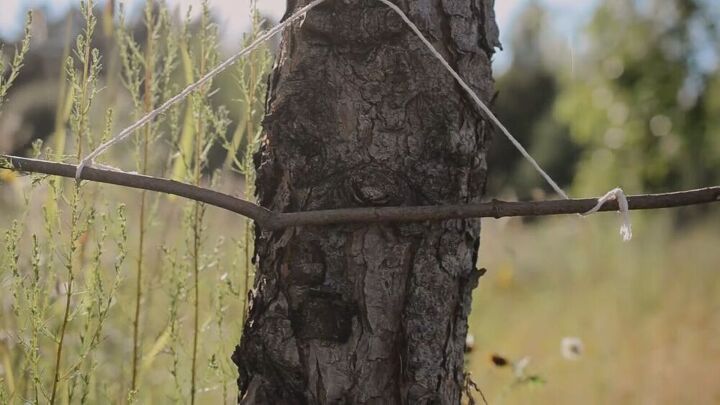
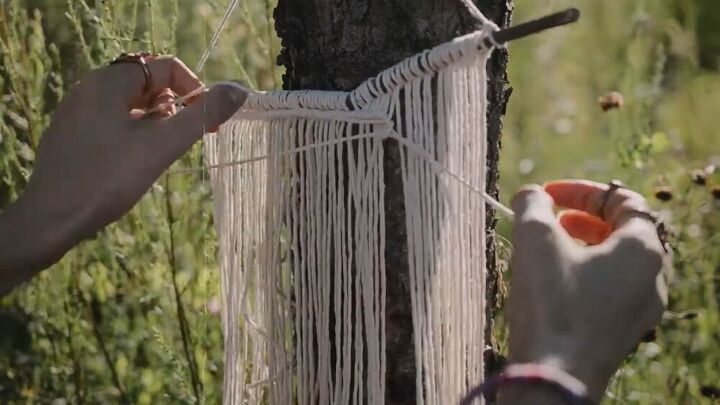
2. Tie the first knots
You can use a long piece of wood for this part, or even a large clothes hanger would do.
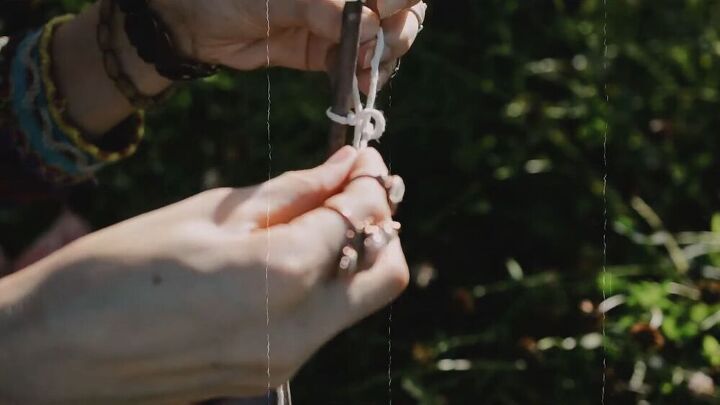
Tie pieces of yarn on the stick or hanger using the lark’s head knot method. See how I do this from 1:32 minutes of my video tutorial.
The length of the whole macrame piece, as well as the lengths of yarn, depend on the measurements of your purse. Make the yarn pieces at least twice the actual length you need, as you need to account for the knotting. You can always cut the ends off later.
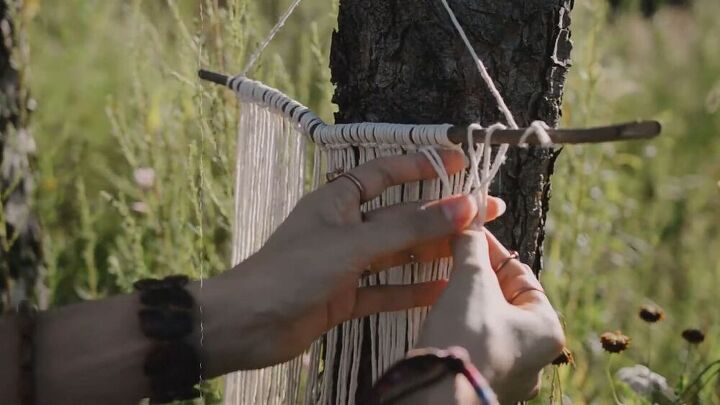
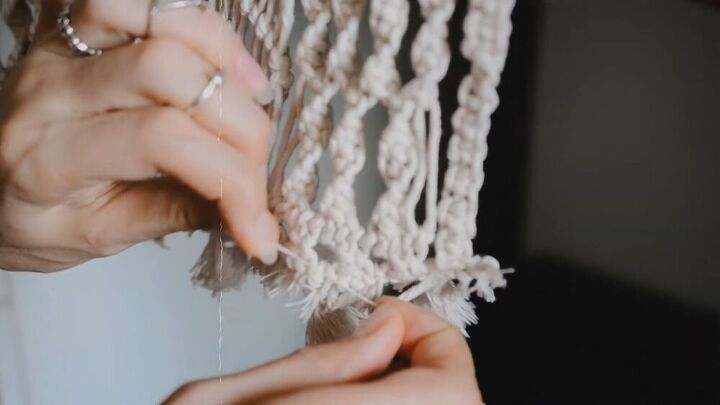
3. Knot the macrame design
String all the pieces together by tying double half hitch knots across the whole section, as shown. See how I do this from 1:50 minutes.
To learn how to do the different macrame knots in more detail, watch this tutorial on three basic macrame knots (square knot, spiral knot, double half hitch). These three knots make up pretty much all macrame designs and you can mix them as you wish.
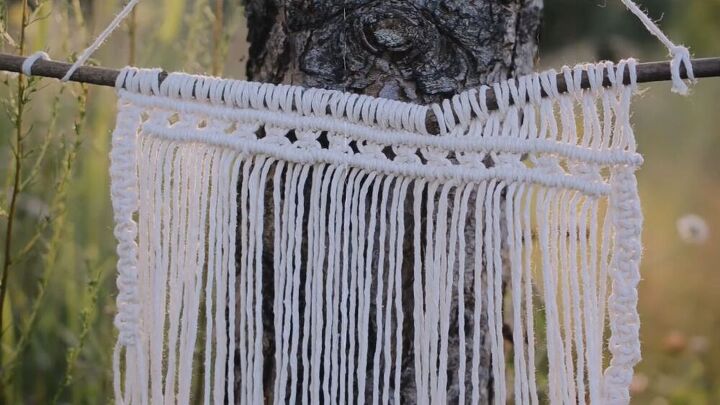
This is the macrame design I worked on. I made this frame first with columns of square knots at the sides and two rows of horizontal double half hitch knots along the top.
Then, I continued to make columns of spiral knots.
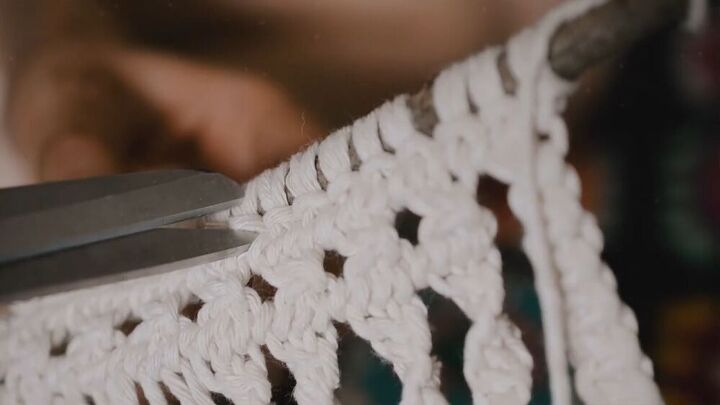
I also created a central design with double half hitch knots and square knots, then finished the frame with two more rows of horizontal double half hitch knots. You can really experiment here and make a design unique to you. When you are done, carefully cut the ends.
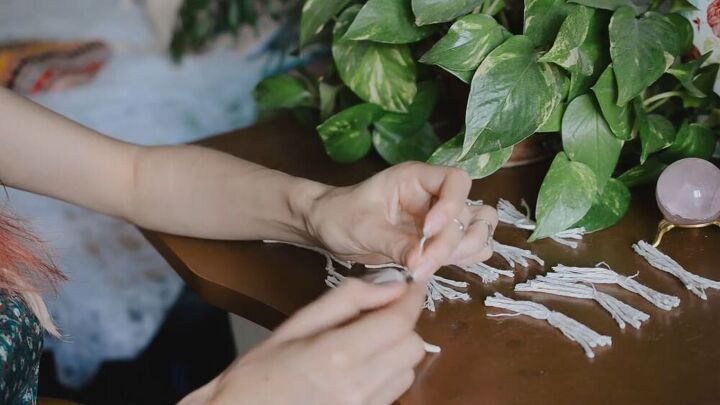
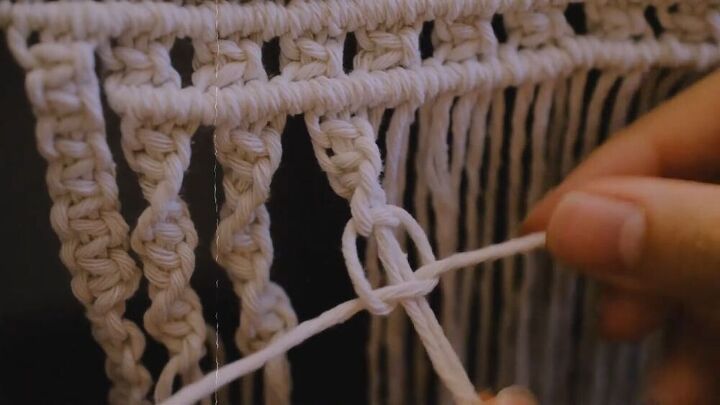
4. Make the tassels
Place a few pieces of string together in a bundle, and tie each center.
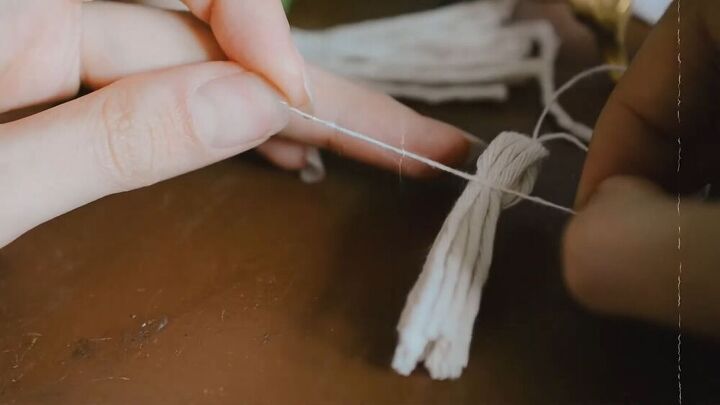
Then, loop the centered part and place a knot around the loop with a thread, as shown. This will form a cute tassel for your macrame purse.
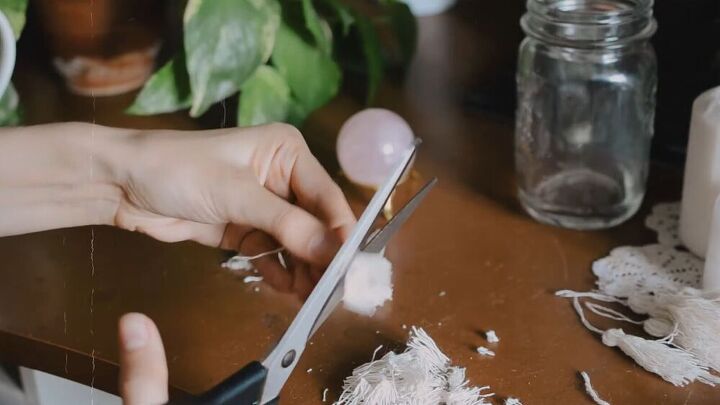
Cut the ends to fluff them up.
Tie each tassel to the end of your macrame piece.
5. Prep your purse
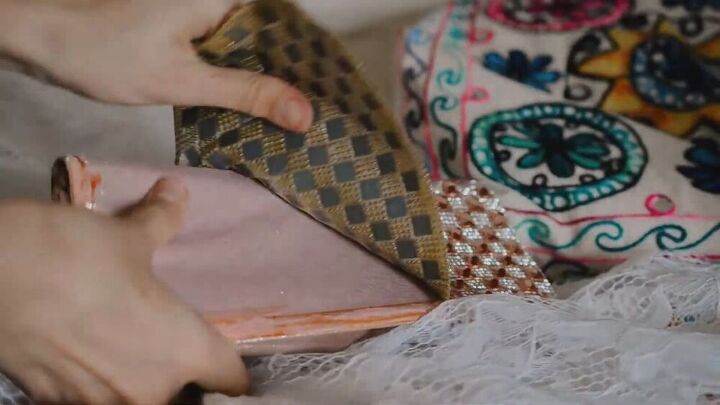
My purse had an embellished cover on it. If yours has the same, simply rip it out (carefully).
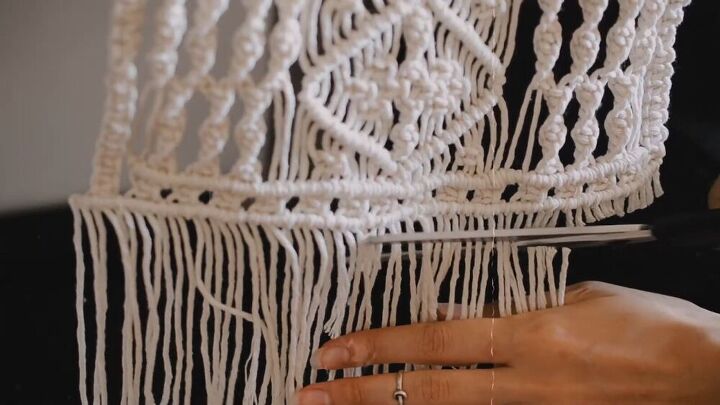
6. Glue the macrame piece to the purse
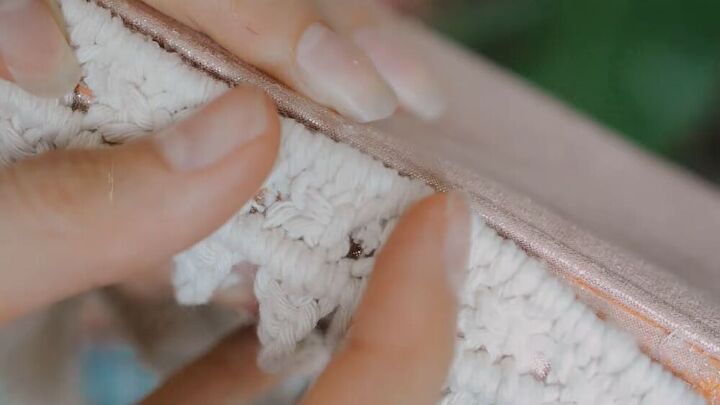
Cut your macrame piece from the top. Cut open each knot, as shown.
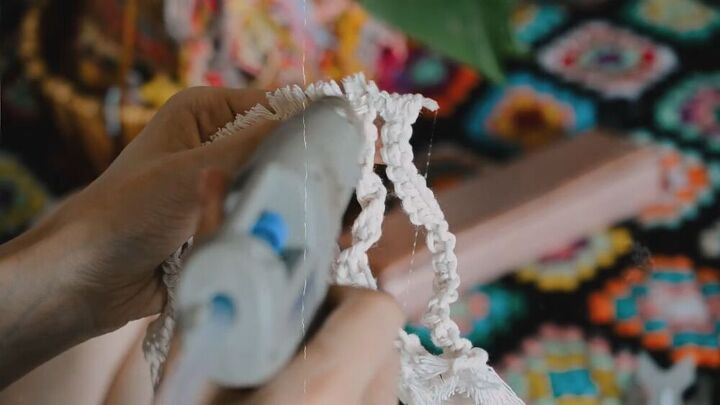
Then, along the same line where the knots are cut, simply add hot glue with your glue gun.
As you add glue, fold the raw edges of the knots over onto the glue. This will prevent your macrame purse from fraying at the ends.
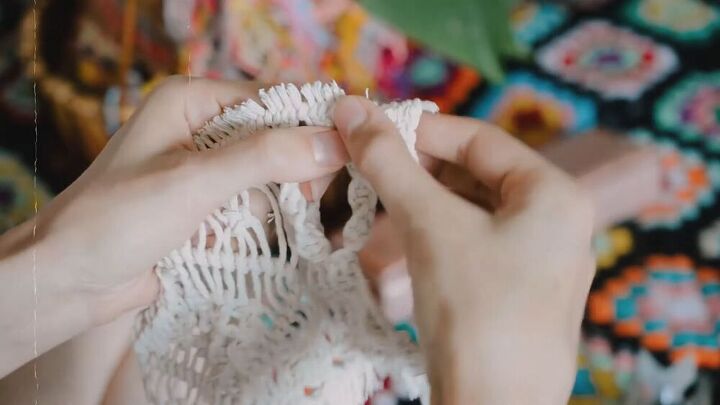
Starting from the base of the purse, glue the top side of the macrame piece.
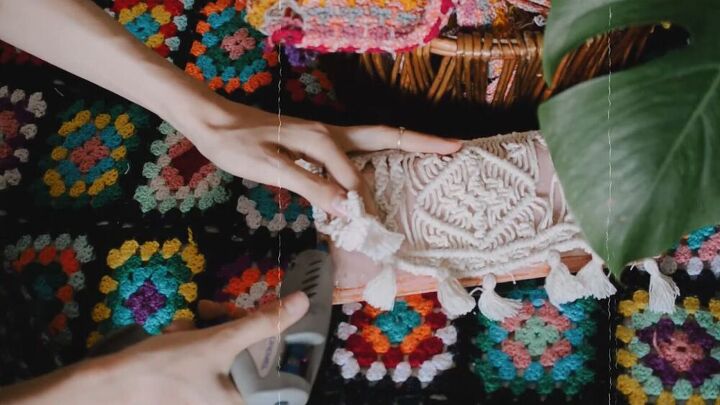
Then, work your way around the purse. Your macrame piece should basically envelop the outside of the purse.
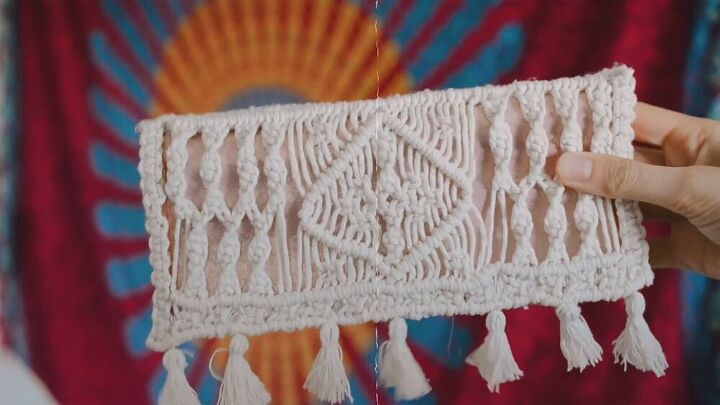
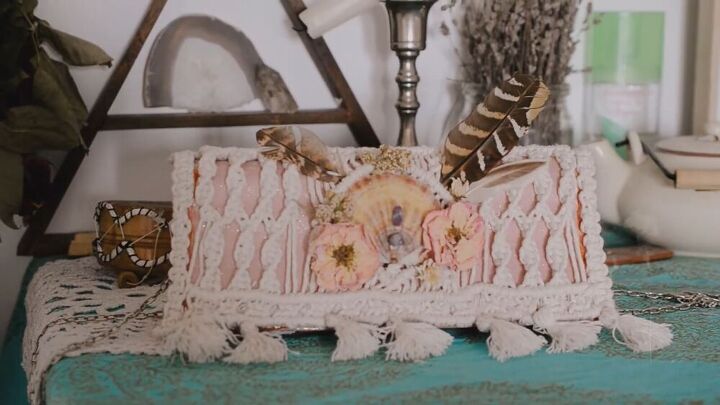
This is the final result!
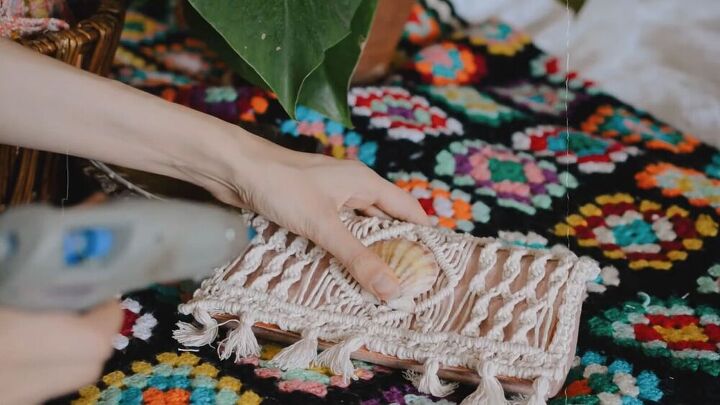
7. Add embellishments (optional)
Inspired by nature, I decided to add some natural embellishments to my macrame purse. Here, I added a lovely big shell to the center-front with the glue gun.
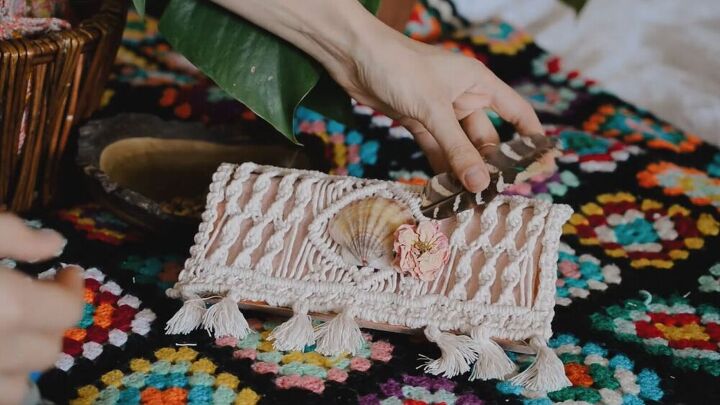
I also added dried flowers and little feathers.
DIY macrame purse tutorial
Here’s the finished macrame purse. Although the macrame looks complex, it's a lot of fun experimenting with different knotting techniques to create a unique design. This is a great DIY project to work on over time, doing a little macrame each day - it's so relaxing.
Let me know what you think of this DIY macrame purse in the comments below.
The author may collect a small share of sales from the links on this page.


Comments
Join the conversation
Cute purse. However, how long will the dried flowers and feathers last if you use this as a purse?
I love to macrame’! Thanks for the idea!