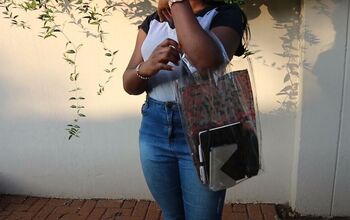
DIY Clear Vinyl Bag
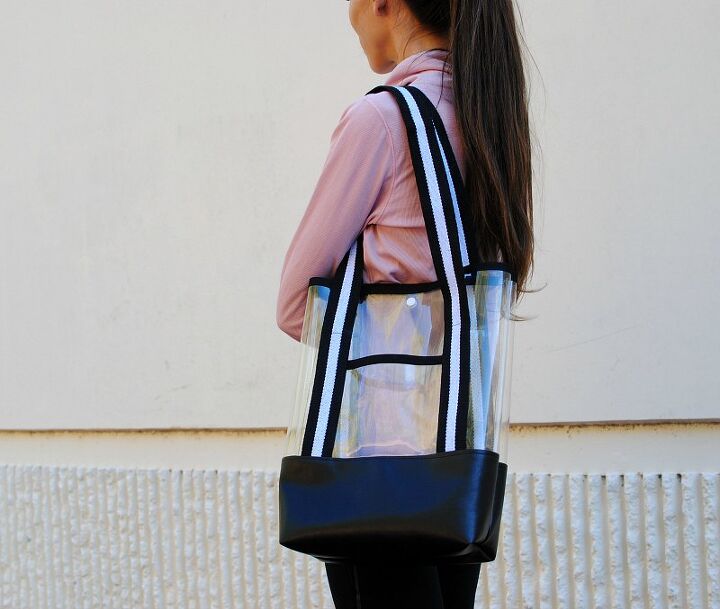
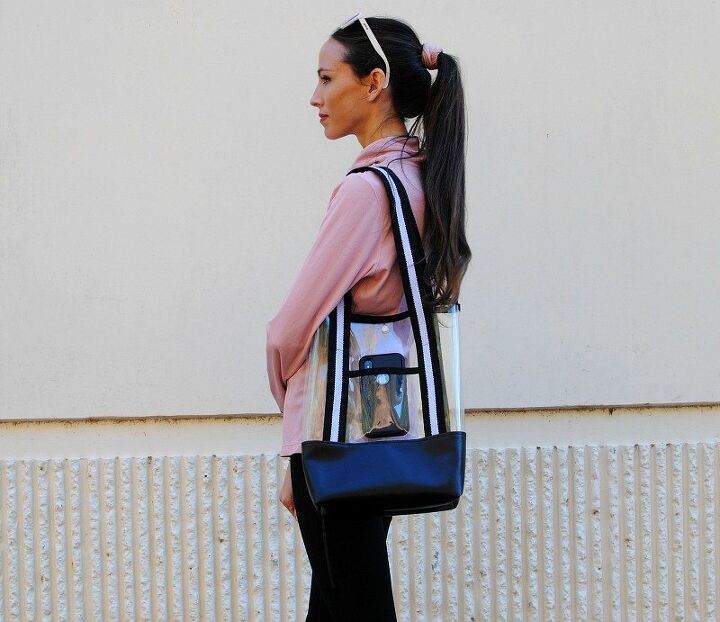
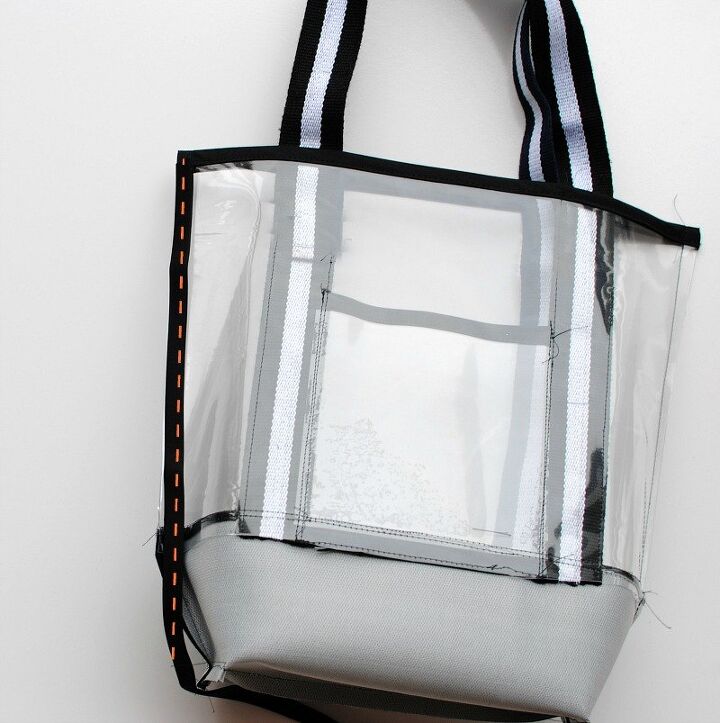
I've really been into the clear vinyl trend lately. Not only is it a practical for events specifically for bags but it also looks cool. Many fashionistas are using clear vinyl bags as a coverup to protect their expensive handbags from wear and tear without having to hide them. I personally like them because I can find my phone and keys much easier! I designed this bag to be something you could bring to an event where they will need to look through your bag but also have the black bottom panel to hide the clutter and important things. The detail I love the most is the black and white belting from Dritz that adds a touch of sporty to the overall look.
Get the details below and make your own.
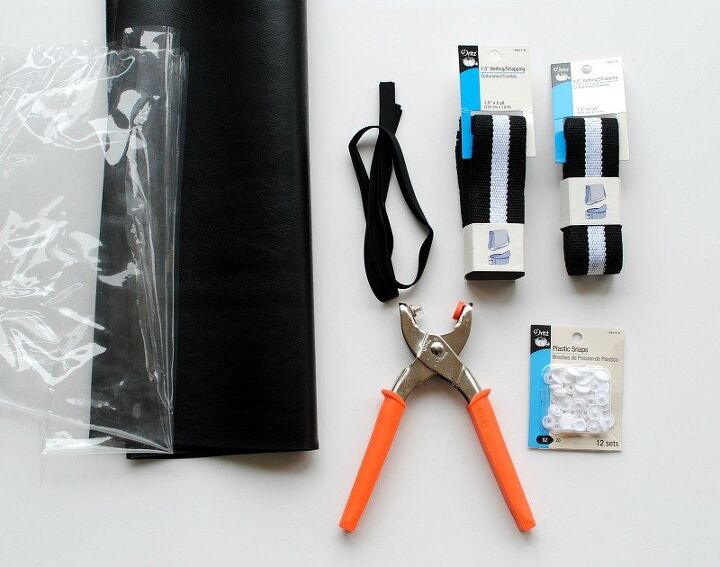
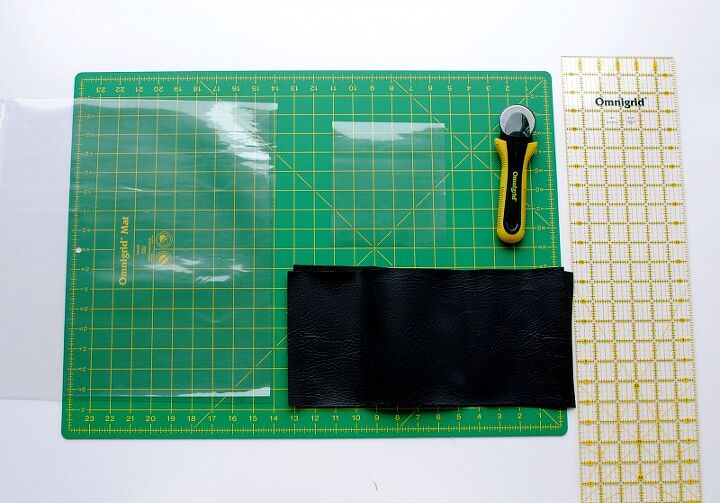
Supplies:
- Dritz 1.5" Belting/Strapping Black/White/Black - 2
- Dritz Plastic Snap Pliers
- Dritz Plastic Snaps
- Fold-Over Elastic or 1/2" double fold bias tape
- Greta Grip clips
- 1/2 yd. clear vinyl
- 1/2 yd. black vinyl or leather.
- General cutting supplies- OmniGrid
- Heavy duty needle (I used a jeans needle)
DIY:
Cutting:
2 vinyl pieces: 10.5" x 15" (width)
1 pocket 5 1/4" x 5 3/4"
2 bottom black 7" x 15"2 straps 42"
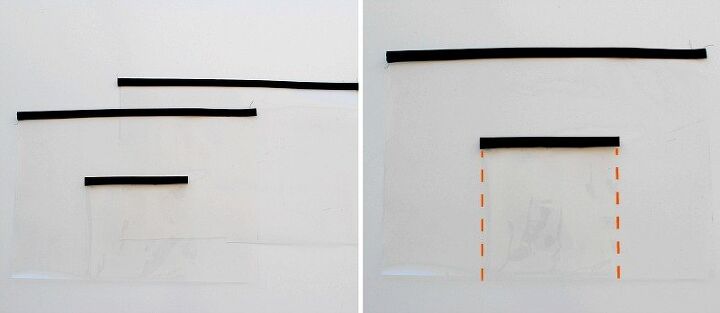
Cut the bias tape to fit the top of both back and front pieces and top of pocket. Sew into place.
Center the pocket over the front so bottom edges match. Topstitch along the sides. If you find the vinyl is slipping you can use a small amount of tape to hold it still while you sew.

Place the front strap just along the pocket stitch lines and matching bottom raw edges. Be sure the strap isn't twisted at the top. Pin or use clips to secure. Top stitch as shown in the photo to 2" down from the top edge and sew down the other side. Repeat for both sides and the back. Use the front piece to make sure the back straps are centered. About 5.5" apart.
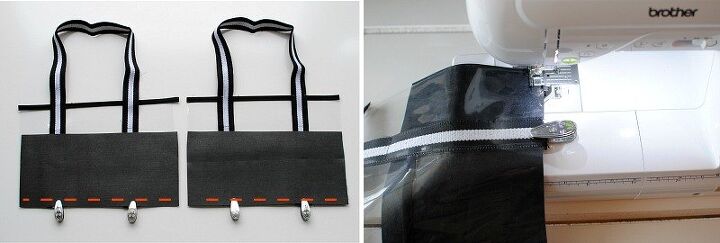
Place the bottom panels over the front and back pieces right sides together and sew (1/4" seam allowance). Flip down and press with your finger so it's flat. Top stitch just along the edge so the panel stays down.
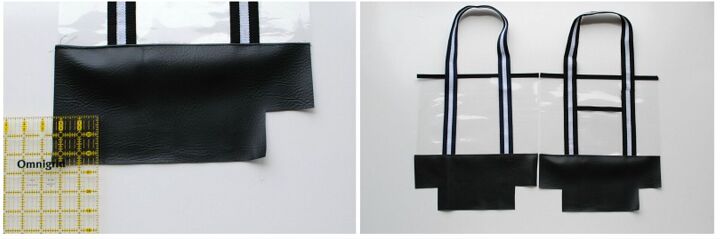
Use a grid ruler and mark off a 2.5" square on the bottom corners and cut.

Sew sides and bottom edge right sides together 1/4" seam allowance.
Fold the bottom edges together so seam allowances match up and pin (you will want the seam allowances to face alternate ways due to the thickness) Sew bottom corners with a 1/4" seam allowance.
I didn't mind the seam allowances showing through (it's not obvious) but you can sew bias tape or Fold-Over Elastic over them as an option.
Flip rights side out. It can be tough consider how thick your vinyl is but it will flip out.
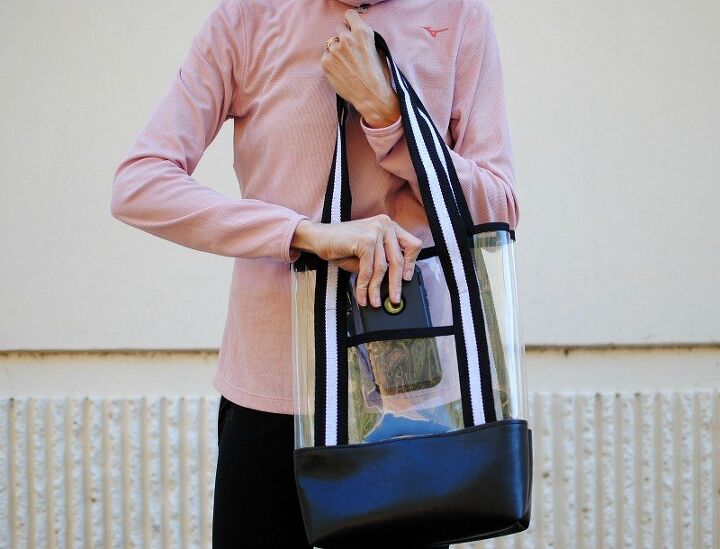
Use Dritz Plastic Snap Pliers and Plastic Snaps to secure the top portion of the bag. I love these for simple closures and the process is easy with the pliers.
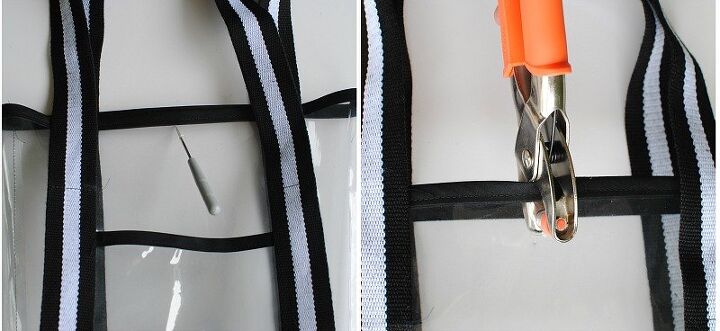
Push Awl through fabric to make a hole.
Use Snap Pliers to apply decorative cap and stud on the front side. Squeeze pliers to apply snap.
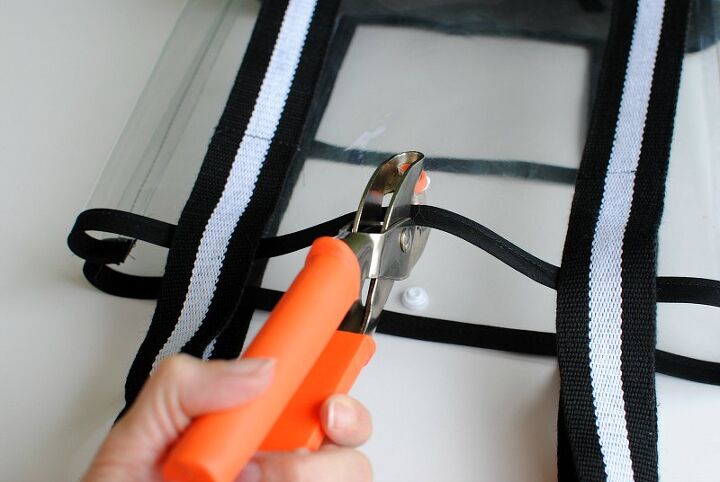
Repeat on the the back side applying the round cap and socket. Full directions come with the pliers including the Awl.
The author may collect a small share of sales from the links on this page.


Comments
Join the conversation