DIY an Amazing Clear Vinyl Bag and Phone Pouch

Vinyl accessories are everything right now! If you are looking to trend set with a fashion statement bag and phone pouch, this tutorial is for you! Clear bags are the perfect blend of fashion and function! This modern and bold look is so easy to make and can be used for all occasions! You can never have too many bags and a clear one should be on the list! Follow my easy, step-by-step tutorial and learn how to DIY a cute, clear vinyl bag and cell phone pouch!
Tools and Materials:
- Sewing machine
- Vinyl
- Nylon strapping webbing material
- Bias tape
- Fabric cord
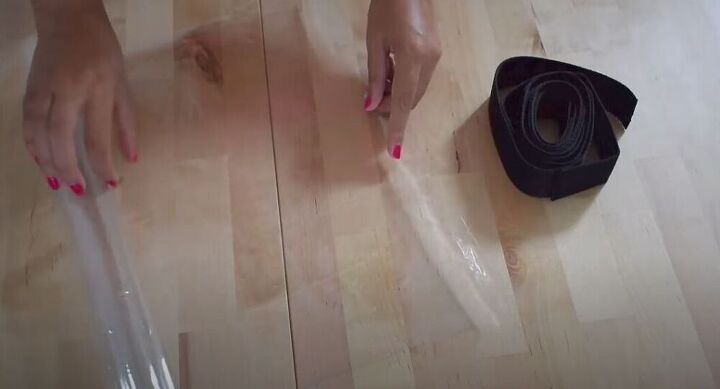
To get started on this amazing clear bag, you will need a 60 by 35 cm piece of transparent vinyl. You will also need two pieces of strapping material cut to 120 cm. I chose black straps because I love the contrast it creates with the vinyl but feel free to choose different colors for your bag!
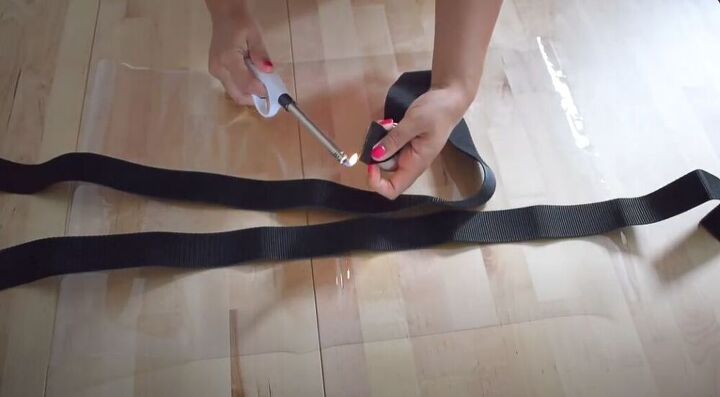
Burn the strap ends
Start by burning the ends of your straps. This will keep them from fraying and make them easier to sew later.
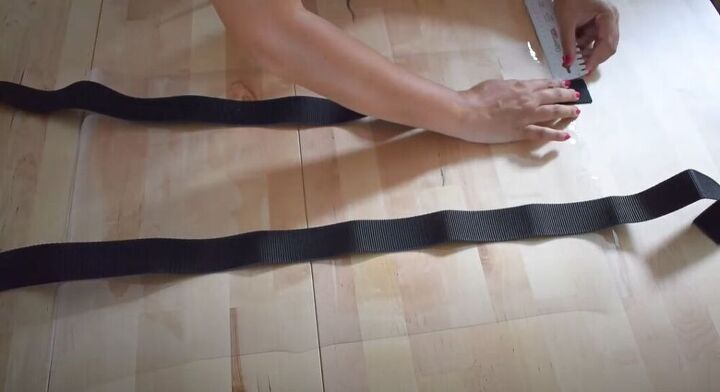
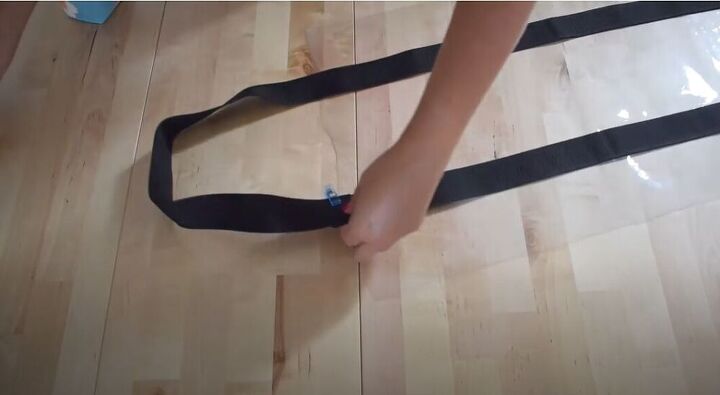
Place the straps
Measure 3 cm of strap above the edge of the vinyl and make sure the strap is placed 8 cm inwards. Take the same measurements on the diagonal, opposite strap. Clip the straps in place once they are in the right positions.
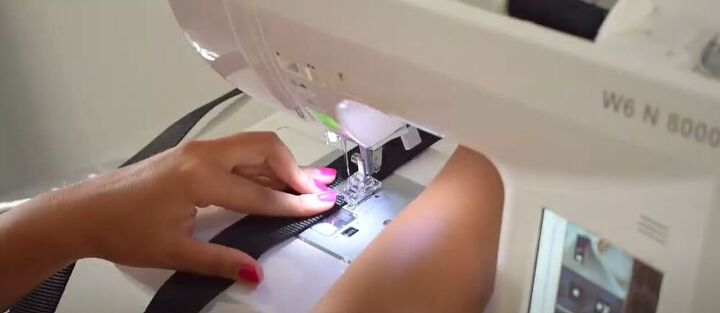
Sew on the strap
Sew the strap onto the vinyl making sure to measure and check there is an 8cm gap from the edge. Measuring while you sew will ensure the strap is sewed on straight, giving your bag a perfect symmetrical finish.
Connect the straps
Making sure the straps are not twisted, bring the long end of the strap over and clip it onto the 3 cm of strap you left on the other side. Sew the straps together and lastly sew the sides of your bag closed.
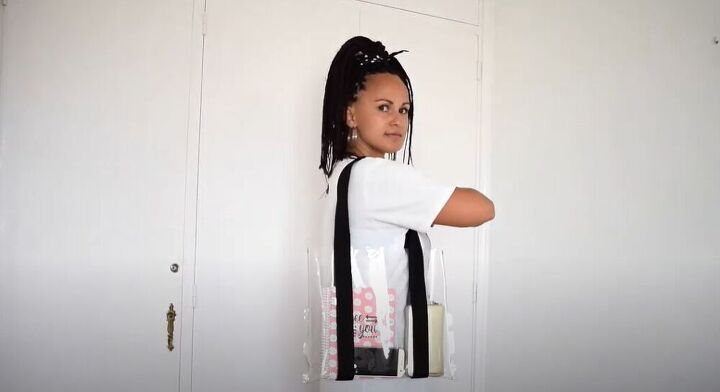
You will end up with this amazing vinyl bag to hold all your essentials!
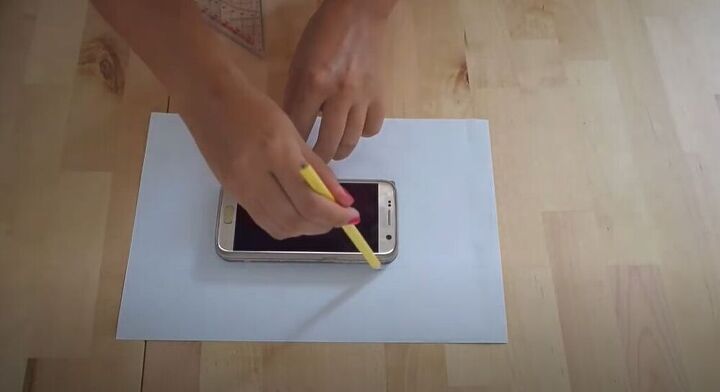
Create a pattern
To get started on creating another transparent masterpiece, trace your cell phone onto a piece of paper.
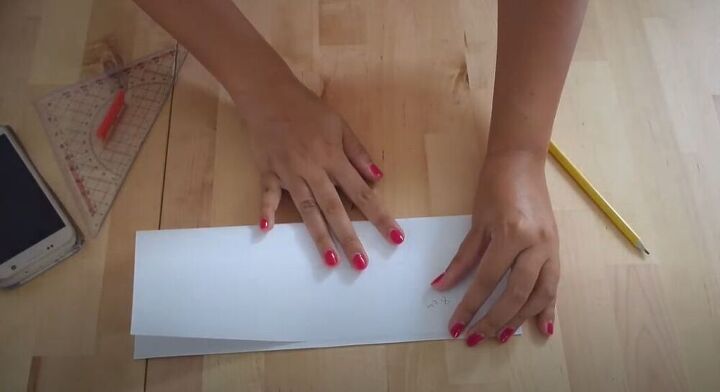
Measure the exact center of your cell phone tracing and draw a line down the middle. Fold the paper on that centerline.
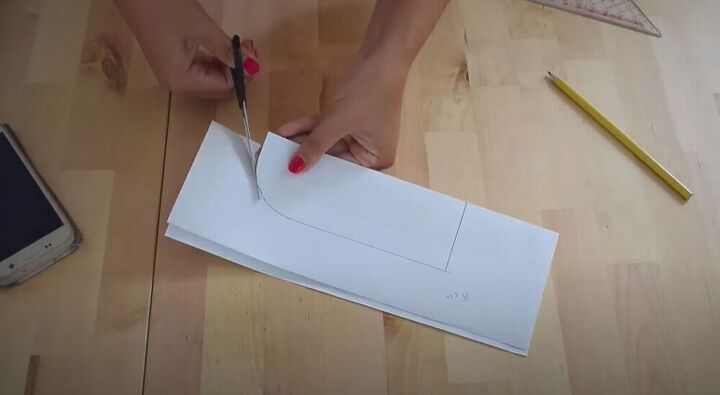
Next, draw a 2 cm seam allowance to the side and bottom while adding a curved bottom to your new pouch pattern. Once you have the measurements, cut out the cell phone pouch pattern.
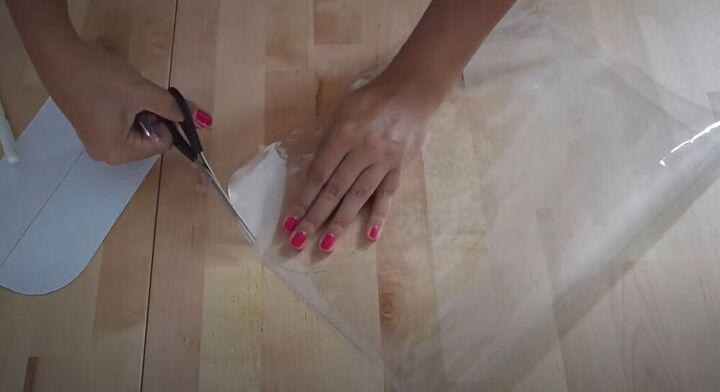
Cut the vinyl
Make sure to have a double layer of vinyl for this step. Trace your pattern onto the vinyl and cut it out.
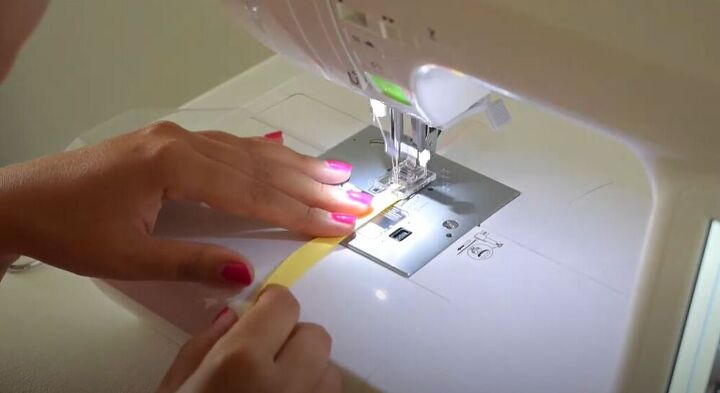
Add bias tape to the vinyl
Now for the fun part! Add bias tape to the vinyl. I chose to use yellow tape for the top of my pouch. I love bright colors but if you want a more neutral look, choose colors that suit your style!
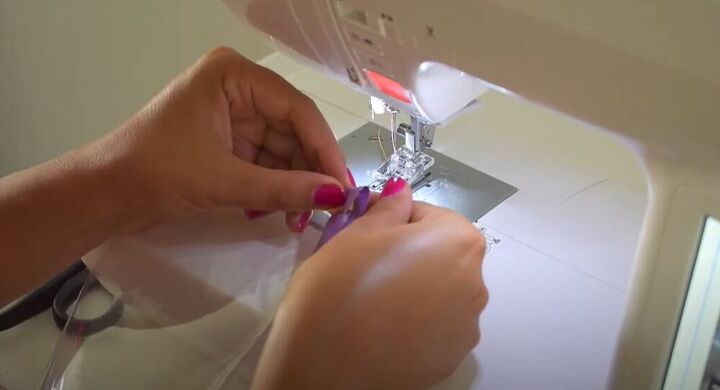
I then folded purple bias tape over the sides and bottom of the two vinyl pieces and sewed it all together.
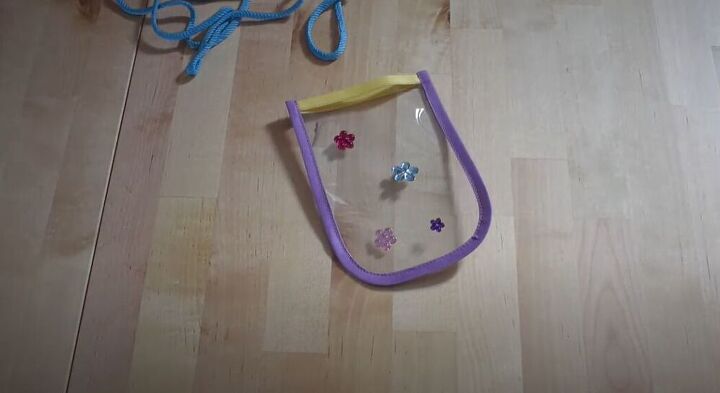
Bedazzle the pouch
I love to keep things fun and busy, so I added some flower jewel stickers to my pouch. If you are looking for a cleaner look you can skip this step.
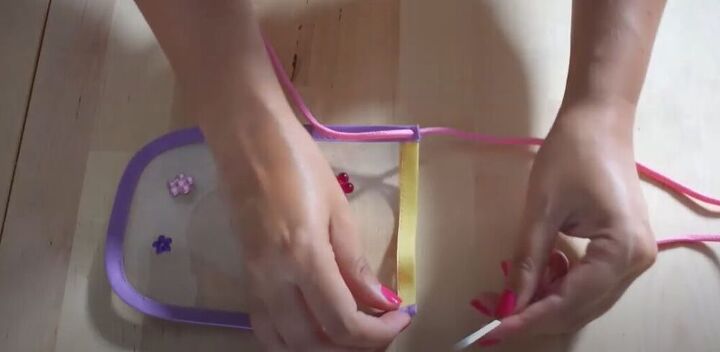
Add a pouch cord
In this last step, punch two small holes in the top of your pouch and thread through 120 cm of the cord.
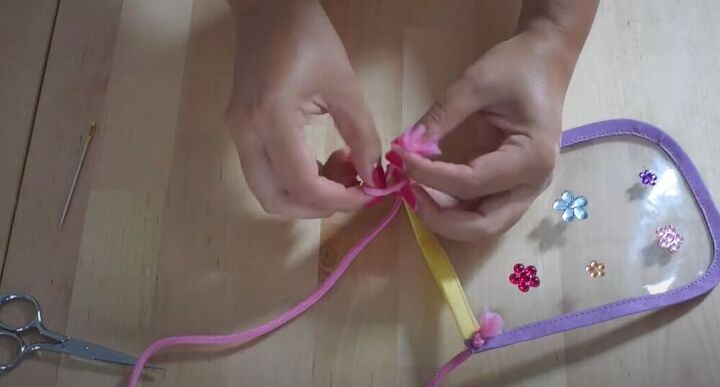
Once the cord is through, tie a knot at the end, to make sure it will stay on the pouch securely.

Get ready to rock this clear phone pouch!I love getting creative with vinyl! Which accessory will you make? Let me know in the comments below!
The author may collect a small share of sales from the links on this page.


Comments
Join the conversation