DIY Clutch Purse Tutorial: How to Make a Purse Out of Cardboard

In this DIY clutch purse tutorial, I'll show you how to make a purse out of cardboard! Not only are clutch purses convenient for carrying your wallet, phone, sunglasses, makeup, and keys; they also make a bold fashion statement.
If you want to make your own purse, you can customize it so it pairs perfectly with your outfit. Here’s how to make a DIY purse with cardboard and fabric. Let's get started!
Tools and materials:
- 2 flexible cardboard sheets 12 X 20 inches
- Exterior fabric - 15 X 24 inches
- Interior fabric - 15 X 24 inches
- Fusible interfacing
- Razorblade for cutting
- Scissors
- Ruler/measuring tape
- Pen
- Foam board to protect your workspace from razor cuts
- Glue
- Iron
- Sewing machine with a 100/16 needle
- Tape
- Needle and thread
- Hook and eye closure or magnetic button closure
1. Construct the bag frame
The flexible cardboard will use these measurements:
- 11.81/ 19.69 inches - exterior
- 11.02/18.90 inches - interior
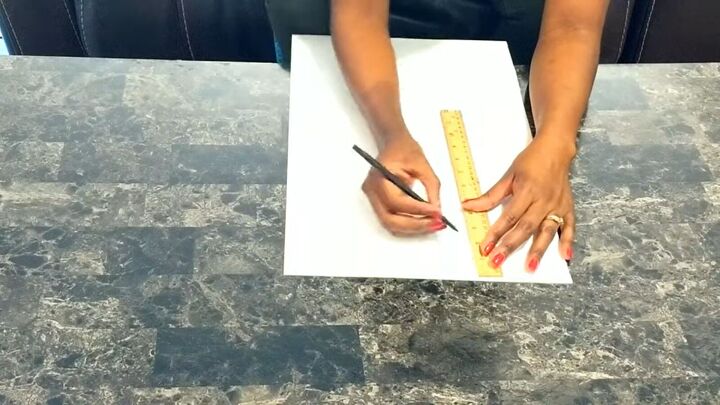
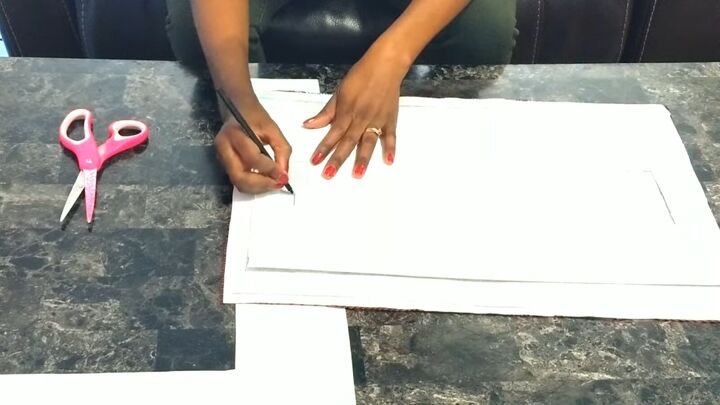
Lay the first flexible cardboard sheet on a flat surface.
On the short side at the top, measure down 1.18 inches from the center. Mark a line at that point.
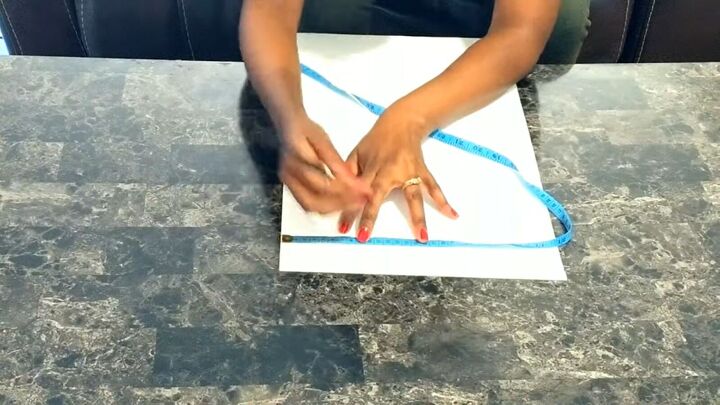
From the sides using the center measurement, measure 3.94 inches from either side. Then from the center point, measure another 1.18 inches down. Connect all the dots and you should have a small rectangle, which will be used for the handle.
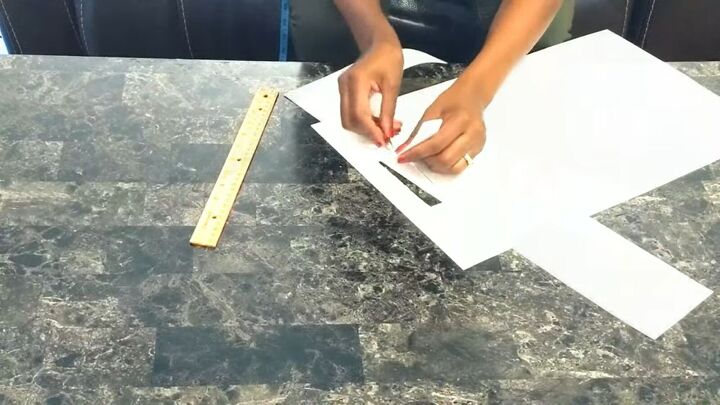
Lay the foam board on your surface. Then lay the flexible cardboard on top with the markings on it. Cut the rectangle out using the razor blade.
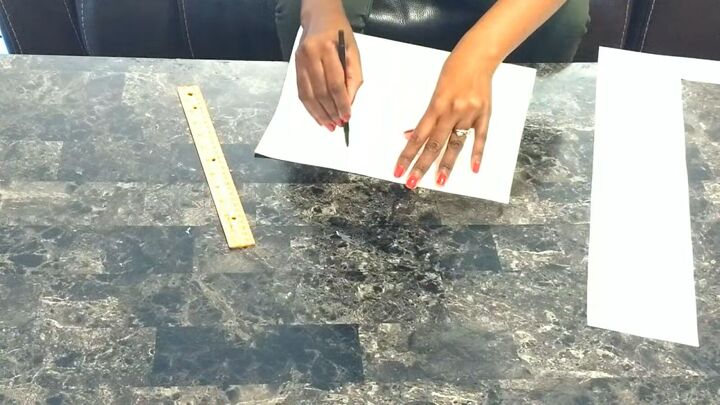
Fold the cardboard in half. Trace the rectangle on the other side of the fold. Cut it out as well.
Repeat these steps for the interior flexible cardboard sheet.
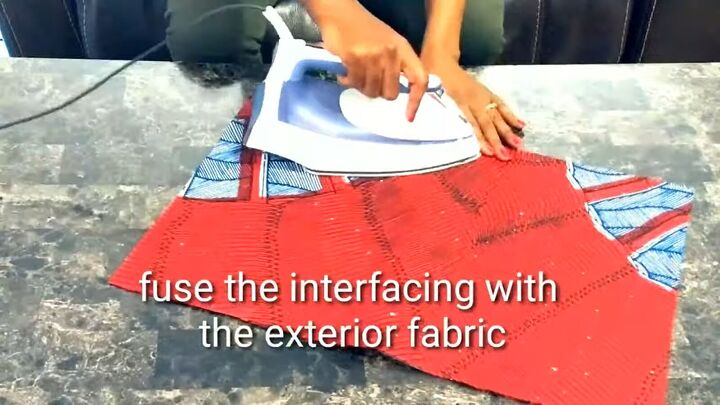
2. Add the exterior fabric
Cut the exterior fabric and fusible interfacing to measure 13 X 21 inches. Iron the fabric to the fusible interfacing.

3. Start assembling the bag
Glue the exterior fabric to the exterior flexible cardboard piece. Flip it so the cardboard is showing and the fabric is on the bottom.
Mark the rectangular opening with a pen with a straight line down the center of the rectangle and a “V” at the four angles.

Use the razorblade to cut into the line and then down the V’s so you will be able to fold the fabric towards the inside. You may need to use scissors to help you manipulate the fabric. Glue the fabric to the cardboard so it is straight from the outside for a professional finish.
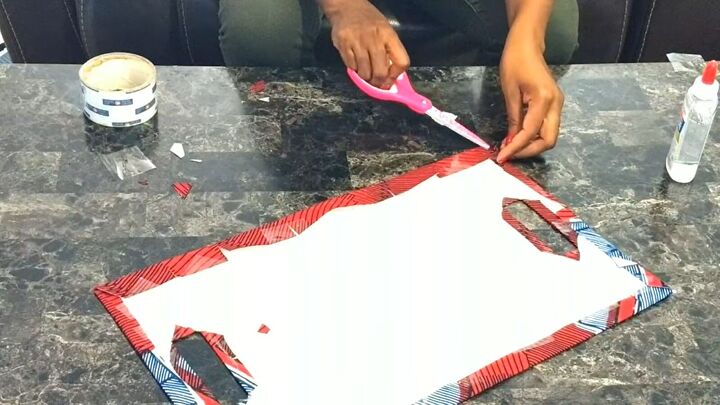
There will be excess fabric around the edges of the cardboard. Snip the edges so the fabric will fold onto the cardboard side. Glue into place. To secure it, you may want to use tape to hold it down as you glue it around the cardboard.
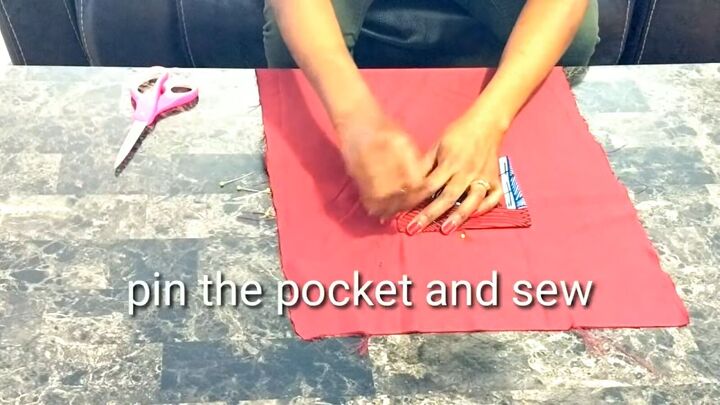
4. Add interior fabric lining
I have added a pocket by cutting out a small square of the exterior fabric, pinning it, and sewing it in the center, directly to the interior fabric on the right side.
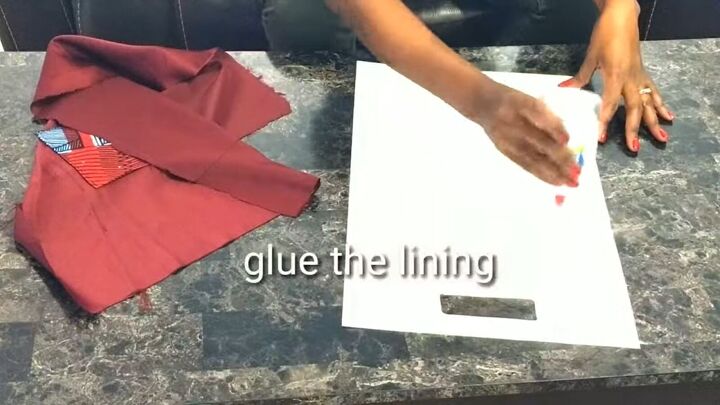
Once that is sewn, glue the interior fabric to the smaller flexible cardboard.

5. Match the interior and exterior fabrics
Join the two sides together by placing them right sides facing out and gluing their cardboard interiors together.

Sew them together on the edges using a thick needle on the sewing machine suitable for heavy fabric or cardboard.
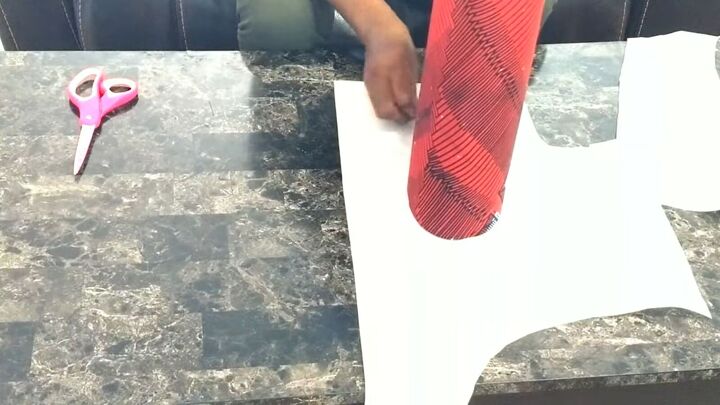
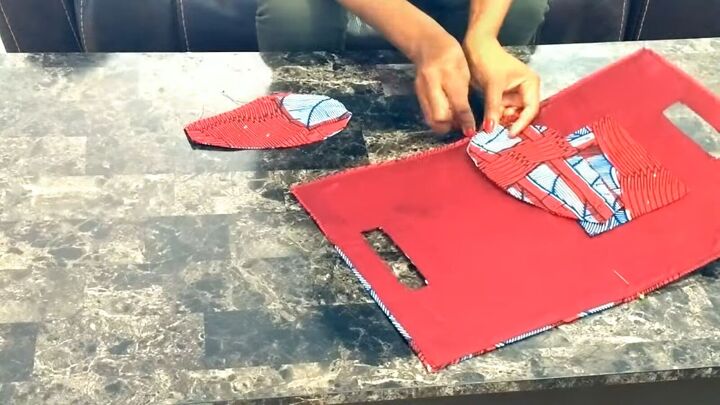
6. Make the sides of the bag
Fold the bag so the handles meet. This will create a teardrop-shaped opening on the sides. Place the opening on the fusible interfacing and trace the exact shape. It will be slightly larger.
Cut the exterior fabric to match the shape of the fusible interface with a bit more seam allowance. Iron them together. Fold over the excess seam allowance and glue in place.
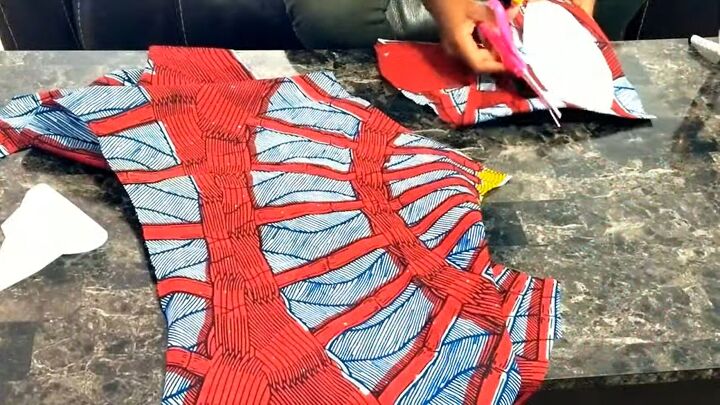
7. Finish the bag construction
Mark the center of the bottom opening with a pin. Open the bag.
Fold the teardrop-shaped fabric and pin the bottom of it to the center to anchor it.
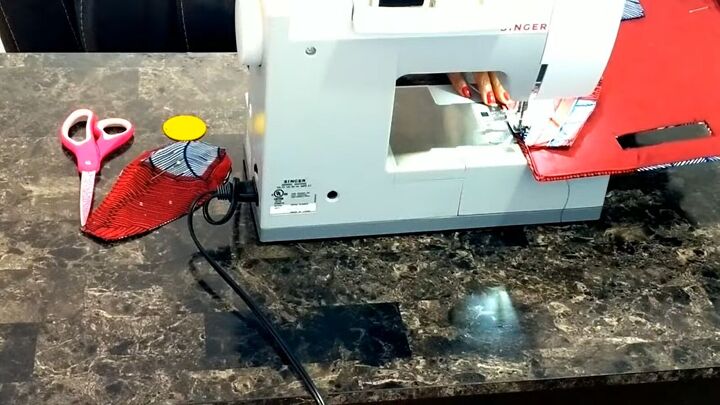
Lay one side down and sew it up, leaving the curved bottom portion unsewn. Sew up the other side.
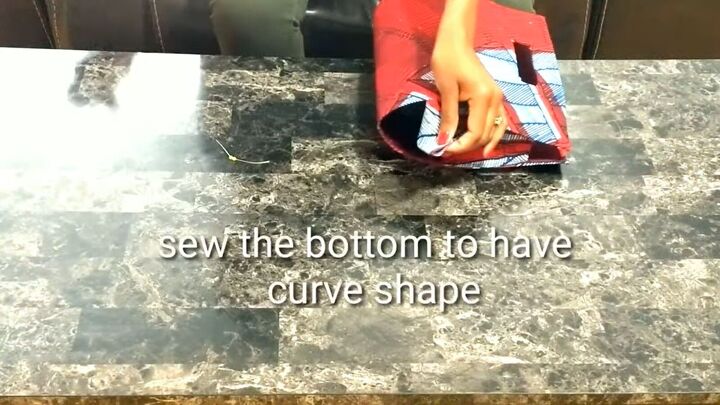
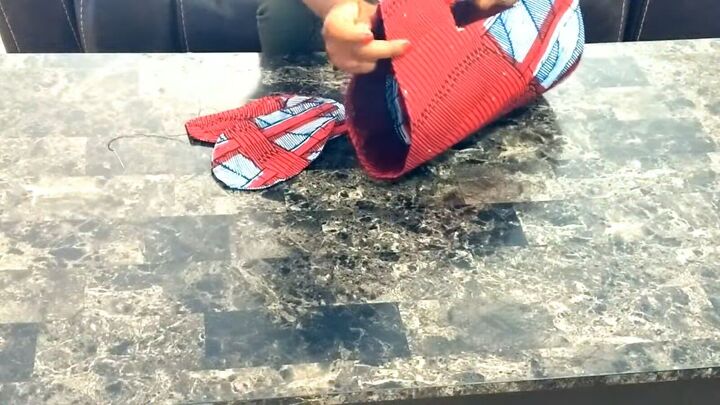
Trim the curved bottom so it fits snugly in the curve of the purse. Hand-sew that portion for a perfect finish. Do the same technique for the other side of the purse.
You can use either a hook and loop or magnetic closure to close the bag.
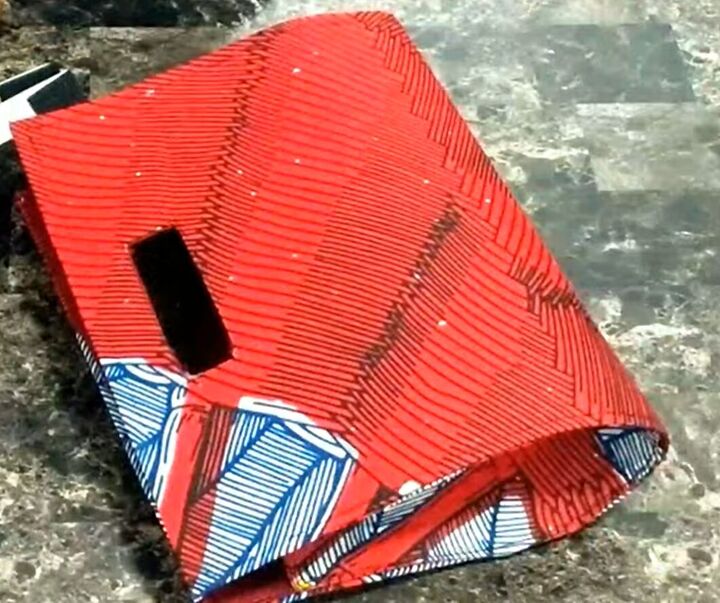
DIY clutch purse tutorial
I hope you enjoyed this DIY clutch purse tutorial. Now you know how to make a purse out of cardboard! Please let me know what you think in the comments!
The author may collect a small share of sales from the links on this page.


Comments
Join the conversation