How to DIY a Super Cozy Fleece Beret and Bag Set

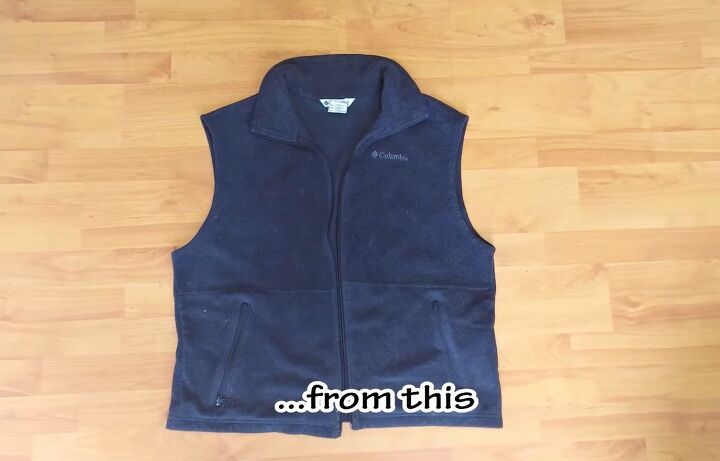
In this DIY, we’re going to be transforming a fleece vest into both a beret hat and a bag.
If you have a fleece you no longer wear, don’t throw it away. Here I’m going to show you how you can upcycle it!
Tools and materials:
- Fleece
- Lining fabric
- Fabric
- Paper
- Pen
- Measuring tape
- Scissors
- Crinkle scissors
- Sewing machine
- Rotary cutter
- Safety pin
- Clips
- Iron
- Snap buttons
- Button punch
DIY beret hat
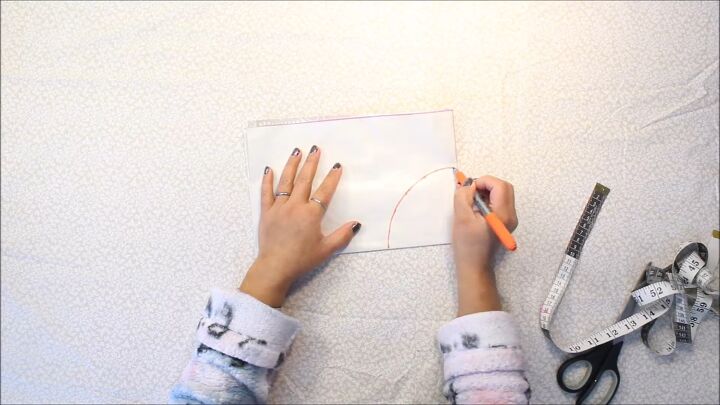
1. Make the pattern
Fold a large piece of paper into four. The radius of your hat is your head circumference divided by 6.28.
Mark your radius measurement along the horizontal side of your paper on the fold, then draw a semicircle with this radius all around.
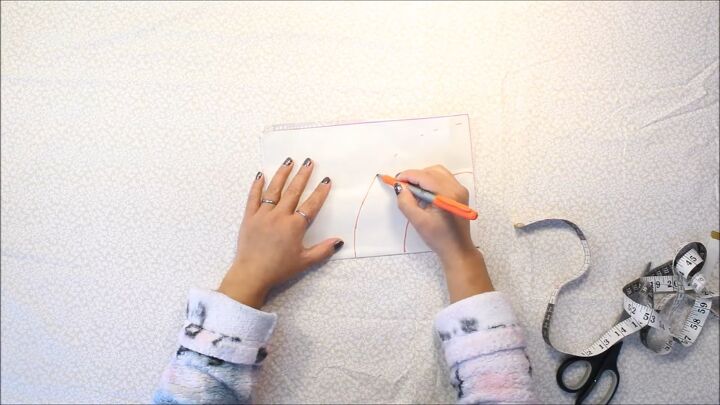
Mark 6cm (2.4 inches) from the line you’ve drawn, again making a semicircle. Cut along both lines.
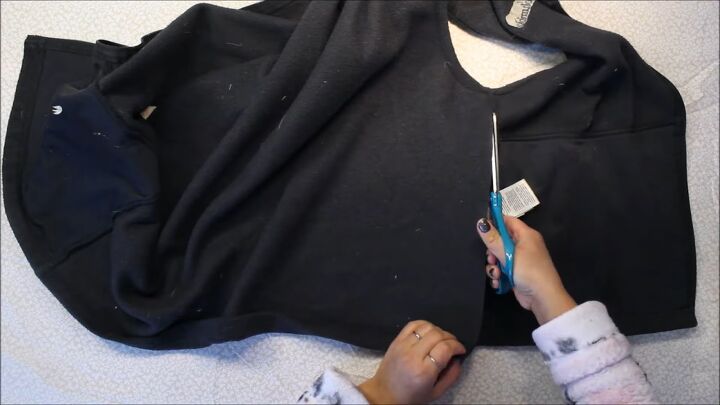
2. Cut the fleece
Remove the two front sides and the collar from the vest.
3. Cut pattern out of the fleece
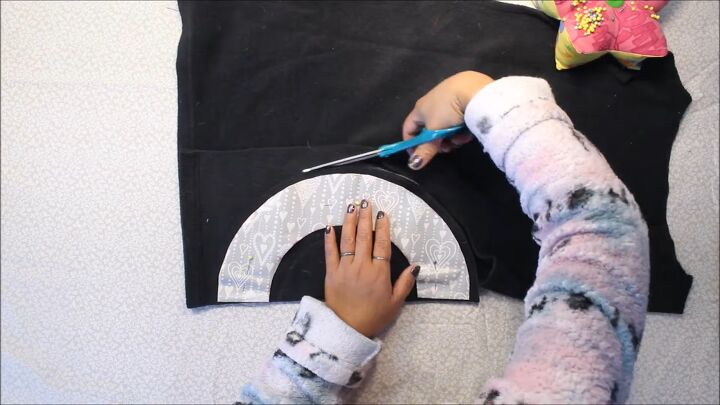
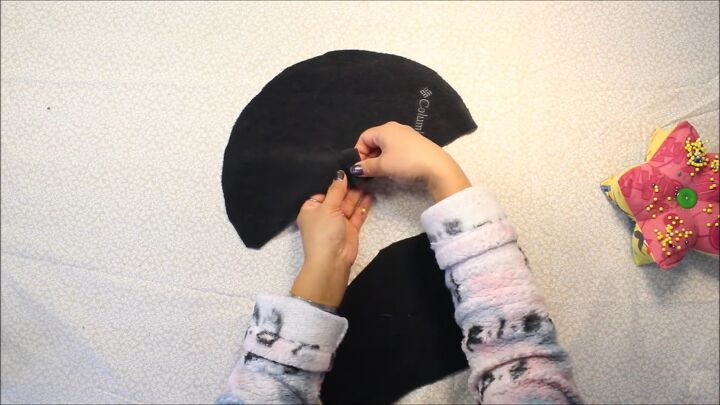
Fold the large ring you cut out in half, place it on a fold of the fleece, and pin it down.
Trace around the outside of it, leaving a 1cm (0.4 inches) seam allowance on either side. Cut along the lines.
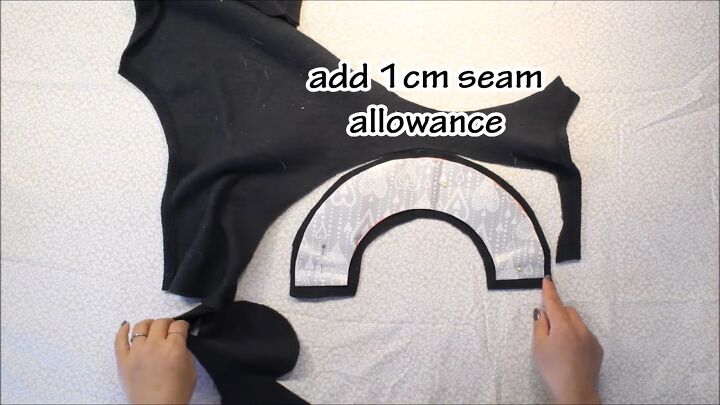
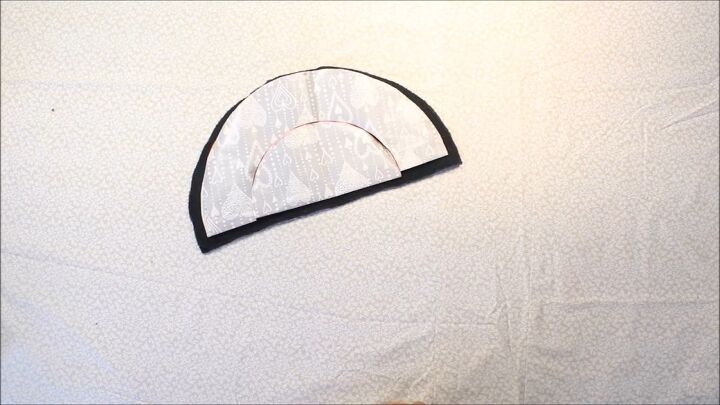
Cut two more semi-circles and sew them together to create a full circle.
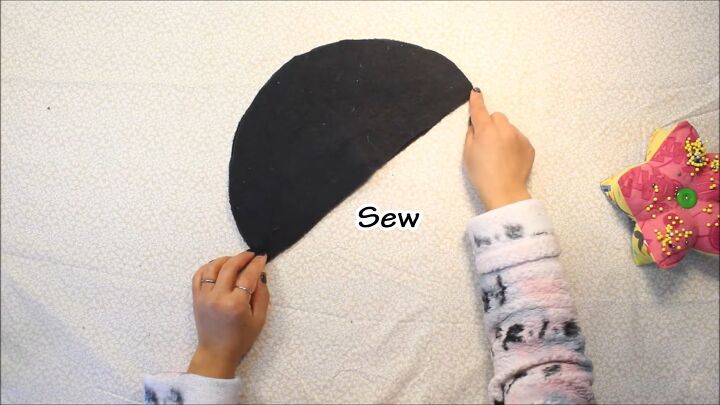
4. Sew circles together
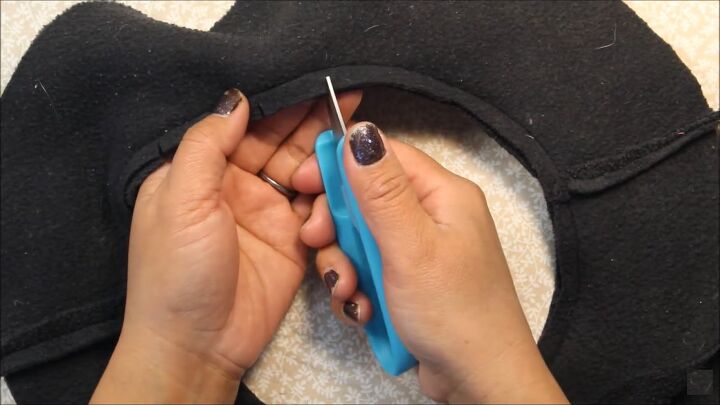
Place one circle on top of the other with the right sides together and sew around the inner circle leaving a 1cm (0.4 inches) seam allowance.
Clip notches around that seam allowance. Turn the circle right side out.
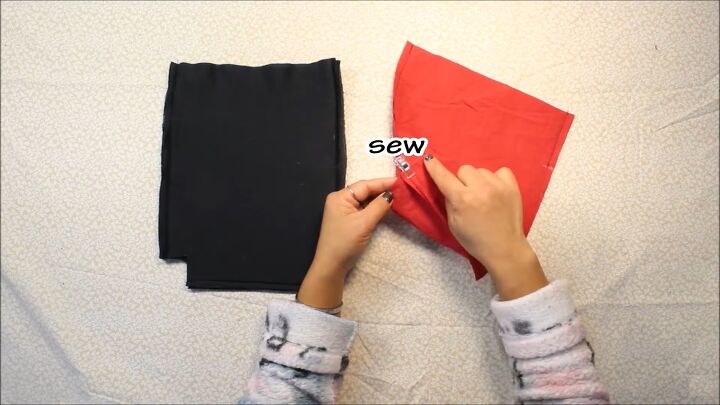
5. Cut a circle
Place your two paper cut-outs, one inside the other, onto two layers of fabric, pin them down and cut around them, leaving a seam allowance.
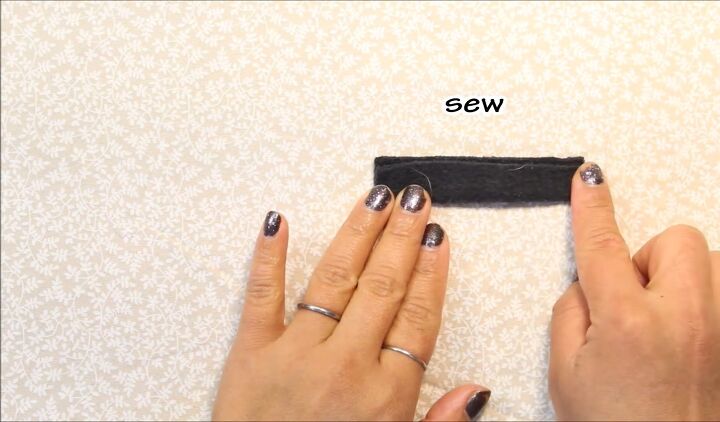
6. Sew a rectangle
Cut out a rectangle that measures 1x2.5cm (0.4x1 inch). With the right side up, fold it in half lengthways and sew along the long side.
Attach a safety pin to one end to turn the piece the right way out. Fold it in half and pin it.
7. Pin to the hat
Pin the small piece of fabric to it to the midpoint of one of your half-circle pieces.
8. Sew the hat together
Place another piece of fabric over the top with the right sides facing each other and sew along the middle, leaving a seam allowance.
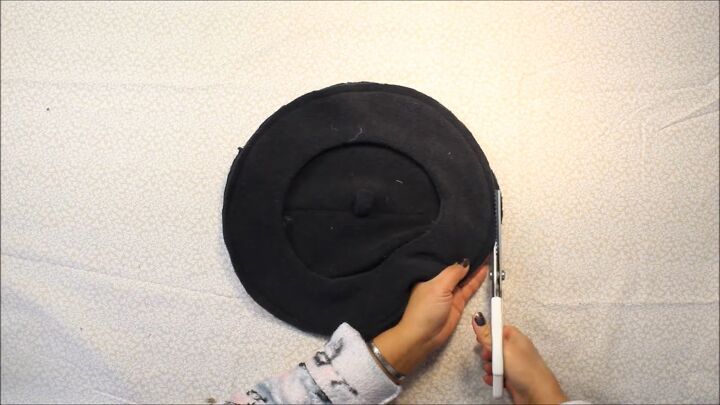
9. Trim the excess
Place the fabric ring on top of the hat and sew the two pieces together all the way around.
Trim off the seam allowance with some crinkle scissors. Turn the beret the right way out.
Upcycled bag
1. Cut the bag pieces
Take the two leftover pocket pieces from the vest. Remove any hems that may be on them.
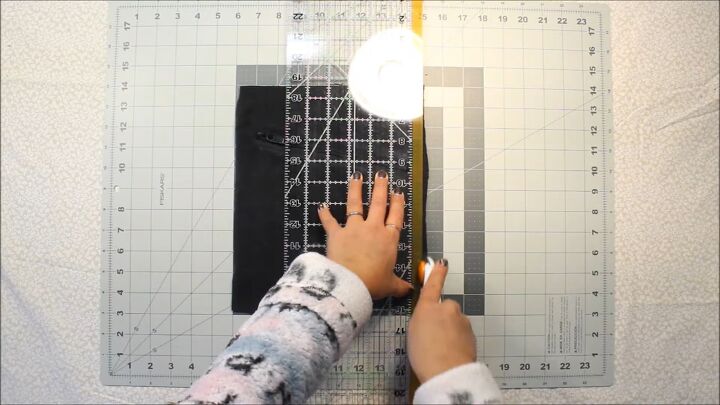
Cut the sides with a rotary cutter to ensure that they are straight and the two pieces are the same size.
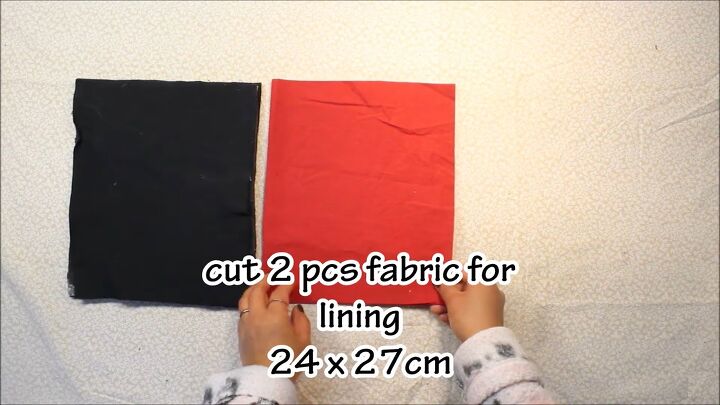
2. Cut the lining pieces
Cut two pieces of fabric for the lining that measure the same as the two fleece pockets (for me, this was 24x27cm [9.4x10.6 inches]).
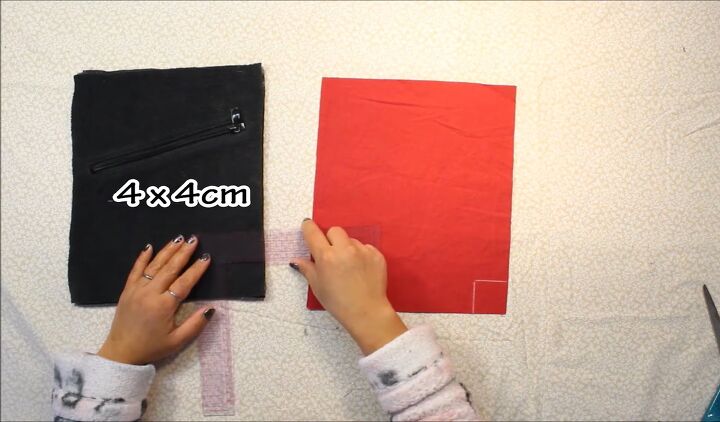
3. Cut out squares
Place the pieces of outer fabric and lining fabric one on top of the other with the right sides touching.
Draw a small square in two of the corners of both fabrics that measure 4x4cm (1.6x1.6 inches).
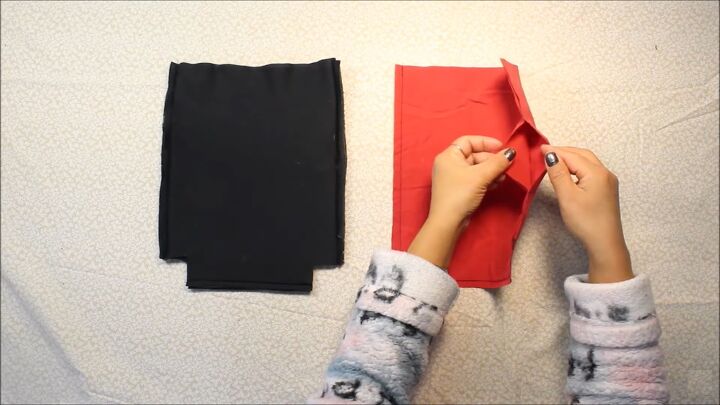
4. Sew the fabrics
On the lining fabric, mark 5cm (2 inches) on one of the long sides.
Sew around both fabrics, leaving open the top, the two squares, and the line you just marked.
5. Sew the corners
Pinch the squares together of both the lining fabric and the outer fabric and clip them. Sew them down.
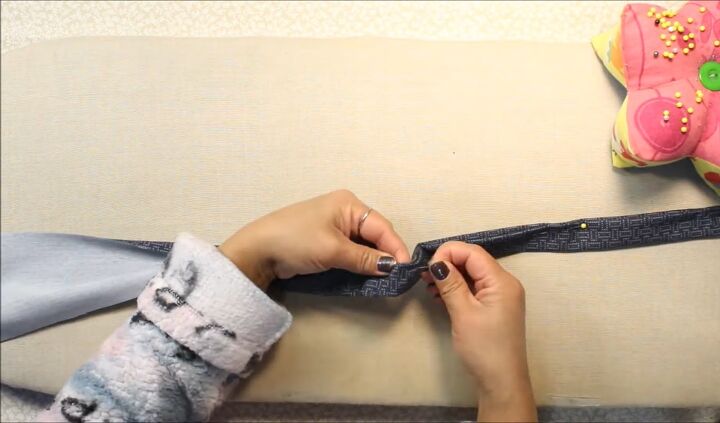
6. Make the handle
For the bag handle, cut out a piece of fabric that measures 40x120cm (15.7x47 inches).
Fold on either side to the center, fold it in half and iron. Pin the handle together and sew.
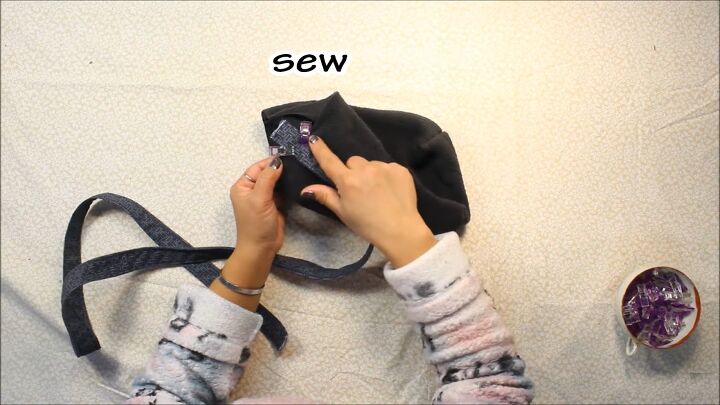
7. Attach handle to bag
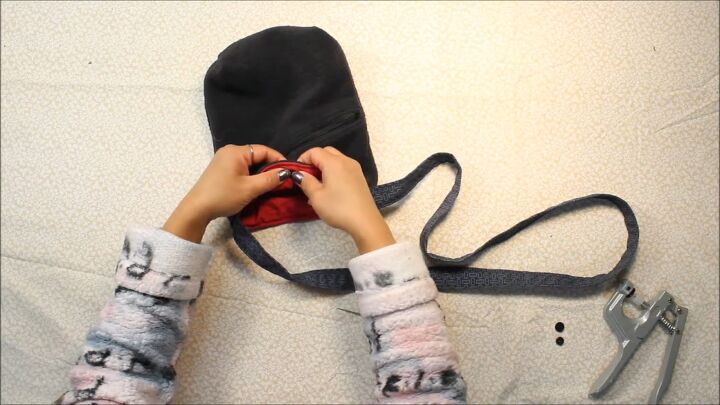
Clip the handle to the bag, leaving 2cm (0.8 inches) sticking out at the top, and sew it down.

8. Sew the top of the purse
Place the bag inside the lining, with the right sides touching. Pin the two layers together and sew around the top.
Turn the bag the right way out by feeding it through the hole. Sew the hole closed.
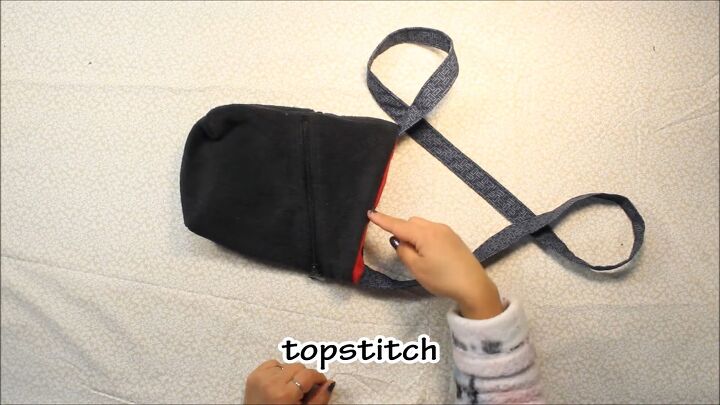
9. Topstitch the top
Topstitch the top part of the bag.
10. Add snap buttons
Place snap buttons on either side of the bag using a button punch tool.

DIY beret and bag fleece set
Here are the finished beret hat and bag, both upcycled from one fleece vest.
You can accessorize the bag if you want. I added some funky colorful buttons. I know that I will get a lot of use out of both of these pieces!
If you enjoyed this tutorial, leave a comment and check out my post on How to DIY a Super Easy Head Wrap.
The author may collect a small share of sales from the links on this page.


Comments
Join the conversation
Gosh well done. Love them