How to DIY a Cute Fluffy Handbag

In this tutorial, we're going to be making a fuzzy quilted purse with a chain strap.
I’m going to be making two bags, one pink and one blue, so you can see how this design looks in different colors.
If you fancy having a fluffy handbag in your handbag collection, read on.
Tools and materials:
- Flex foam stabilizer
- Cotton batting
- Plush fleece
- Lining fabric
- Gold chain
- D-rings
- Magnetic snaps
- Paper
- Pen
- Scissors
- Ruler
- Sewing machine
- Rotary cutter
- Clips
- Pins
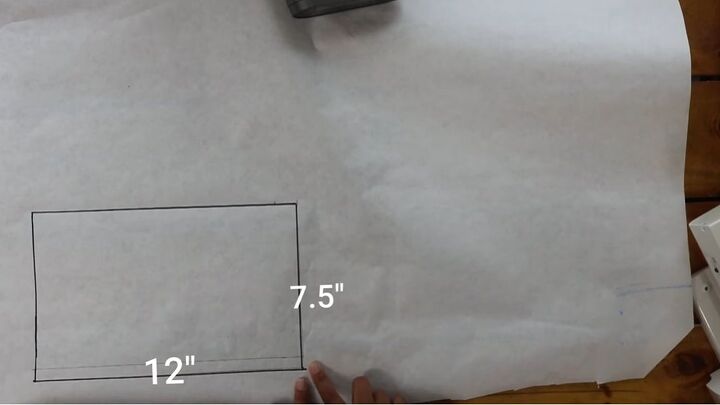
1. Draw and cut a rectangle
Draw a rectangle onto some paper that measures 12x7.5 inches (30.5x19cm) and cut it out.
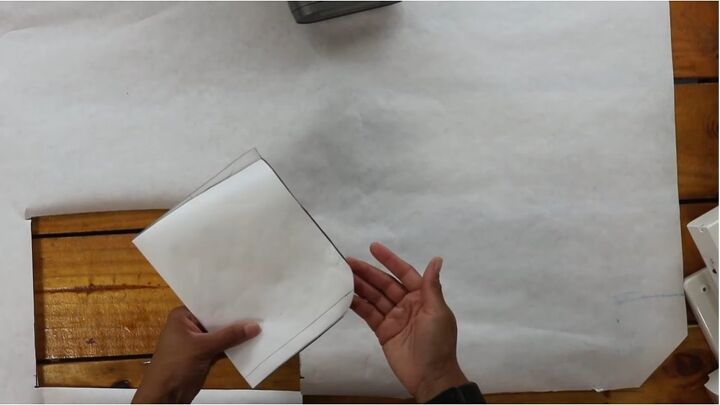
2. Cut a curve
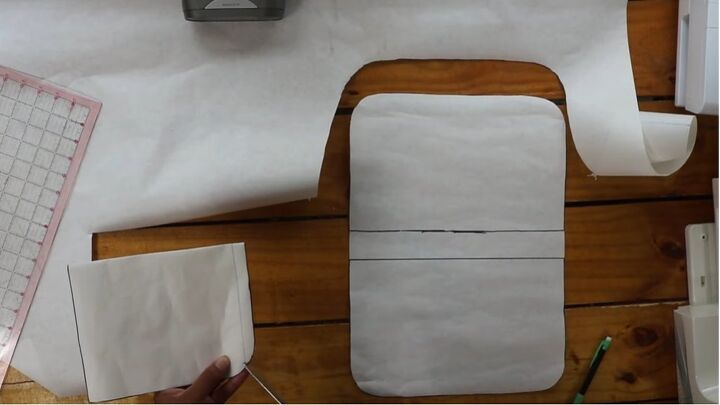
Fold it in half widthways and cut a curved edge along the bottom. This is the template for the front of the bag.
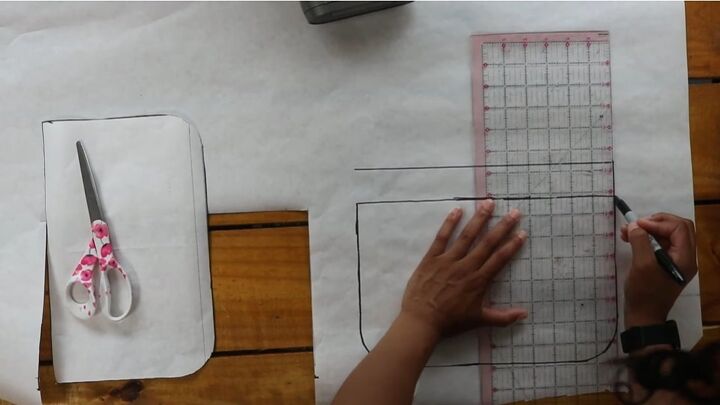
3. Trace onto paper
Trace the piece onto your paper, measure up 1.5 inches (3.8cm) from the top line and draw a line there.
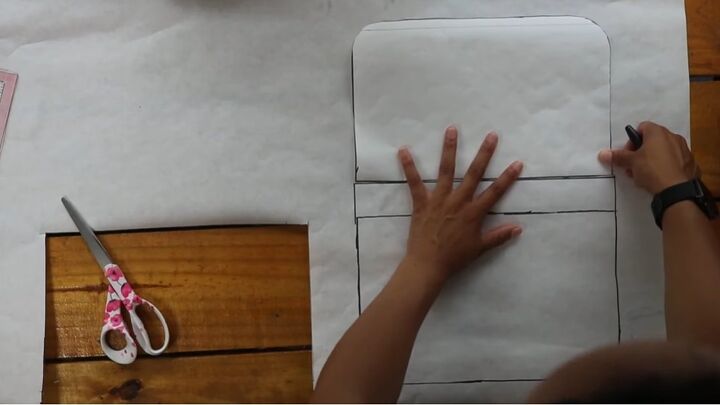
4. Cut out the larger piece
Take the front piece, align the top edge with the top line on the shape you just drew and trace around the front piece onto the paper.
Proceed to cut out. This piece will be the back and flap of the bag.
5. Cut a notch and measure
Fold the front piece in half widthways and mark a notch at the corner of the front piece half an inch (1.3cm) from the bottom edge. Cut into the notch.
Open up the folded piece and measure from the top edge to that notch and then across the bottom from notch to notch.
I got 7.25 inches (18.4cm) along the side and 11.25 (28.6cm) inches along the bottom.
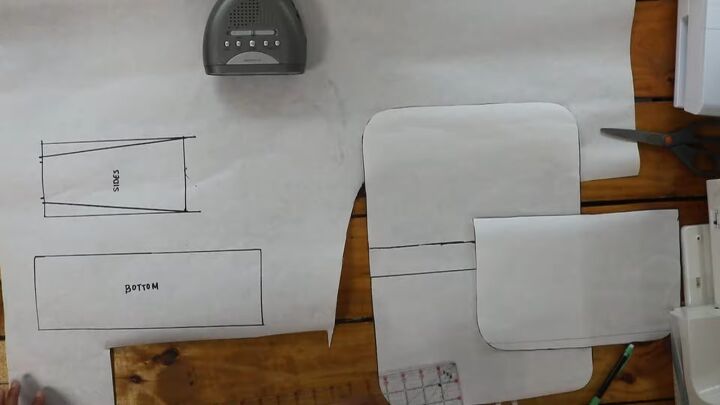
6. Make the bottom and side pieces
To create the bottom piece for the bag, mark a rectangle that measures 12.5x4 inches (31.8x10cm).
For the sides of the bag, mark a rectangle that measures 8x4 inches (20x10cm).
On one of the short ends, mark 1 inch (2.5cm) from each edge, then mark ¼ inch from those marks for seam allowance and trace a line from those marks to the bottom corners.
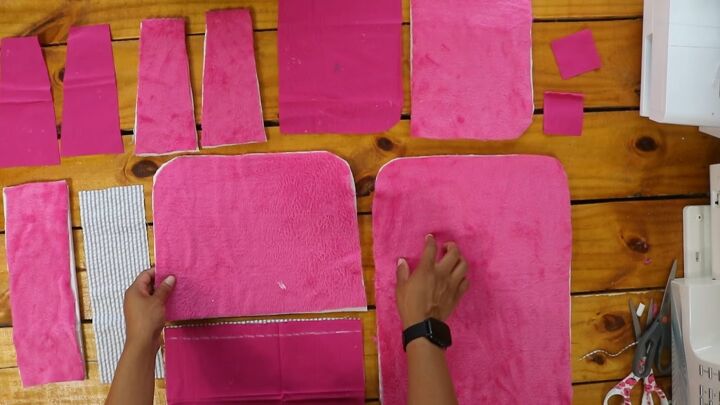
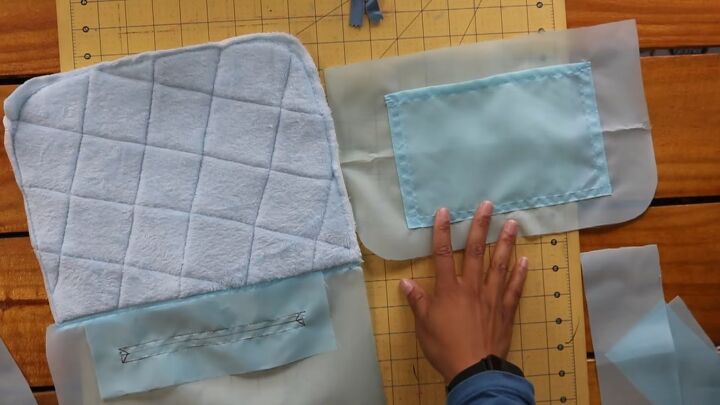
7. Cut out all the pieces
Cut out all of your fabric pieces in both your lining and fleece material. (See the video from 3:51-4:52 to see all the pieces that you’ll need).
Use a basting stitch to sew each piece to a piece of foam cut to match around the perimeter.
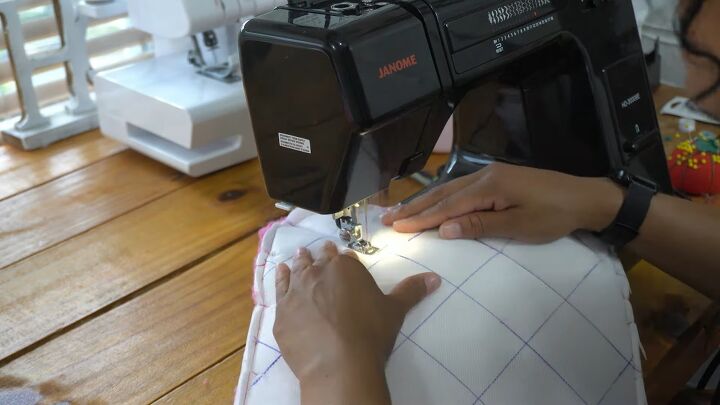
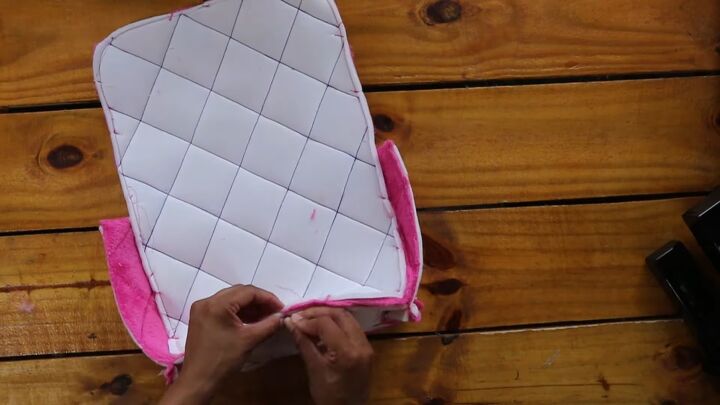
8. Sew the quilted pattern
Mark the lines where you’ll be sewing to create the quilted pattern.
I marked mine 2.5 inches (6.4cm) apart. Then sew down each line, backstitching at the beginning and end of each row.
Repeat with all the other pieces.
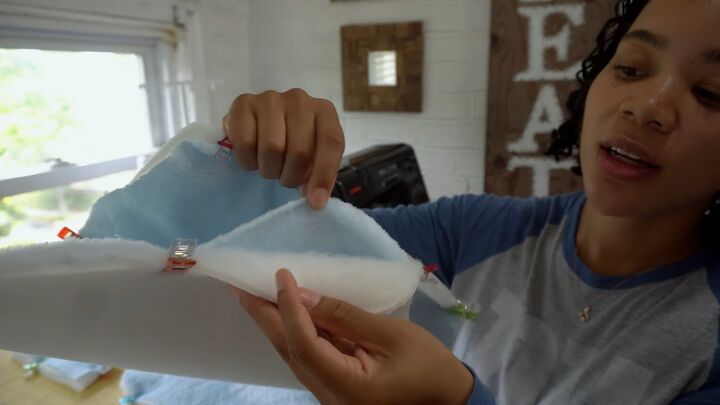
9. Add cotton batting
Clip together the outer fabric, the cotton batting, and the foam.
For the lining piece that will be on the inside, you just need the foam and the outer fabric.
Add a basting stitch around the entire perimeter of each of these pieces so you can sew all three layers together.
10. Assemble the bags
See the video 6:34-7:28 to see how to assemble the bag.
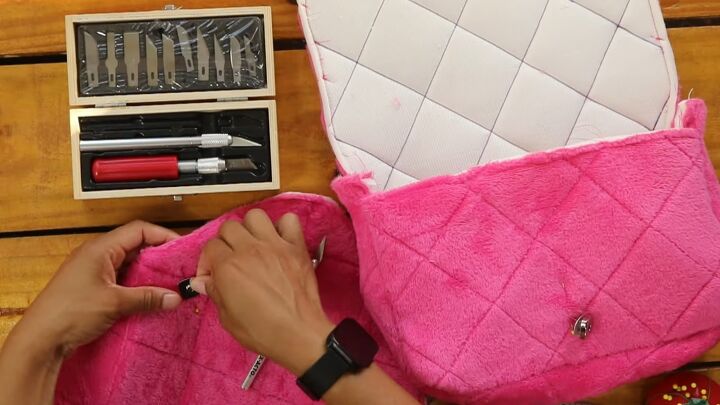
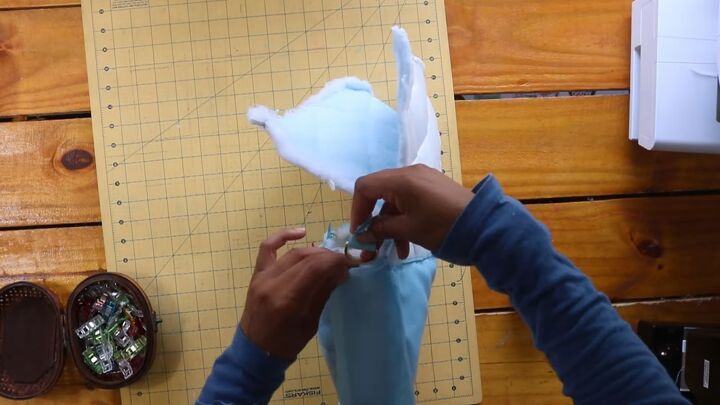
11. Attach the snaps
Measure where you want your snap closure to go and attach the pieces.
12. Add the lining
I added a pocket to one side of the lining and a wall pocket to the other side. Line up the two lining pieces and sew them together.
Assemble the lining bag in the same way you assembled the outer bag. Proceed to attach the lining to the outer bag by placing the outer bag into the lining bag right sides facing.
Then pin the bags together along the opening and flap. Leave an opening in the center front.
13. Add the D-rings
Attach the straps to the d-rings, slip the d-ring straps into either side of the bag and pin them in between the lining and the outer fabric.
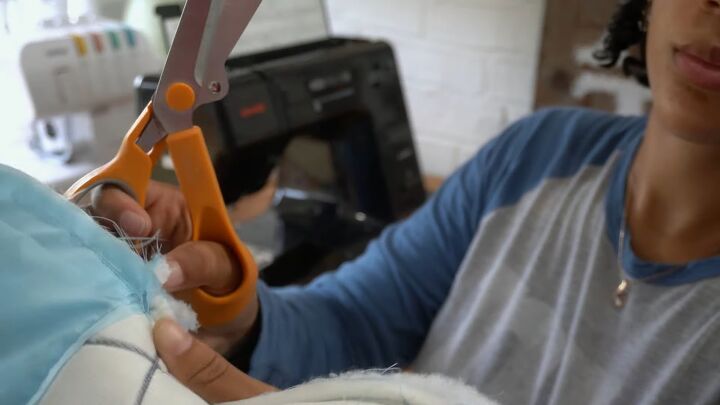
14. Turn right side out
Cut into the corners where the flap ends, and the bag begins to reduce bulk in those seams.
Then snip into the seam allowance around the curved edges of the flaps and turn the bag right side out.
Do a whipstitch around the opening of the bag and along the edge of the flap, closing the opening you left to turn the bag right side out.
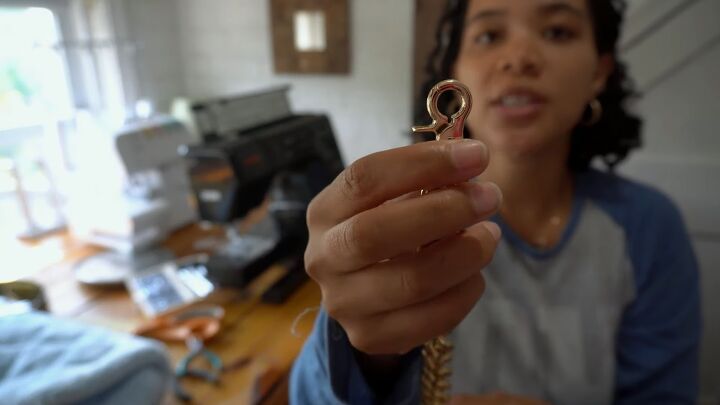
15. Attach the chain
Attach the snap hooks at the end of the chain handle to the bag.
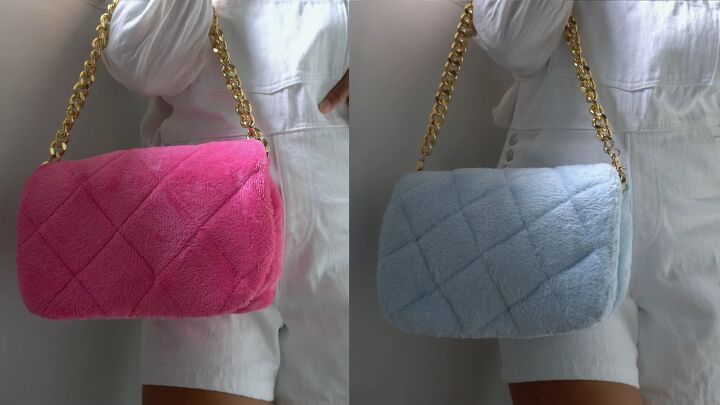
DIY fluffy handbag
Here are the finished quilted furry handbags! Aren’t they just so fun and fuzzy?
Do you prefer the larger quilted pattern on the pink bag or the smaller quilted pattern on the blue bag? Let me know in the comments below.
The author may collect a small share of sales from the links on this page.


Comments
Join the conversation
Damn that is good. You are very talented.