How to DIY a Super Cute Romper

This comfy and lightweight DIY romper is a quick and easy project to make. I made my own romper sewing pattern, starting with the sleeve and bodice pattern from clothes I already owned.
For the shorts, I used a pair I had as a template. I added side seam pockets because they’re always so nice to have.

DIY romper
And that’s the end of this project! A cute, lightweight DIY romper that I’m going to make in lots of different fabrics for summer.
If there’s anything in particular you’d like to see me sew, please let me know in the comments. If you make these rompers, I’d love to see them.
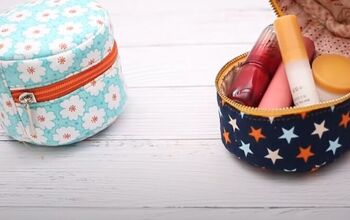
For more sewing content, check out my post on How to DIY a Cute Fluffy Handbag.
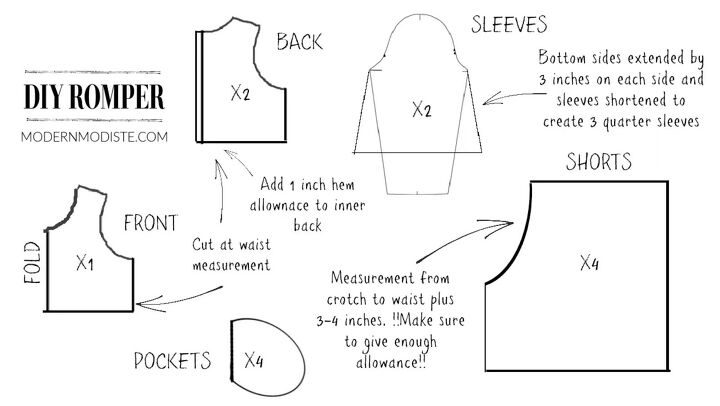
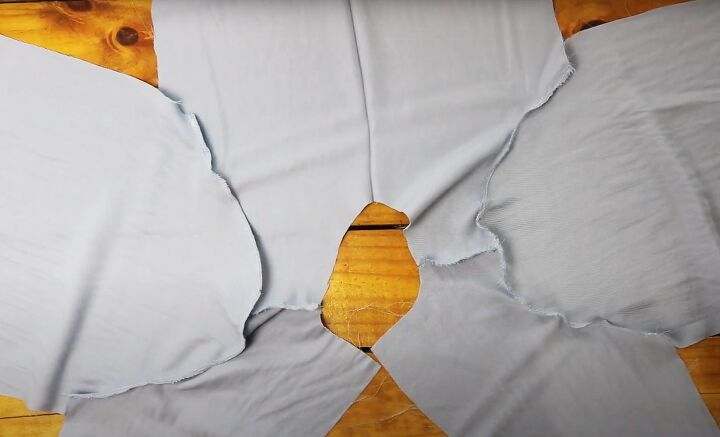
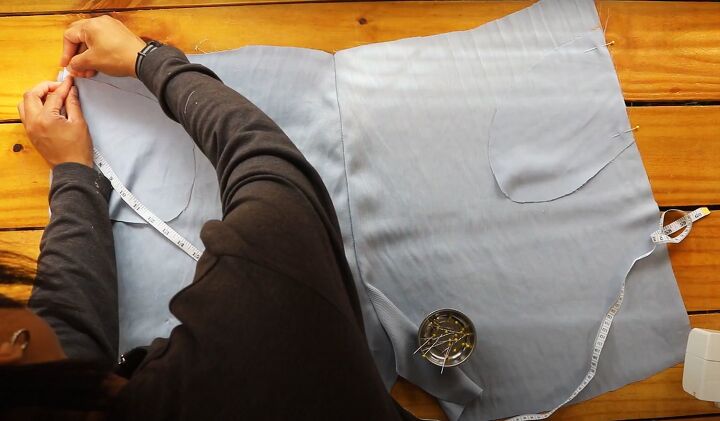
1. Cut out bodice & sleeves
Trace the front pattern piece onto the fabric, on the fold. Draw a line at the waist and cut out. My original pattern had a V neck which I modified to a U neck.
Trace the back pattern on to the fabric, mark the waist and cut two. I added an inch to the center back seam of mine to allow for a zipper.
Trace your sleeve pattern in the same way as the back, making any modifications you need, and cut two. I made my original long narrow sleeve pattern both wider and shorter.
2. Assemble bodice
Join the front and back pieces at the shoulders, with right sides together. Finish all the raw edges with an overlock stitch as you go.
Pin the center of the sleeve head to the shoulder seam with right sides together. Pin the rest of the curve to the armhole, easing to fit, and sew it in place.
Match the sides at the underarm and pin the side and sleeve seams. Sew from the underarm down the sides, and then from the underarm along the sleeve seam.
Turn in and press the center back edges by 1/2 inch twice and sew the hems in place.
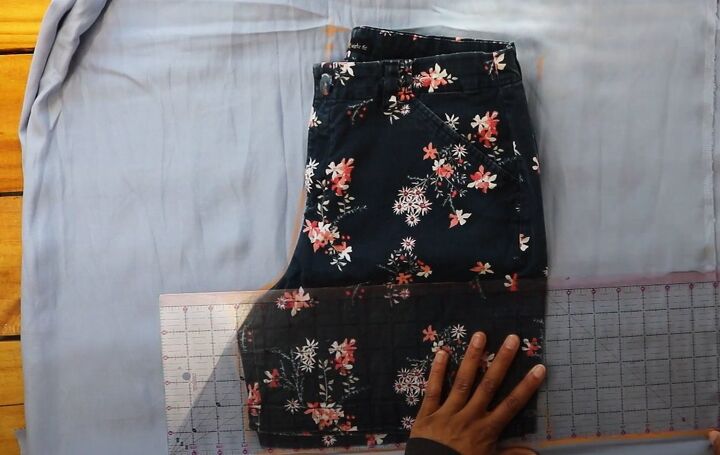
3. Cut out shorts
Fold a loose fitting pair of shorts in half lengthways and trace around them on to four layers of fabric.
Extend the bottom edge by approximately 7 inches widthways.
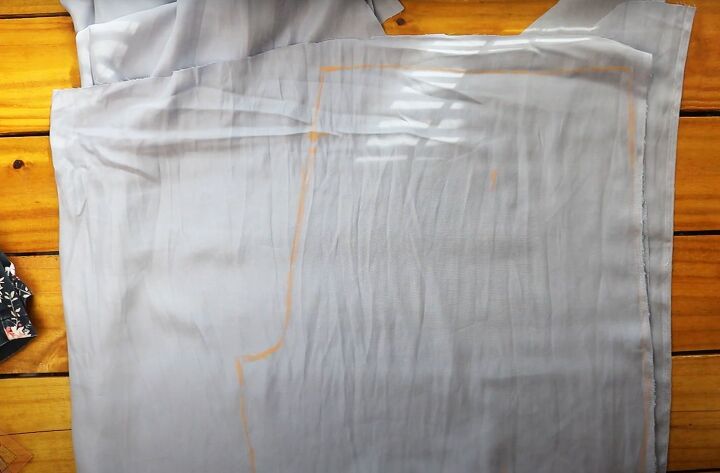
Measure from your crotch to your waist and add 4 inches to that measurement.
Extend the top of the shorts so the crotch seam matches the new measurement. Make sure you give yourself enough room between your waist and crotch.
Cut 4 pocket pieces.
4. Assemble shorts
Join two of the shorts pieces together along the curved crotch seam, with right sides together.
Do the same to the other two pieces, leaving 4 to 5 inches unsewn from the waist edge for the zipper.
Pin one pocket piece to each side edge, 2 inches from the top edge and with right sides facing. Sew the pockets in place.
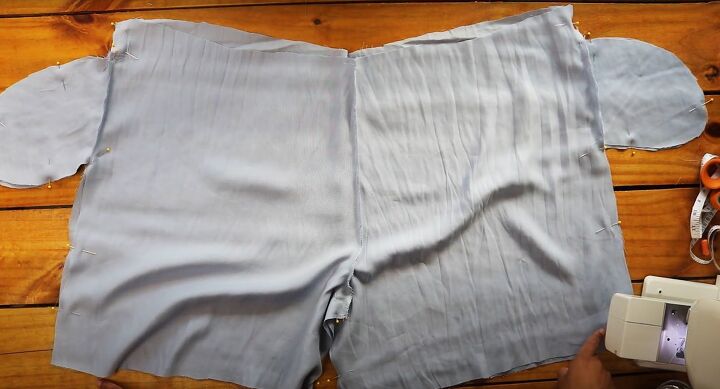
Line up the front and back shorts and pin and sew them together at the crotch, down the inner and outer thighs and around the pocket bags, excluding the pocket openings.
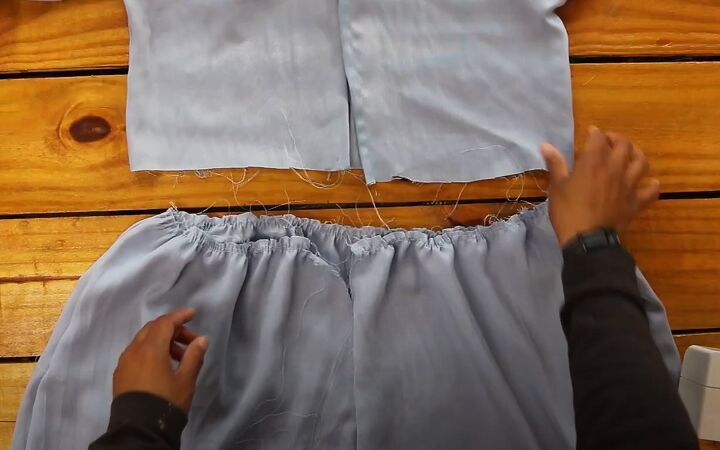
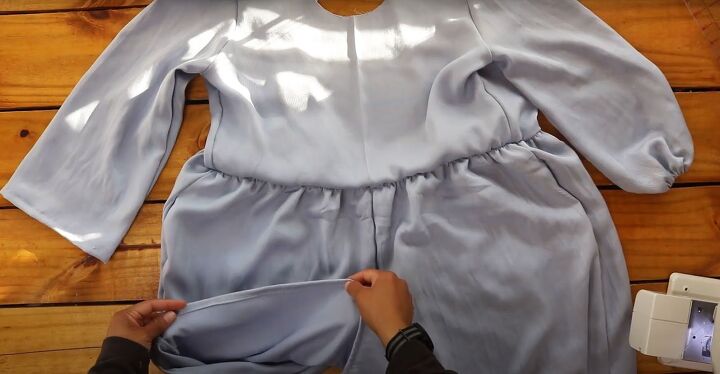
5. Join bodice to shorts
Sew two rows of gathering stitches around the top edge of the shorts. Gather the shorts evenly to fit the lower edge of the bodice.
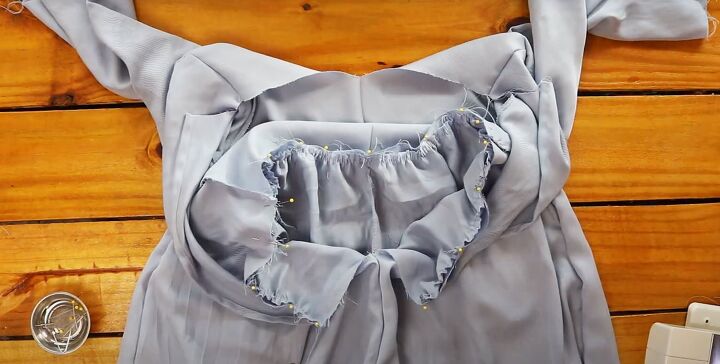
Pin the center front of the bodice to the front seam of the shorts with right sides together.
Matching the side seams pin the bodice to the shorts, leaving a half inch free on each back edge of the shorts.
Sew the shorts to the bodice and top stitch along the seam on the right side.
6. Finishing
Try on the rompers and make any adjustments you need. I decided to change the neckline and cut off an inch from the bottom of the shorts.
Make a double fold hem at the bottom of the shorts and sew.
Hem the sleeves, leaving an opening to feed through the elastic. Cut the elastic to fit your wrist or arm plus extra for an overlap.
Thread the elastic through the hem of the sleeve with a safety pin. Sew the ends of the elastic together and sew the opening in the casing closed.
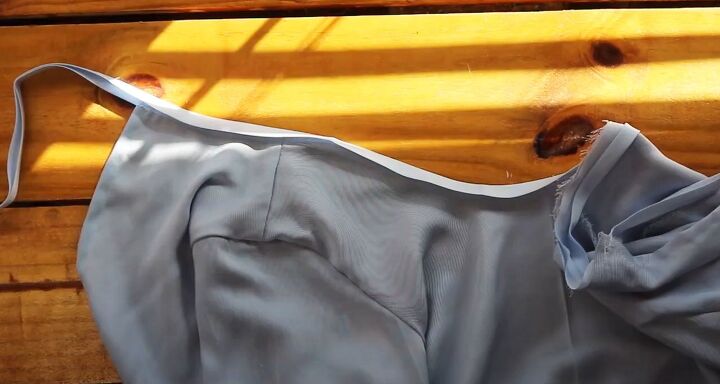
Sew one side of the bias tape to the wrong side of the neckline, leaving about 12 inches of tape free at each end to make the back ties.
Turn in the short end of the tape and pin it. Fold the bias tape to the right side of the neckline and sew it in place.
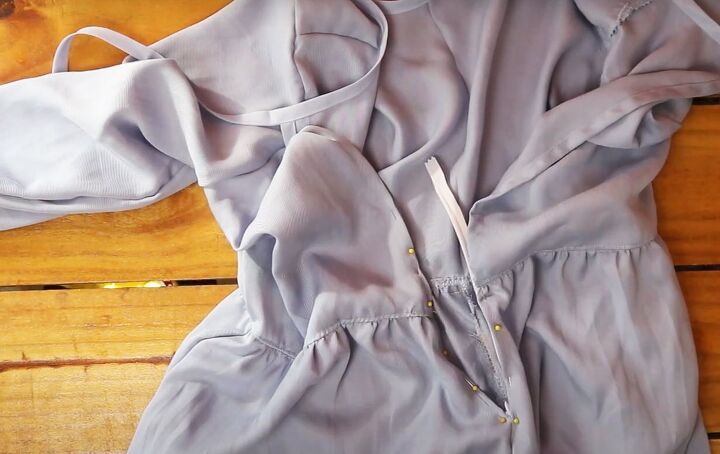
Pin the zipper into the back seam of the romper and sew it using a zipper foot, if you have one.
Tools and materials:
- Approx 3 yards light to medium weight fabric
- Matching double fold bias tape
- ¼” wide elastic
- 8 - 10” Zipper
- Shorts as template
- Sleeve and bodice pattern
- Scissors
- Pins
- Ruler
- Fabric marker
- Iron
- Sewing machine
- Zipper foot (optional)
The author may collect a small share of sales from the links on this page.


Comments
Join the conversation
I'm into romper clothes! They are very cute and comfortable to wear every summer. Your sewing patterns for a that DIY romper tutorial are absolutely fire! Finally! I don't need to buy them.