Check Out This Cute and Easy DIY Tote Bag Idea

One of my DIY tote bag ideas is a shopping bag that folds into a small pouch or purse.
It’s very easy to make and takes only about half a yard of material. It’s perfect for everyday errands and quick shopping trips.
Get started now and have a new shopping bag in a couple of hours!
Tools and materials:
- Cotton or lightweight canvas fabric
- Snap on button closure
- Awl
- Measuring tape
- Ruler
- Fabric marker
- Pins
- Scissors
- Iron
- Sewing machine
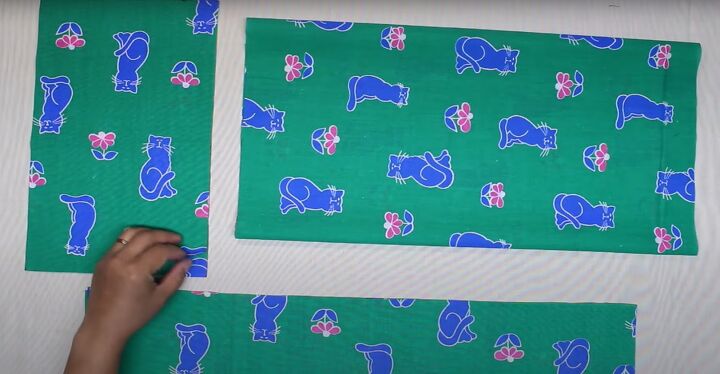
1. Cut the fabric pieces
You’ll need one piece of fabric 20 inches by 38 inches for the main bag and two strips each 24 inches by 4.5 inches for the handles.
Also cut two pieces each 8 inches by 12 inches for the pouch or purse.
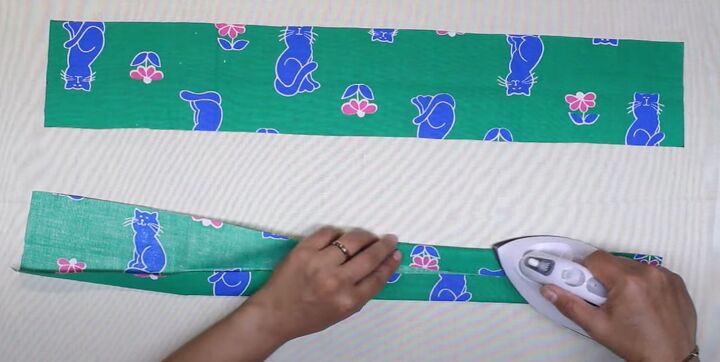
2. Make the handles
Fold each handle in half lengthways and press.
Open the handle out and fold the long edges to meet in the center.
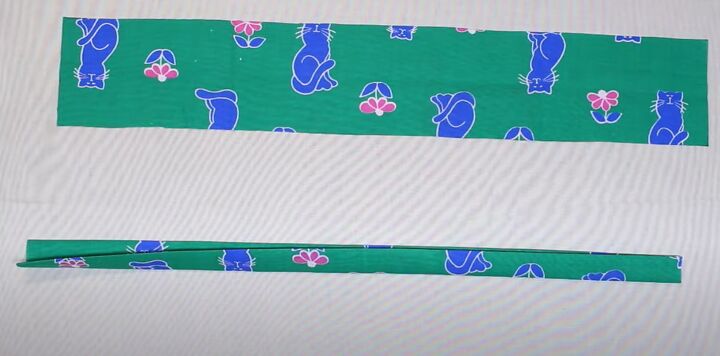
Fold the strip in half again and press well. Sew both the long edges.

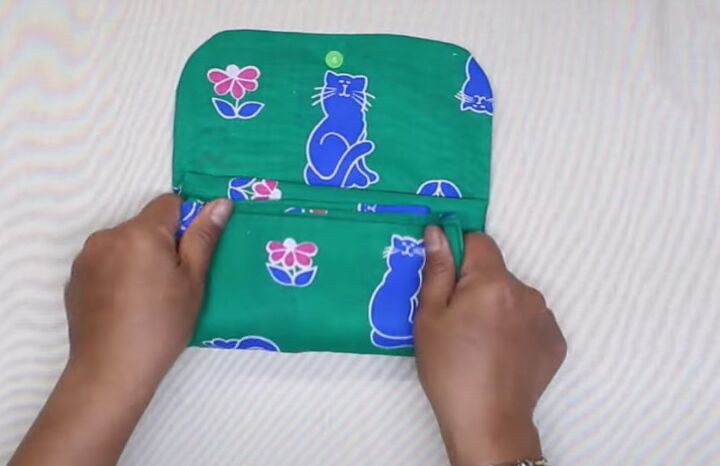
3. Make the pouch
Use a protractor or a small saucer to draw a curved edge on one of the corners of the pouch.
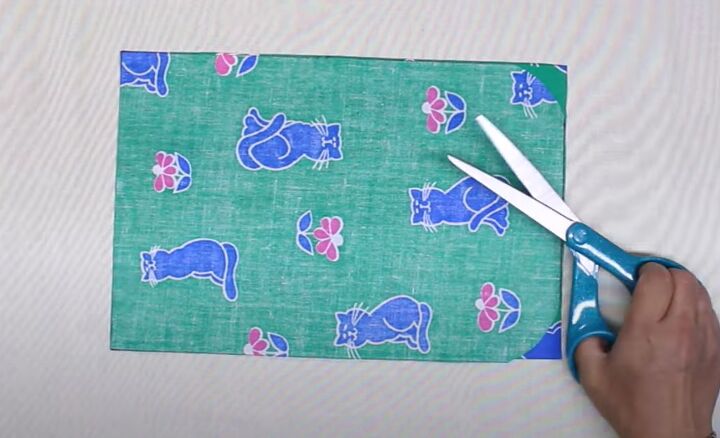
Fold the fabric in half lengthways and cut out the curve through both layers. Use that piece as a template to cut the second piece in the same way.
Place the pouch pieces together with the right sides facing. Sew around the edges, leaving a small opening on the short straight edge.
Snip the corners and the curves, turn the pouch right side out through the opening and press it.

4. Attach the handles
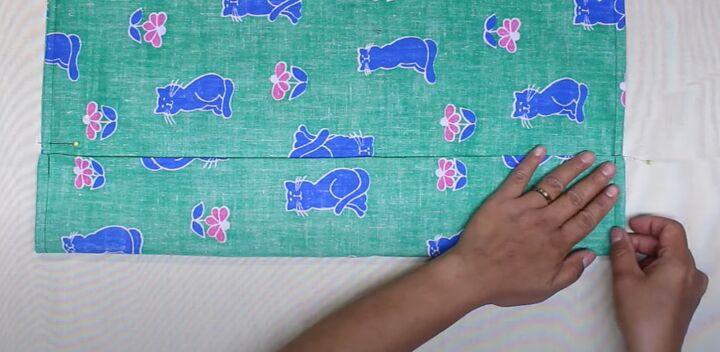
Turn up and press a double fold hem of half an inch plus one inch on both the short edges of the main bag piece.
Mark the center of each short edge.
Pin the ends of one handle under the hem, 3 inches either side of the center point. Repeat on the other edge with the second handle.
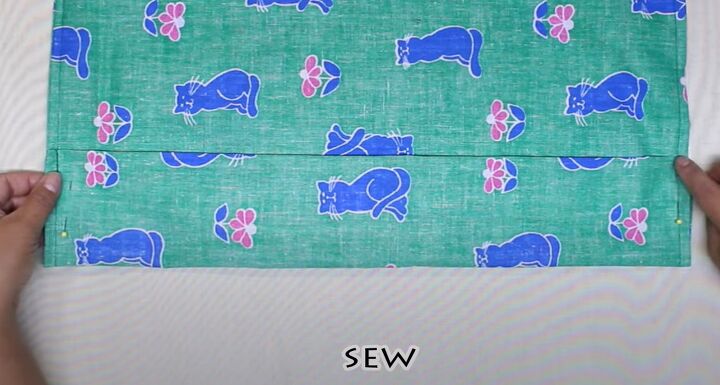
Sew along the inner folded edge of the hem.
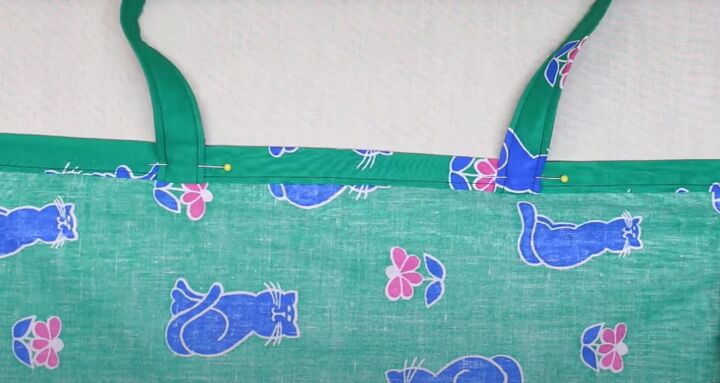
Fold the handle up over the hem and sew in place.
5. Attach the pouch
Fold the bag in half widthways with the wrong sides together.
Fold it in half again lengthways and press the fold.
Open out the bag.
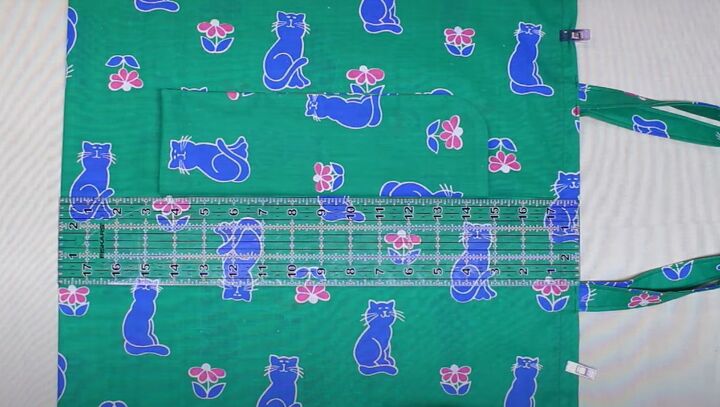
Fold the pouch in half lengthways and place the fold of the pouch to the central fold of the bag.
The short straight edge of the pouch should be 3.5 inches above the bottom edge of the bag.
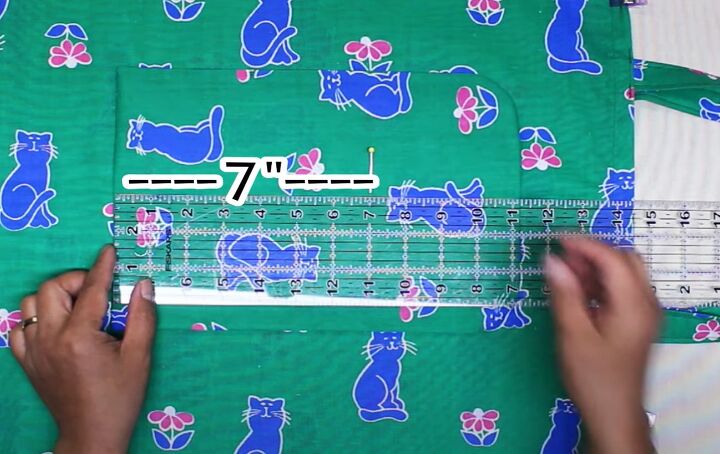
Open the pouch across the center fold. Measure 7 inches from the lower edge of the pouch and mark with a pin.

Pin the pouch to the top layer of the bag and sew around the three straight edges of the pouch from the pins, leaving the flap unstitched.
6. Assemble the bag
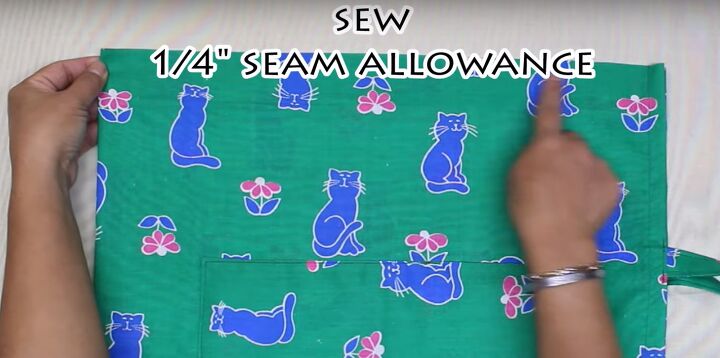
Fold the bag in half widthways with the wrong sides facing. Sew the side seams, taking a quarter inch seam allowance.
Turn the bag inside out and press the side seams.
Sew down both side seams taking a half inch seam allowance.
Mark 7 inches up from the folded edge and fold the bottom edge up to that point.
Sew in place at the side seams.
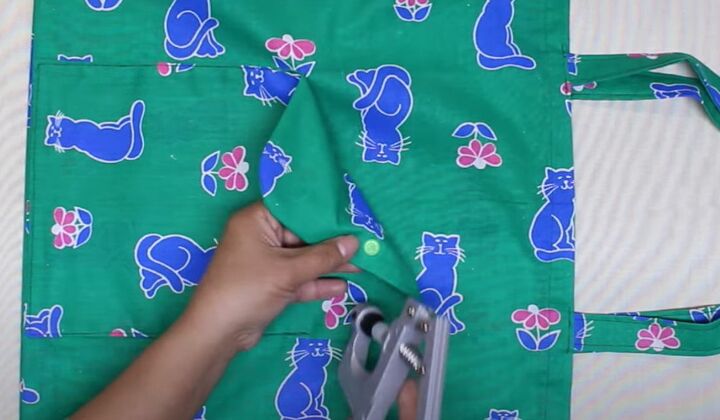
7. Snap on button
Turn the bag right side out.
Find the center of the pouch flap and make a hole through it about 0.75 inches from the end. Attach the top part of the snap on closure.
Turn the bag over. Fold it in thirds lengthways, with the pouch on the underside.
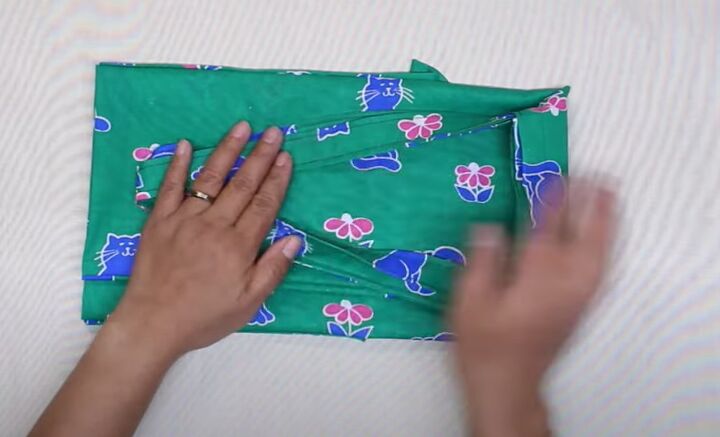
Fold the handles and top edge downwards.
Turn the top edge down again to the level of the pouch opening.
Turn the bottom edge of the bag up to the same level.
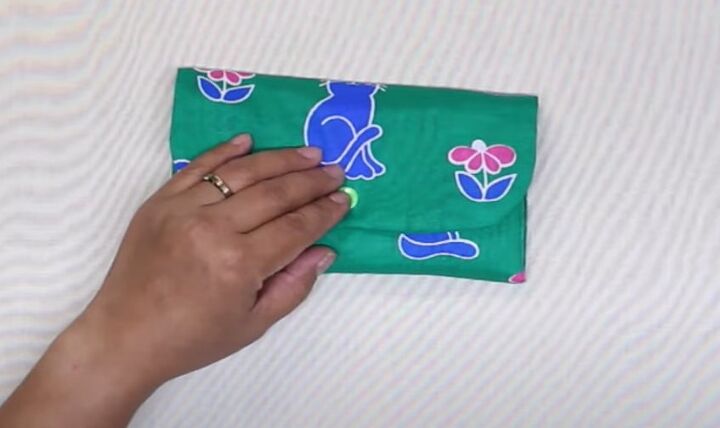
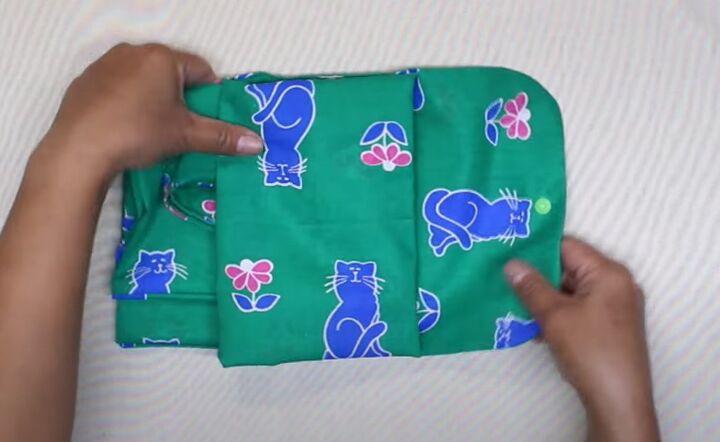
Fold the flap down and mark the position of the second half of the closure. Attach the second snap on.

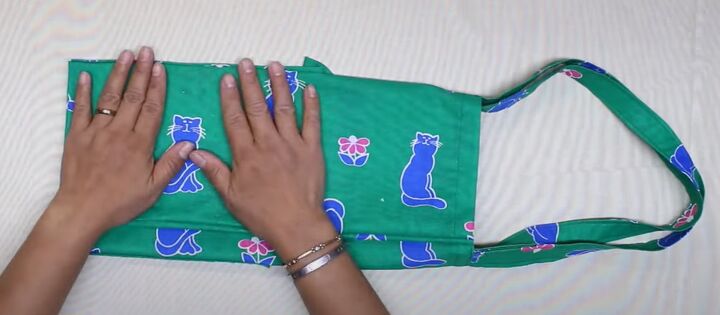
DIY tote bag idea
Your finished DIY tote bag is 14.5 inches by 18.5 inches by 7 inches open and folds down into a pouch just 7.25 inches by 4.5 inches.
It’s small enough to take with you almost anywhere so you always have an eco-friendly bag to hand.
It’s really fun to make as well! I’d love to know what you think of it - please leave me a comment below.
The author may collect a small share of sales from the links on this page.


Comments
Join the conversation