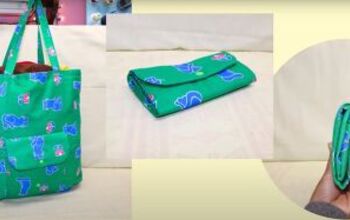
Cute and Easy DIY Tote Bag Idea

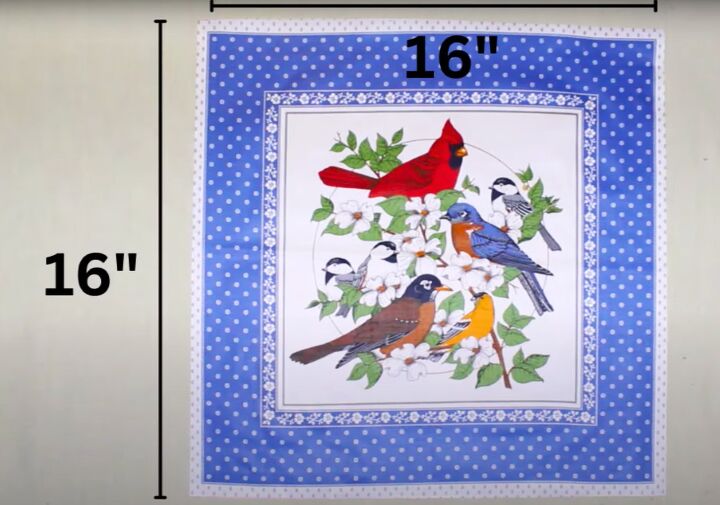
I used two 16 inch square scarves as the inspiration for today’s DIY tote bag idea. Of course you could use any suitable fabric.
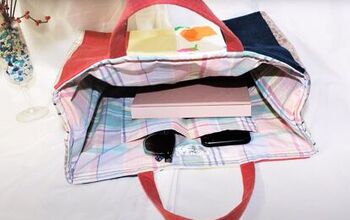
This is a large, sturdy bag with deep side and base panels and a total of six pockets. I hope you enjoy making it along with me.
Tools and materials:
- 2 x 16 inch fabric squares
- Lining fabric
- Contrast fabric scraps
- Cotton batting
- Ruler
- Scissors
- Pins and fabric clips
- Sewing machine
1. Main bag panels
Cut two pieces of fabric 16 inches square or use table napkins or scarves.
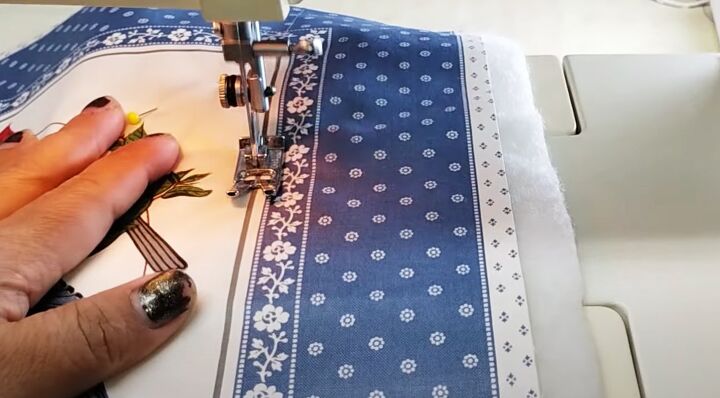
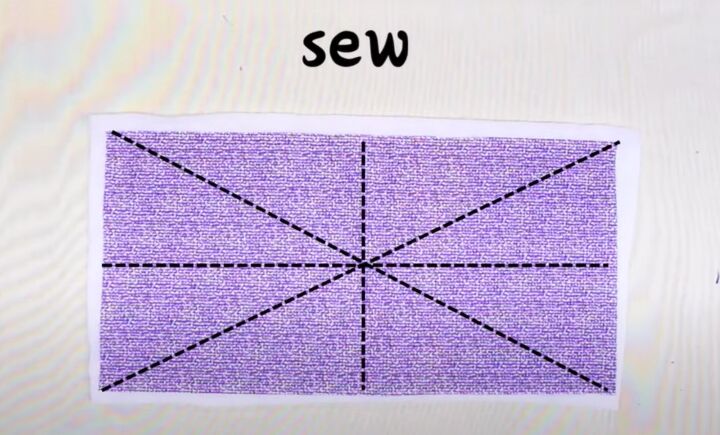
Cut two pieces of cotton batting slightly larger than the fabric squares.
Attach the batting to the wrong side of the fabric. You could use the fabric pattern to guide your stitches if it’s suitable or sew a simple star shape to hold the two together.
Use a stitch length of 3 so as not to pucker the fabric.
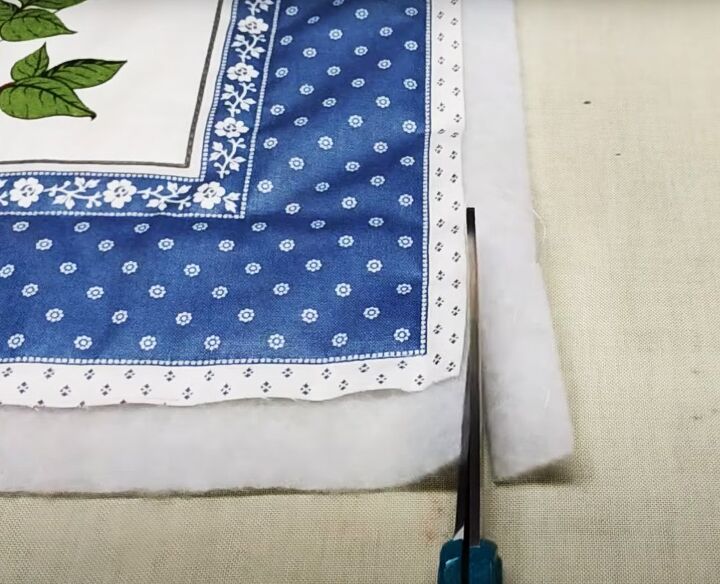
Trim the batting to size after sewing.
2. Make and attach the handles
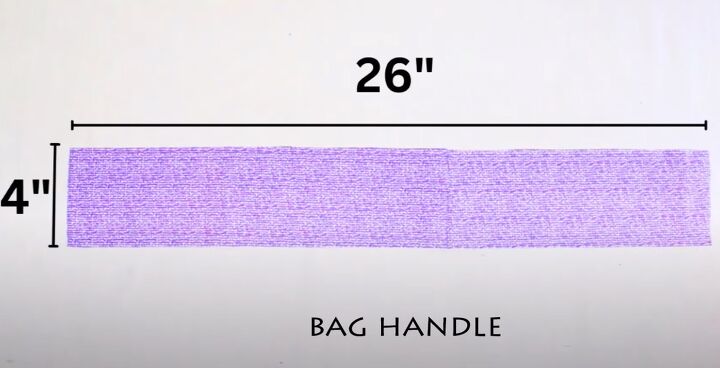
Cut two pieces of contrast fabric 26 inches long by 4 inches deep and two pieces of batting 26 inches long and 1 inch deep.
Fold the fabric in half lengthways with the wrong side inside and press.
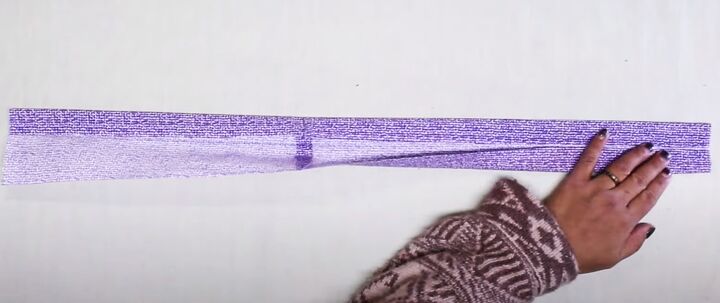
Open the handle out and press the top and bottom edges to the center line.
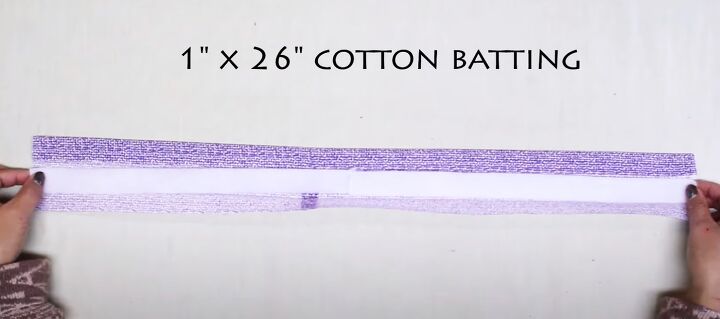
Place a piece of batting inside one of the pressed edges and fold the handle in half lengthways.
Sew along both long edges.
Find the center top edge of one of the main bag panels.
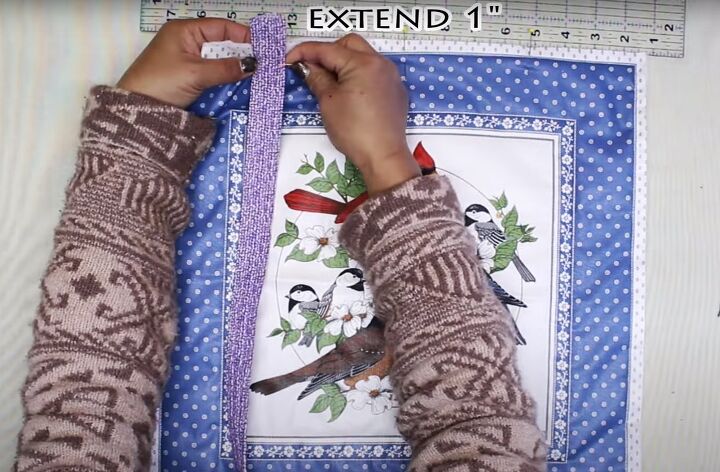
Attach the ends of the handle 4 inches either side of the center on the right side, with the open edges extending 1 inch above the top of the panel.
Sew the handle in place.
Make and attach another handle to the second panel.
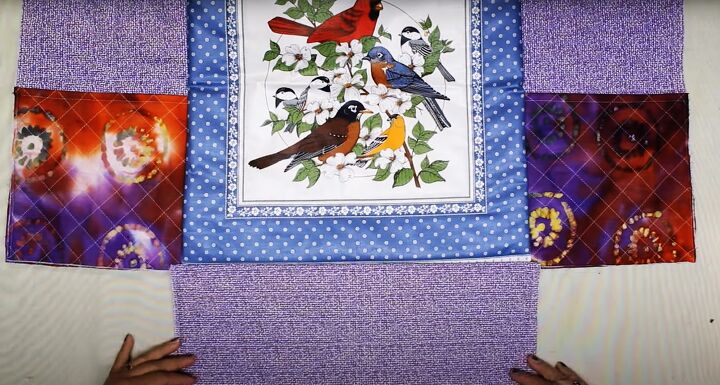
3. Make the outside pockets
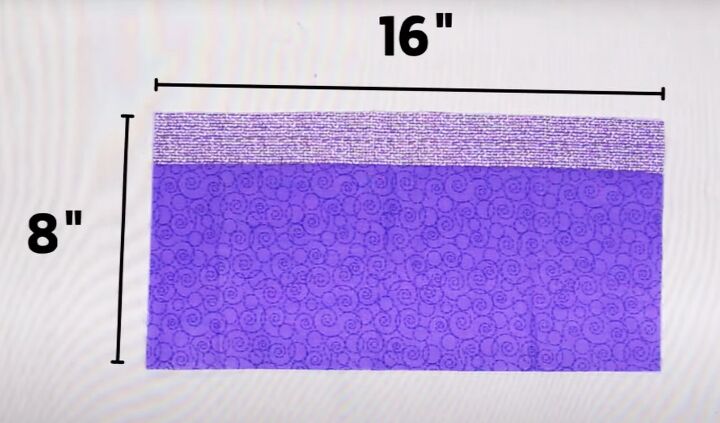
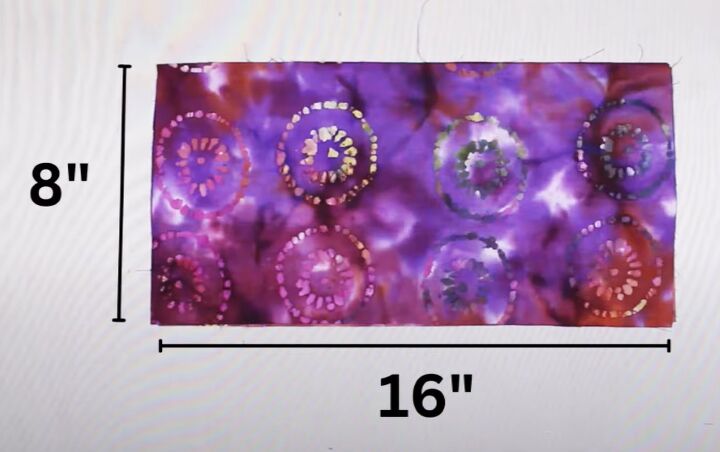
Cut three pieces of contrast fabric 16 inches by 8 inches for the side and base panels.
Attach cotton batting to the wrong side using a star shaped stitch pattern.
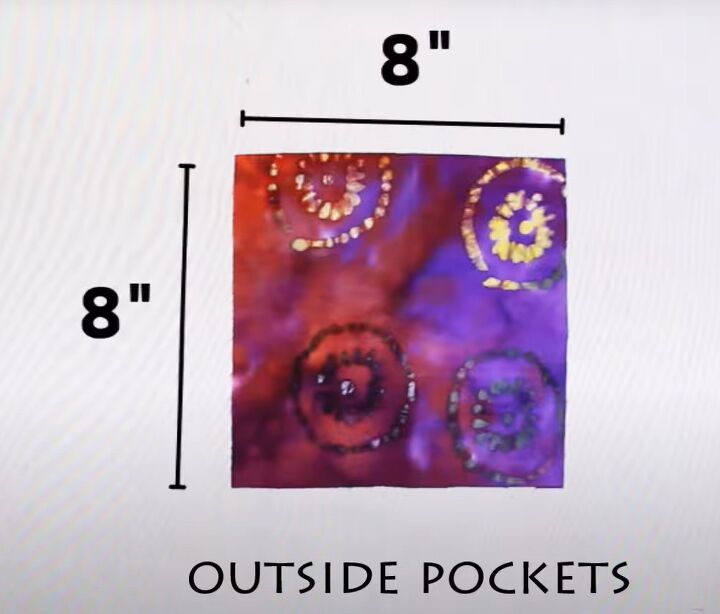
Cut four 8 inch squares of fabric for the side pockets.
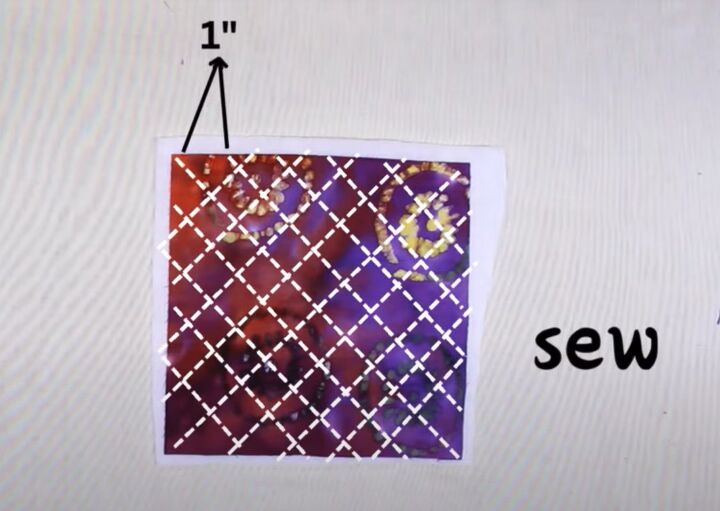
Attach batting to two of the squares using a traditional quilting pattern in contrast thread. Trim the batting to size.
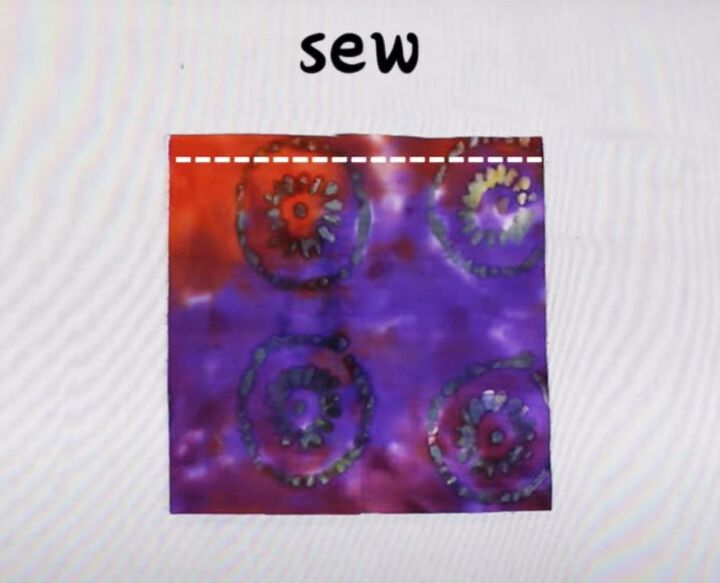
Place the unbacked square on top with the right sides together and sew along one edge.
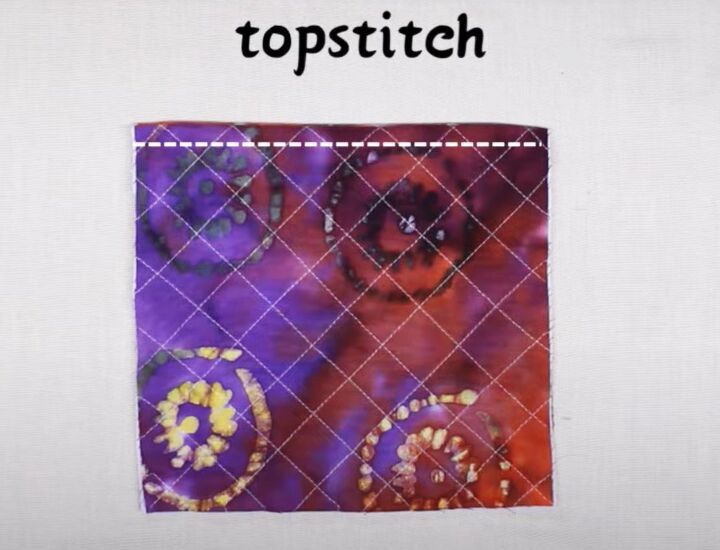
Fold the unbacked square to the wrong side and top stitch along the fold.
Complete the second pocket to match.
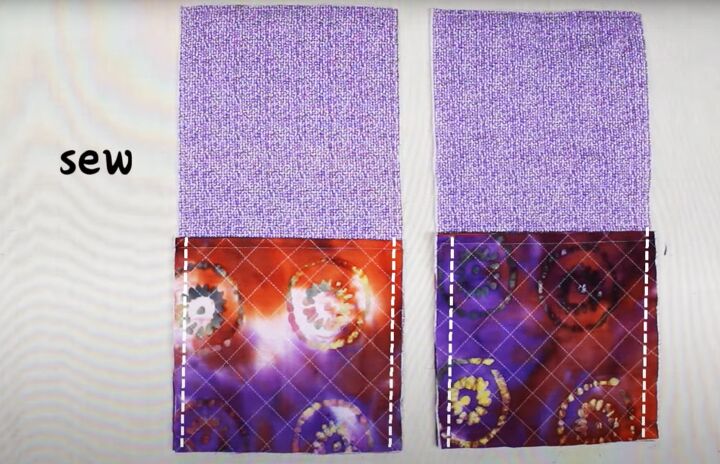
Place a pocket at the lower edge of each side panel and sew the side edges.
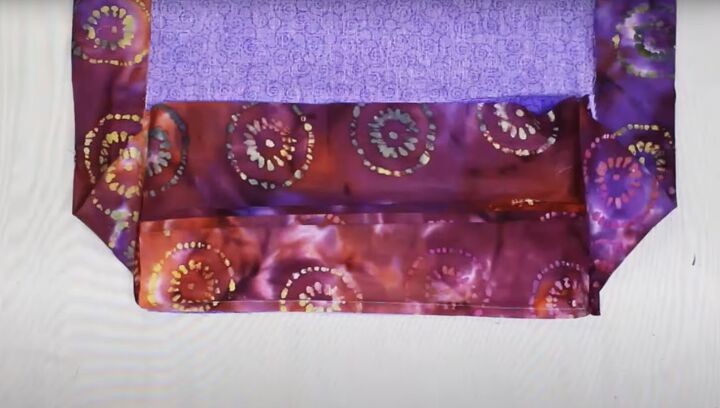
4. Attach the gusset panels
Place one of the outer bag panels with the right side uppermost.
Sew the side and bottom panels in place, with the right sides facing.
Lay the second panel on top, with the right sides together.
Attach the free edges of the side and base panels to the outer bag.
Turn the bag right side out and push out the corners.
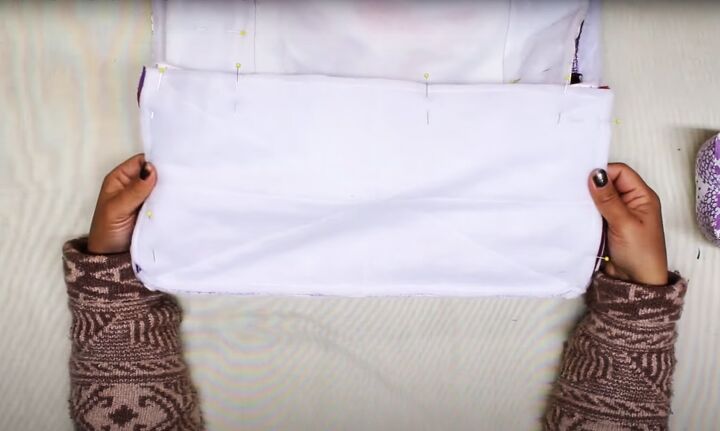
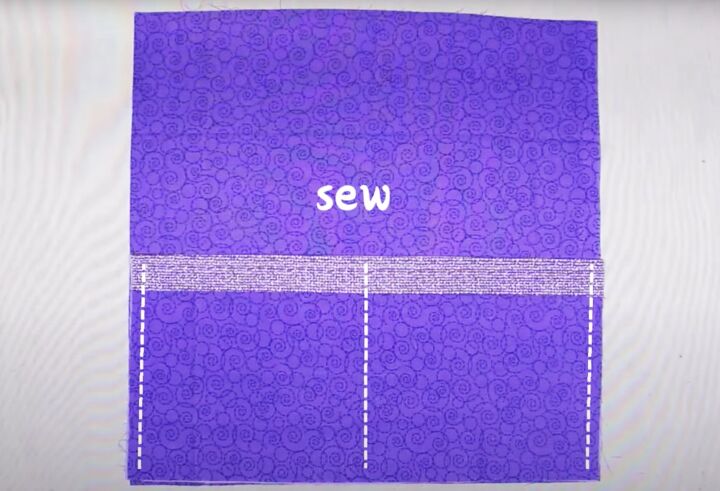
5. Make the inside pockets
Cut two pieces of contrast fabric and two pieces of lining fabric 16 inches long by 8 inches wide.

Sew the contrast fabric to the lining along one long edge with the right sides facing.
Fold the lining to the wrong side and top stitch close to the fold.
Cut two pieces of lining fabric 16 inches square.
Attach a pocket to the lower edge of each piece, sewing along each side edge and up the center line.
6. Assemble the lining
Cut three pieces of fabric 16 inches by 8 inches for the side and bottom panels of the lining.
Attach them to both the lining pieces as you did for the outer bag, without adding any batting.
Leave an opening in one of the side seams.
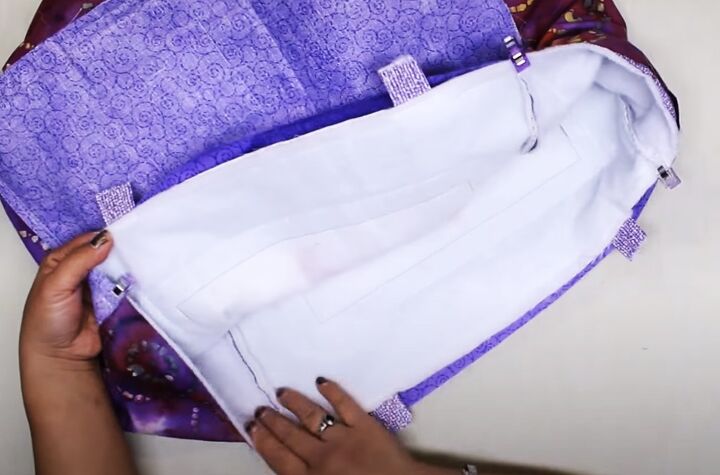
7. Attach the lining to the bag
Place the bag inside the lining, with the right sides facing.
Lining up the seams carefully, sew the lining to the bag around the top edge.
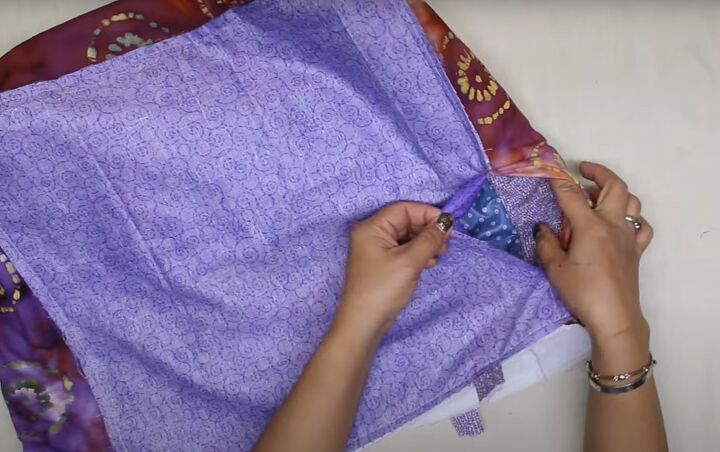
Pull the bag out through the opening in the lining and sew up the opening.
Tuck the lining back inside the bag.
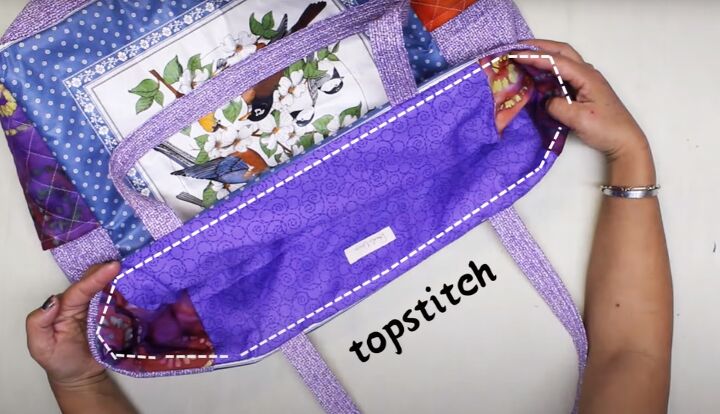
Finger press the top edge so it lies flat.
Sew a row of topstitching close to the edge from the inside.
Make a second row of topstitching a quarter inch from the previous row from the outside.
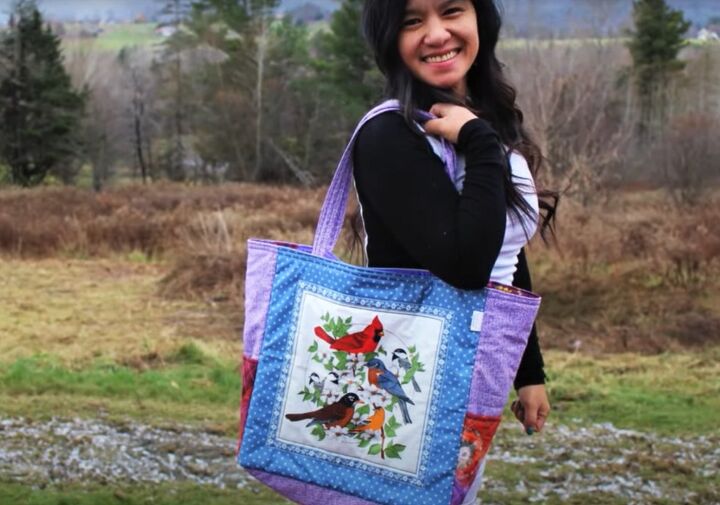
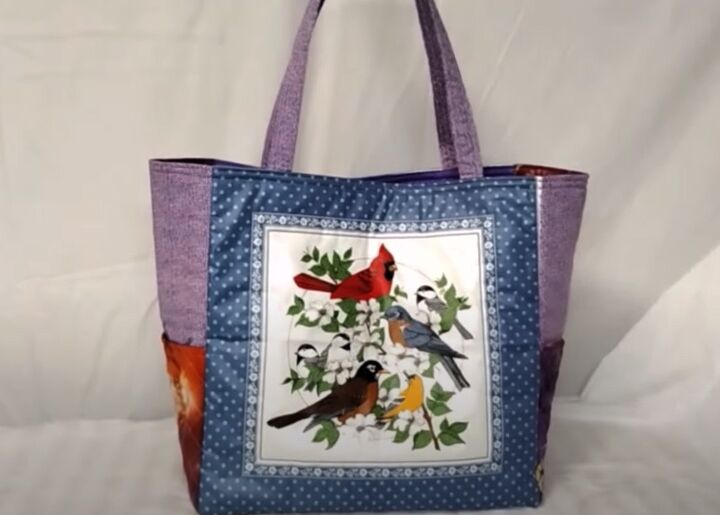
DIY tote bag idea
I really enjoy coming up with these DIY tote bag designs. Anything can become an inspiration that starts me off.
They’re a wonderful way to experiment with combining different colors and patterns for using up fabric scraps.
And of course they make great, practical gifts too!
I’d love to hear what you think of this one. Please drop me a comment below and let me know.
Next, check out my Quick and Easy DIY Hair Scrunchie Tutorial.
The author may collect a small share of sales from the links on this page.


Comments
Join the conversation