How to Easily Make a Fabric Shoulder Bag That is Simple & Stylish

In this DIY, I’m going to show you how to make a fabric shoulder bag in the simplest way possible. I created a simple shoulder bag pattern that you can download, so it's easy to make, with only a few easy sewing steps. Let's get started.
Tools and materials:
- Linen lining fabric
- Cotton interfacing fabric
- Polyester main fabric
- Scissors
- Fabric marker
- Pins
- Sewing machine
- Safety pin
- Iron
- Zipper
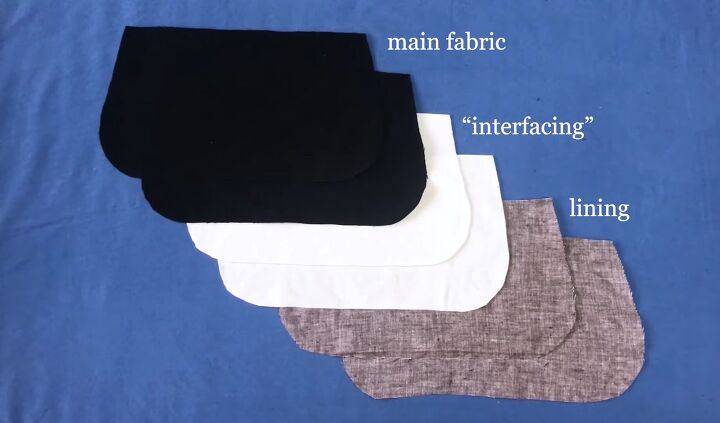
1. Cut out the base pieces
I first cut out all the base pieces twice. We have two from the linen lining fabric, two from the cotton interfacing fabric, and two from the polyester main fabric.
2. Find the middle
Find the middle of the base piece by folding it in half and attaching a pin to mark the spot. Then take the side panel piece and do exactly the same, marking its middle with a pin.

3. Attach the two pieces
With the right sides touching, pin the side panel to the base part, starting with the middle point. Once done, sew it down with a straight stitch.
4. Attach the other base piece
Take your other base piece and do the same, pinning it to the other side of the side panel and then sewing it down.
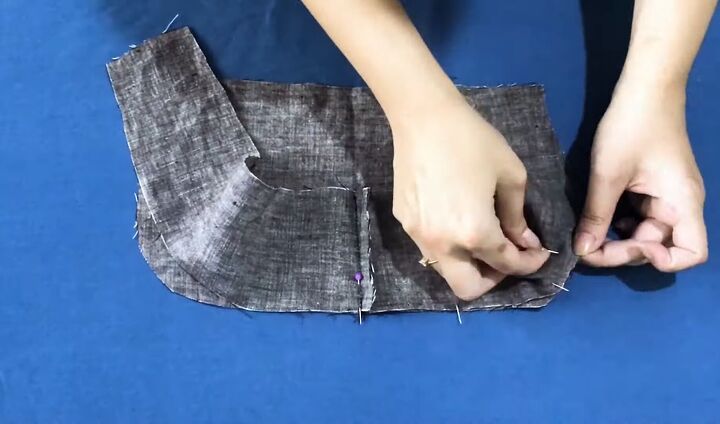
5. Add the lining
To add lining to the bag, repeat the same process one more time. First, fold the lining base piece in half to determine the midpoint, insert a pin, and then do the same to the lining side panel.
Once done, pin the two together and then sew along the line that you’ve pinned. Then, connect the other lining base piece by repeating the same process.
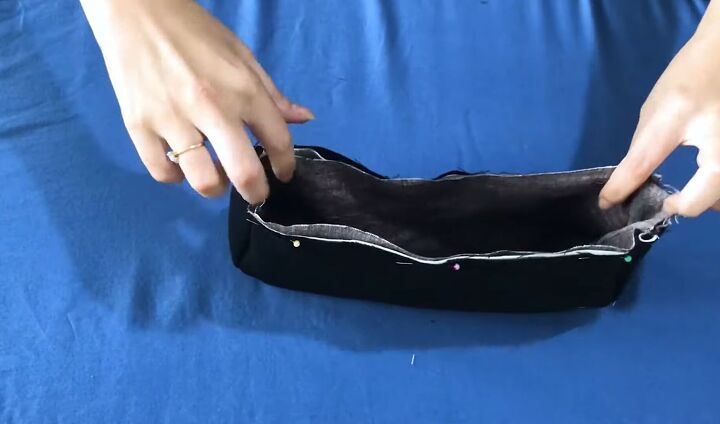
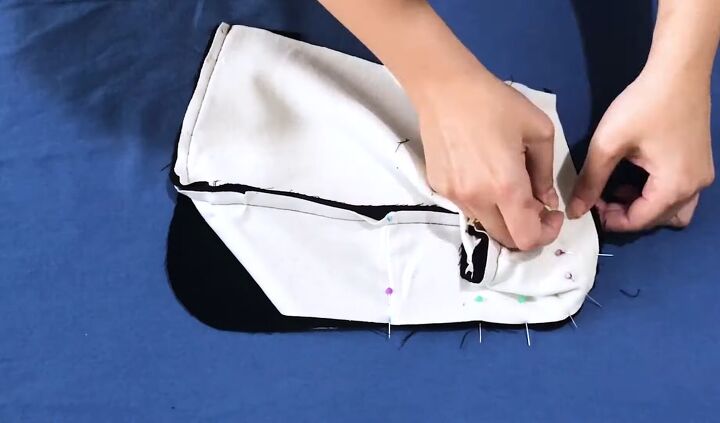
6. Attach the lining to the bag
Turn the lining piece inside out so that the wrong side of it is visible. Then, place it inside the main fabric base so that when you look inside the bag, you see the right side of the lining base is all nice and finished.
Pin the main and lining parts together all the way around the top and sew it with a straight stitch.
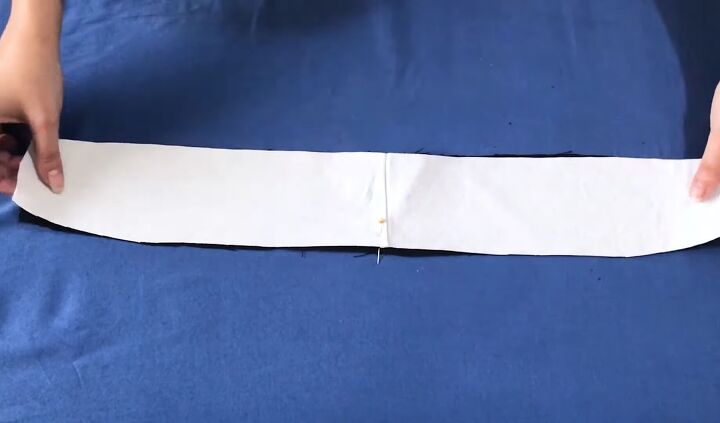
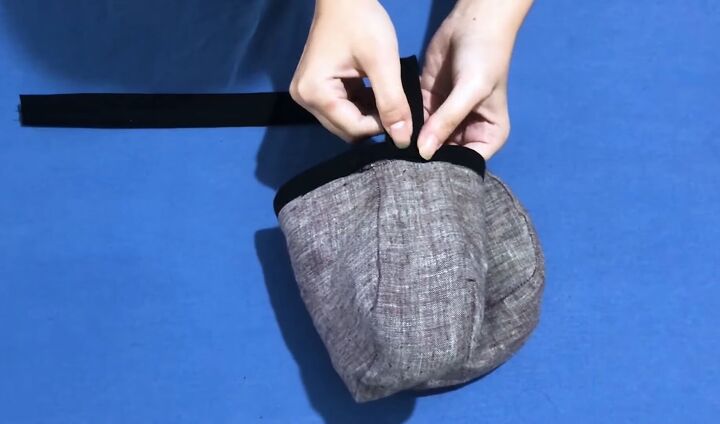
7. Create the bias tape
I didn’t have a pattern piece for this, so I cut several 5cm (2-inch) wide stripes out of material on the diagonal to create a simple bias tape for the top of our bag.
Then, with the right sides meeting, I connected the stripes in the corner and pinned them in the way I’m going to sew, so diagonally across from corner to corner.
8. Attach to the bag
Pin the bias stripe to the base part, right sides touching, and sew all the way around.
9. Sew down
To hide all those ugly visible layers away, fold down the bias about 1cm (0.4 inches) once and then again a second time, sewing it down with a straight stitch.
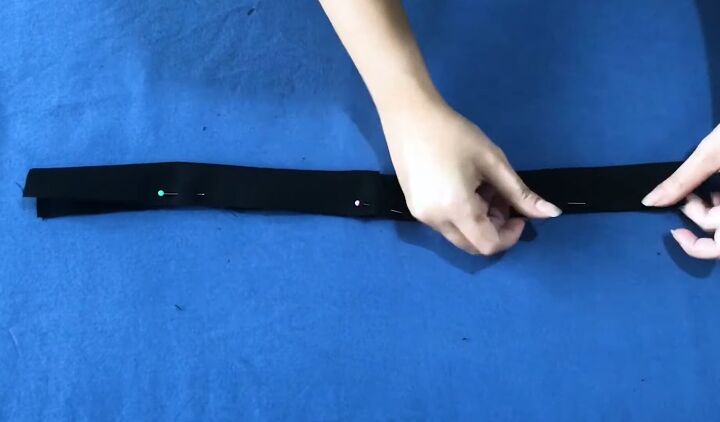
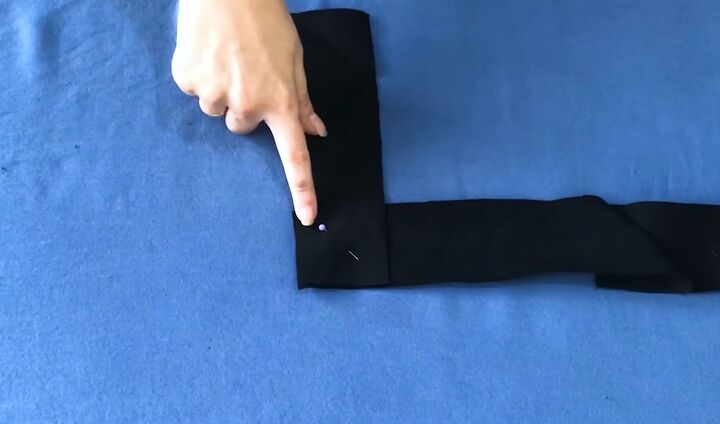
10. Create the strap
Cut out a strap, 5cm (2 inches) wide and 30cm (12 inches) long. Fold it in half and sew with a straight stitch all along the edge. Once done, proceed to turn the strap right side out using a safety pin and then iron it to make it flatter.
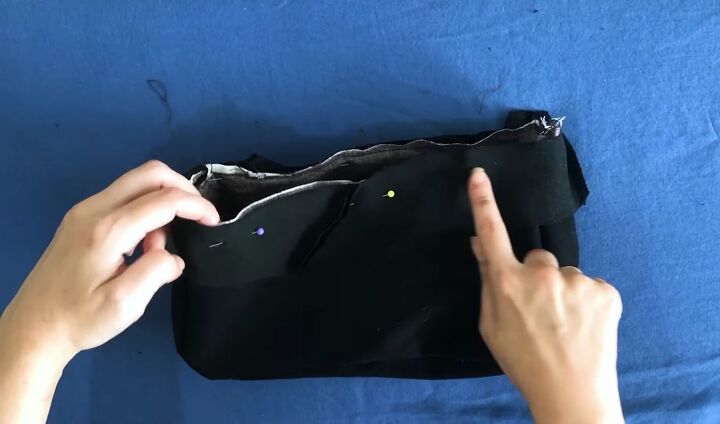
11. Sew to bag
Turn the bag inside out and then pin and sew the strap to the bag.

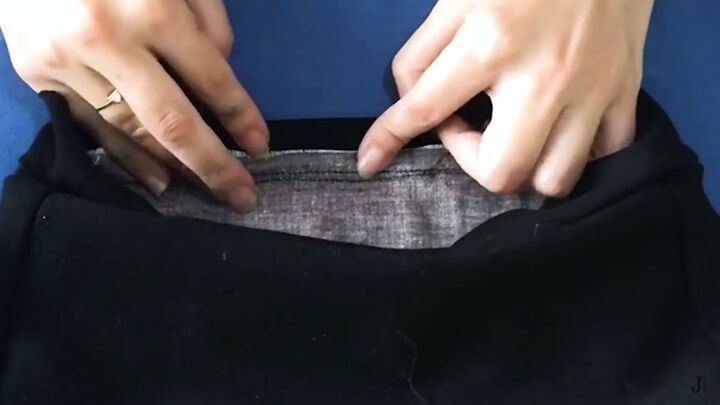
12. Attach the zipper
Sew two tiny rectangles from the main fabric to the zipper on both sides. Then, with the bag turned the wrong side out, turn the right side of the zipper to the inside of the bag. Proceed to pin the zipper to the sides.
Sew along the long sides, but not the short sides, so that you can later pull the shoulder strap out from the inside.
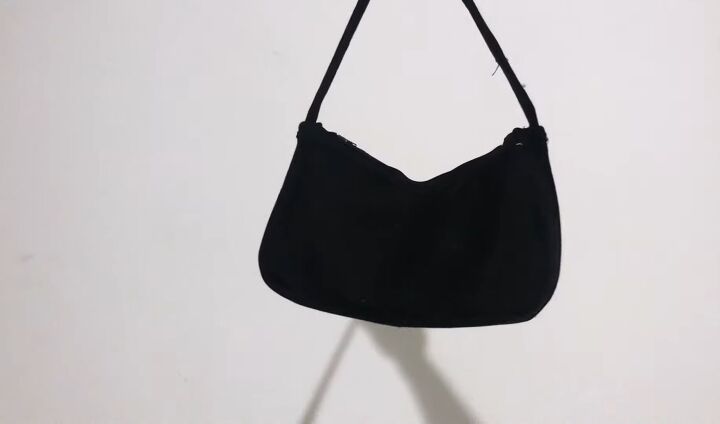
How to make a fabric shoulder bag tutorial
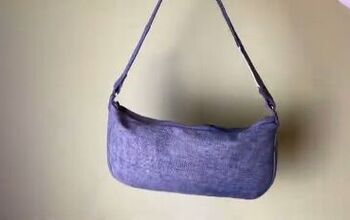
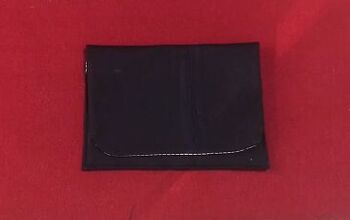
That is how you can make an over-the-shoulder bag at home! The steps are very straightforward and easy to follow. If you make a mistake, remember to try, try and try again. The finished bag is simple yet classy, and I’m looking forward to using it.
Let me know what you think of this tutorial in the comments.
The author may collect a small share of sales from the links on this page.


Comments
Join the conversation
You bag is really good 👌
How is mine? :)