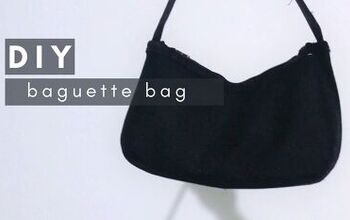
How to Make a Simple DIY Fabric Clutch Bag

Today, I’m going to be making a simple DIY fabric clutch bag! I’ll also show you how to put in a zipper pocket so you have an extra compartment to store your essentials.
If you are feeling motivated to try something new or want to add a cute DIY fabric clutch purse to your handbag collection, then read on to see how straightforward it is to do!
Tools and materials:
- Paper
- Ruler
- Pins
- Sewing machine
- Matching thread
- Fabric
- Lining
- Zipper
- Iron
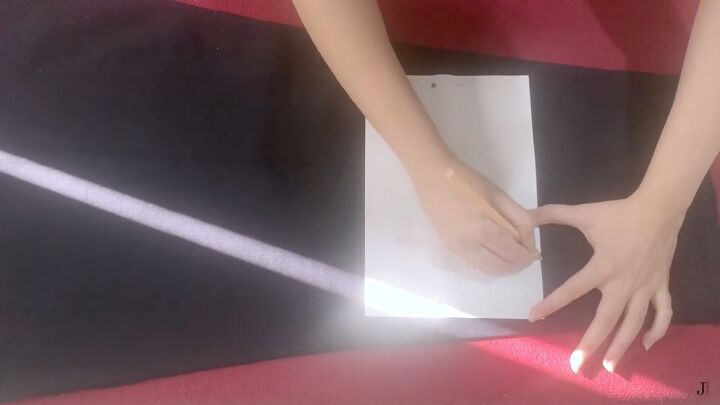
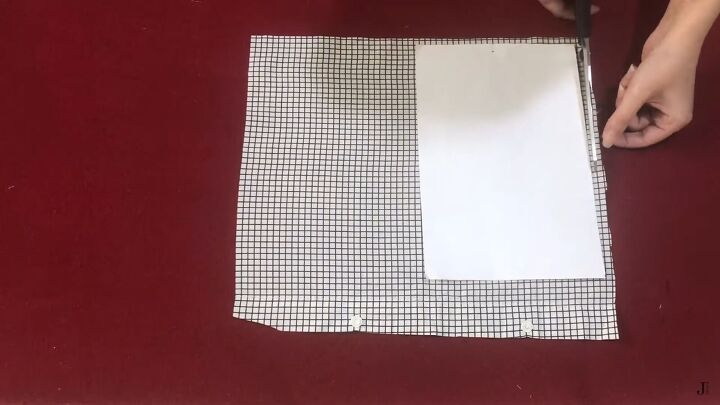
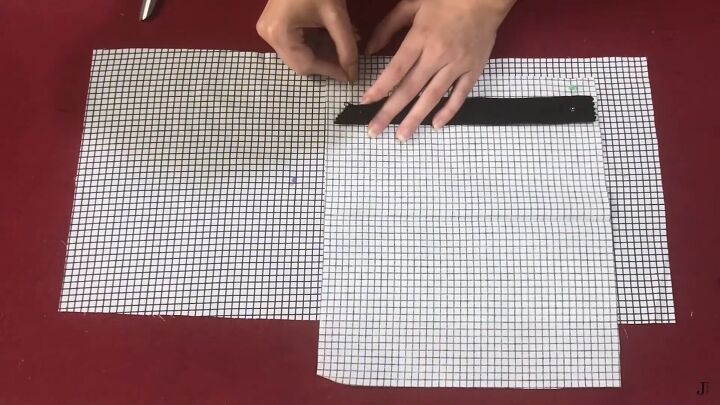
1. Make the pattern
The fabric clutch sewing pattern is pretty easy, simply cut a 16cm x 24cm (6.2 x 9.44 inches) rectangle on a piece of paper and copy the shape onto some fabric.
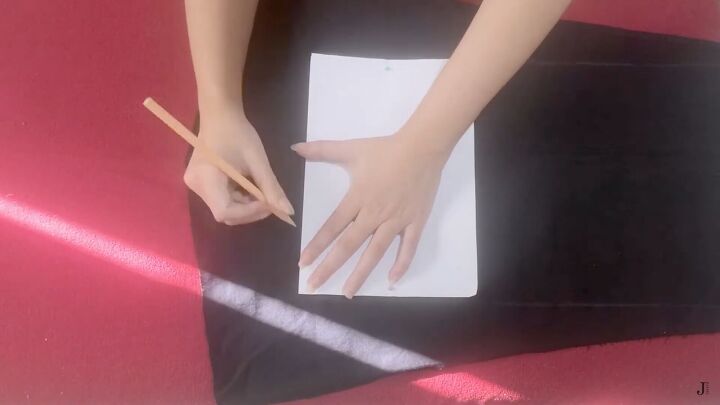
Trace the rectangle 3 times, putting each shape right next to each other to create a big rectangle.
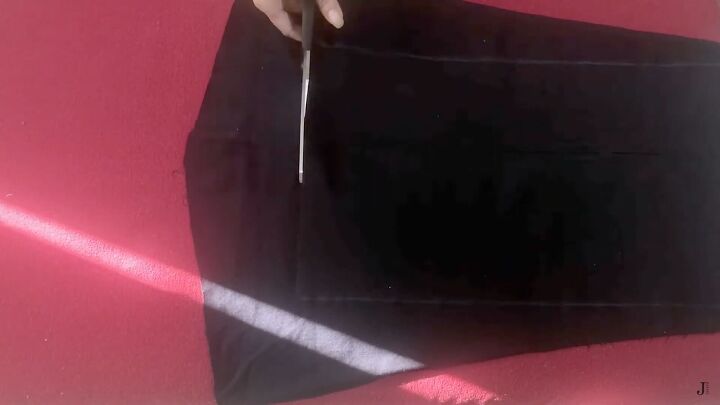
Next, cut out the long rectangle.
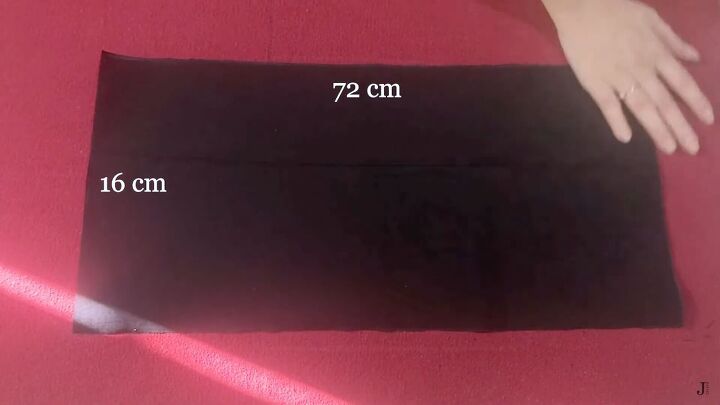
The finished rectangle should be 16cm x 72cm (6.29 x 28.34 inches) in size.
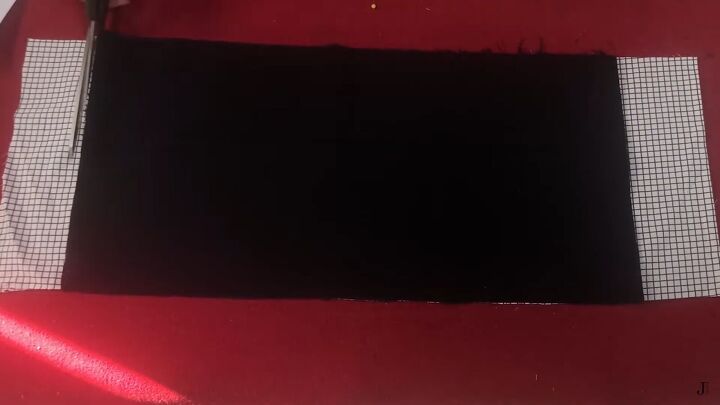
Now, place the main fabric’s rectangle on top of your lining fabric and cut to size.
2. Make the pocket
Since I wanted my clutch to have a zipper pocket, I cut out another lining piece measuring 16cm x 48cm (3.93 x 18.89 inches). The pocket can be any size you want, just make sure it's as wide as the zipper.
3. Prep the zipper’s location
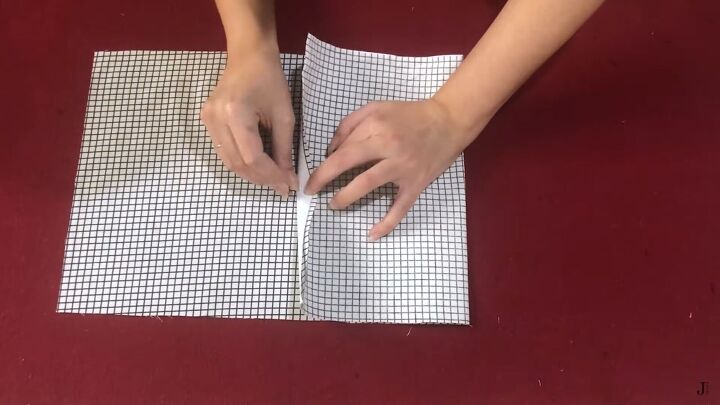
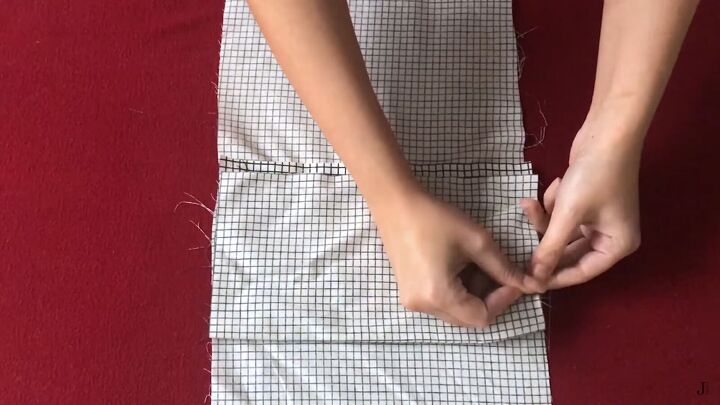
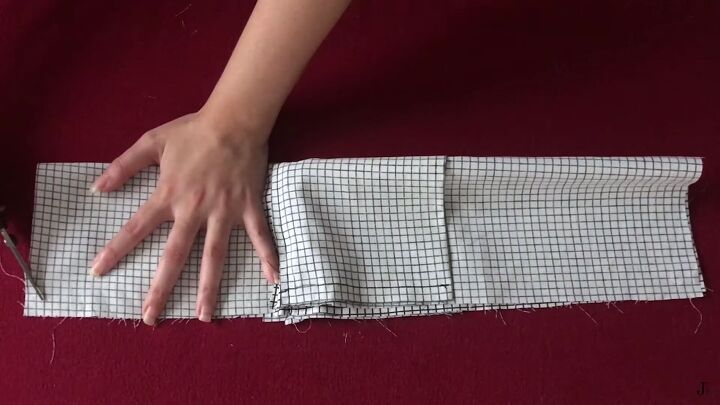
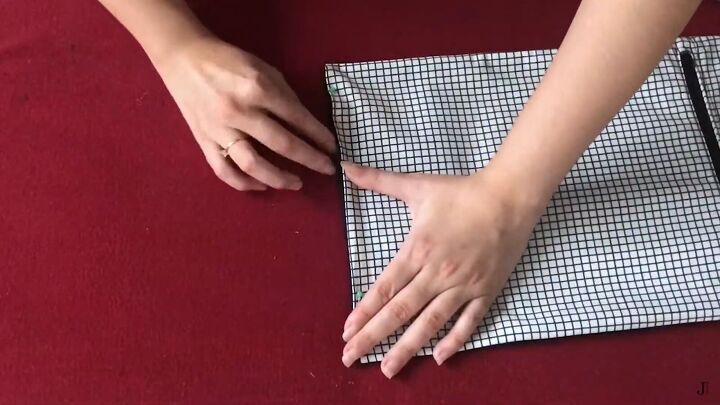
Now, place your first rectangular pattern in the middle of the lining. Fold the one side over and then mark 2cm (0.8 inches) from the edge of the rectangle. This will be where your zipper will be placed.
Fold the fabric over and mark the middle of the shorter side of the rectangle.
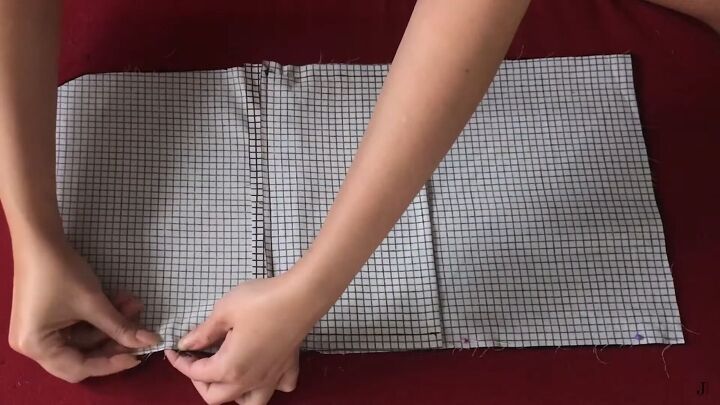
On the wrong side of the pocket piece, mark with pins where the edges of the zipper will be.
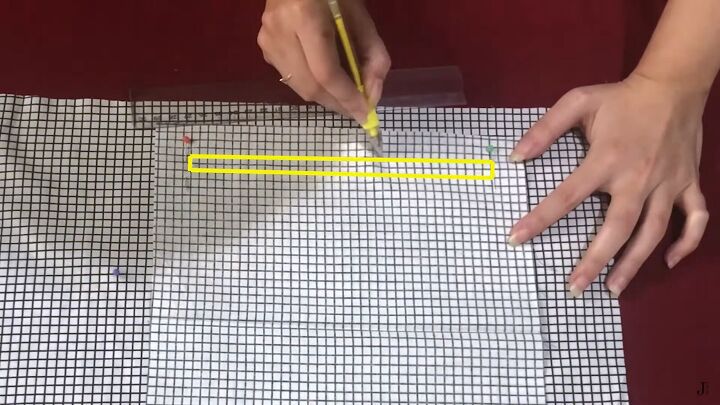
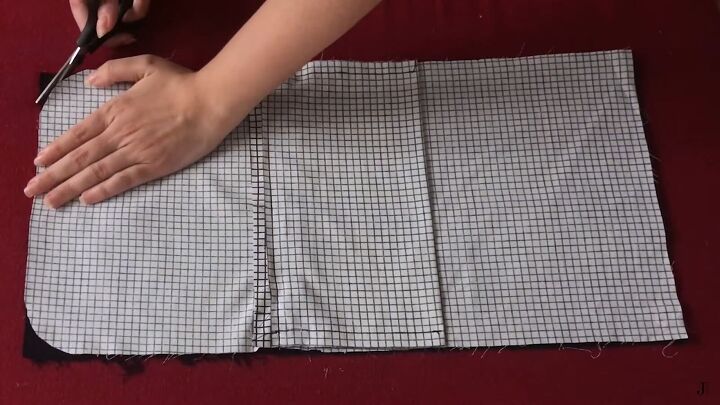
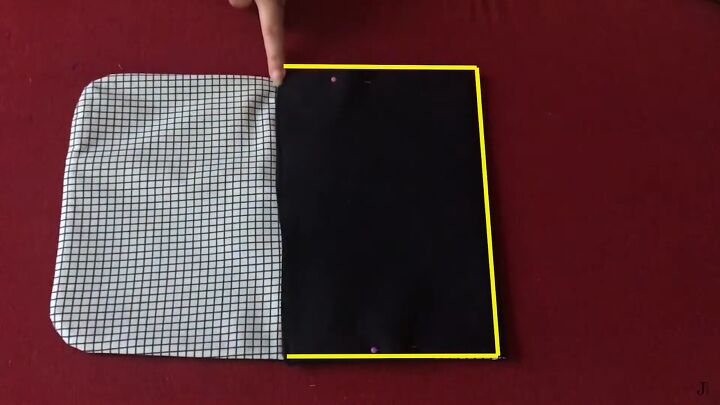
Then, draw a rectangle that measures 1cm x 15cm(0.39 x 5.90 inches) .
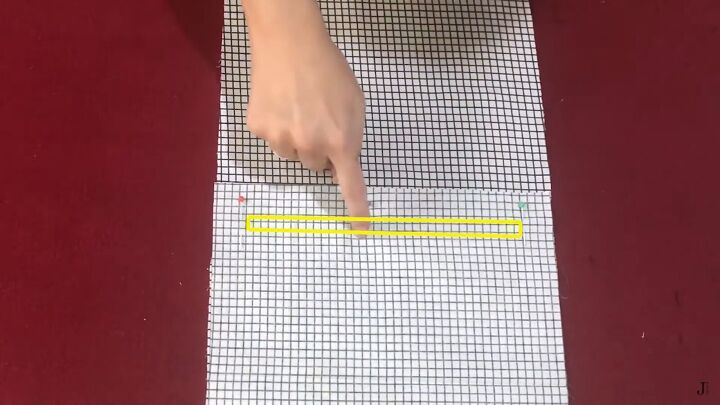
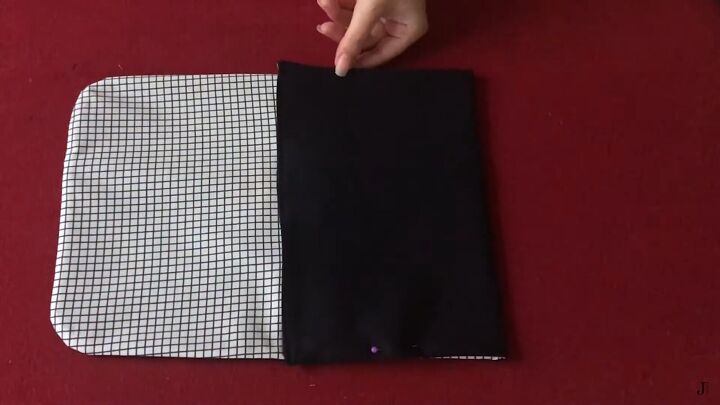
With right sides facing, lay the pocket piece onto the lining. Make sure everything aligns. Sew along the shape of the rectangle with a straight stitch.
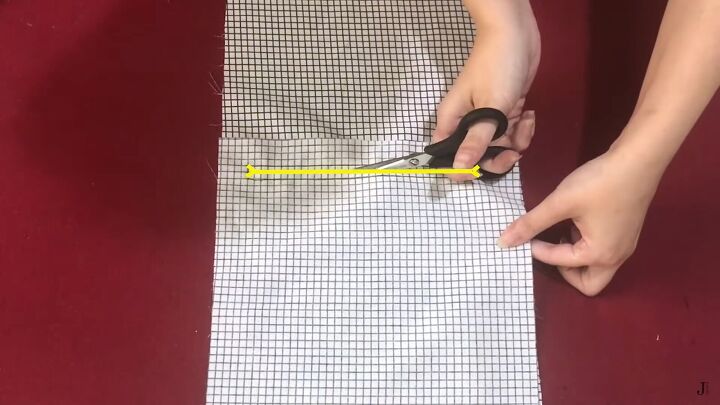
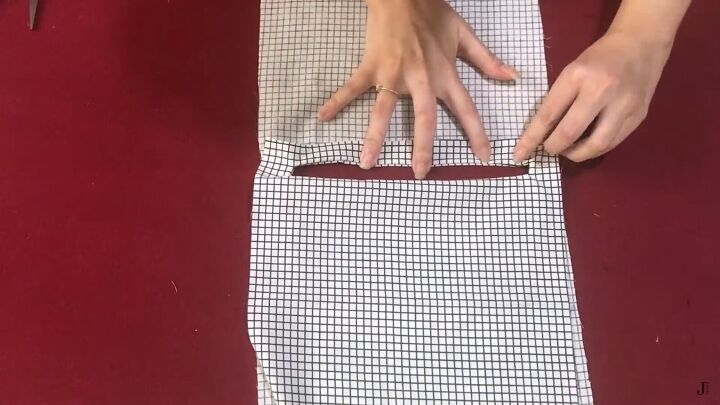
Then, open this part with scissors.
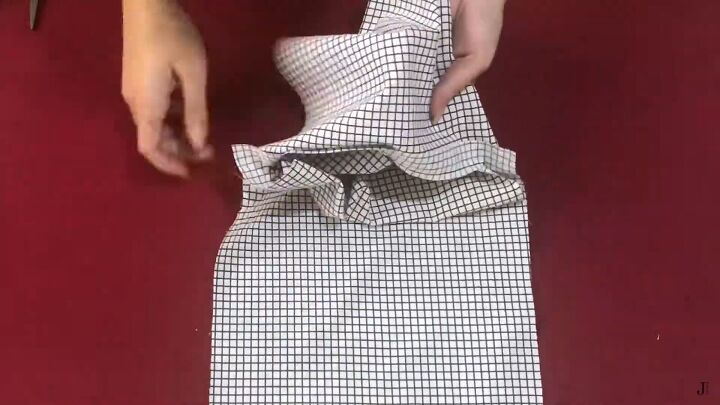
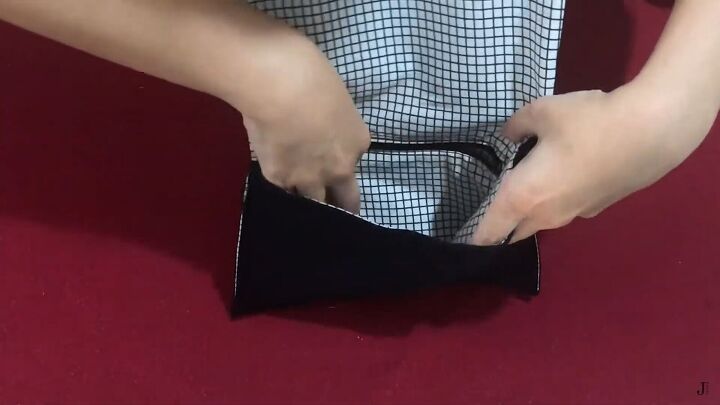
Feed the pocket piece through the hole to the other side.
This is what it should look like.
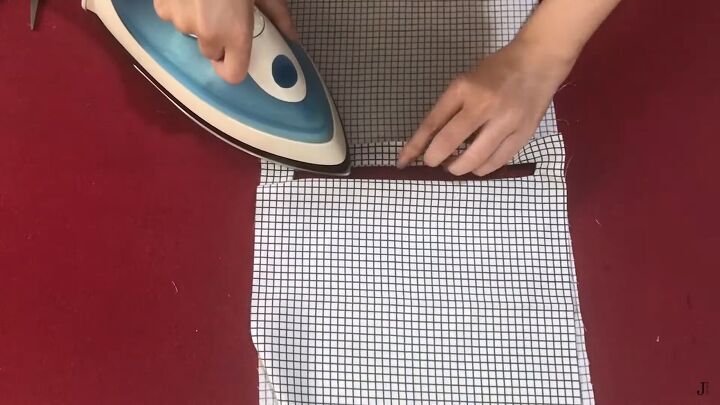
Iron the fabric around the opening to make it smooth and neat.
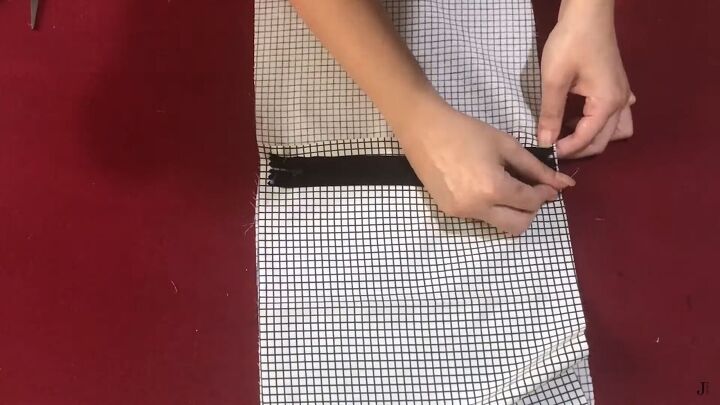
4. Attach the zipper
Pin the zipper to the hole, face down. Then, sew all around it.
Now, pull the pocket part upward, just enough so it covers the top edge of the zipper, pin the sides, and sew all three sides.
Tip: Make sure to not sew the main layer under it. Only sew the pocket.
5. Round the corners
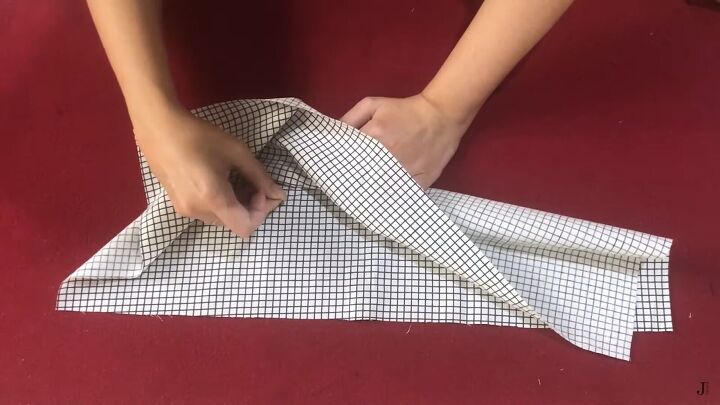
Fold the whole lining in half and round the corners with a pair of scissors.
Place the main fabric on top, and cut the corners by following the shape of the lining’s corners.
6. Assemble the DIY fabric clutch bag
Now, the lining and main fabric should face the right sides. Pin the sides all around, as shown. Also, pin the curved side while leaving the sharp corner side unpinned. Sew all three sides with a straight stitch.
Turn the DIY fabric clutch purse right sides out, and fold the open side’s edges inward by about 1cm (0.4 inches). Then, pin and topstitch right across both layers.
Fold the bottom part of the bag so it just covers the edge of the zipper and pin the sides.
Sew along the sides and the bottom part, too.
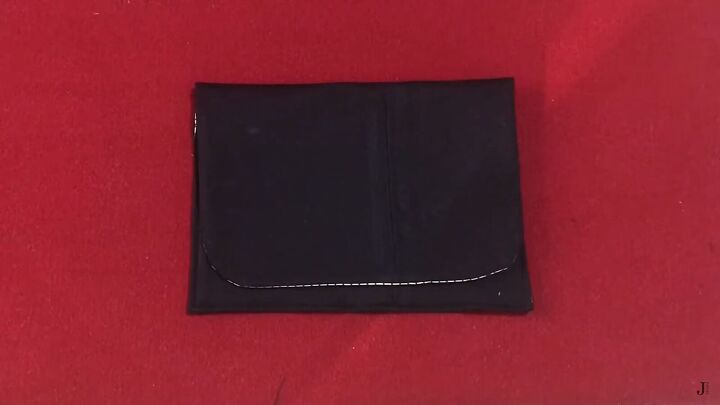
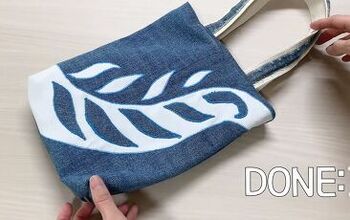
DIY fabric clutch tutorial
Your DIY fabric clutch is complete! You can add a magnetic button or Velcro to the inner flap and folded piece if you want a closure. Thanks for joining me and let me know your thoughts in the comments below.
The author may collect a small share of sales from the links on this page.


Comments
Join the conversation