How to Make a Cute DIY Denim Clutch Bag Out of an Old Jean Dress

Follow this tutorial and learn how to upcycle old denim clothing into a new denim bag. You will want to take your little denim crossbody purse with you everywhere because it’s just the right size to hold all your essentials. The inside pocket, the large main section, and the outside pocket make this denim bag very multifunctional.
Tools and materials:
- Old denim clothing
- Iron-on interfacing
- Lining fabric
- Ruler
- Scissors
- Zipper
- Sewing pins
- Thread
- Strap buckle
- Sewing machine with a zipper foot

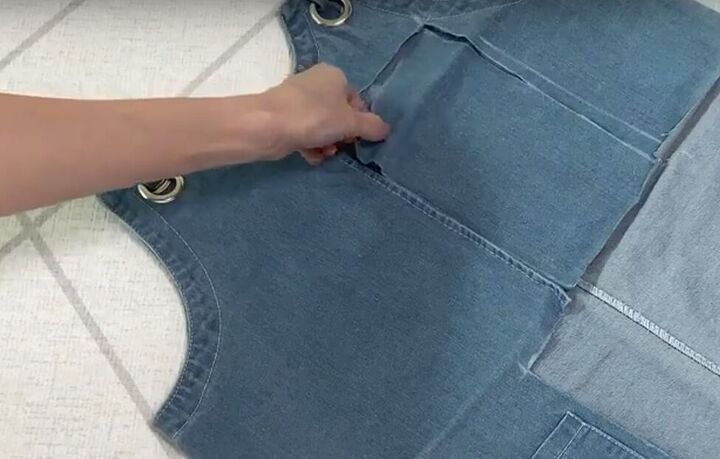
1. Deconstruct your old denim clothing
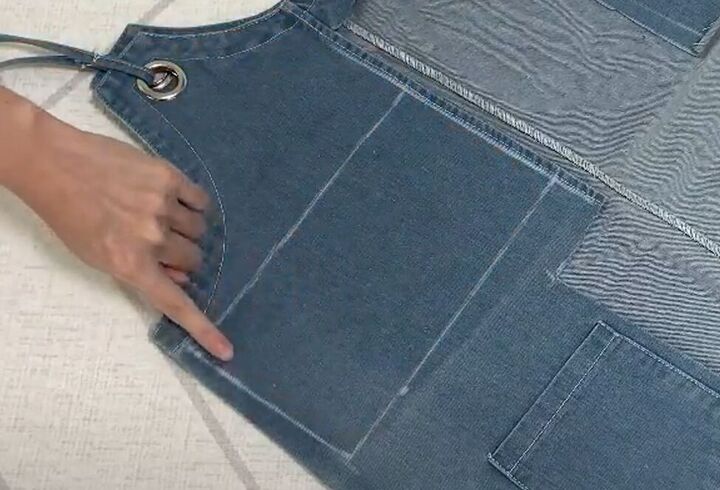
From one side of your denim clothing, cut a 32x22-centimeter (12.6x8.6-inch). Try to include one outside pocket in the rectangle.
Cut another rectangle measuring 22x12 centimeters (8.6x4.7 inches).
Cut a second rectangle that is the same size.
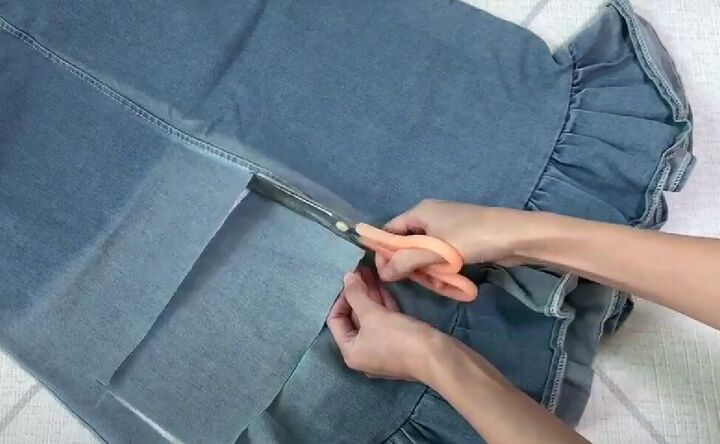
Cut two more 22x12-centimeter (8.6x4.7-inche) rectangles from the other side of your denim clothing.
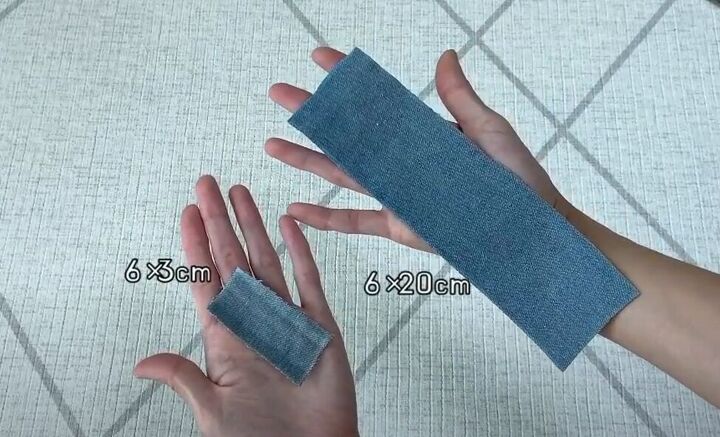
Cut two more rectangles, one measuring 6 x 3 centimeters (2.3 x1.18 inches) and the other 6x20 centimeters (2.36x7.87 inches).
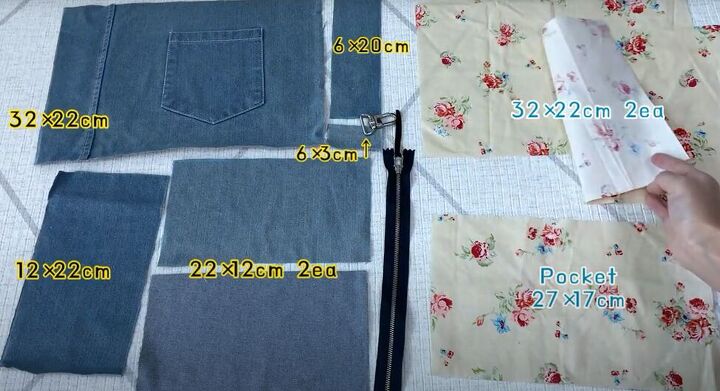
2. Cut the lining and inside pocket
Cut two 32x22-centimeter (12.6x8.6-inch) rectangles and one 27 x 17-centimeter (10.6x6.7-inch) rectangle from your lining material.
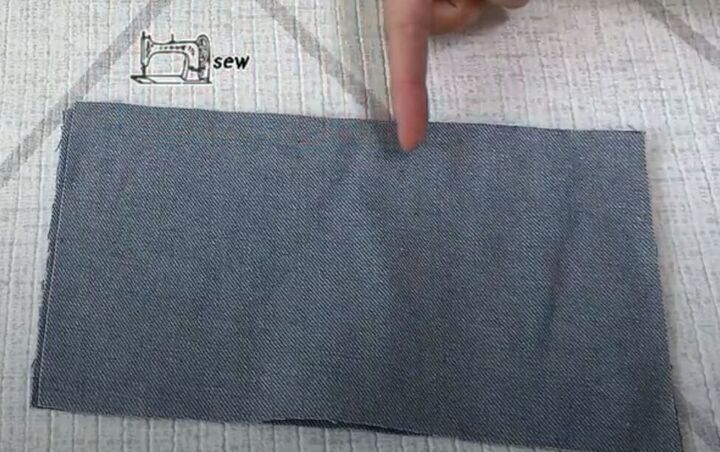
3. Sew the bag
With right sides facing, sew two of the 22 x12-centimeter (8.6x4.7 inches) rectangles together along one long edge.
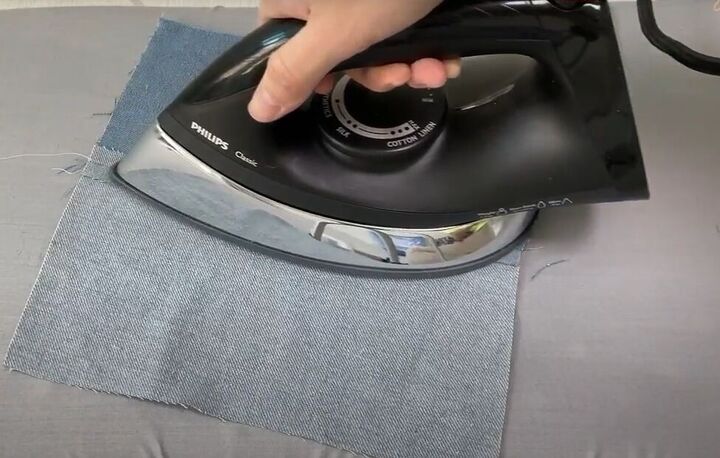
Press the seam flat.
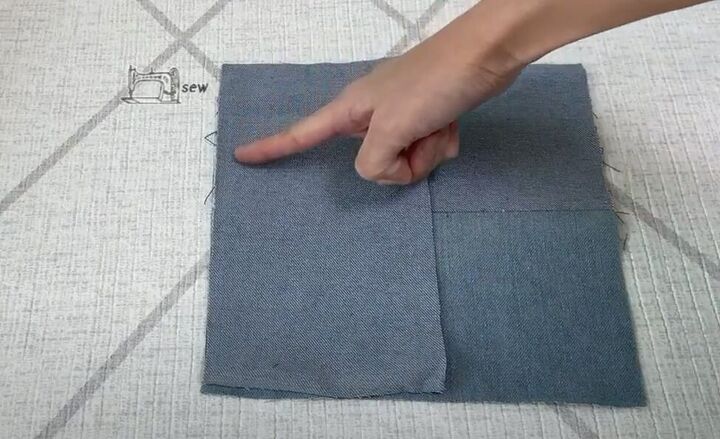
Place the third 22x12-centimeter (8.6x4.7 inches) rectangle on top of the sewn piece in the opposite direction, with right sides facing in and sew along the aligned edge. Press the seam flat on both sides.
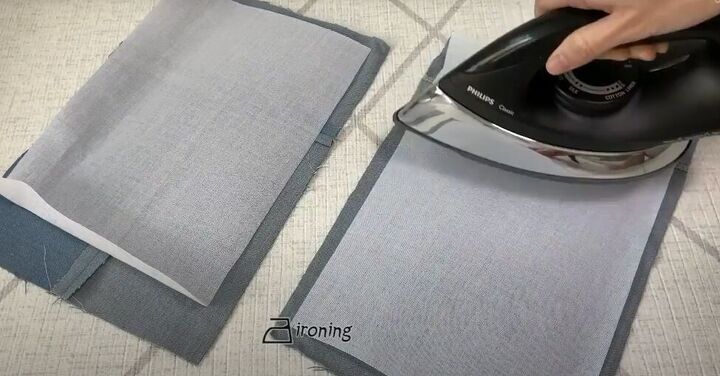
4. Add interfacing
Iron interfacing onto the back of the rectangle you just sewed, and the larger rectangle you cut with the pocket on it.
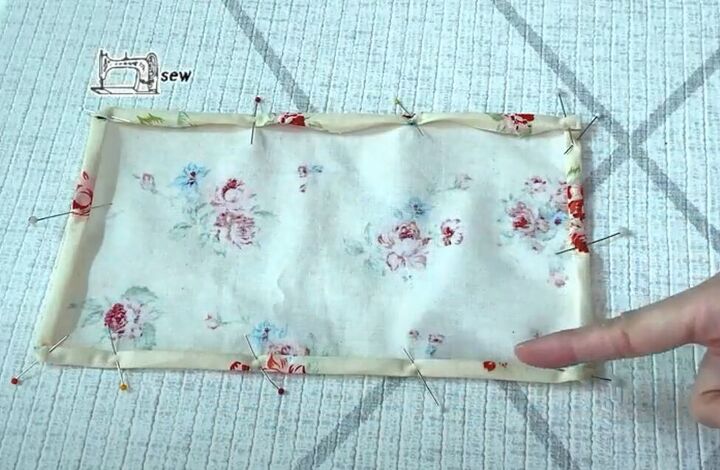
5. Sew the inside pocket
Double fold and pin in all sides of your inside pocket fabric. Sew all four hems.
Pin and sew the wrong side of the inside pocket to the right side of one piece of lining, positioning the pocket right in the middle of the lining. Leave the top of the pocket open.

6. Add the zipper
Pin one side of your zipper to the inside top edge of the back of your denim bag (the side without a pocket).
Turn over the fabric and pin the front top edge of your lining with the pocket on the same edge.
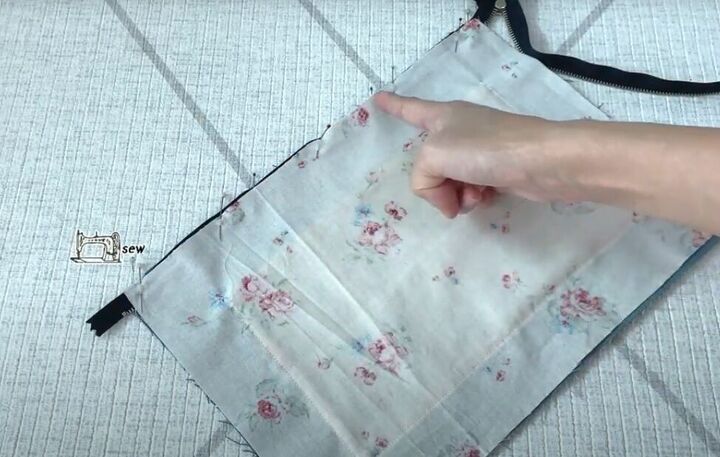
Sew all the layers (denim bag back, zipper and lining) using the zipper foot on your sewing machine.
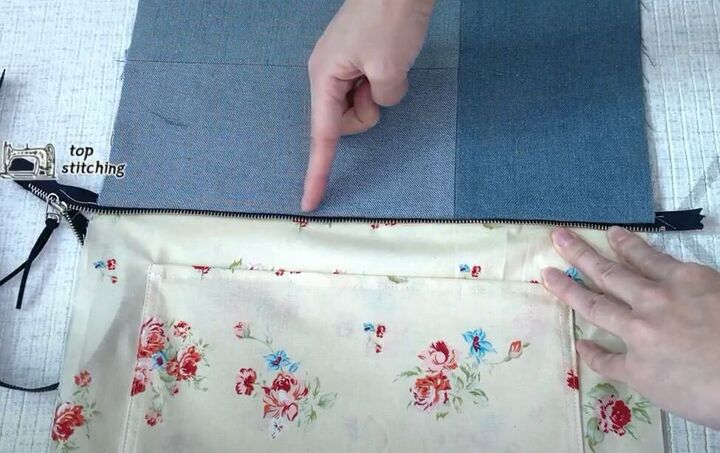
Top stitch beside the zipper teeth on the right side of the denim.
Pin the other side of the zipper to the inside top edge of the denim bag front.
Turn over the bag and pin the right side of the lining to the same edge.
Sew and topstitch the zipper in place as you did for the back of the denim bag.
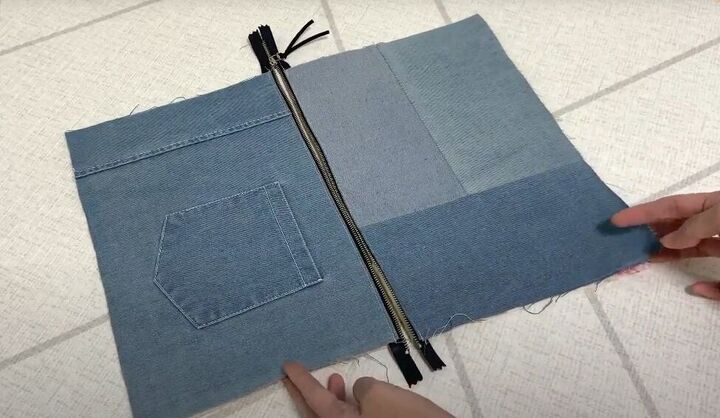
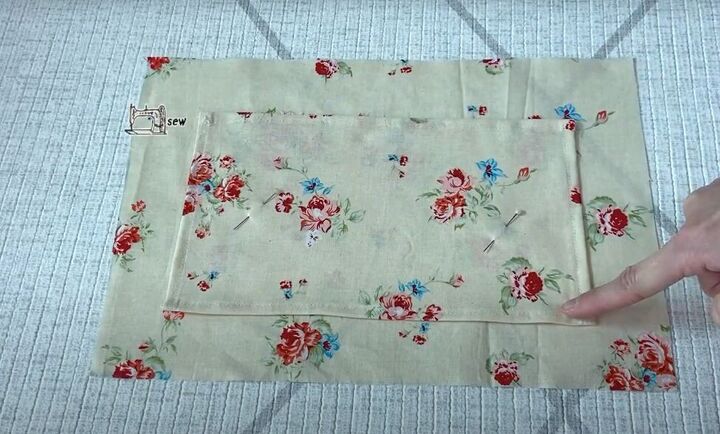
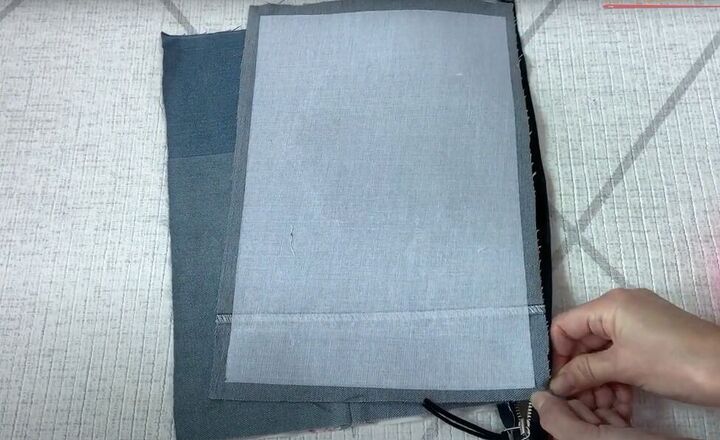
Here are your lined front and back denim bag pieces with the zipper attached at the top.
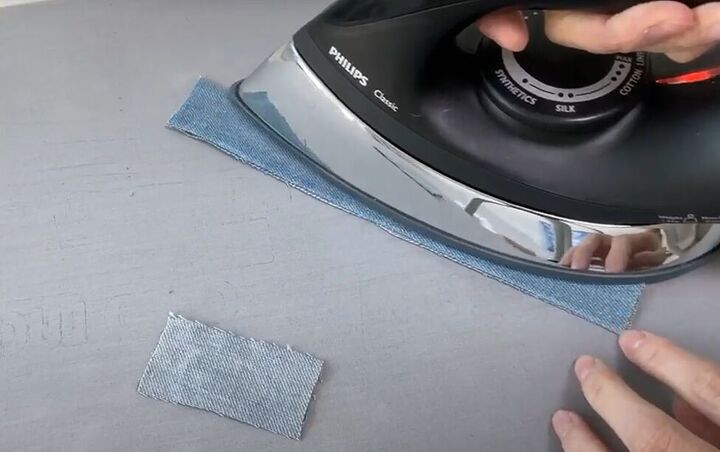
7. Make a strap and loop
Fold the 6x20-centimeter denim rectangle in half lengthwise, with the right side facing out. Iron it flat.
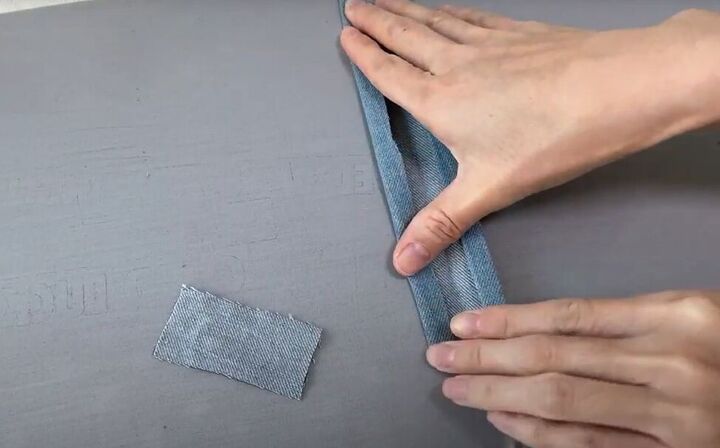
Open the rectangle and fold and iron each long edge into the middle of its respective half.
Fold in and press both short edges.

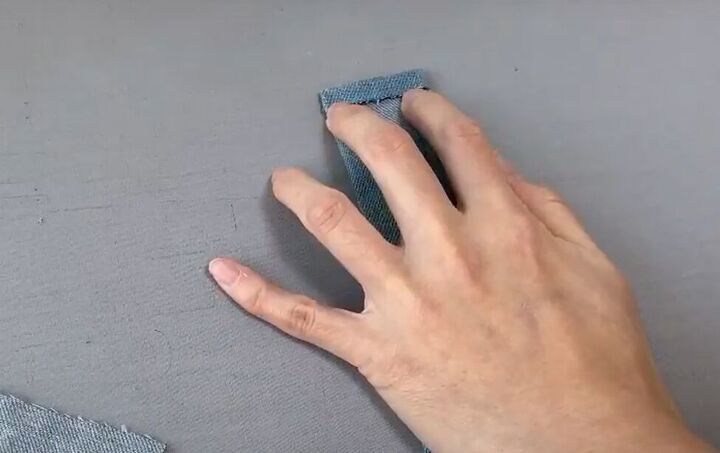
Then fold and press the whole rectangle in half lengthwise.
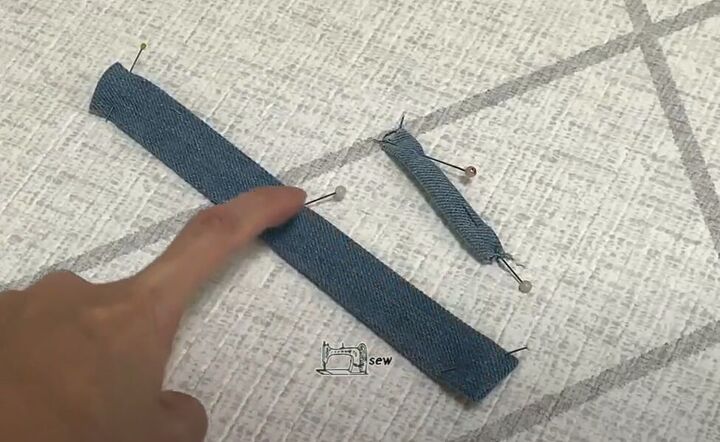
Follow the same folding process with the smallest denim rectangle and then sew both rectangles along all four edges.
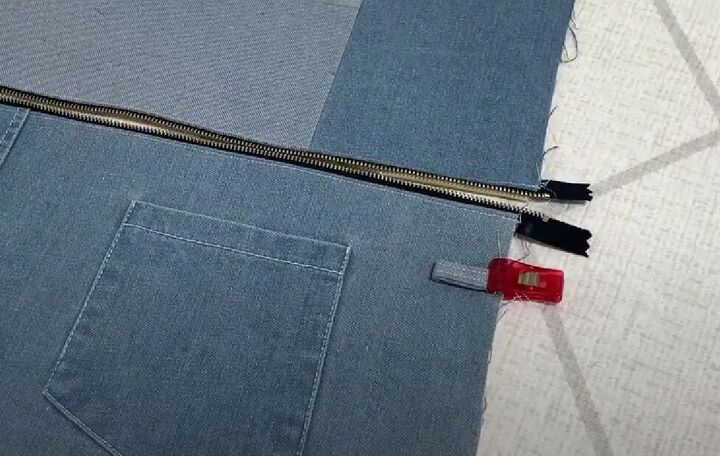
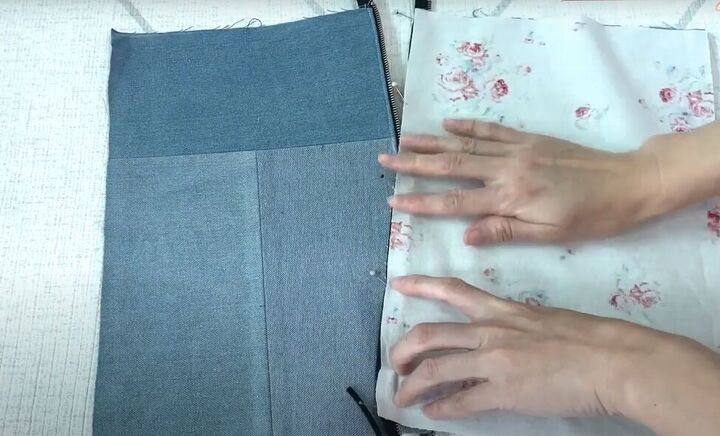
Fold the smallest rectangle in half widthwise to make a loop, and pin it to the front of the bag in the position shown in the image above. Align the raw edges of the loop with the raw edge of the bag.
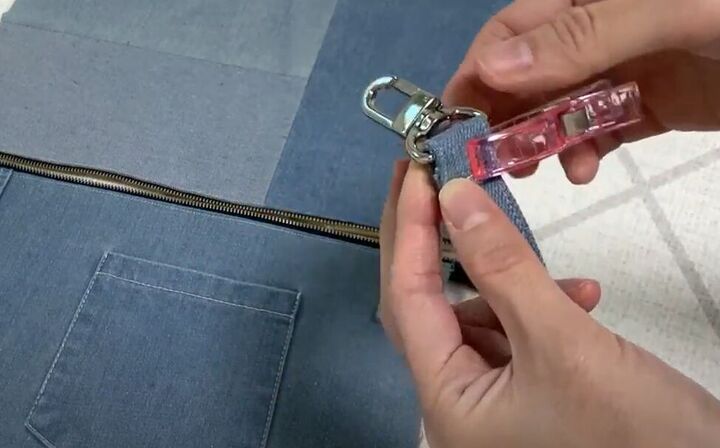
Slide the buckle over one end of the larger rectangle, fold over the short edge and pin to hold it in place.
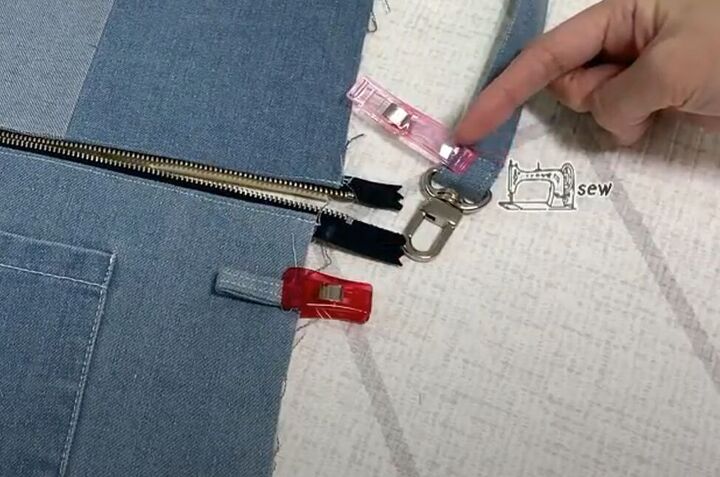
Sew the loop to the front of the bag along the raw edge, and sew the buckle loop closed.
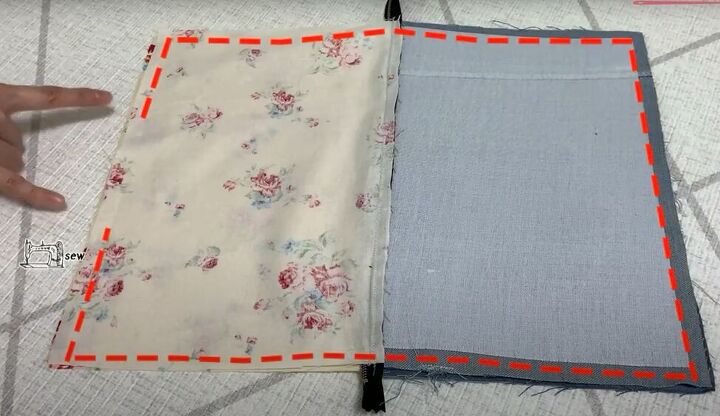
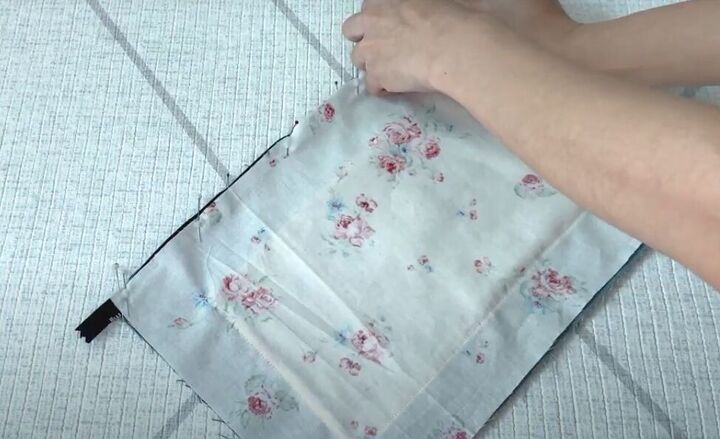
8. Finish the bag
Open the bag so that the right sides of the lining are together and the right sides of the bag are together. Sew the whole perimeter of the bag and lining, leaving an open gap on the long edge of the lining.
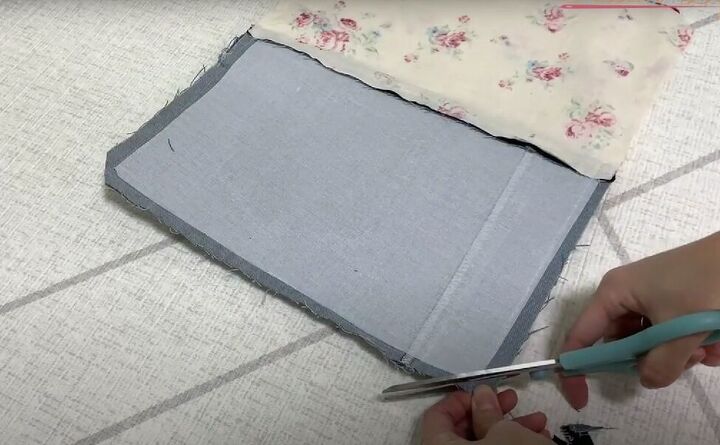
Trim the corners within the seam allowance and trim off the excess end of the zipper.
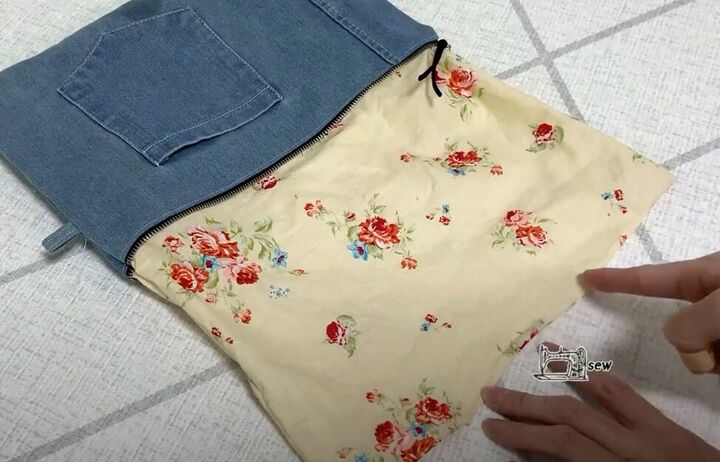
Turn your bag right-side out and close the gap in the lining.
Attach the buckle strap to the loop on the side of the bag.

Here is your inside pocket.
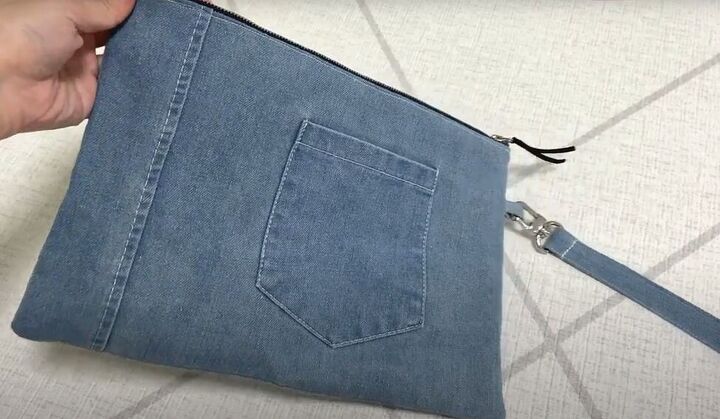
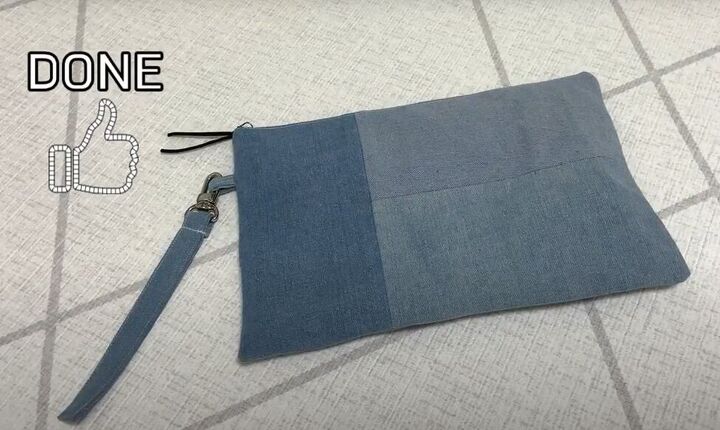
DIY denim clutch bag
Here’s the front of your denim bag with the outside pocket. Just think of all the things you can carry in your new denim bag that was upcycled from some old denim jeans. And think about how organized you’ll be with those pockets!
Try this out, and leave a comment to let me know how your denim bag turned out.
The author may collect a small share of sales from the links on this page.


Comments
Join the conversation