How to Make a Raffia Bag From Scratch Using Easy Crochet Techniques

Summer is coming and a raffia crochet bag is perfect for a summer getaway, beach or pool party, or even just a lazy shopping day. If you know to crochet, you already know the techniques of how to make a raffia bag.
This DIY crochet bag tutorial will show you how to make a structured and lined DIY raffia bag that’s ultra-chic. Let’s get started!
Tools and materials:
- 1-2 rolls of raffia
- 3.0 mm crochet hook
- Lining fabric
- Fusible interfacing
- Snap handles
- Sewing machine
- Needle and thread
- Pins
- Safety pins
- Iron
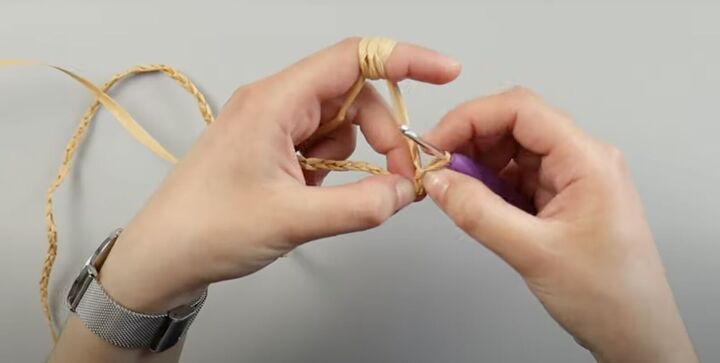
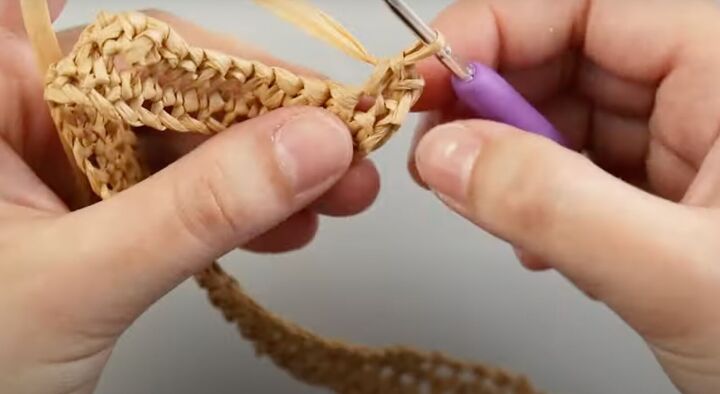
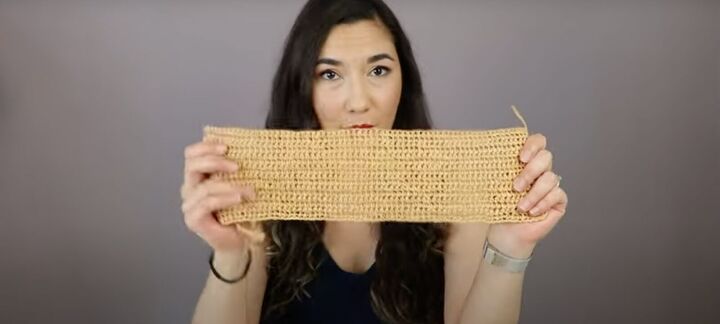
1. Make the sides
Start by making 72 chain stitches for the first row.
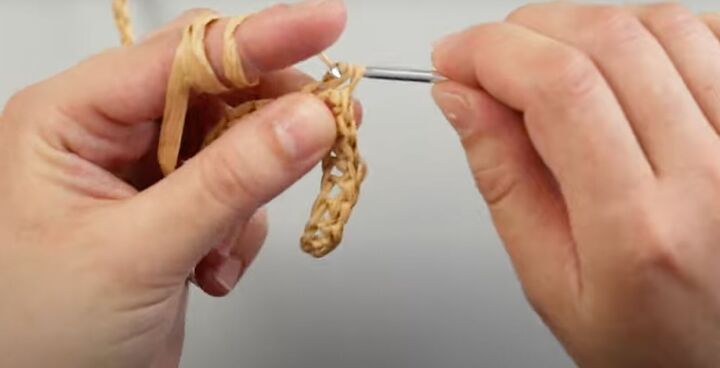
For the second row, leave the last stitch and go to the third stitch of your first row. Continue stitching along the row for each single stitch. You should have 70 single crochets.
At the end of the second row, do two more chains going upward.
Do a single crochet into the last single crochet you make for the second layer.
Continue this pattern of two up to the 45th row.
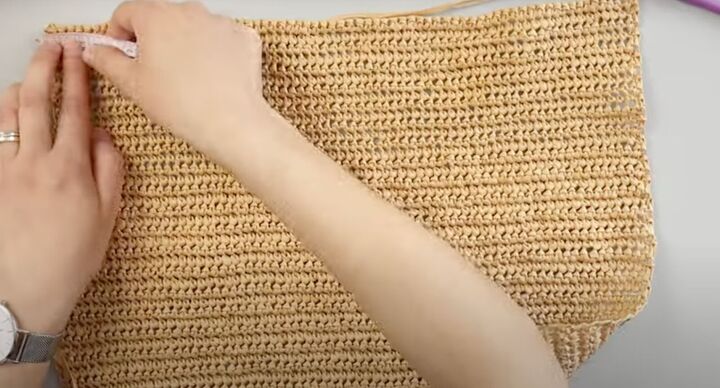
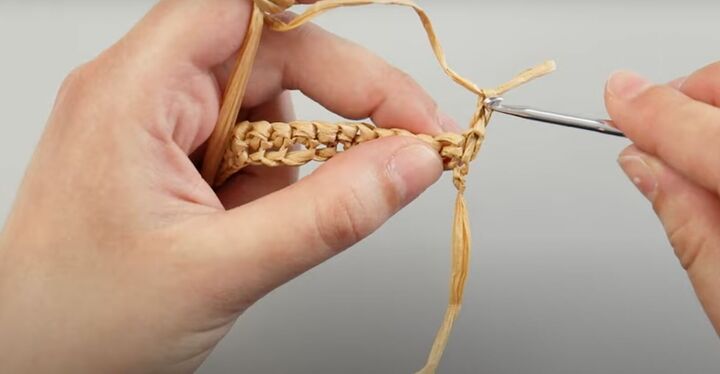
Make sure you turn your work at the end of each row to make it easier for you to continue the pattern.
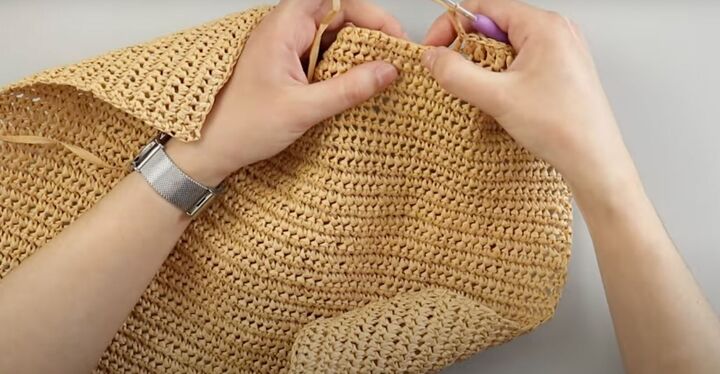
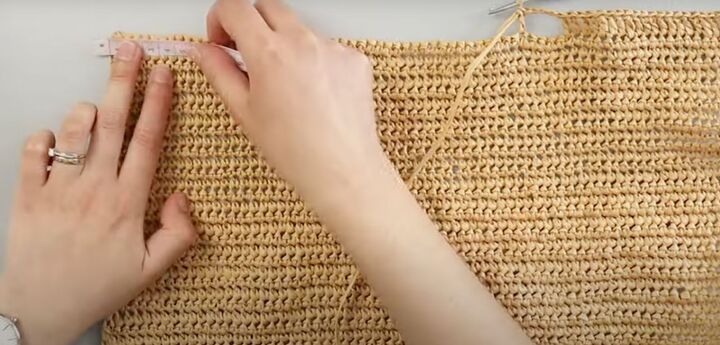
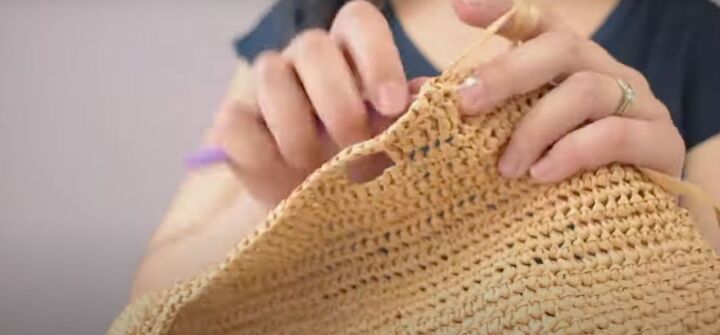
When you reach row 45, make 3 chains instead of the usual 2. At row 46, measure the space to place your handles on either side, making sure they are equally spaced.
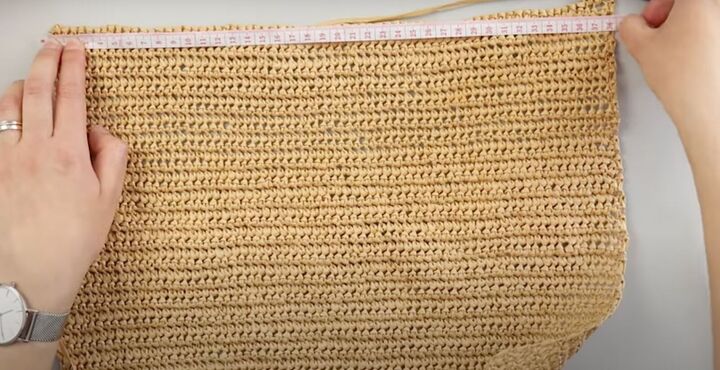
In this tutorial, mine measured 4 inches (10cm) which is 20 single crochets.
Mark this spot with a safety pin.
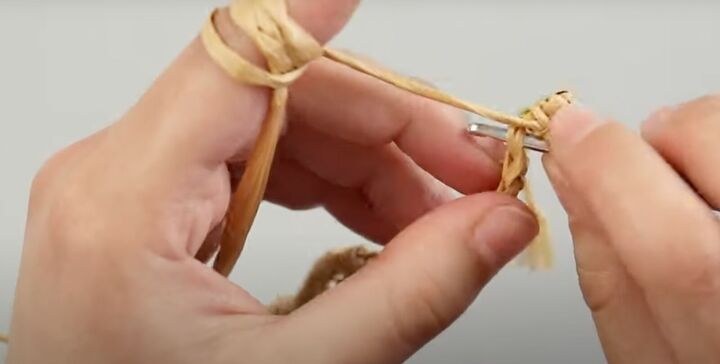
Double crochet into each single stitch of the first 20 stitches.
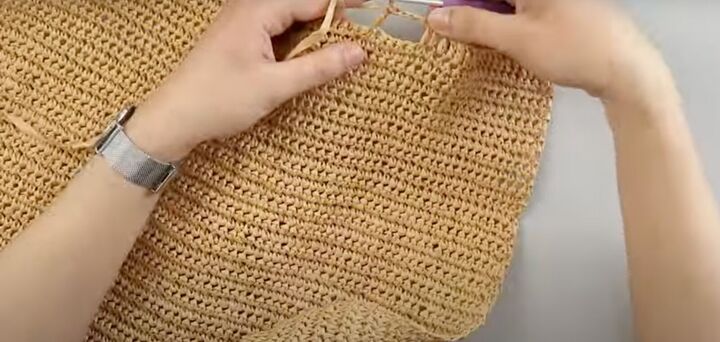
Check the width of your handle. In this tutorial, it is 4 chains.
Go across the the top and start with the double crochet afterwards.
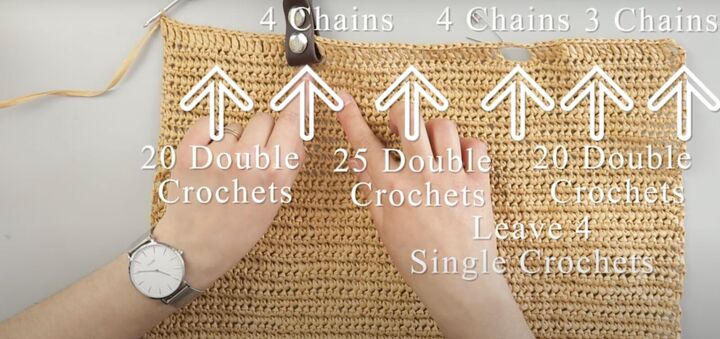
Make sure the other side is symmetrical. Each side from the edge to the handle is 20 double crochets. Each handle has 4 single crochets. In between is 25 double crochets.
At the end of the row, make 2 more chains and then one row of single crochets. The single crochets will help to straighten the row, especially for the chains you left in the previous row.
For the last row of the side pieces, do two chains and then single crochets all along. Repeat all these steps for the other side of the bag.
You should have two equal side pieces.
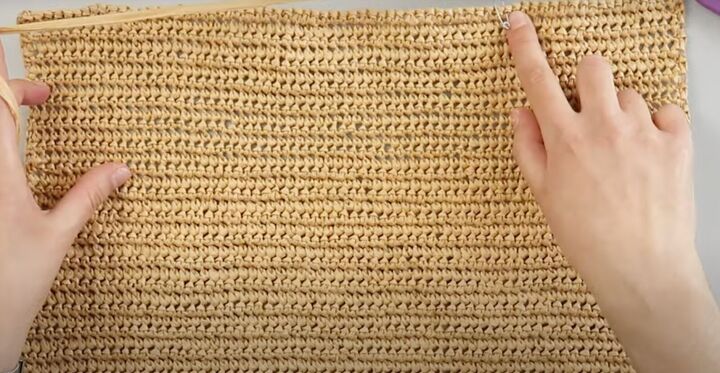
2. Make the bottom
The bottom has to have the same length as the side pieces. You’ll follow the same structure as the side pieces: the first row will have 72 chains.
Leave the last two chains and do 70 single crochets from the third to the last chain. Then two more chains and 70 single crochets. In this tutorial, the bottom has 18 rows following this pattern.
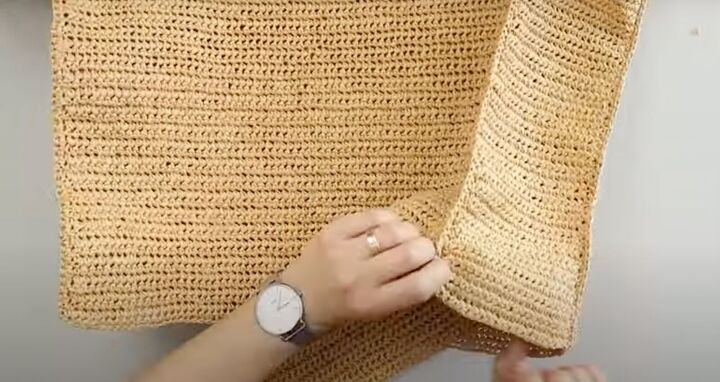
3. Make the gusset pieces
These pieces connect the bottom and sides together. They look similar to the side and bottom because they follow the same pattern but have different numbers.
The first row has 26 chains. Leave the last two chains and continue with 24 single crochets. You can make it wider, depending on your preference.
To work out how many rows you need for the height, keep going until it matches the height of your side piece. Repeat for the other gusset piece.
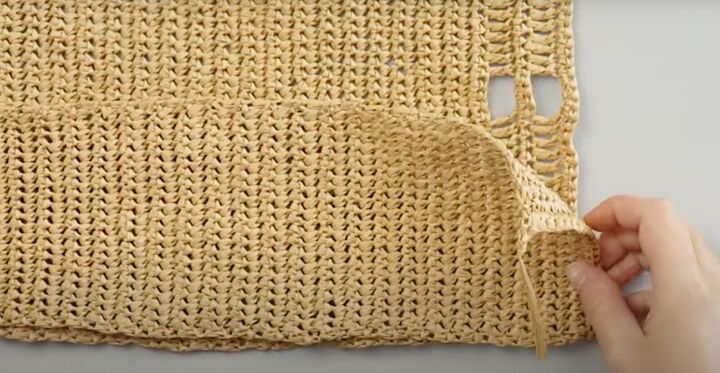
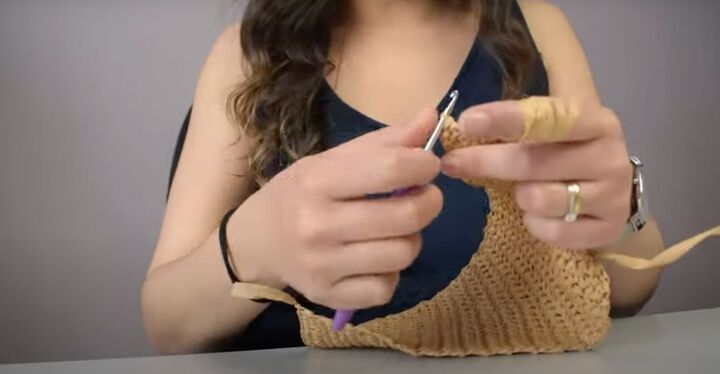
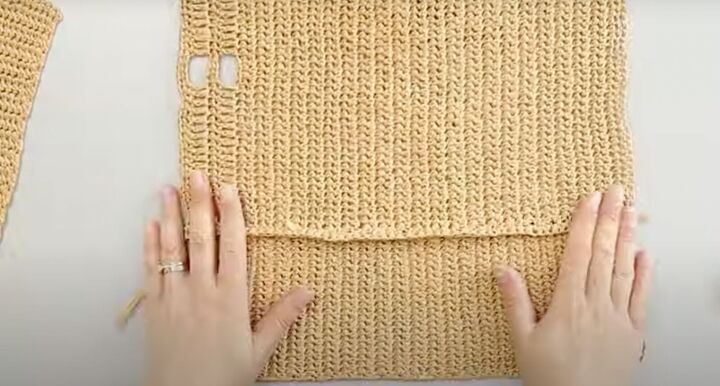
4. Assemble the pieces
Lay the gusset alongside the side piece.
Do single crochets through both layers along the chains that were left in each row.
The chains should all line up. This will get a bit more complicated as you get to the rows with the double crochets. Follow this technique to attach both sides and the gussets together.
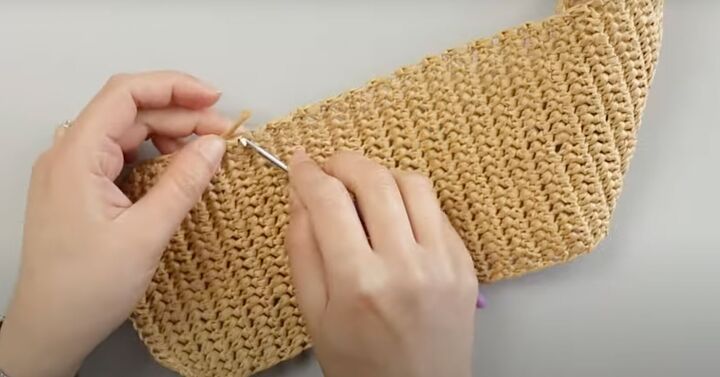
To attach the bottom, pin the first corner to help you get the bottom into the right position. Do single crochets to attach the entire bottom to the sides and gusset.
5. Make the lining
Cut your fabric pieces:
- 4 side pieces 12 X 15 inches (30 x 39 cm)
- 4 gusset pieces 12 X 5 inches (30 X 12 cm)
- 2 bottom pieces 15 X 5 inches (39 X 12 cm)
Cut fusible interfacing to match:
- 2 side pieces 12 X 15 inches
- 2 gusset pieces 12 X 5 inches
- 1 bottom piece 15 X 5 inches
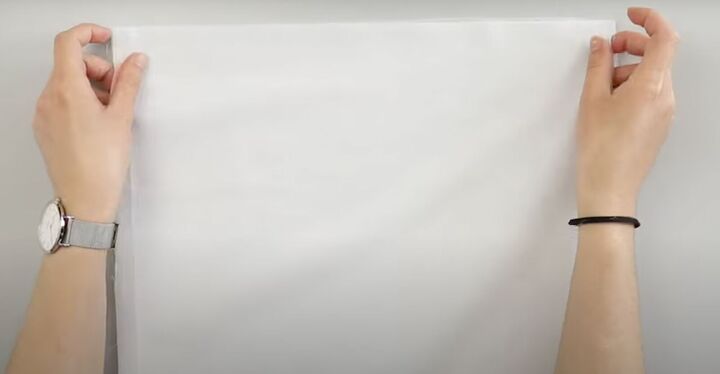
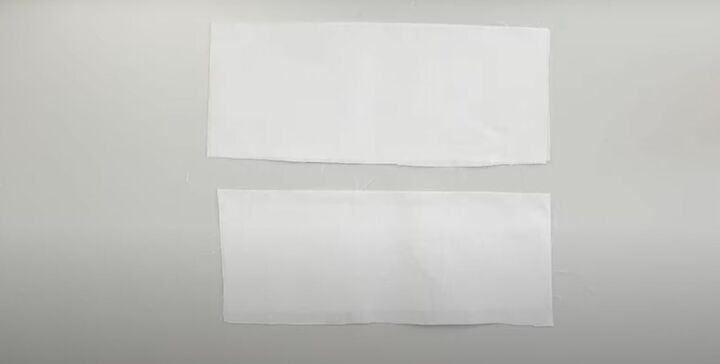
For each side, press 1 piece of fabric with the fusible interfacing. Lay the second piece of the side fabric on top, right sides together, Pin across the top and sew along the top.
Repeat this technique for the second side pieces. Do the same for the bottom and gusset pieces.

Assemble all of the pieces. Make sure the pieces with interfacing are touching each other and the fabric without interfacing are touching each other. Pin and sew.
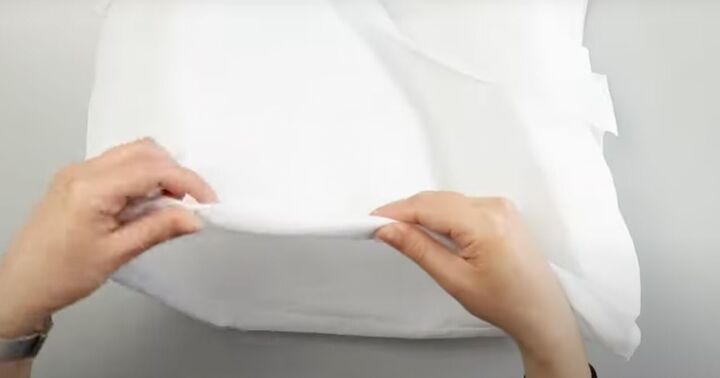
Fold the fabric over the interfacing. Press the fabric at the top of the seam to flatten.
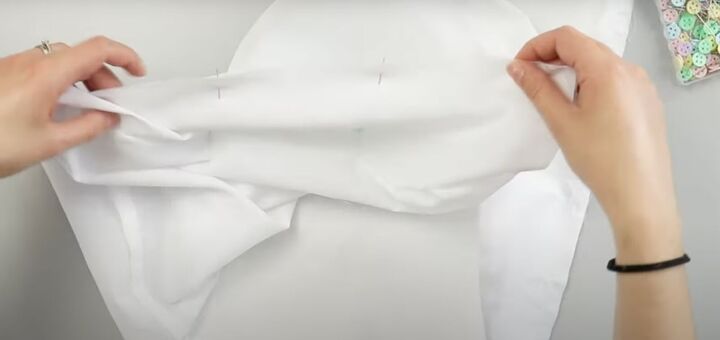
To attach the bottom, make sure the interfacing of gusset and sides touches the bottom interfacing. Pin along the edges and sew.

Leave a 2-inch space unsewn on one of the seams. Turn the entire lining inside out through that space. Sew the hole closed. Your lining should have the shape of your bag.
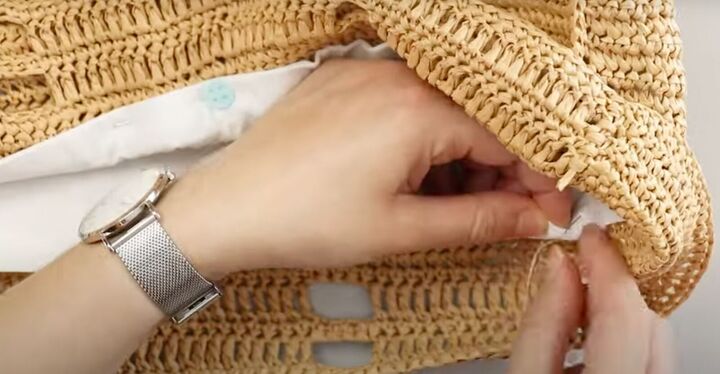
6. Insert the lining
Insert the lining, pin, and sew to the crochet by hand. This hides the attaching stitches and gives a nice clean finish.
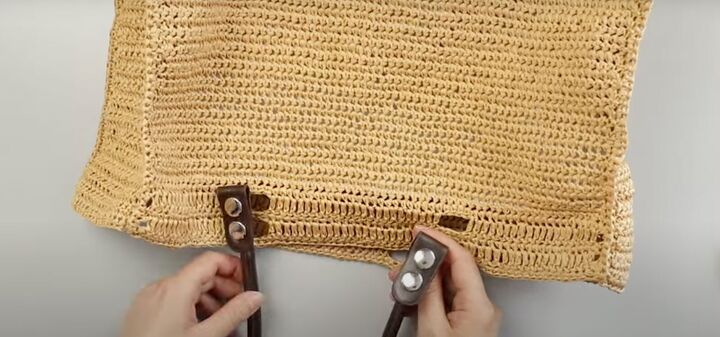
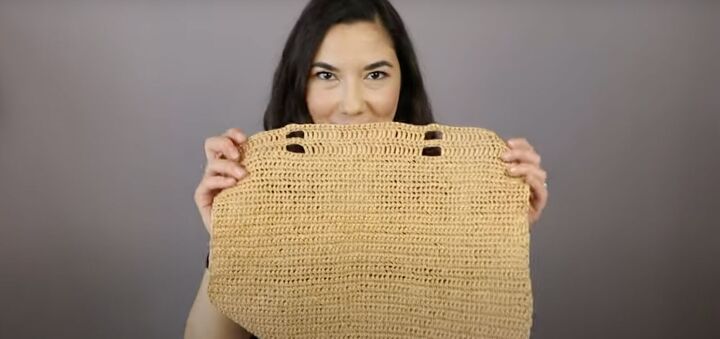
7. Attach the handles
Attach the handles. Mine had an easy snap fastening.

How to make a raffia bag
You’ve made this gorgeous DIY raffia bag. I hope I showed you how to make a raffia bag. Please let me know in the comments if you made this beautiful summery bag!
The author may collect a small share of sales from the links on this page.


Comments
Join the conversation