How to Sew a Tote Bag - Cute Pink Dior Book Tote Dupe

I want to show you how to recreate this Dior book tote bag for a fraction of the price! This tutorial is so fun and will also teach you a few tips for bag-making!
So, if you want to learn how to sew a tote bag, let’s get right into it.
Tools and materials:
- 1.1m (1.2 yards) of upholstery fabric
- Heavy interfacing
- Scissors
- Pen
- Matching thread
- Sewing machine
- Measuring tape
- Old bag
- Glue gun
- Magnetic buttons
- Fabric scraps
- Old shoes
- Tweezers
- Pliers
- Ruler
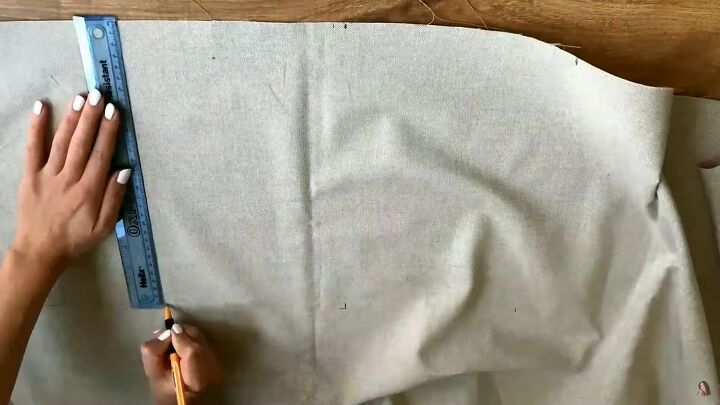
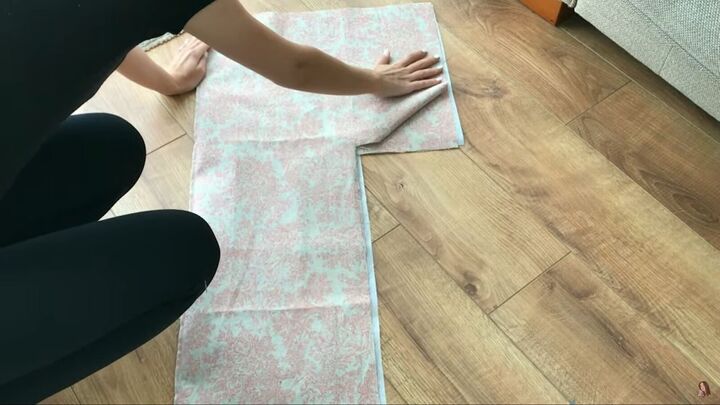
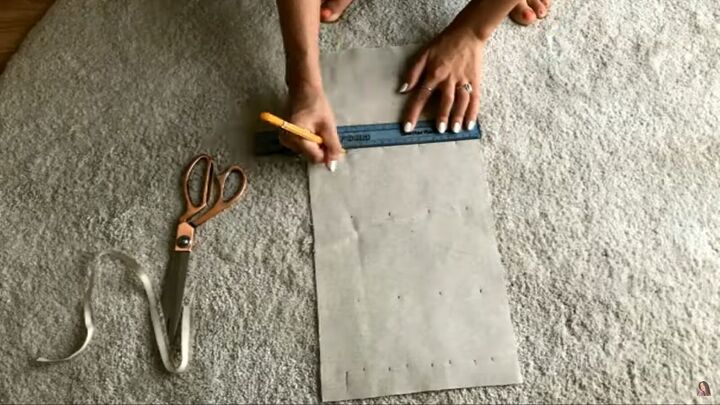
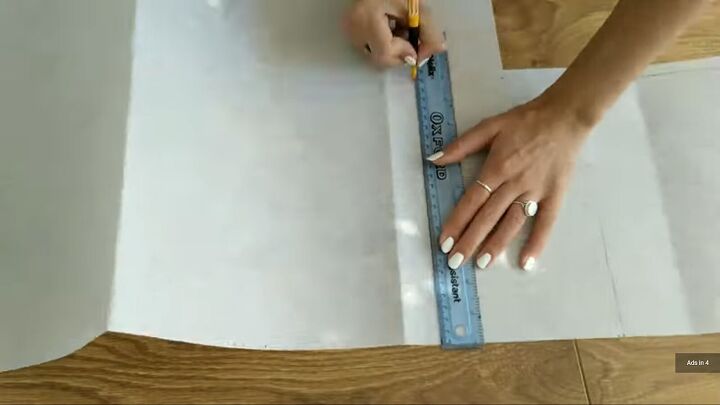
1. Make the pattern
I found the measurements of the pink Dior book tote bag online and used them to make the pattern: 36.5cm x 28cm x 17.5 cm (14.37” x 11.02” x 6.8”). I also added 2cm (0.78”) for seam allowance.
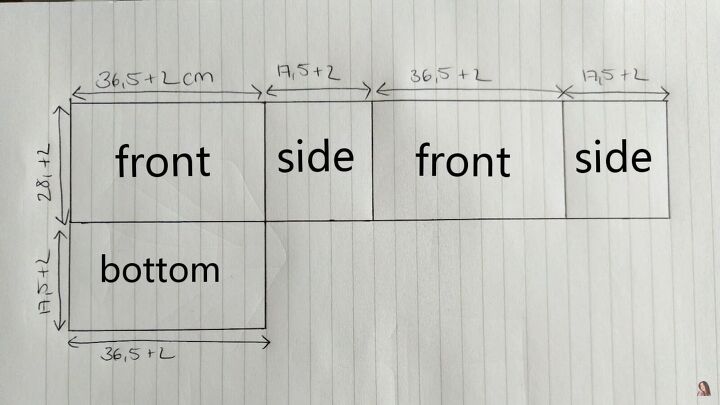
This is what my pattern looked like.
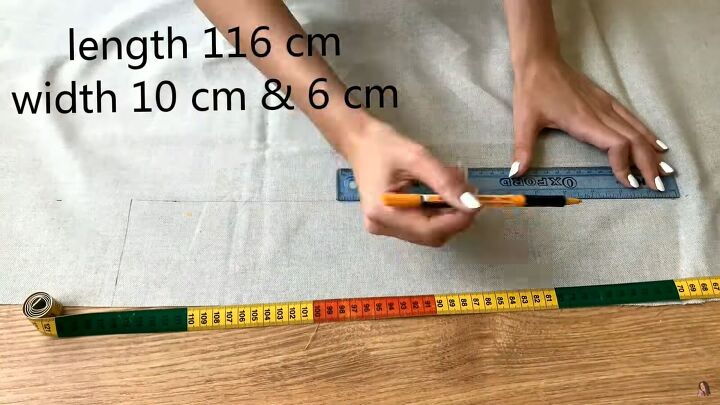
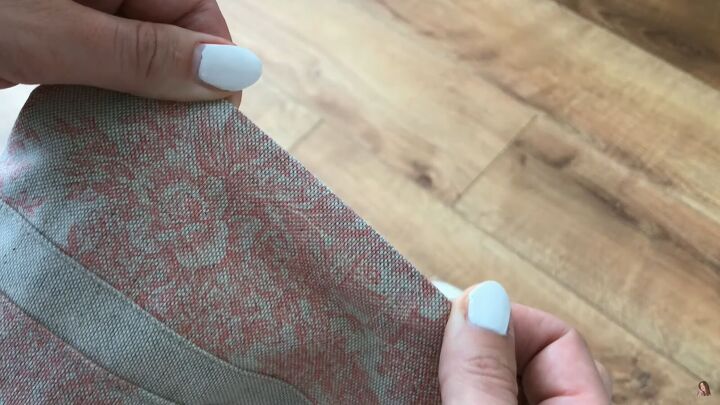
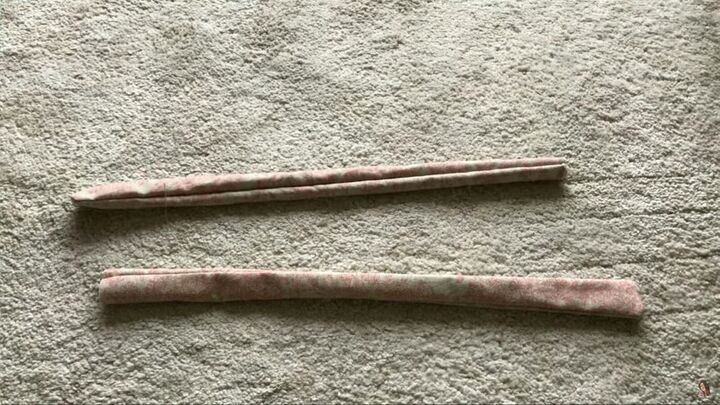
For the decoration, cut two strips of fabric 116cm in length (45.66”) and 10cm and 6cm wide (3.93” & 2.36”).

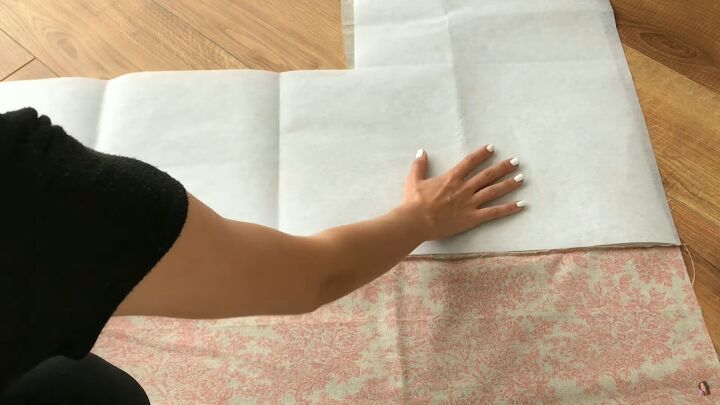
2. Cut the lining
Cut the pattern of your bag again using the remaining fabric; this will be for the lining.

3. Cut the interfacing
Lastly, cut pattern on interfacing.
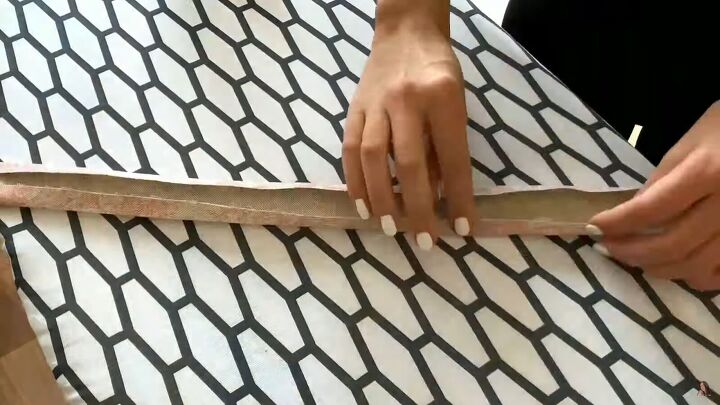
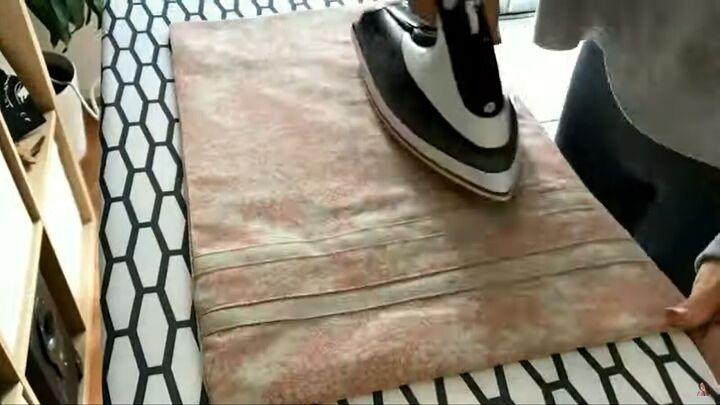
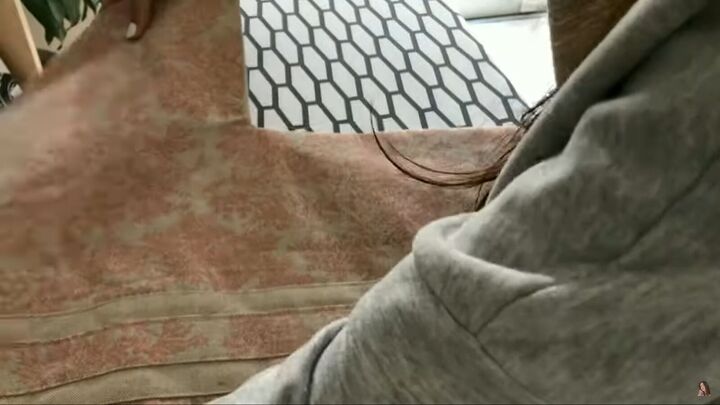
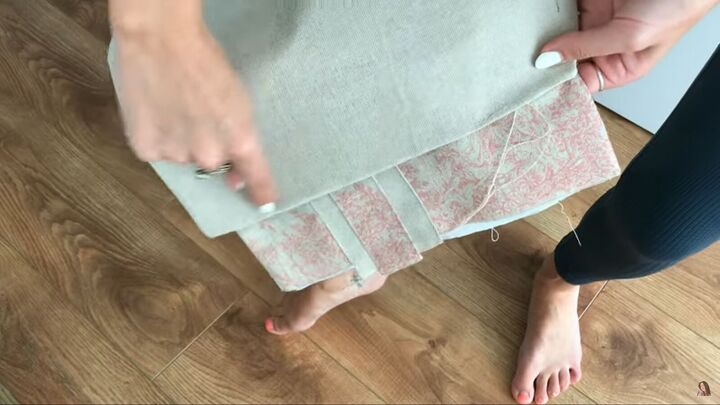
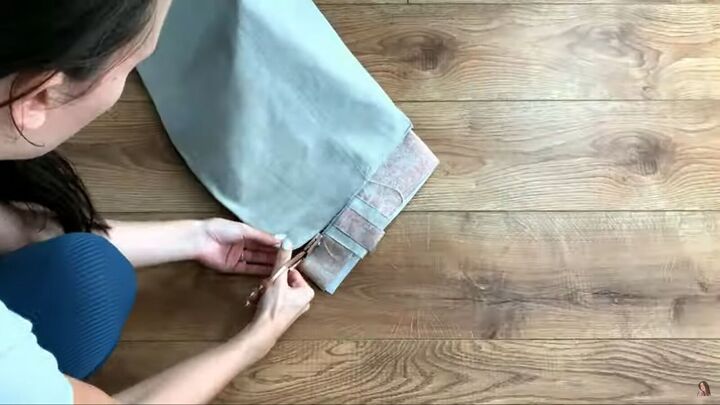
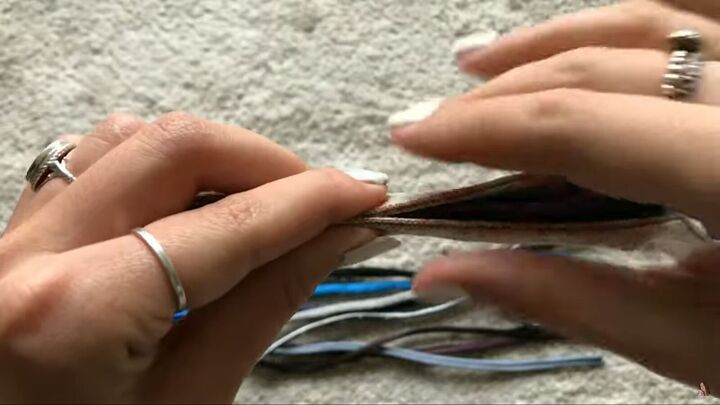
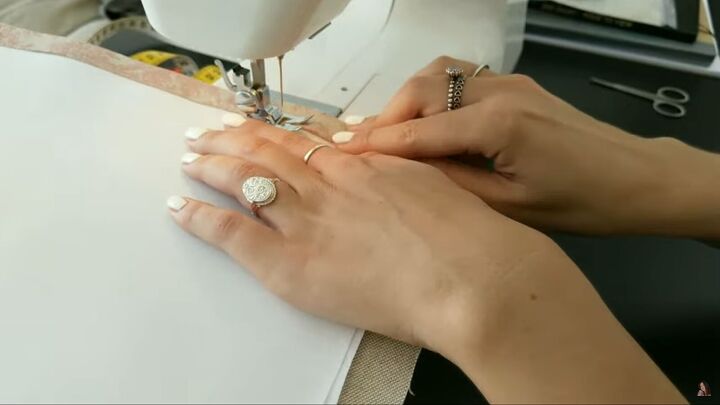
4. Make the decorative strip
Iron the strips of fabric so that the raw edges are facing inside.
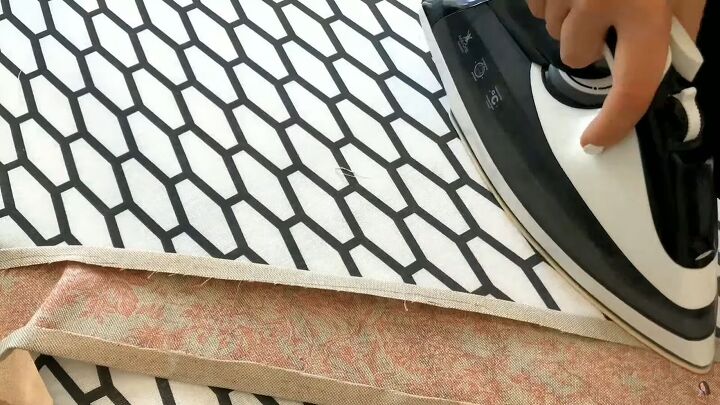
For the thicker piece of fabric, iron the raw edges the other way around, as this forms part of the design.
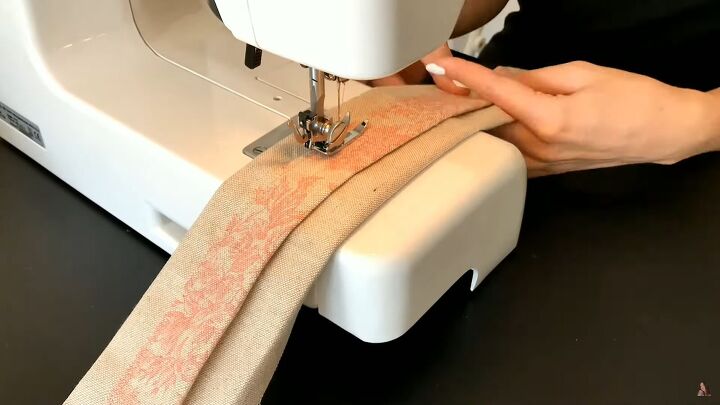
Topstitch the thinner strip to the broader strip, on both ends to create the decorative piece.
Decide where you want the decorative strip to sit and sew it down with a topstitch.
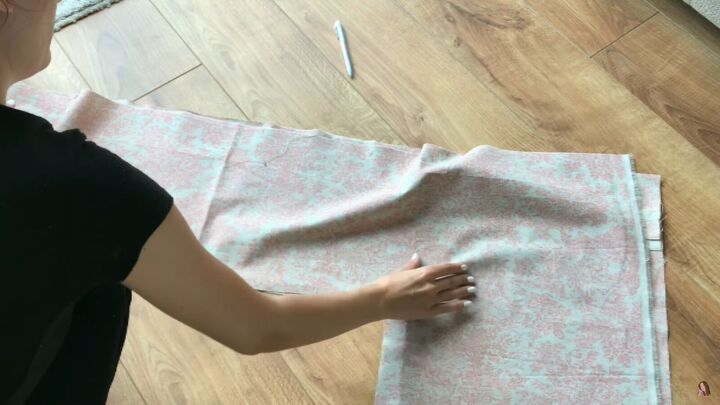
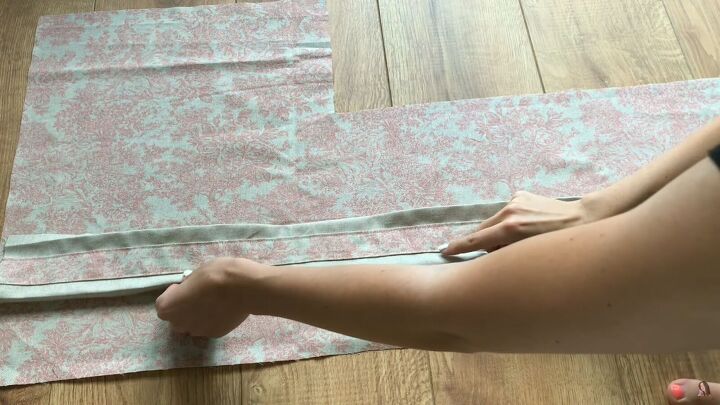
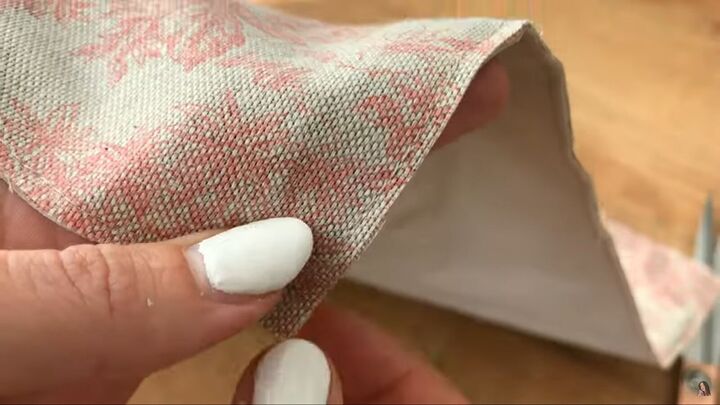
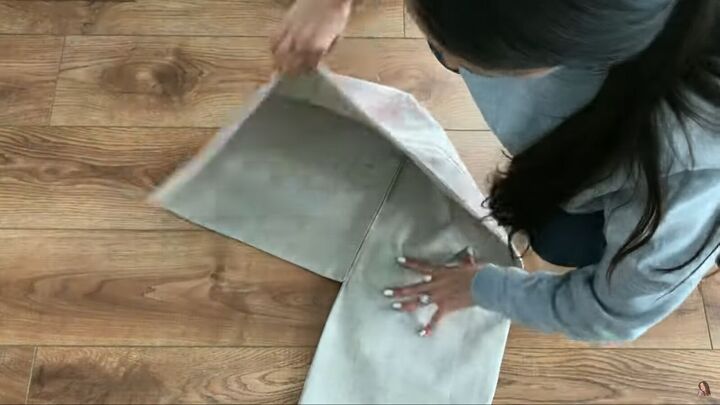
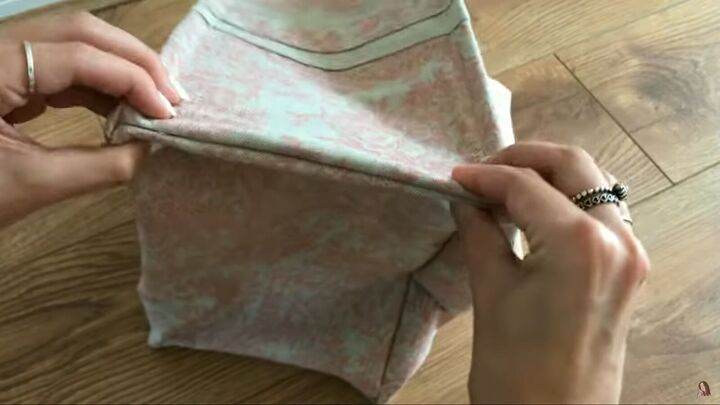
5. Attach the lining
Place your lining onto the outer bag layer, right sides facing. Then, sew all along the top.
Iron down the seam, so it lays flat.
6. Add the interfacing
Next, iron the interfacing onto the inside of your bag.
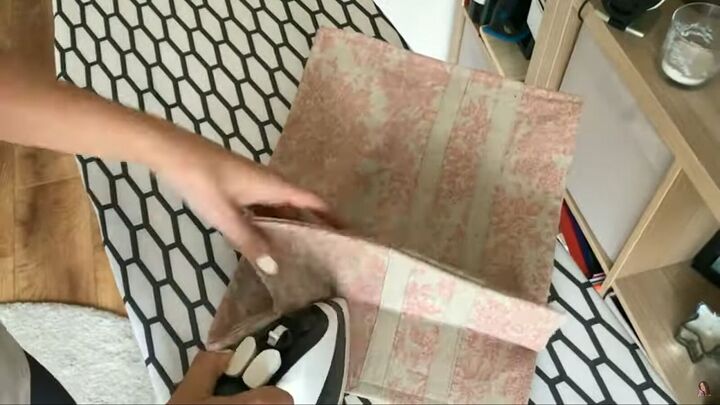
Fold your two bag patterns (right sides together), including the interfacing, and sew along all the edges but leaving the short end open.
Cut off the excess seam allowance, leaving only a tiny bit of fabric.
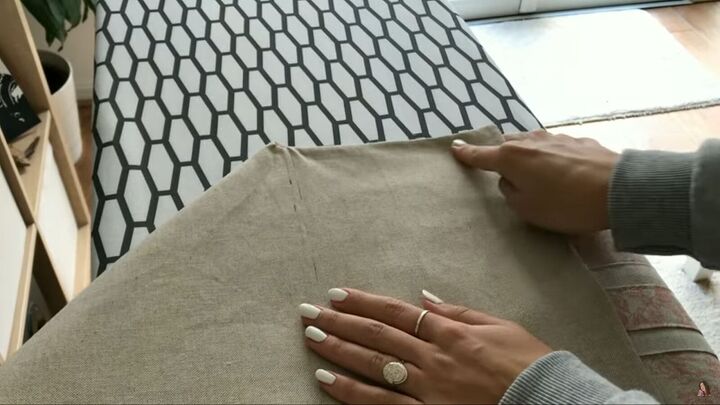
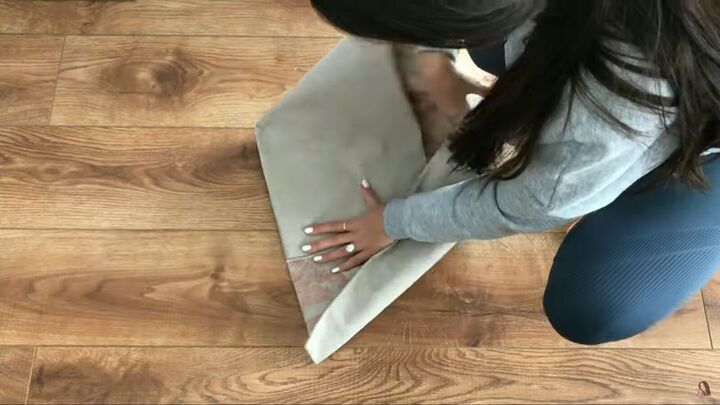
7. Press
Turn your bag right sides out, push out the corners with your scissors, and iron.
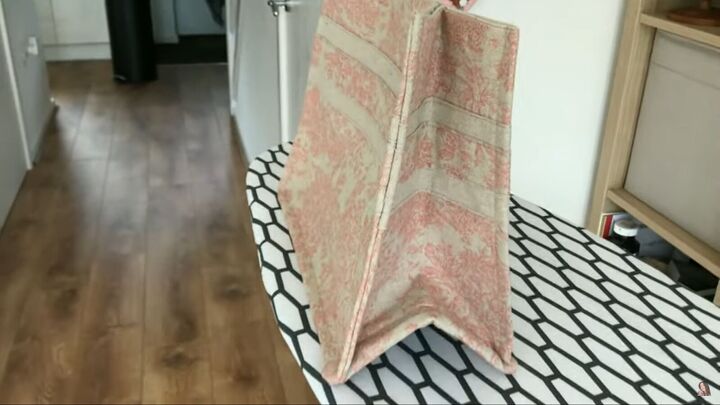
8. Sew the bottoms and sides
Fold the longer piece of the bag over at an angle to connect the bottom of the bag to the side. Sew down.
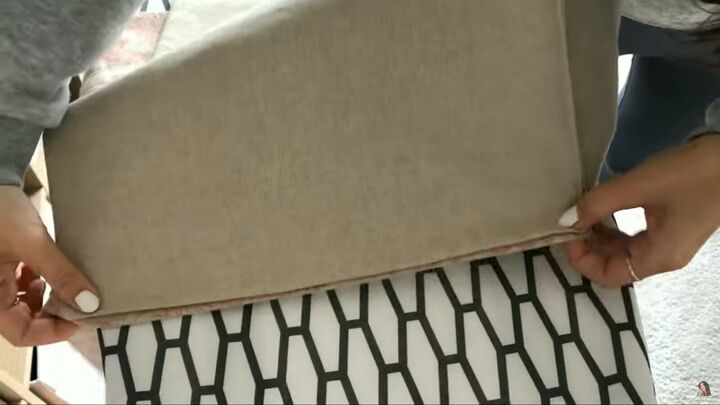
Fold over again, repeating the steps for the remaining sides, then sew.
Turn the bag right sides in and fold the short side over.
For the last side, sew up to the marking you made to cut out this pattern, so it’s exactly 17.5cm (6.88”) wide.
Sew the sides of your bag right sides together to close the bag.
Then, cut off the excess fabric.
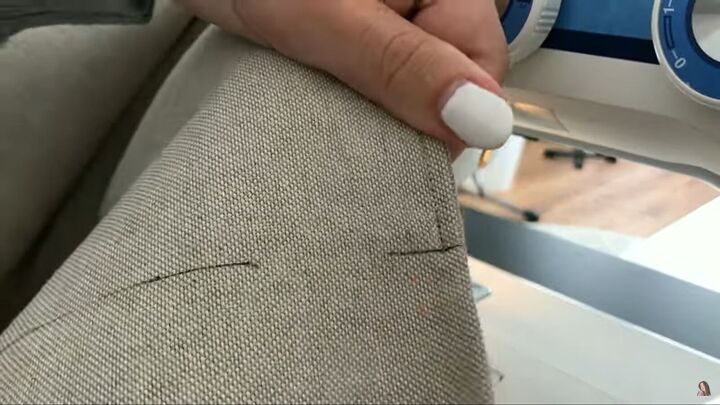
9. Topstitch
Turn the bag right sides out, fold along the seams, and topstitch each fold down. This will give the bag more structure. Repeat on all side seams, as well as the bottom seams.
10. Press folds at the sides
Fold the sides of the bag and iron them down to keep the fold in for a typical book tote look.
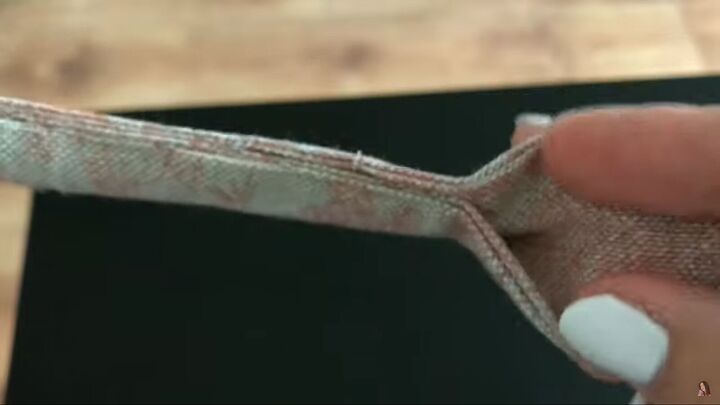
11. Make the handles
Now, take some of the remaining fabric, and cut out 4 strips of fabric that are 5cm (1.96”) wide.
Place them right sides together and sew along the edges, leaving one bottom open.
Turn them inside out and iron them flat.
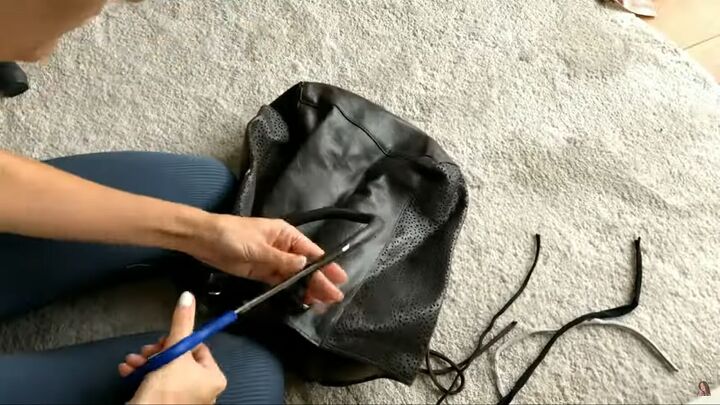
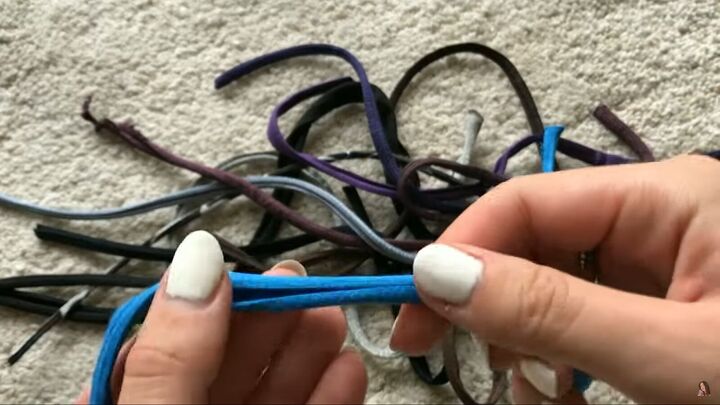
I took the handles of an old bag and removed the fillings. To my surprise, the filling was actually scrap fabric!
Take the filling and place it on the strap, roll the strap around the filling and sew the sides closed.
Do not close the whole handle; leave an opening on both ends.

Sew the side that was left open, and fold the raw edges in for a clean finish.
Attach the handles to the bag by sewing a rectangle over the flat sections on each end. Be sure to pivot when sewing.
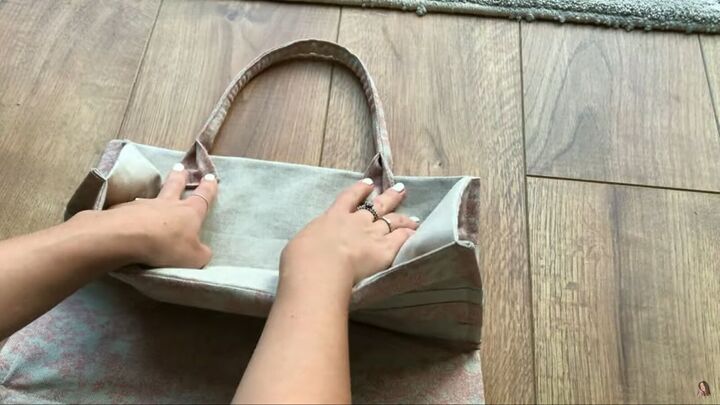
12. Reinforce the bag
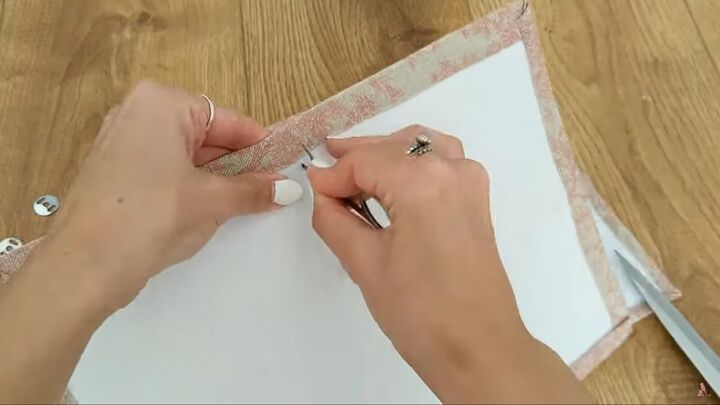
Because I wanted my bag to be stiffer, I measured the inside of my bag and cut out 4 layers of interfacing for each side.
Take some remaining fabric and cut it big enough to cover the interfacing. Iron all layers of interfacing onto the fabric. Also, iron all edges of the fabric onto the interfacing.
Sew the fabric onto the interfacing, folding the raw edge inward. In the end, you should have two panels.
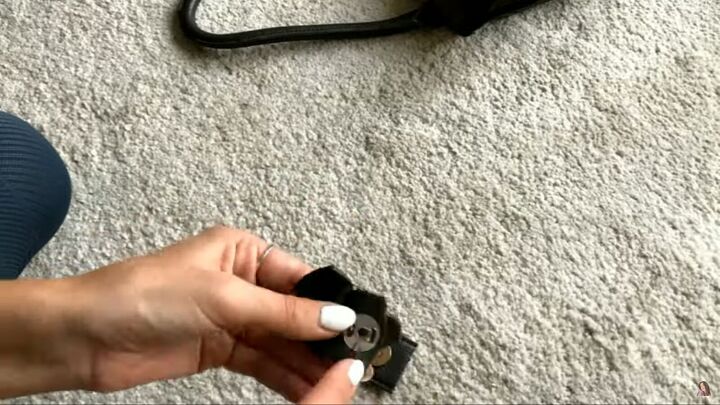
13. Attach a closure
I reused the magnetic button from my old bag as a closure.

Find the center of both panels and place a mark. Then, add the buttons accordingly.
Use scissors to poke holes for the button’s tabs to go through.
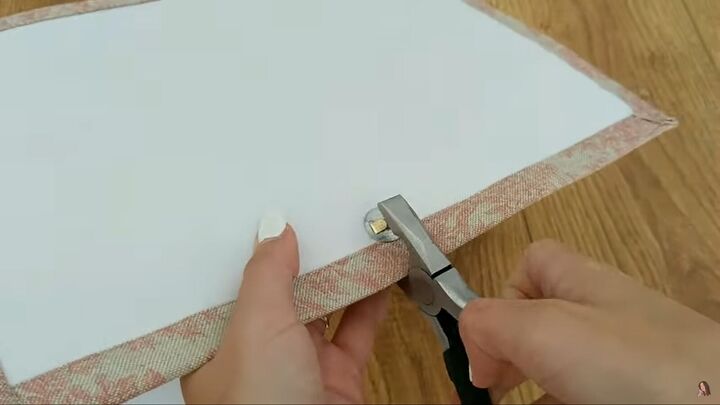
Use pliers to attach both magnets through the panels.

14. Insert the panels
Place the panels into the bag. Then, attach the panels to the sides of the bag with hot glue.
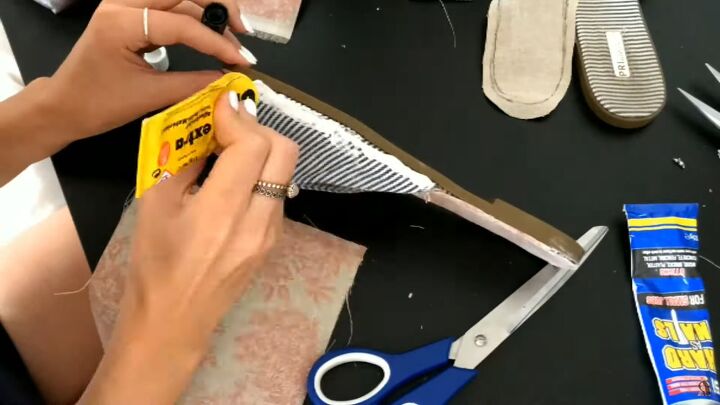
Bonus DIY slippers
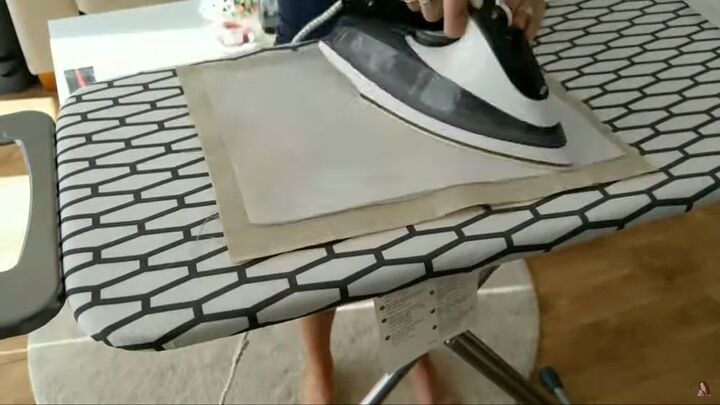
I had some leftover fabric, so I decided to make some matching shoes with an old pair of sandals.
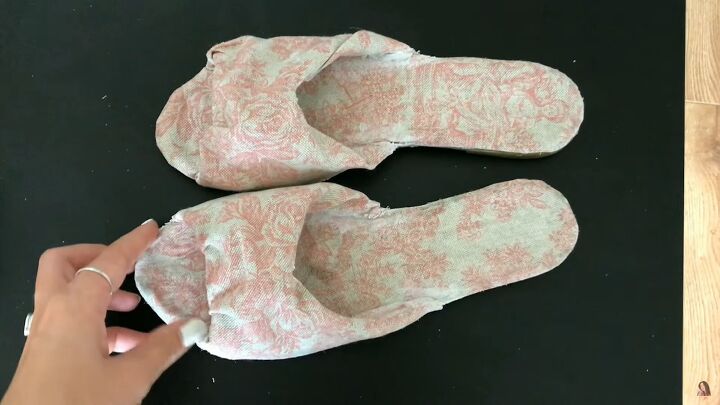
Simply cut the fabric to the size of the sole and strap and glue the pieces on accordingly.

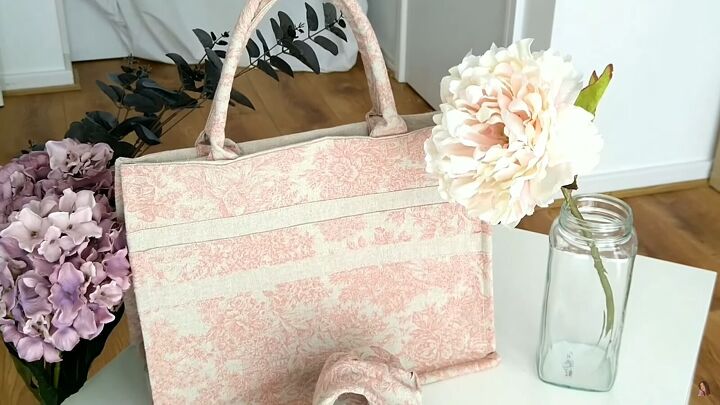
How to sew a tote bag tutorial
Here is the final outcome. The Dior book tote costs £2,250 pounds ($3,000) and my recreation only cost me £21.90 ($30)! Not to toot my own horn, but I think I nailed it.
I'm going to take this bag literally everywhere! Let me know what you think in the comments below.
The author may collect a small share of sales from the links on this page.


Comments
Join the conversation
Fab 👍🏻 It look great , thanks for sharing