How to Apply Mascara Without Clumping - Better Than False Lashes

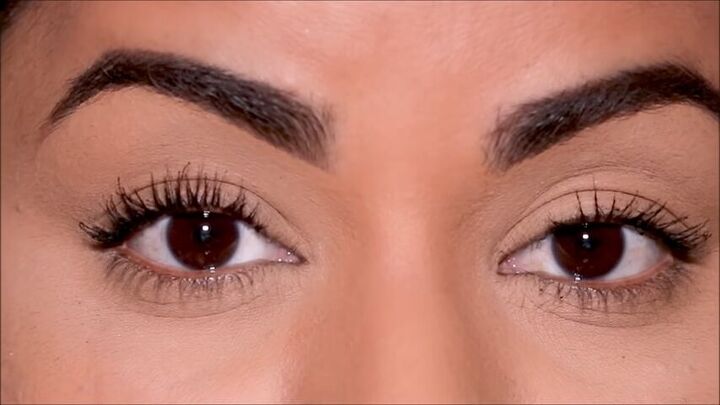
By the end of this tutorial, I promise you’ll fall in love with this mascara technique that’s better than your false lashes. I’m going be showing you how to apply mascara without clumping so your lashes look like lash extensions or even falsies.
I’ll also be showing you your mascara before and after you learn this technique, so you can see how huge the difference is! Let’s begin.
Tools and materials:
- Lash curler
- Hairdryer
- Mascara
- Lash primer
- Lash comb
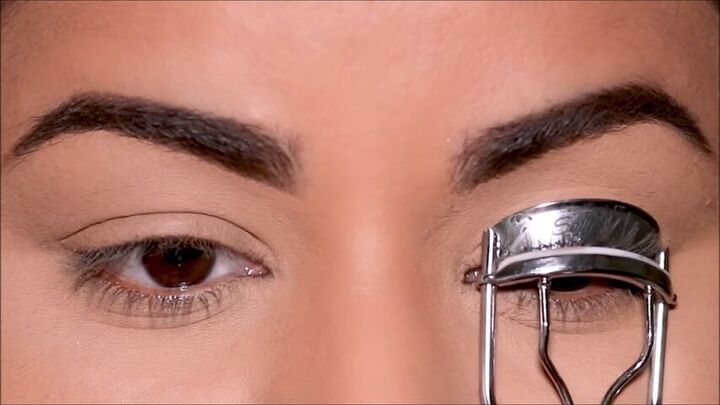
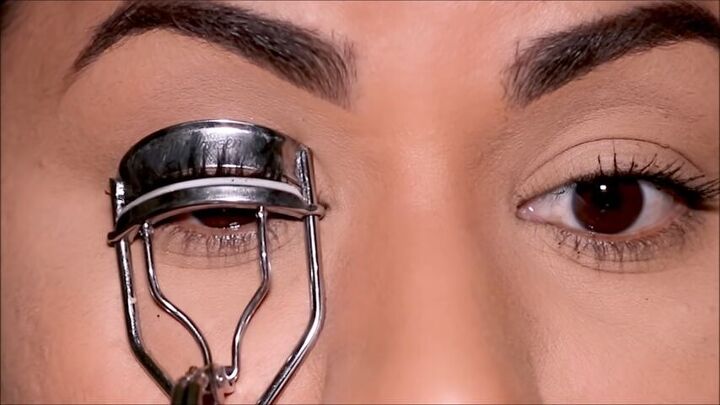
1. Warm your lash curler before you curl your lashes
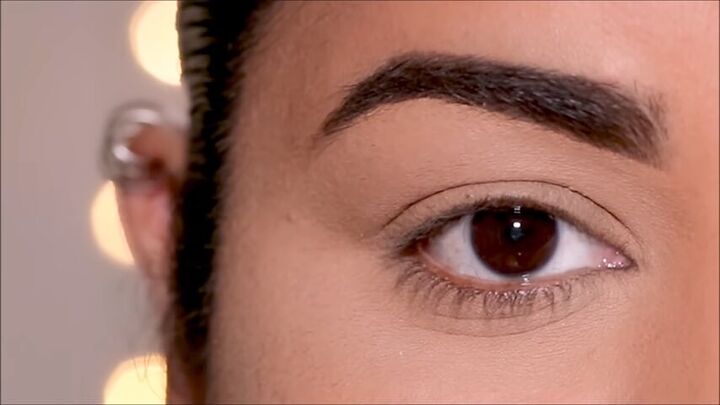
The first step is to curl your lashes. On one side, I’m just curling the lashes, but on the right, I’m going to warm up the lash curler before I use it to show you the difference.
I’m using a hairdryer to warm it up, but make sure to touch and feel it before using - it shouldn’t be too hot; it should be just comfortable.
As you can see, what a big difference it makes. It’s just like your hair straightener or curler; you always warm it up before using it on your hair to straighten or curl. If you don’t warm up the instrument, it’s not going to hold. It’s just like that for your lashes as well.
This also helps to lengthen the lash hair upwards, because it’s standing vertical now.
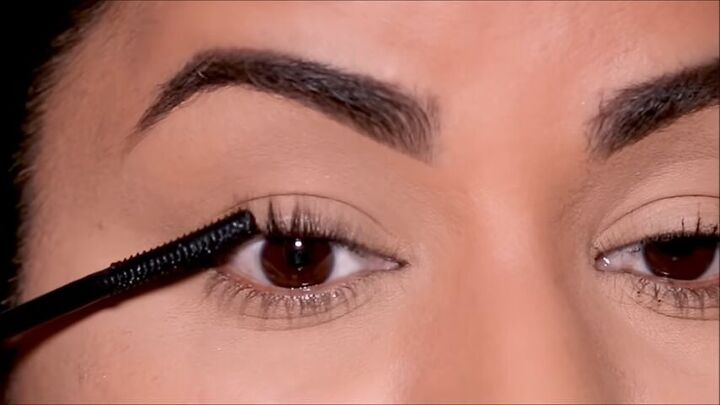
2. Use a lash primer before applying mascara
Now, for the right side, before I use mascara, I’m going to be using a black lash primer. If you’re wondering how to make mascara last longer, this is it. Coating your lashes with a primer first helps to create a bold, fuller look before applying mascara.
It also serves to keep your lashes from clumping together while lengthening and thickening your lashes to give them a more voluminous look. Apply it just as you would mascara, coating your lashes from the roots to the tips.
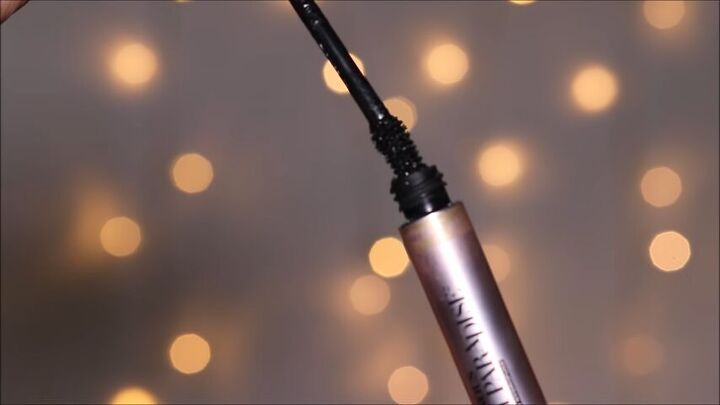
3. Wipe off excess mascara before applying
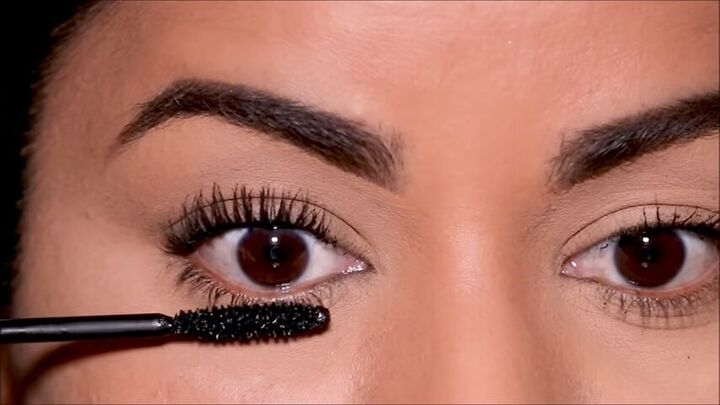
It’s time to apply the mascara. When removing the mascara wand from its tube, slightly tilt it to one side so it removes the excess mascara on the wand. This way, your lashes don’t get clumped. I recommend using waterproof mascara because the formula helps hold your lash curl for a longer time.
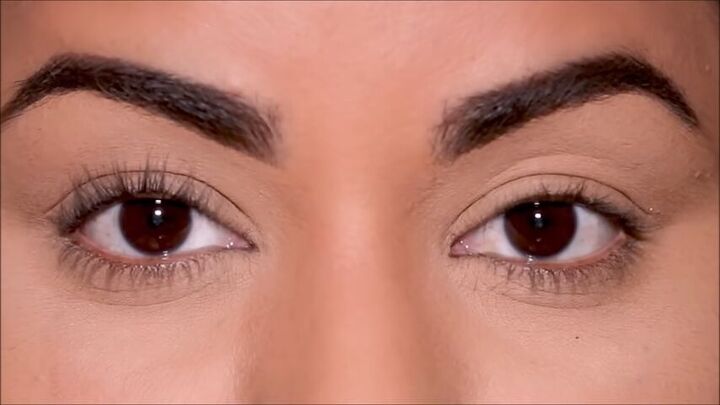
Here’s our mascara after applying. They look good, but here’s a hack to take them to the next level.
4. Recurl your lashes
When the mascara is no longer tacky and it’s almost dry, use the curler one more time, but this time, don’t warm it up. When opening the mouth of your curler, make sure not to pull off your lash hair by doing these two things.
One, don’t apply mascara to the top part of your lashes. That’s where it gets sticky and the lash curler can pull some hair. Second, make sure to open the lash curler very gently.
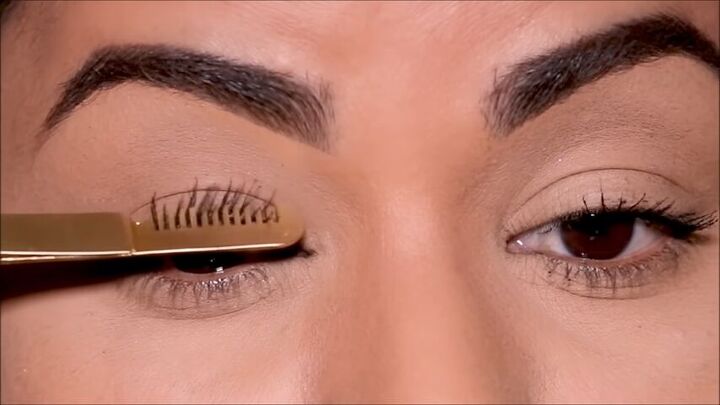
5. Use a lash comb
Use a lash comb to separate the lashes.
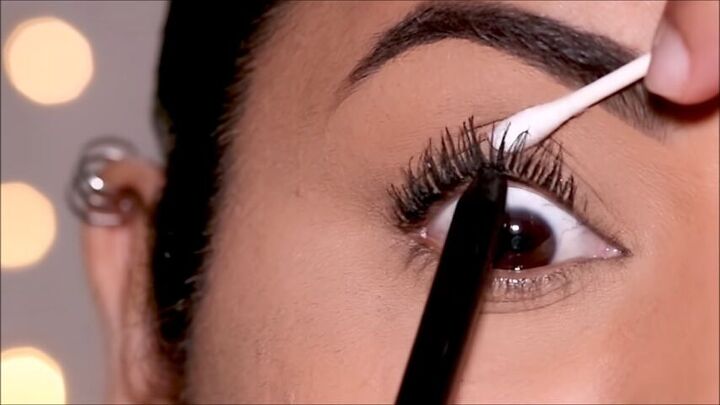
6. Hide the skin under the lashes with an eye pencil
To cover up the skin underneath the lashes, use a black eye pencil. This makes the skin look like a lash band, so it looks like you’re wearing a false lash when you are actually wearing just mascara.
7. Apply mascara to your lower lashes
This is optional, but applying mascara to your lower lashes helps balance out the lower lashes. I like to use a thinner wand for my lower lashes so I have more control. This also adds to the thickness of the lashes and helps your eyes look much bigger and brighter.
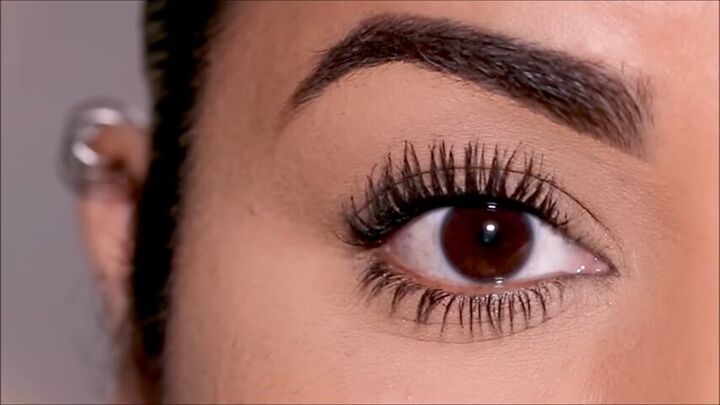
How to apply mascara without clumping
Here’s my mascara before and after. This is the best mascara routine and it’s a lot better than wearing false lashes! Let me know what you think about this technique down below.
The author may collect a small share of sales from the links on this page.


Comments
Join the conversation
I will try. I use Mary Kay mascara.
I have always had long full eyelashes. They seem to be thinning out now that I'm older. Is there anything to take or use on them to her them to grow back thick and long again?