How to Contour Your Face for the Look You Want

Today, I want to show you the difference it makes whether you blend your contour up or down.
Contour is designed to push something in, making the area above and below it look lighter and fuller.
Follow along with me and see if you can tell the difference.
Tools and materials:
- Contour stick
- Contour brush
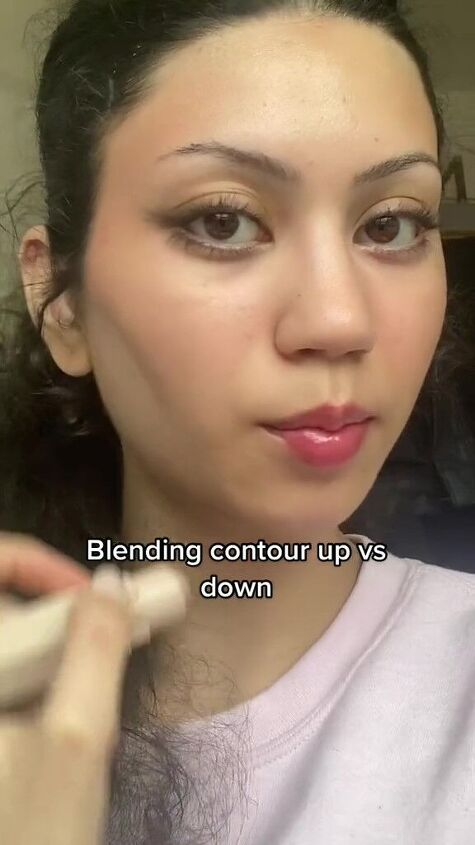
1: Blending up
Sweep a line of contour from just below your cheekbone towards your jawbone in a curve on both sides.

On the right side of your face, do what most people do and blend the contour up towards your cheekbone.

You can see that the area below the contour looks lighter and plumper. We would usually bake this area.

2: Blending down
On the left, blend the contour down towards your jaw.

Now that side of your face looks darker and so more sunken, from the top of the contour area right down to your jawbone.
This makes the upper part of your face, above the contour, look wider and fuller.
Personally I prefer the sunken cheek look, so I blend my contour down. This doesn’t drag your face down, as some people claim. It simply makes the area that’s contoured look smaller, so the area above it appears plumper.

Once you understand the principle, you can create the exact look you like.
Can you see the difference? Which look do you prefer?
The author may collect a small share of sales from the links on this page.


Comments
Join the conversation