How to Fix Over-Plucked Eyebrows: The Ultimate Routine for Thin Brows

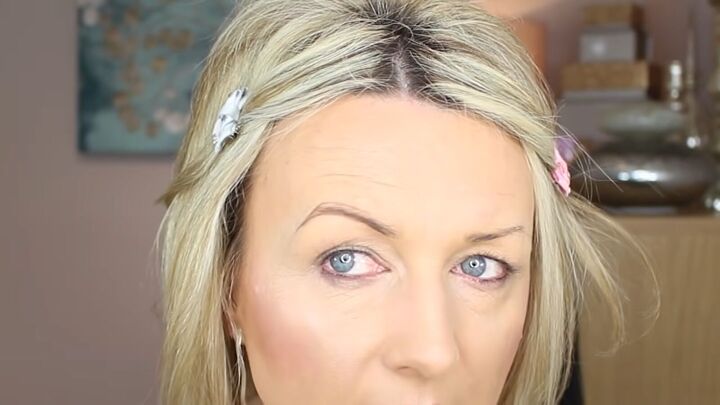
In this tutorial, I'll show you how to fix over-plucked eyebrows. Eyebrows frame your face and give so much expression. When you get older, you may lose eyebrow hairs. The saddest thing is that thin eyebrows make you look even older!
If you have hooded eyes, having a strong brow helps them look younger and lifted. I want more defined brows but don’t want a look that is painted or fake. Here is how I do eyebrows for mature eyes or over-plucked eyebrows.
Tools and materials:
- Brow scissors
- Brow pencils
- Brow wax (optional)
- Brow powder (optional)
- Brow gel/styler
- Spoolie
Note: I use 2 colors on my brows: one a bit darker and the other a bit lighter for a more realistic appearance. I also prefer to use a pencil but you can use power, pomade, wax, or whatever you are most comfortable with.
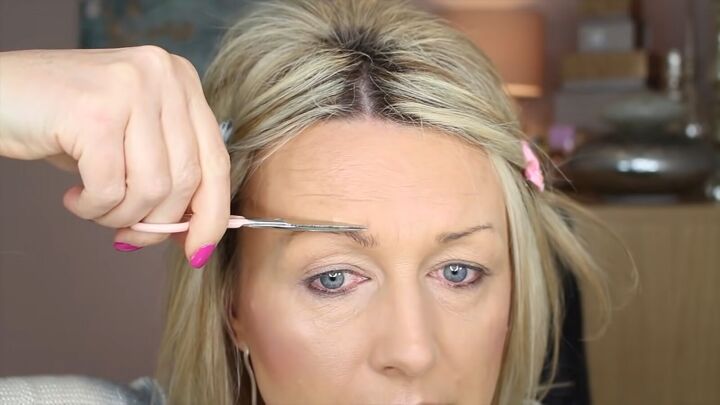
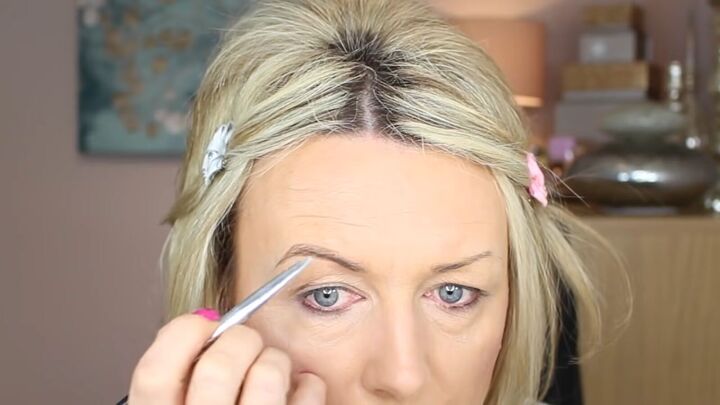
1. Trim brows
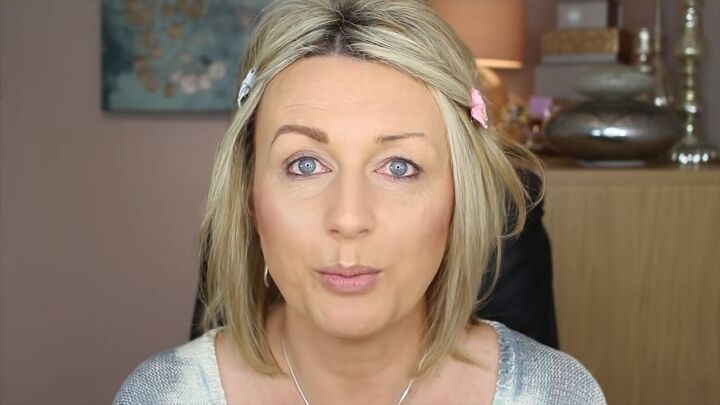
My eyebrows are naturally very thin and on one of my brows, I am missing hair at the tail because of an injury when I was younger.
Start with well-groomed brows so any stray hairs are plucked or waxed away.
The hairs on eyebrows grow in two different directions. The front of the eyebrow grows upward and from just before the arch, they grow downward. When we get older, some hairs become scraggly or wiry. Trimming the hairs on the brows makes them more uniform.
I brush the front hairs up and trim.
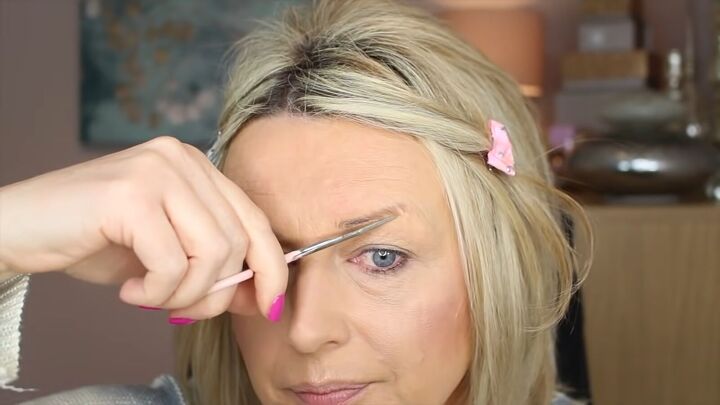
Then. I brush the hairs on the tail end or from the angle or curve downward and trim those as well.
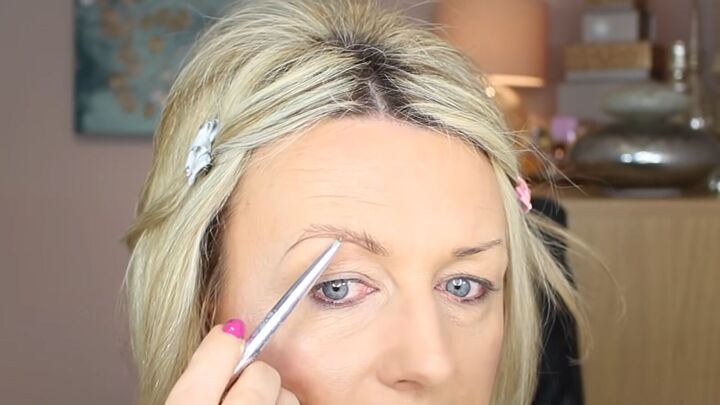
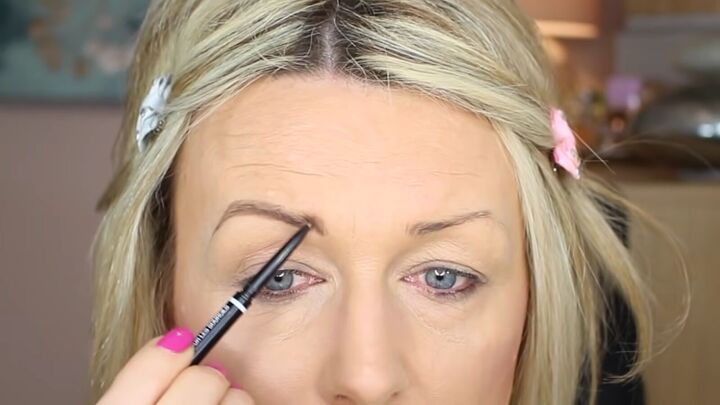
2. Fill in brows
Whatever product you use, pencils, powders, or pomades, get 2 shades to avoid a solid one-color brow. Most brows are darker in the back and lighter in the front. I use pencils and I love the very fine point brow pencils.
I define the bottom of the brow first. I extend it just a bit but follow the natural line. Wherever there are gaps, I fill them in.
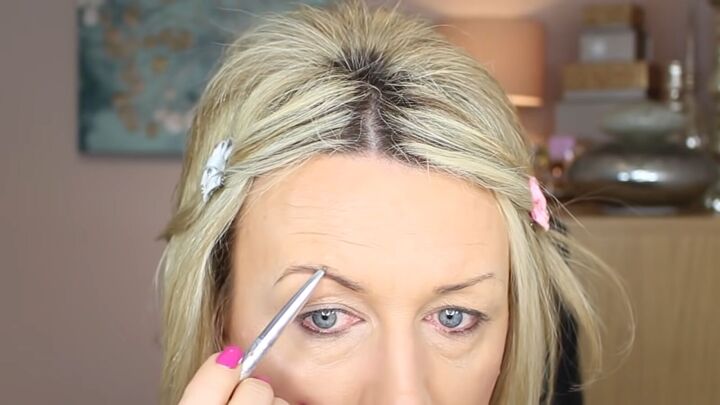
Then I define the top. I start the top line about ¼ of the way in from the front.
I draw the line with a very light hand in the darker shade.
I use light feathery strokes to match the hairs from the front to the tail with the lighter colored pencil. I keep brushing up the hairs with the spoolie so the lines I draw resemble hairs rather than dashes or lines.
Once those are drawn in, I go in with the lighter pencil and draw small upward feathery lines in the front. This way the brow looks full and natural.
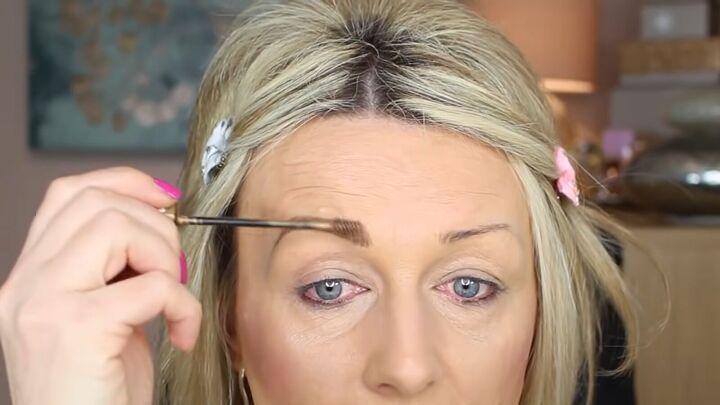
3. Set and seal
I set my eyebrows with a colored gel. There are clear gels available but I feel they may take away from the color I just applied.
I brush the gel using an upward motion. This helps separate the hairs upward and gives a more realistic and natural brow, rather than a single solid painted-on look.
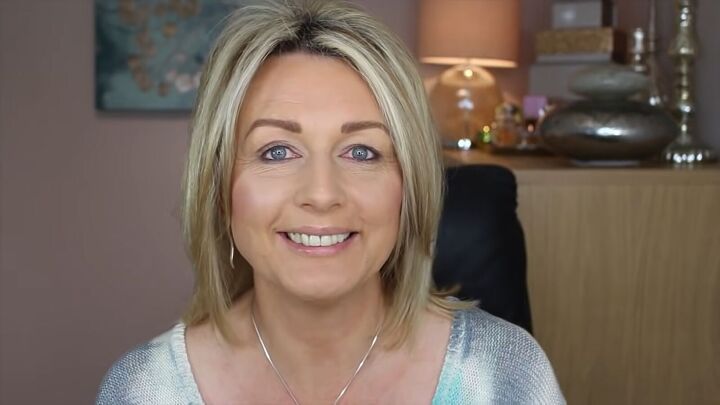
You can see how fixing thinner brows really lifts the eyes and changes your entire look!
How to fix over-plucked eyebrows tutorial
Thanks for watching my tutorial on how to shape eyebrows for older ladies. Please let me know in the comments if my tips helped you! I love hearing your comments!
Products used
The author may collect a small share of sales from the links on this page.


Comments
Join the conversation