Cutting Hair at Home? Here's How to Make a Barber Cape in 7 Easy Steps

In this tutorial, I'm going to show you how to make a barber cape. If you work as a barber or hairdresser or even just cut your family’s hair at home, this DIY salon cape is perfect for you. Let's get started.
Tools and materials:
- Fabric (1.5 meters or 2 yards)
- Scissors
- Tailor’s chalk
- Pins
- Sewing machine or serger
- Bias tape
- Velcro
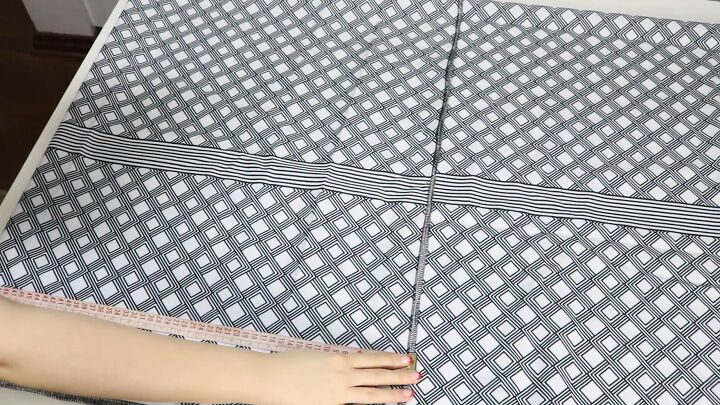
1. Fold the fabric
At the front, the length of the cape will be from the shoulders to the knees, and at the back, it will be shorter. To measure the fabric, start by folding it in half widthways with the wrong sides facing each other. Then, fold one of the sides over again by 50cm (20 inches).
The part that you just folded in will be the back part of the cape.
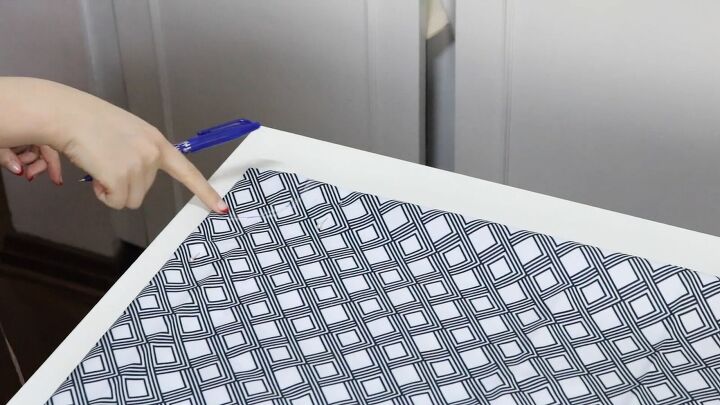
2. Make the neck hole
On this folded side of the fabric, measure 7cm (3 inches) widthways and lengthways. Then connect the two points with a curved line and proceed to cut it out. This will be the part that you put your head through.
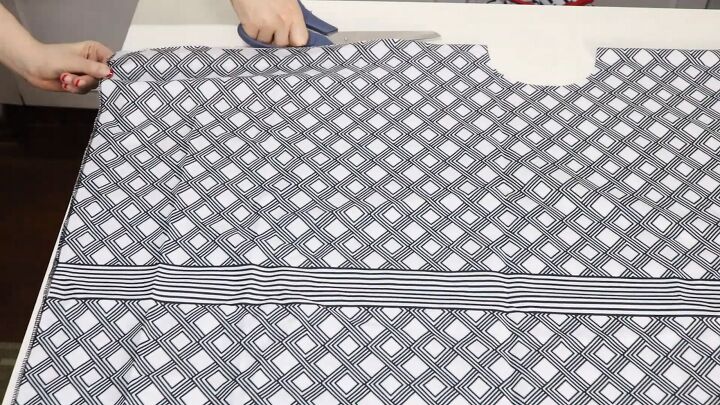
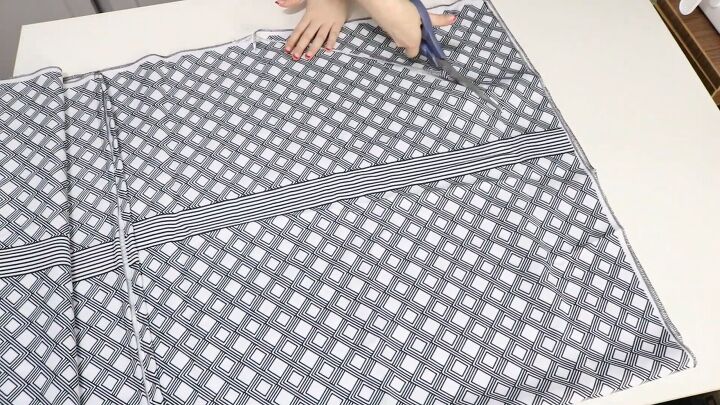
3. Sew all the sides
Once done, unfold the fabric, take your scissors and cut the straight line all the way along until you hit the neck hole. Proceed to serge all of the sides of the fabric, but if you don’t have a serger, you can just use a zigzag stitch.
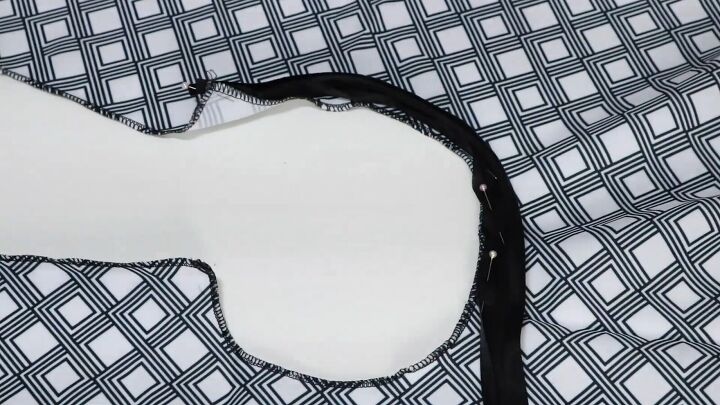
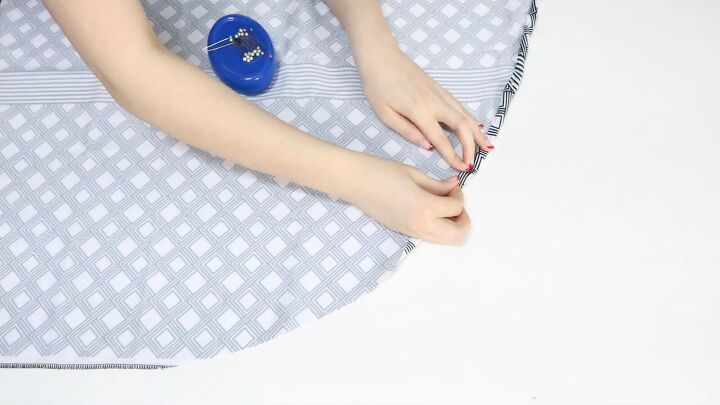
4. Attach bias tape to the neckline
To finish the neckline, we are using pre-made bias tape. Start by pinning the bias to the fabric, then sew it down with a straight stitch. Next, turn the wrong side of the fabric up, fold the rest of the bias over, pin it in place, and then sew with a straight stitch.
5. Round the edges
Next, you’re going to round the edges of the front part of the cape. To do this, fold the fabric in half and cut only the front part.
6. Hem the edges
To finish up all the edges, including the round part you just cut, make a simple hem by folding 1cm (0.4 inches) in twice, then pin. Sew the hem down with a straight stitch. Don’t forget to also hem the open part of the back of the cape.
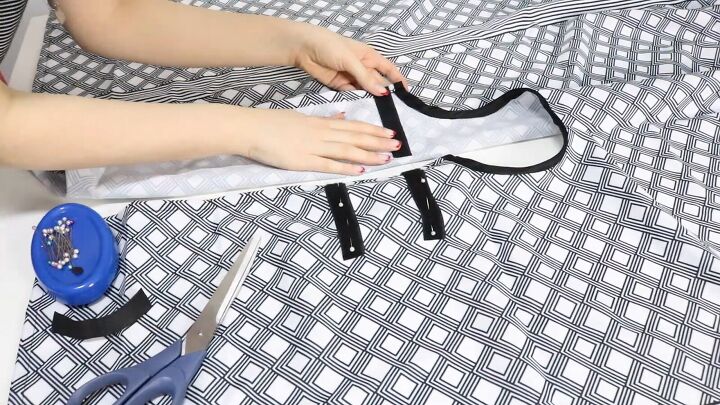
7. Sew on the Velcro
Finally, sew on Velcro to the back part. Pin the fluffy part of the Velcro on the right side of the fabric. Then, pin the rough side to the wrong side of the fabric so that these two layers of fabric will go one over the other when done up.
Proceed to sew all the edges of the Velcro and then your cape is done!
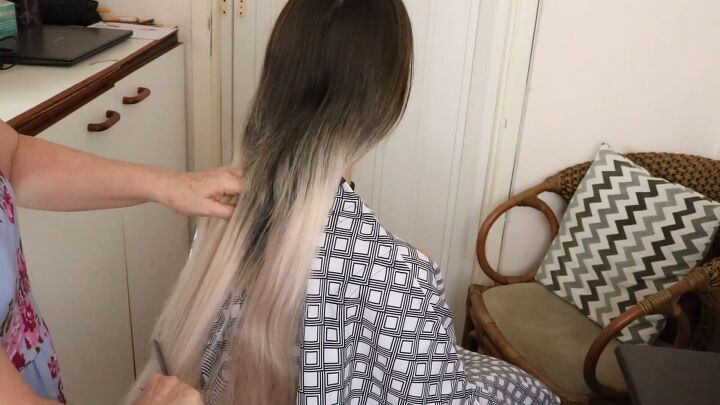
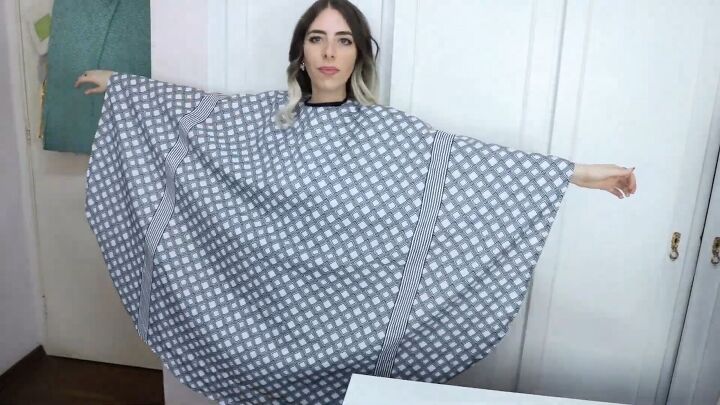
Here, I am wearing the DIY salon cape while my friend cuts my hair.
How to make a barber cape tutorial
I hope that you enjoyed this tutorial on how to make a barber cape! Whether you are a professional hairdresser, training to be one, or you just cut hair at home, this DIY barber cape is really handy to have around.
Give it a go, and let me know what you think in the comments below!
The author may collect a small share of sales from the links on this page.


Comments
Join the conversation