Crazy Easy Tutorial Shows How to Make a Sleep Mask in Just 10mins

This fast and easy tutorial on how to make a sleep mask is a great way to make something useful and cute out of scrap fabric. For my DIY sleep mask, I used colorful fabric for the exterior and soft satin for the lining.
Making this simple sleep mask is so quick and simple, you’ll definitely want to make more than one.
Tools and materials:
- Paper
- Pen
- Measuring tape
- Scissors
- Outer fabric
- Inner fabric (should be soft)
- Padding
- Elastic
- Pins
- Sewing machine
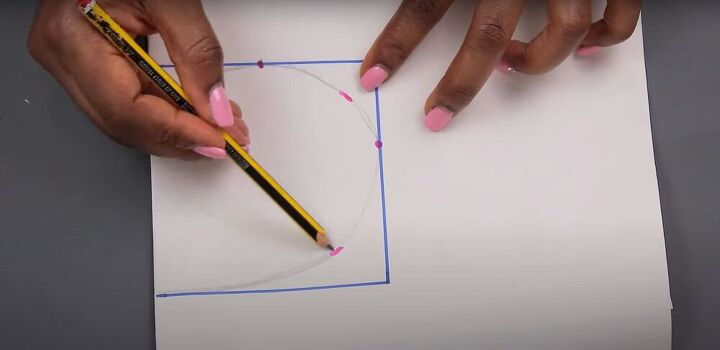
1. Draw the pattern
The first step to make the sleep mask is to draw the pattern. Fold a piece of paper in two, then draw a square 4 inches x 4 inches at the fold.
Next, make the following marks:
- In the middle of the perpendicular side closest to you.
- Half an inch up from the folded corner closest to you.
- On the opposite vertical edge, 1.5 inches up from the corner.
- 0.75 Inches diagonally out from the bottom lefthand corner.
- 1 Inch diagonally out from the top lefthand corner
Connect the marks with curved lines to make the pattern for your sleep mask. Then, cut out the shape and unfold the paper.
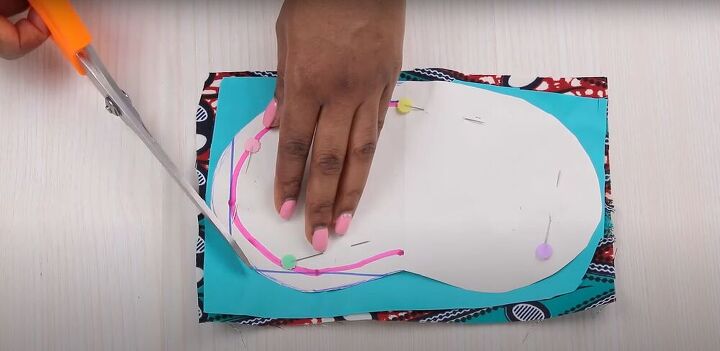
2. Cut
Use the pattern to cut a piece of outer fabric, a piece of inner fabric, and a piece of padding. You can stack and pin them, as shown, to cut them all at the same time and ensure the sizes match perfectly.
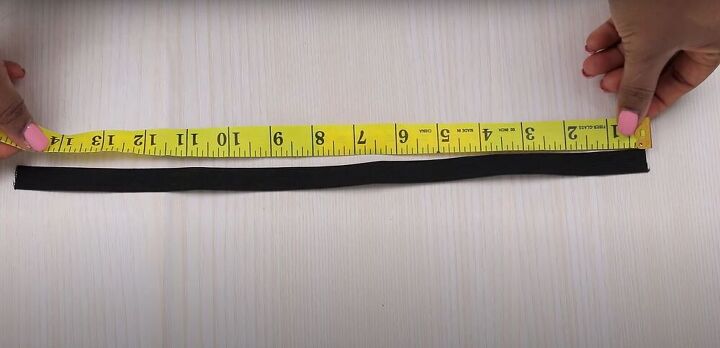
3. Measure and cut the elastic
Measure and cut a piece of elastic band that fits snugly, yet comfortably, around your head.
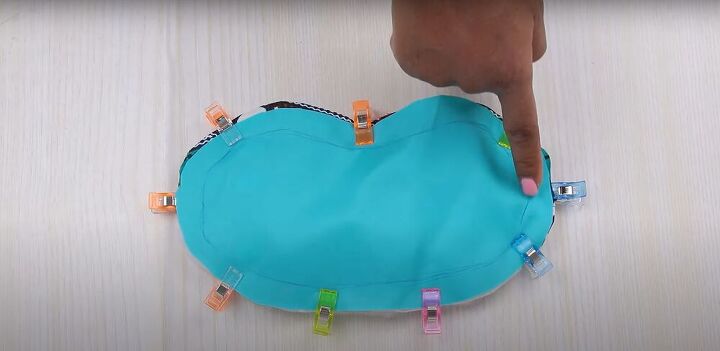
4. Pin and sew
Layer all your pieces together. Place the padding at the bottom, followed by the outer fabric, with the right side of the fabric facing up. Pin the ends of the elastic band in place, and then pin the inner fabric on top, with the right side facing down.
Sew all the layers together, leaving a 2-inch gap in the stitching so you will be able to flip the fabric right side out later.
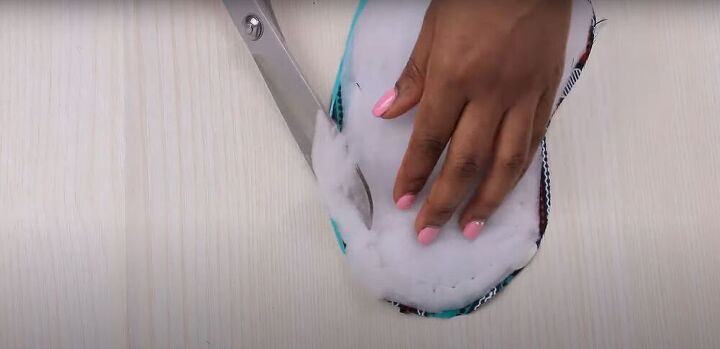
5. Trim and snip
Once everything is sewn down, trim the excess padding.
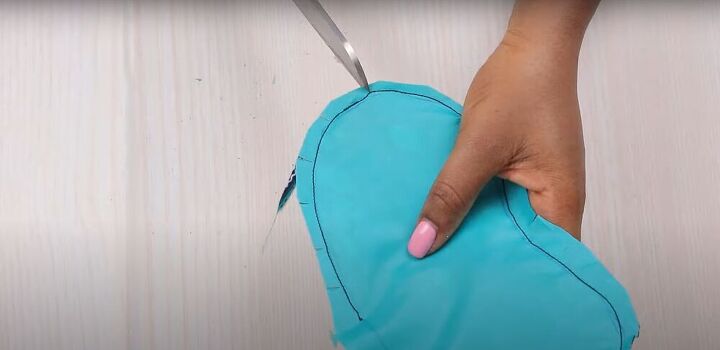
Then, make a few snips along the seam allowance of the fabric, so it will lay flat once the fabric is turned right side out.
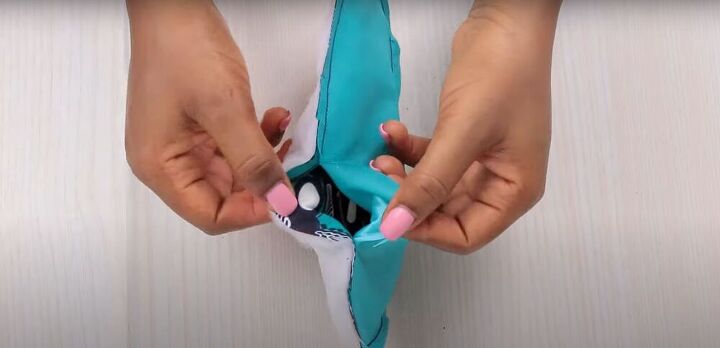
6. Flip
Flip the fabric right side out through the gap you left in the stitching.
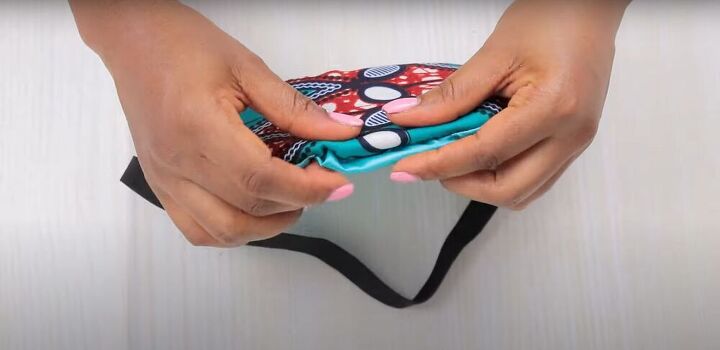
7. Sew
Finally, hand-stitch the gap closed using an invisible hand stitch.
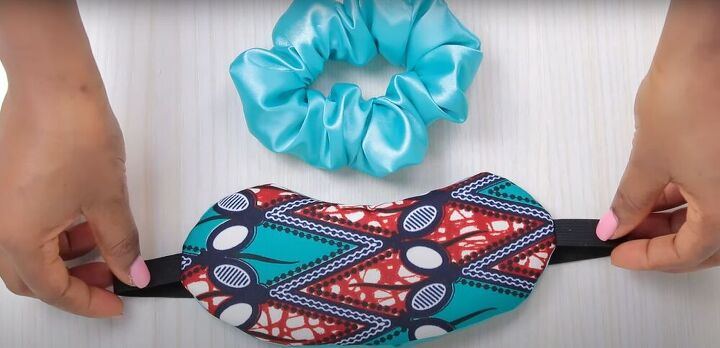
You are now the proud owner of a beautiful sleep mask. You can even make a set with a matching scrunchie, which makes for a unique gift for a friend, or yourself.
I hope you found this tutorial on how to make a sleep mask helpful. I’d love to hear what you think about this pattern and my instructions.
The author may collect a small share of sales from the links on this page.


Comments
Join the conversation
Beautiful! I love those little clips you use Instead of straight pins. Where do you get them?
These are called wonder clips, they have little markings for seam allowance, they work great.