How to Sew a Sweatshirt (for Something Cute & Sporty)
Let’s talk how to sew a sweatshirt.
Sweatshirts have so much to offer. They’re comfortable, sporty, a great layering piece and something that’s easy to make your own. And sweatshirts are such an easy to sew alternative to other cozy warm garments like sweaters. If you’re all thumbs with yarn but like to be warm in cold weather, maybe it’s time to give a DIY sweatshirt a try.
The best part about making your own sweatshirts is that sweatshirting fabric is one of the easiest knits to work with. Seriously.
Even if you’ve never sewn with knits before, or if all your knit sewing attempts ended in failure, I’m confident that you can sew up your own sweatshirt without any problem.
In this post, I’ll show you how to adapt a basic raglan t-shirt pattern and turn it into a sweatshirt pattern. If you just thought right now that that involved math and a lot of complicated drafting, you’d be wrong!
Then, I’ll walk you through how to sew a sweatshirt step by step. This is an easy project you’re going to want to try again and again.
elizabethmadethis.com is a participant in the Amazon Services LLC Associates Program, an affiliate advertising program designed to provide a means for sites to earn advertising fees by advertising and linking to Amazon.com.’ As an Amazon Associate, I earn from qualifying purchases. If you purchase a product through one of them, I will receive a commission (at no additional cost to you). I only ever promote products that I use and love and I think you will love too. Thanks for supporting this blog!
So grab some ribbing and let’s sew some sweatshirts.
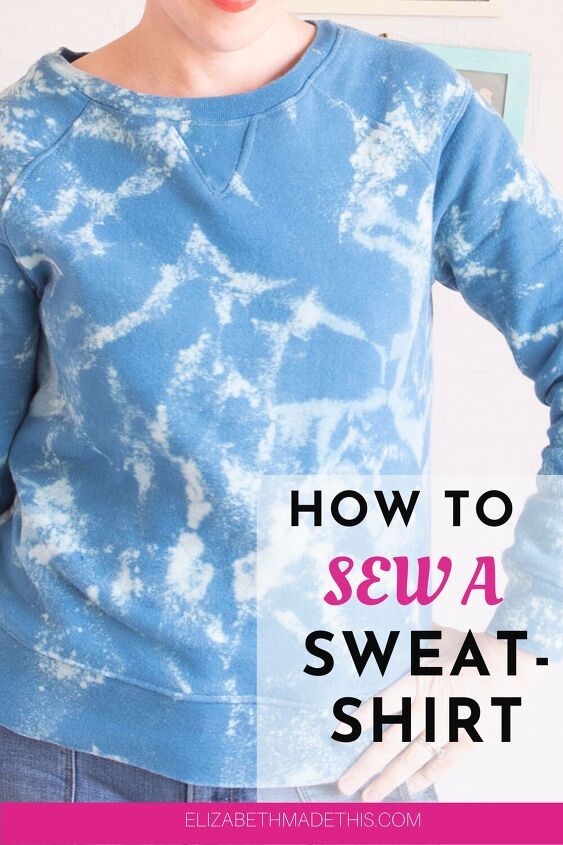
Table of Contents
Supplies for DIY sweatshirt
- 1-1.5 yards sweatshirt fabric
- ½- 3/4 yard knit ribbing fabric
- fabric scissors or rotary cutter
- 80/12 universal needle
- sweatshirt pattern or DIY raglan t-shirt pattern
- chalk wheel or fabric marker
- clear quilting ruler ( an excellent versatile ruler)
- measuring tape
Where to buy ribbing and sweatshirting fabric
Sweatshirting fabric is pretty easy to find. Most fabric stores will have at least some.
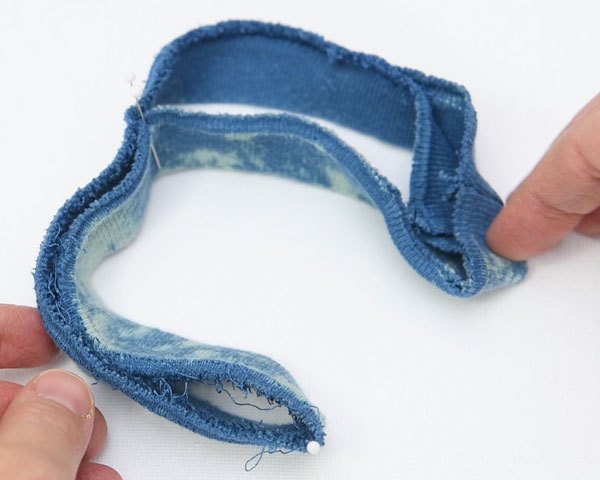
Be on the lookout for good sweatshirts in thrift stores. I picked up this petrol blue sweatshirt for $3. It was solid when I started, so I went ahead and bleach dyed it for some more interest.
The advantage of thrifting a sweatshirt is that you get all the ribbing you need with the sweatshirting. The downside is that you have to disassemble the shirt first. For me this was worth it since the original sweatshirt was much too large for me.
If you’re looking for online sources, here are some places to find both ribbing and sweatshirt fabric by the yard:
- Tuesday Bliss Fabrics: they have coordinating sweatshirting too.
- Ribbons Depot: they have awesome striped ribbings which are perfect for a DIY sweatshirt).
- SusanWillowGB: UK supplier with a good range of colors of ribbing and sweatshirting.
- Amazon offerings…
How to make a DIY sweatshirt pattern from a raglan t-shirt
You’re welcome to use your own favorite sweatshirt pattern here.
That being said, it’s actually a really easy process to make a raglan t-shirt pattern into a DIY sweatshirt pattern.
Pretty much all we need to do is to take off some length from the hems. After that, we’ll just make the side seams a little more square to make a more relaxed fit.
I actually used my base DIY raglan t-shirt pattern, then just marked the changes straight onto my fabric. Where it calls for you to shorten the length, I simply folded up the required length.
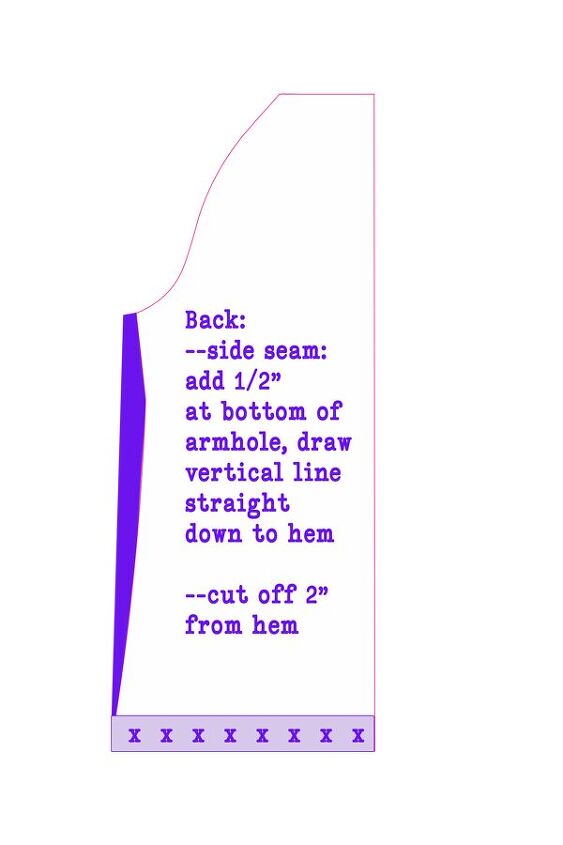
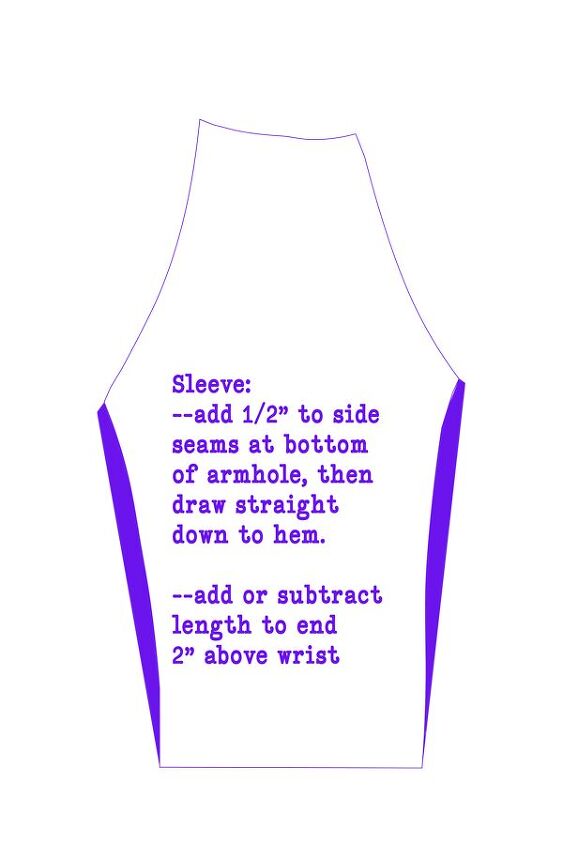
The dark purple in the pictures below shows where to add width. The lighter purple sections with the Xs show where to take away length.
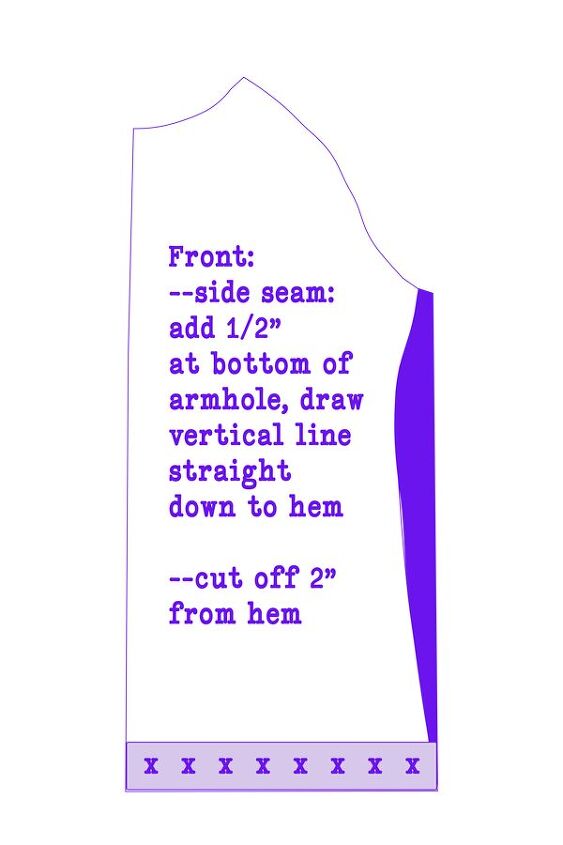
Here’s the changes to make to a raglan t-shirt pattern to make a DIY sweatshirt pattern:
To the front piece:
- Cut off 2” in length
- Draw a line 1/2” out from the bottom of the armhole at the top of the side seam. Then, draw a vertical line straight down to the hem.
To the back piece:
- Cut off 2” in length
- Draw a line 1/2” out from the bottom of the armhole at the top of the side seam. Then, draw a vertical line straight down to the hem.
For the sleeve:
- Draw a line 1/2” out from the bottom of the armhole on both sides. Then, draw a vertical line straight down to the hem on both sides.
- Add or subtract enough length so that the sleeve piece sits 2” above the wrist.
Catch the video tutorial for how to sew a sweatshirt:
How to sew a sweatshirt
Cut your pieces
Cut out 1 front, 1 back, and 2 sleeves with the changes described above from the sweatshirting.
To cut the ribbing, first wrap a measuring tape around your wrist. Add 1/2” to this measurement. Cut 2 cuffs 4.5” tall x the measurement of your wrist plus 1/2”.
For the hem ribbing, wrap the ribbing around your hips until it feels comfortable. The ribs should sit vertically on you as you stretch it around you.
You don’t want it to be stretched to its maximum, but it shouldn’t feel loose either. You can mark off how much ribbing you need with pins. Add 1/2” to the final length of the ribbing. Cut the ribbing to this length and 6.5” tall.
Prepare the ribbing pieces
Fold the ribbing pieces in half vertically and press. Set them aside for now.
Add a ribbing triangle
This is a cool detail to add to your DIY sweatshirt that you’ll see often on RTW sweatshirts.
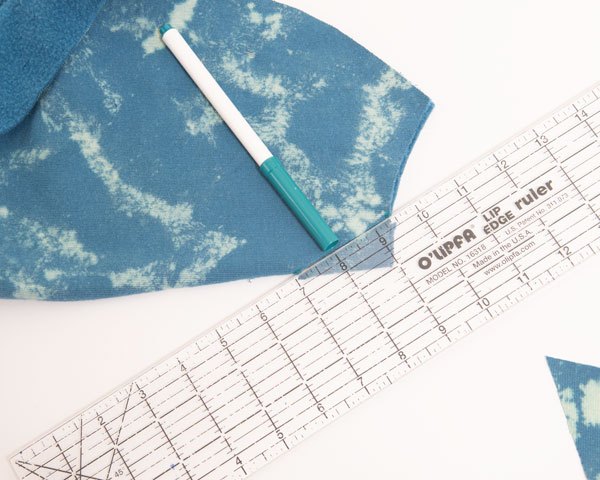
With your front piece folded along center front, mark down 2” at center front. Also mark 1” in from the center front line.
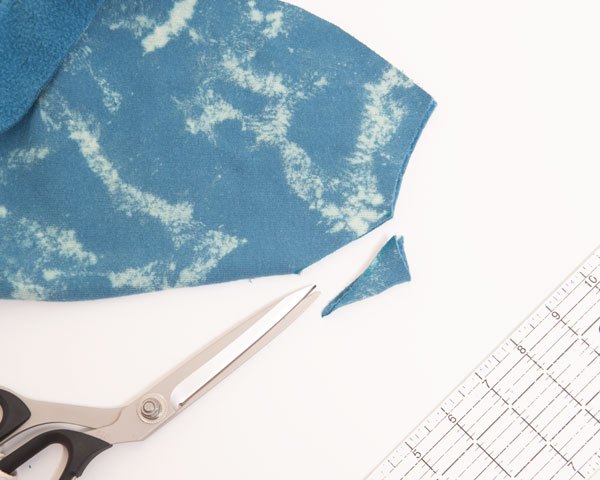
Draw a line with your chalk connecting these two marks. Next, cut along the line. Save this piece you cut away.
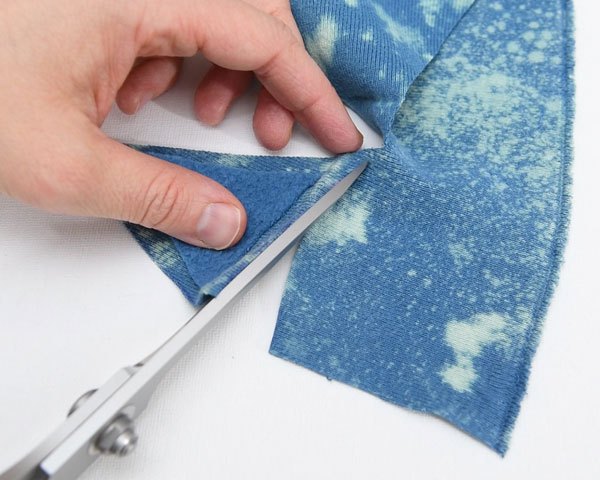
Next, pin the cutout piece onto a scrap of ribbing. With a ruler, mark 1/4” on all sides of the ribbing around the cutout piece. Cut on the lines.
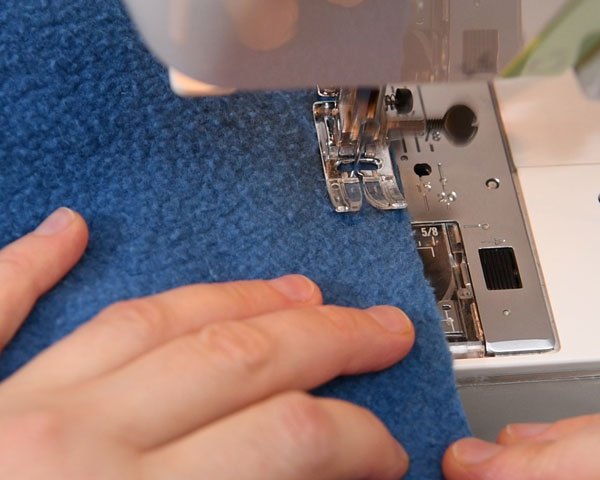
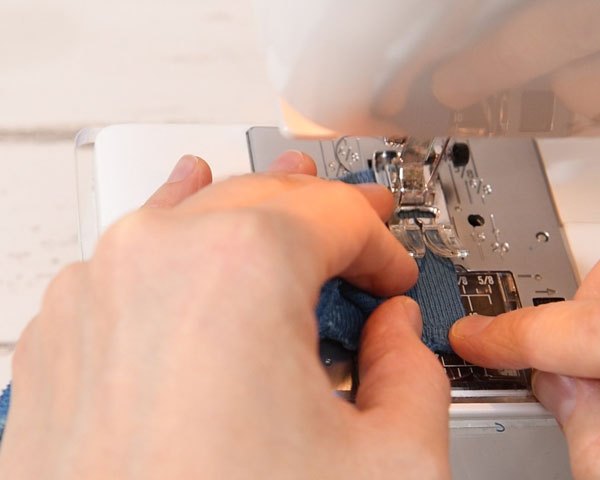
Pin the ribbing to one side of the sweatshirt front at the cutout with right sides together. Sew the ribbing in place with a narrow zigzag (0.5mm width, 2.5mm length). When you get to the point, pin the second side in place. Pivot the needle at the point and sew up the second side.
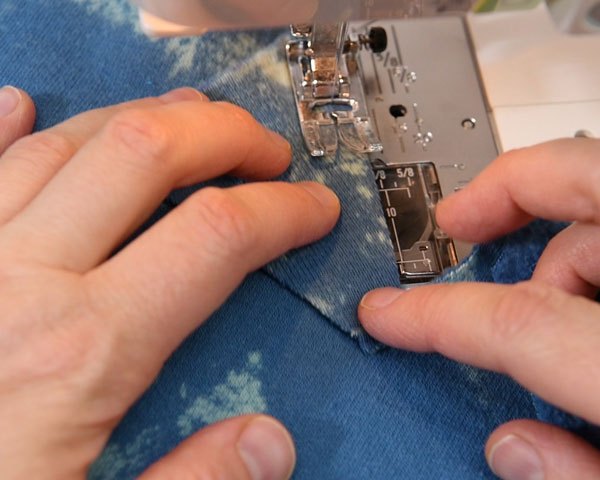
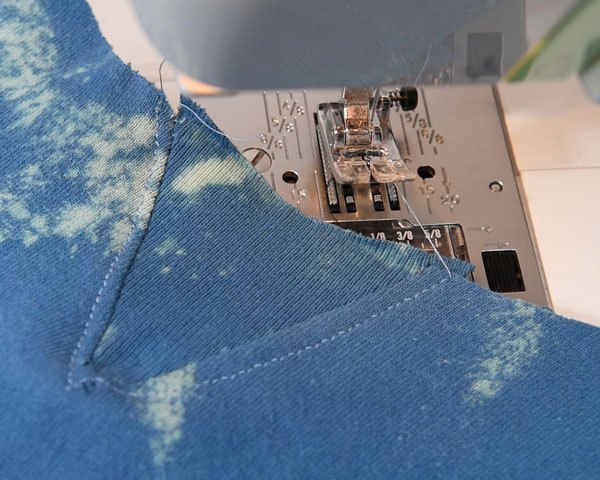
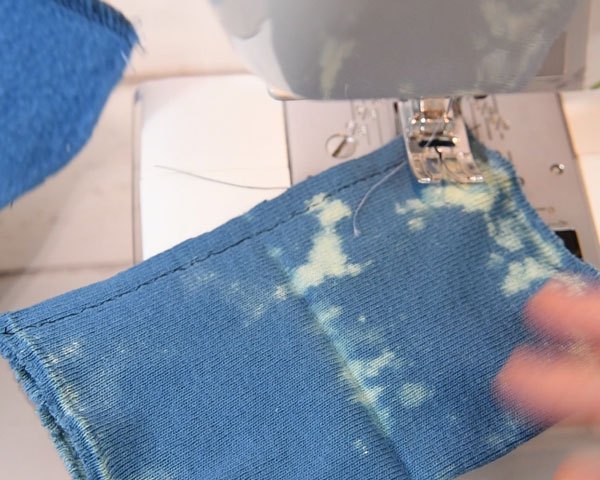
Finish off the triangle by stitching about 1/8” away from the edge of the ribbing on the front.
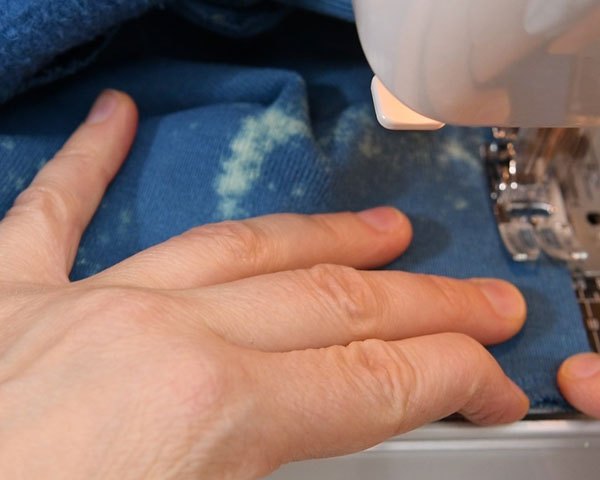
Sew the front to the sleeves
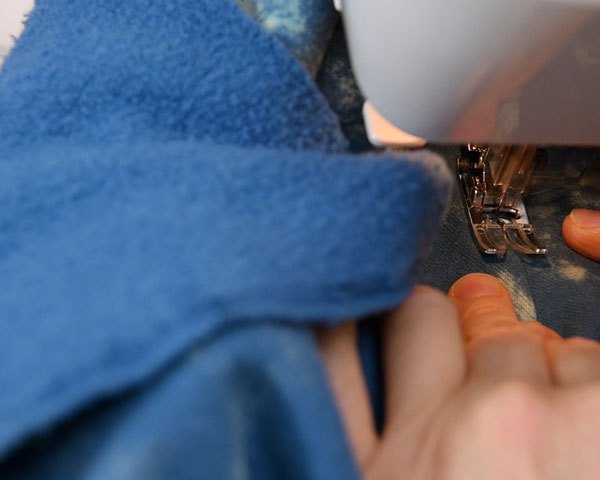
From here, pin the fronts of the sleeves to the front pieces in the arm area.
Sew the sleeves to the fronts, lengthening your stitch to 3.0mm. Press the seams towards the front.
Finish off your seams in one of the following ways:
Seam finishes for sweatshirting
To finish the seams on a DIY sweatshirt, you’ve got a lot of choices.
To finish seams on a sweatshirt you can:
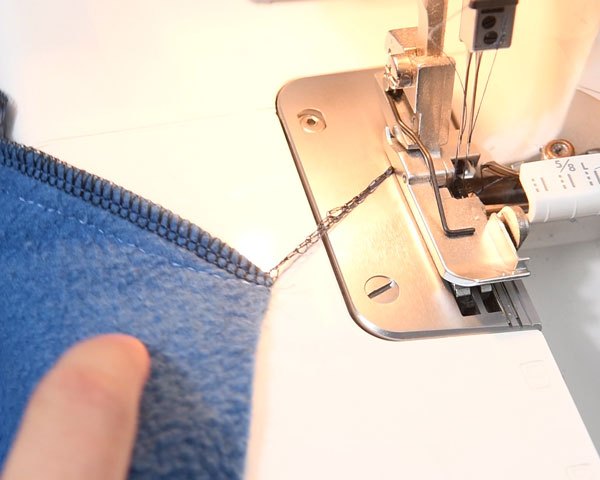
- Serge the seams only
- Zigzag the seams
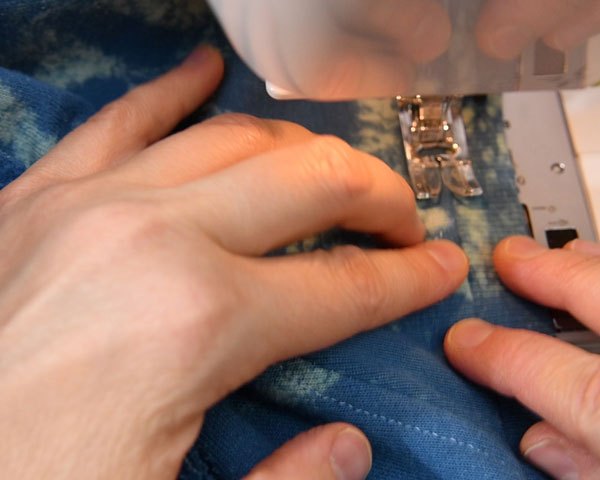
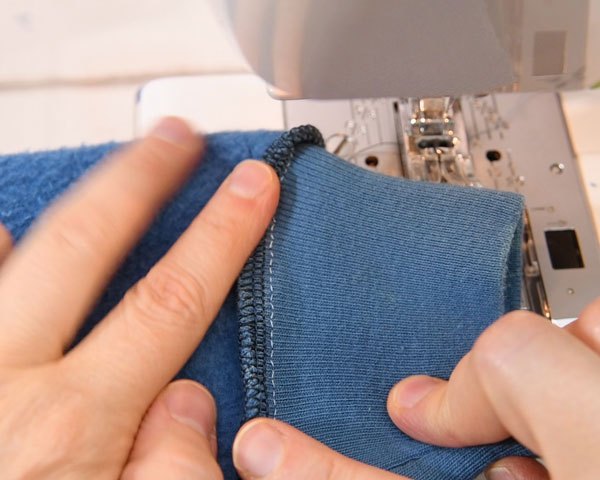
- Serge the seams, then topstitch from the right side (that’s my choice today) or
- Coverstitch the seams from either side (excellent professional detail, but you may not have a coverstitch machine
Sew the back to the sleeves
From here, pin the back of the sleeves to the back pieces in the arm area.
Sew the sleeves to the backs. Press the seams towards the back. Finish off your seams like you did for the front.
Sew the underarm seam and side seams
Next, pin the side seams and underarm seams together. Sew the side seams and the underarm seams in one long seam.


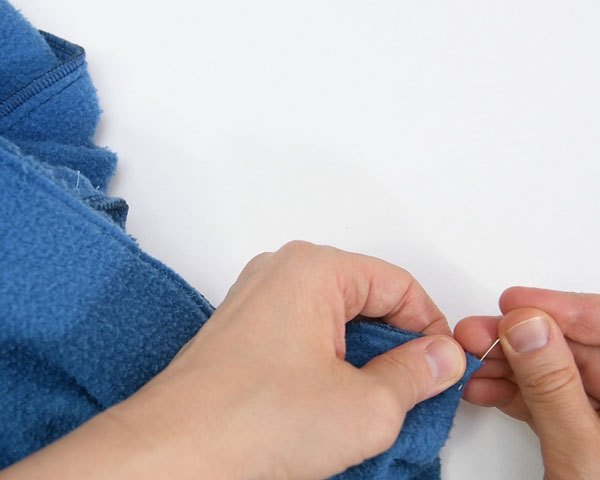
If you’d like, you can baste the spot where the underarm seam meets the side seam. Simply sew about 1/2” on either side of that point with a long stitch. This will make it so you get a nice crisp seam intersection. And if you miss it, it’ll take literally 2 seconds to pull the thread out and try again.
Sew all your ribbing pieces into circles
Next, fold your ribbing pieces right sides together along the length. Sew the neckband, cuff pieces, and the hem ribbing together with a 1/4” seam allowance.
Press open the seams, then fold the raw edges of the ribbing together. Press in half along this fold.
Add ribbing to the neck
Take the prepared neckband and quarter it with pins. Here’s how:
On the sweatshirt, fold the shoulder seams together to find center back and center front. Mark both with a pin. Then fold the pins together to find the other quarter marks. Do the same for the neckband, using the seam on the neckband as your center back.

Match your pins together starting at center back, pinning the neck band and sweatshirt together only at the quarter marks.
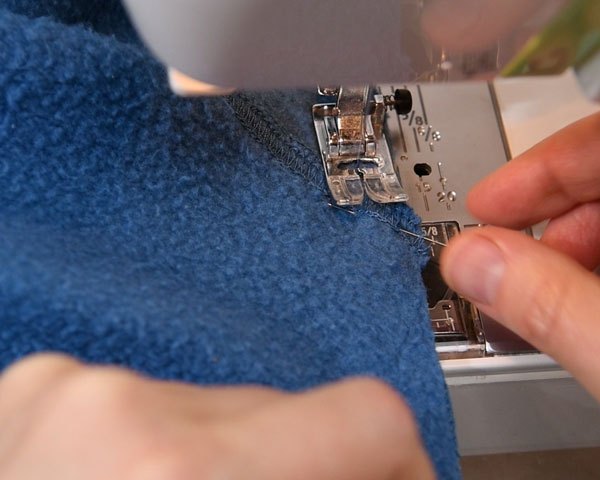
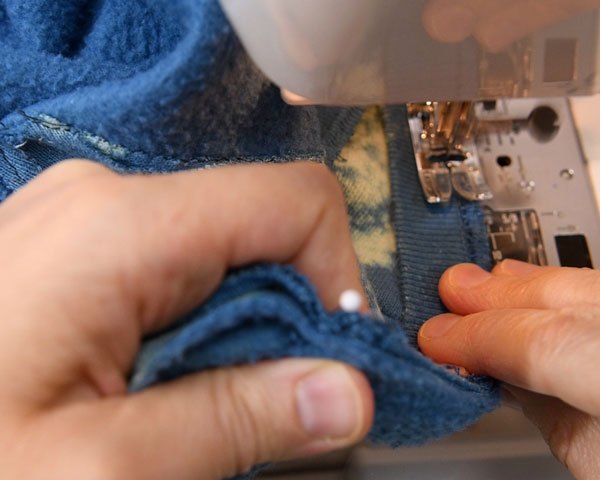
Sewing with the neckband on top, sew the neckband to the sweatshirt. You will have to stretch the neckband between the pins so that it fits into the curve of the t-shirt neckline. Instead of stretching the ribbing, gently curve your hand towards the needle to ease the ribbing into the neckline. This will help the ribbing fit and also keep you from accidentally stretching out the sweatshirt neck.
How to make ribbing cuffs
To make your cuffs, fold the cuffs together widthwise at the hem. Mark the opposite side with a pin. Do the same to the sleeve.
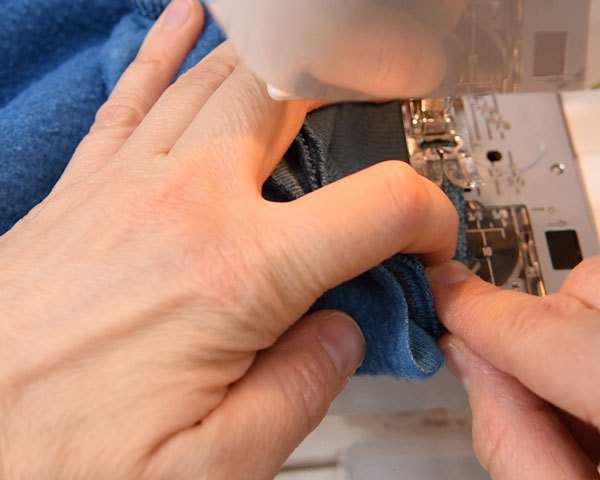
Pin the bottom of the sleeves to the cuff, right sides together. Sew the sleeve to the cuff with a 1/4” seam allowance. Be sure the sweatshirt is inside out so that you can sew the cuff from the inside of the sleeve. If you sew cuffs like this, they always turn out better.
Serge or zigzag stitch around the hem. If you’d like, you can stitch down the seam near the seam from the right side, but if it’s too hard to get into this small area, you can skip this step.
Add ribbing to the hem
Quarter the hem ribbing and the bottom of the sweatshirt just like you did with the neckline.
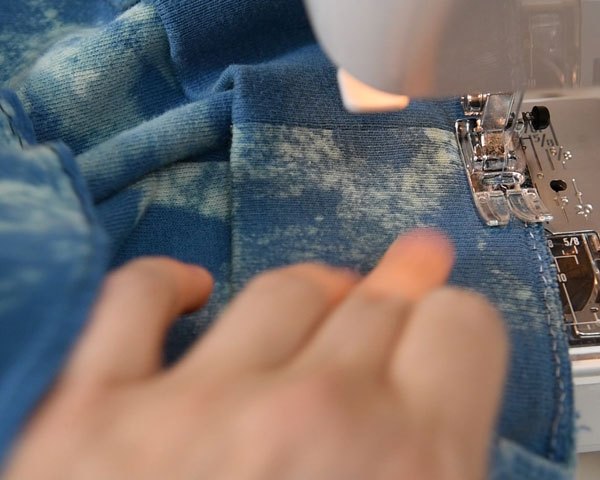
Match the pins together, then sew the sweatshirt to the ribbing with the ribbing on top. Stretch the ribbing between the pins as necessary to get the ribbing to fit. Finish the seam as you like.


And that is how to sew a sweatshirt. I hope this DIY sweatshirt is a project you’ll try!
Sew more raglan t-shirts and variations:
The author may collect a small share of sales from the links on this page.


Comments
Join the conversation