How to Perfectly Straighten Natural Hair to Look Like an Expensive Wig

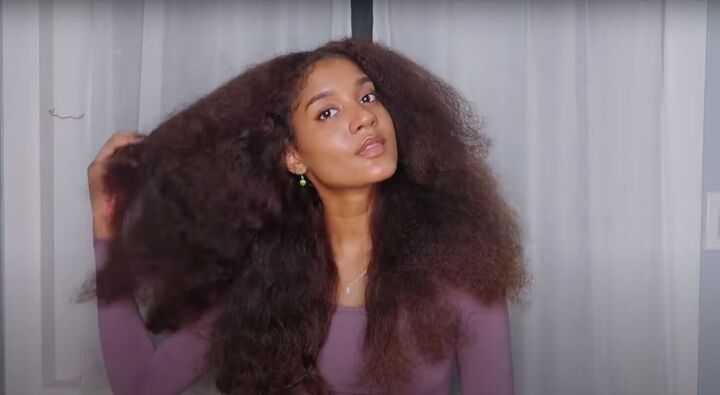
Today I am showing you my hair straightening routine for natural hair. This routine is easy on your curls, it gives the best shine, and the best body to your hair.
With these steps, you can transform your natural curly hair into what looks like an expensive wig!
Tools and materials:
- Heat protectant spray
- Moisturizing hair oil
- Brush
- Blow dryer
- Hair straightener
- Comb
- Hair ties
1. Part your hair
Shampoo, condition, and deep-condition your hair. Then, part your freshly washed hair down the middle using a comb.
2. Section your hair
Section your hair into three parts on either side of your head. Tie each section up. I'm using three sections because my hair is quite thick. You can do more or less if you prefer.
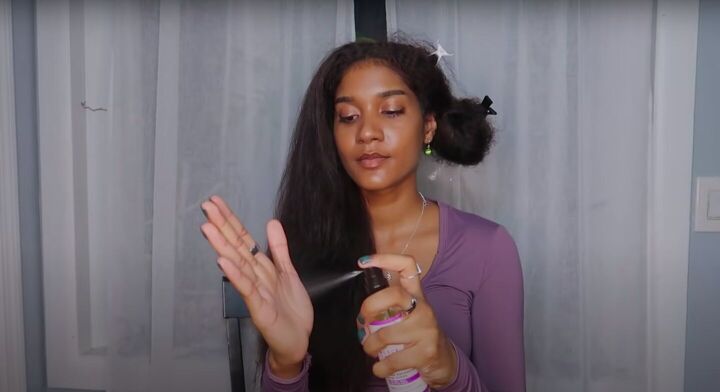
3. Blow-dry each section
Take one section down and generously apply heat protectant spray.
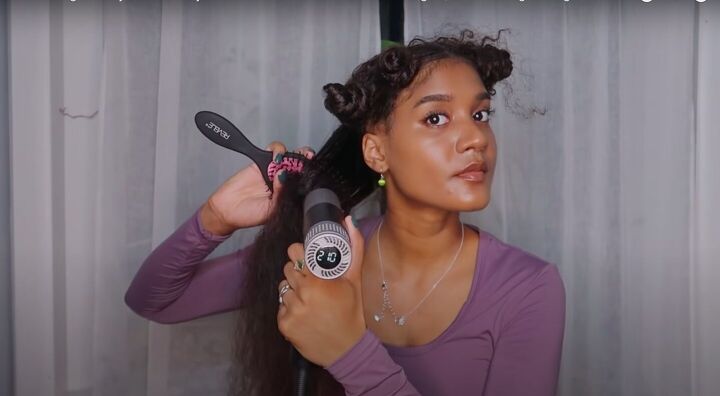
Then, blow-dry the section of your hair until it is nice and dry. I prefer to use the highest heat setting on my hairdryer, which is 210°F.
I also gave my ends a light trim at this stage, as they were looking a bit dead.
Repeat the above steps with each section of hair. Tie up sections as you finish them so that they are not in the way.
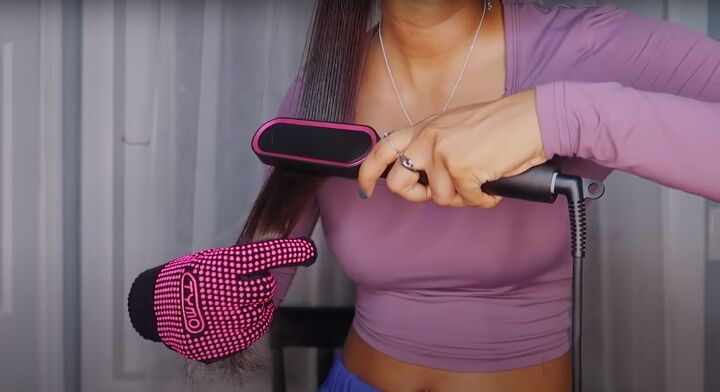
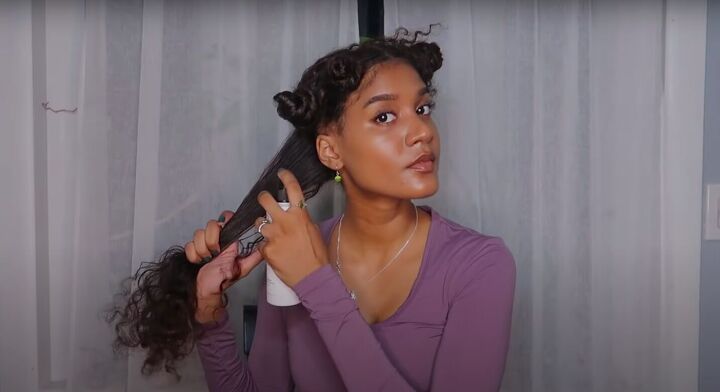
4. Straighten
Take one section down to start. I like to straighten each piece a few times. I'm using a straightening comb, as it's faster and cuts down my straightening time, but you could use a flat iron instead.
On the second pass, I focus on the ends. Repeat the above steps until each section is finished.
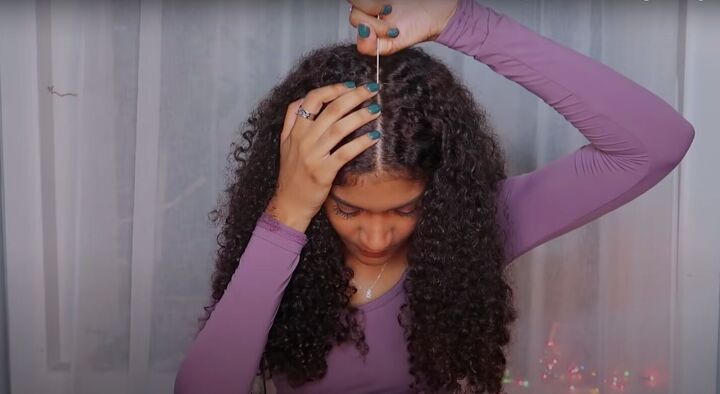
5. Apply hair oil
Apply hair oil generously to your hair as you finish straightening each side. This will give your hair a sleek and healthy finish.
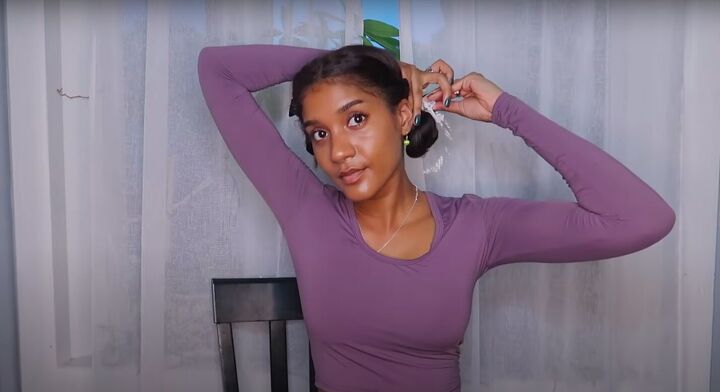
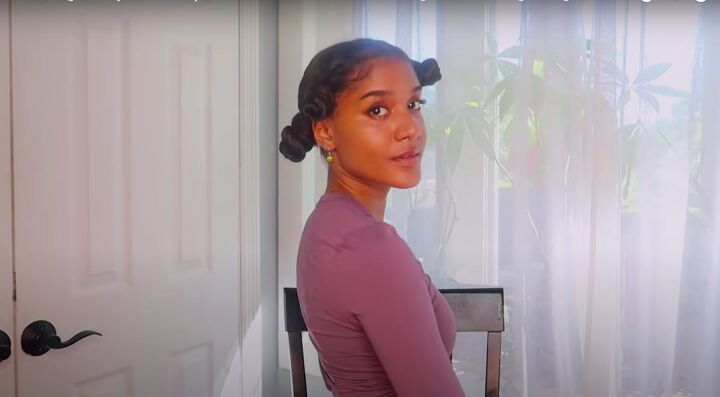
6. Tie up
Once you are finished straightening your hair, tie it up into two sections and let it set for thirty minutes.
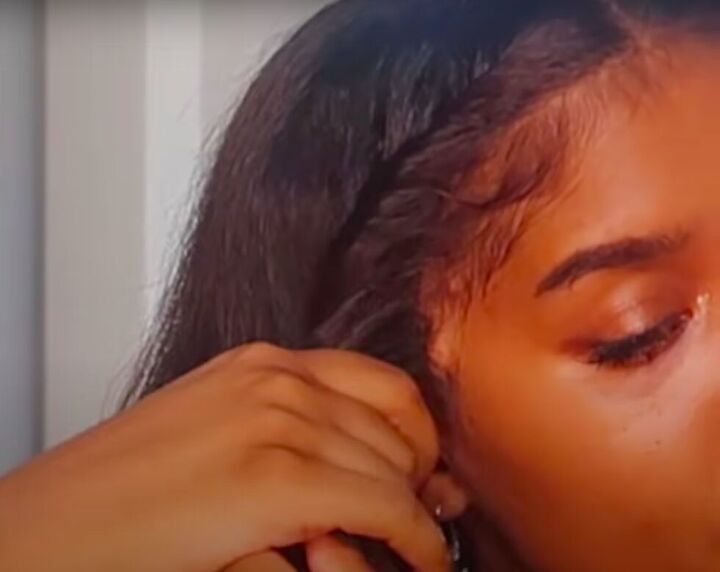
7. Roll up your hair
Once your hair is finished setting, take it down and begin to roll up small sections into Bantu-like knots. I am doing two sections on either side of my head.
Make sure to apply moisturizing oil to your hands first.
Take care to roll your roots too. This will give your hair the curtain bang look.
Let the knots sit for an hour.
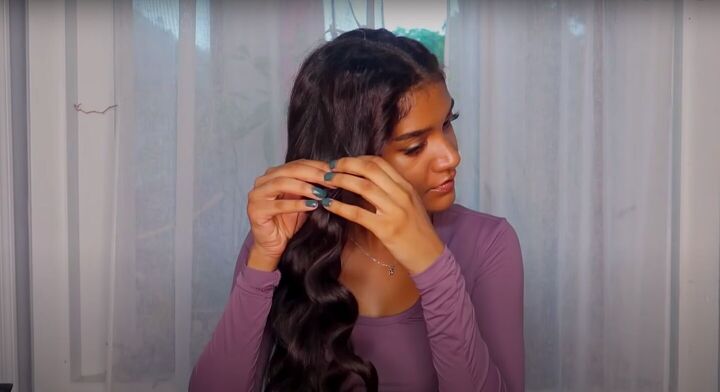
8. Untie the knots
After an hour, take down each knot and gently separate the curls with your fingers.
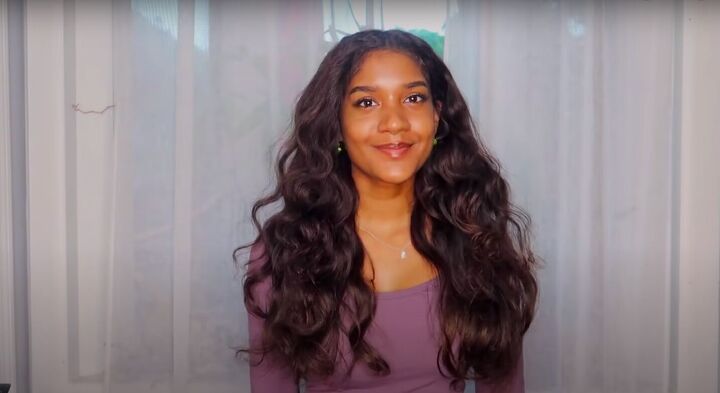

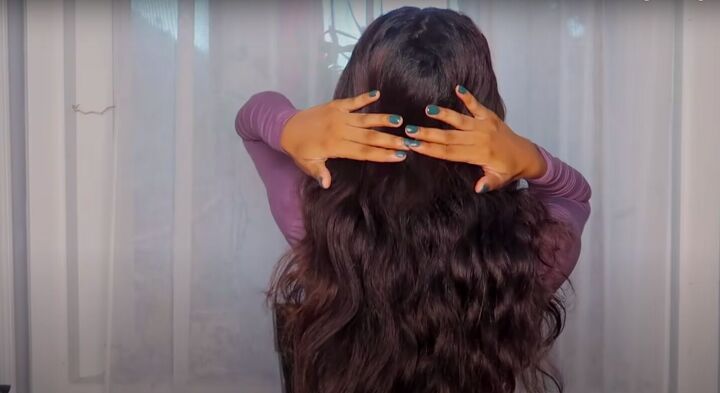
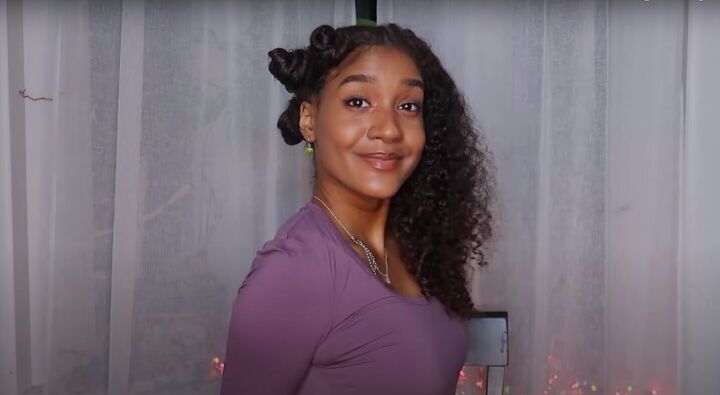
How to perfectly straighten natural hair
This is the finished look from the front, side, and back. As you can see, it is all very cohesive and slick. Using these steps, you can transform your hair into a gorgeous and voluminous-looking wig!
Definitely give it a try and let me know what you think in the comments!
The author may collect a small share of sales from the links on this page.


Comments
Join the conversation
I love your hair!! Love the look of my natural hair but after a few days it drives me crazy!!! Love this sleek look on you but what do you use for your natural look?
You are beautiful and your hair is amazing!