How to Do Cute Ice Cream Makeup With Face Paint & Modeling Clay

This ice cream cone Halloween makeup idea is literally so hot; it’s melting off my face! Here’s a fun Halloween makeup tutorial - ice cream makeup! This is super-fun and definitely a unique costume that will make you stand out from the rest of your fellow Halloween party-goers.
Get your face paint ready, and let’s get creative!
Tools and materials:
- Face paint palette
- White makeup pencil
- Makeup brushes
- Spirit gum
- Ice cream cone
- Sprinkles
- Nail polish
- Crayola Model Magic clay
- Dark blue eyeshadow
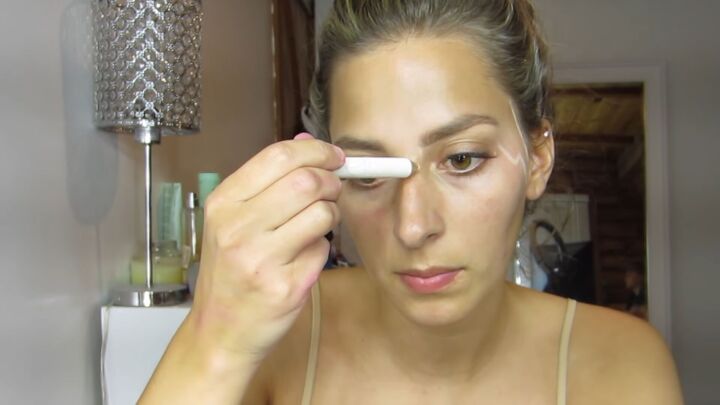
1. Make the ice cream drips
With a white makeup pencil, go ahead and draw the ice cream drips along the middle of your face.
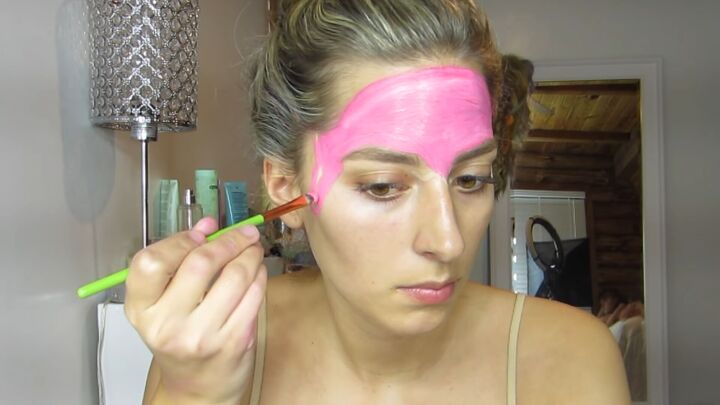
2. Paint your face
Now, using the pink face paint (or any other color you like), fill in the top half of your face with paint and make sure not to go over the white drip lines.
Tip: Use a smaller brush for the curved lines.
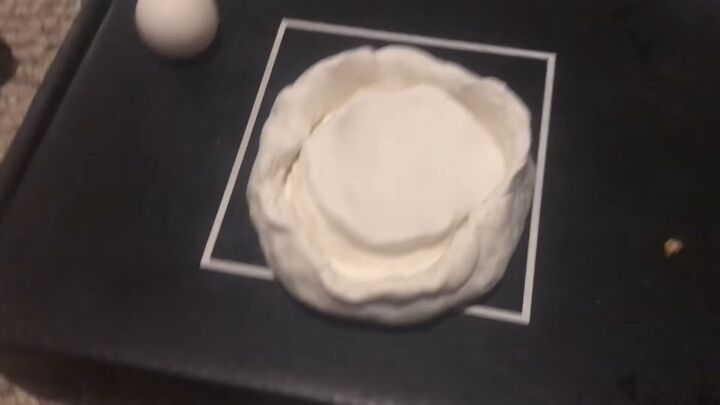
3. Make the ice cream cone
To make the ice cream for the cone, use a little bit of Model Magic clay. Shape it in a way that looks squashed so that it peeks through the side of the cone itself.
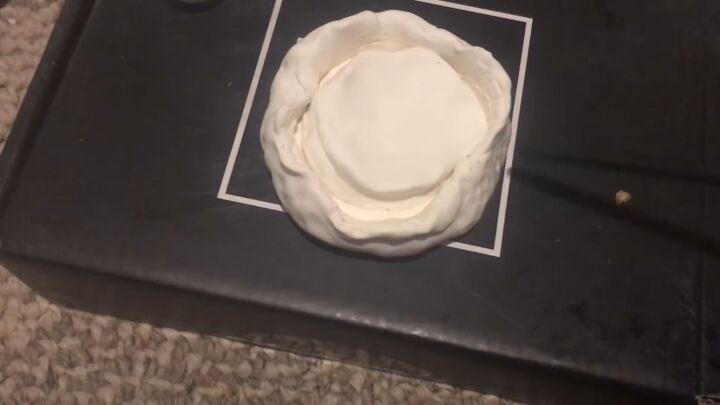
Add slight indentations on the side with an earbud to give it more dimension.
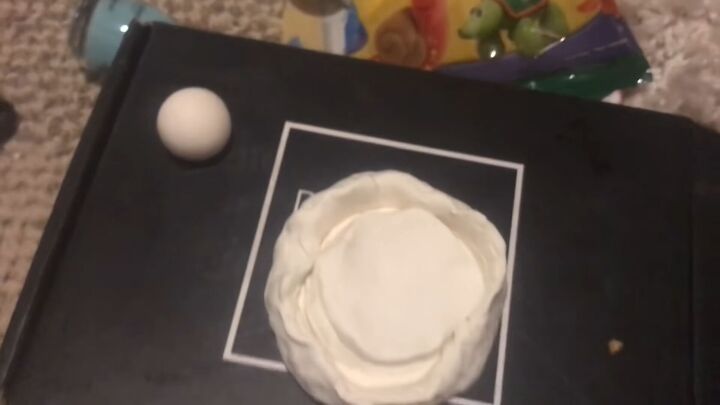
Also, roll a ball to make the cherry (pictured top left).
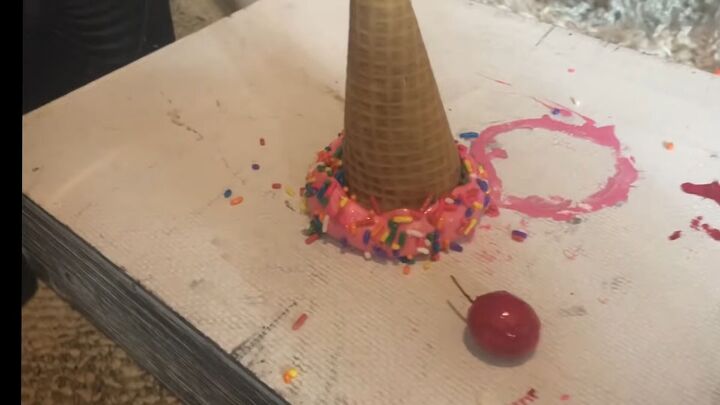
Use some spirit gum to stick the model magic to the cone. Next, paint the clay with pink nail polish (or any other color you used for the top half of your face). Glue some sprinkles to the cone, and don’t forget to paint the cherry red!
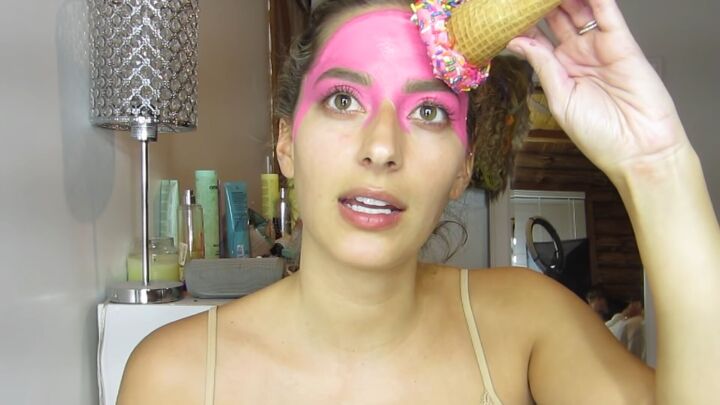
4. Stick the cone
Now, for the best part of the ice cream makeup look! Figure out where would be the best place to stick the cone. I stuck mine with spirit gum right above my right brow, as shown. The same goes for the cherry.
Tip: Hold the cone for a few minutes until it completely sticks.

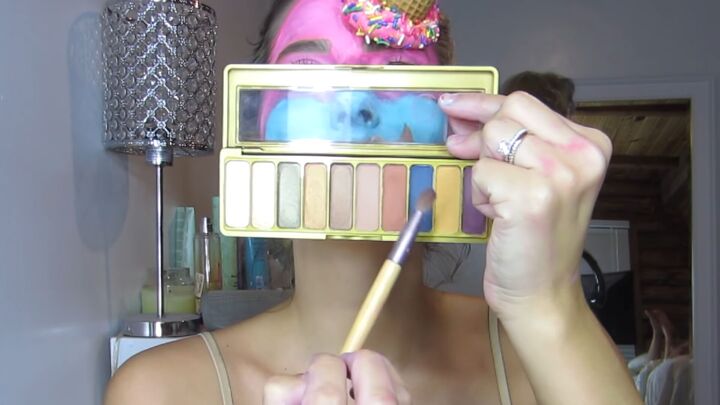
5. Add another color
Now, create more drips on the lower part of your face.
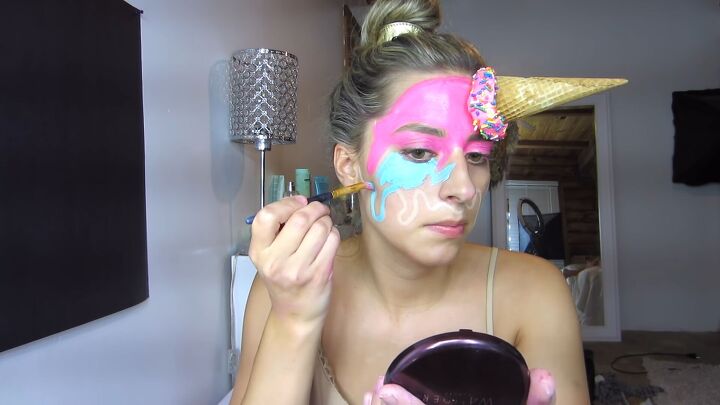
Then, go in and paint that section with another color, and I used a bubblegum blue.
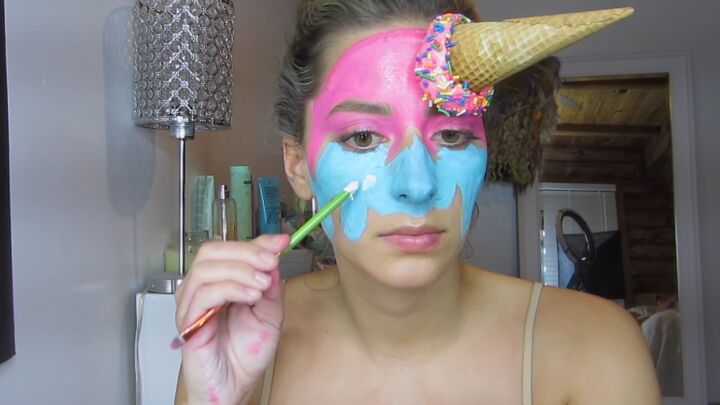
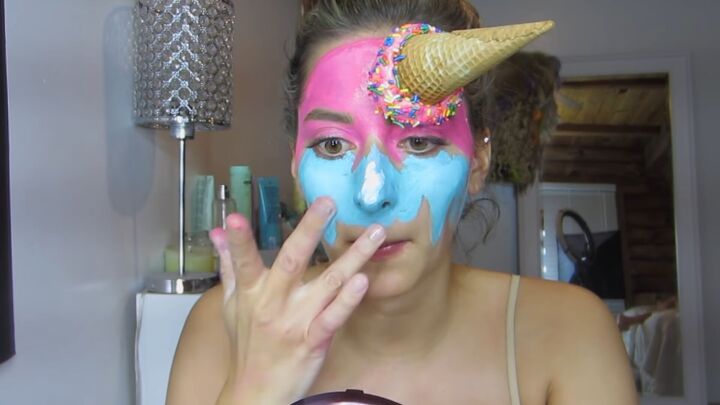
For a little dimension, add some white to the blue paint and blend accordingly with your finger.
Add a touch of white to your eyelids and blend.
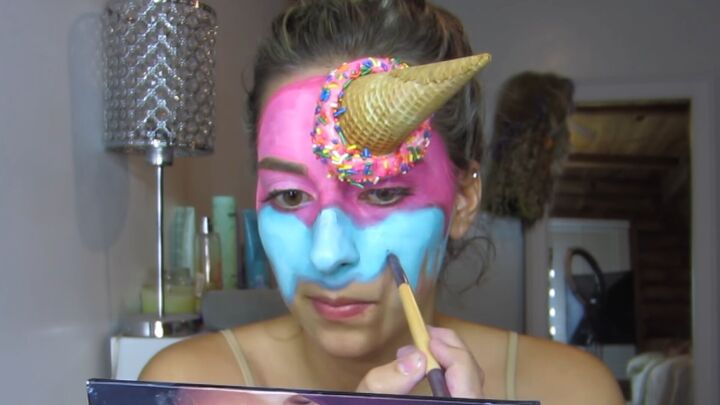
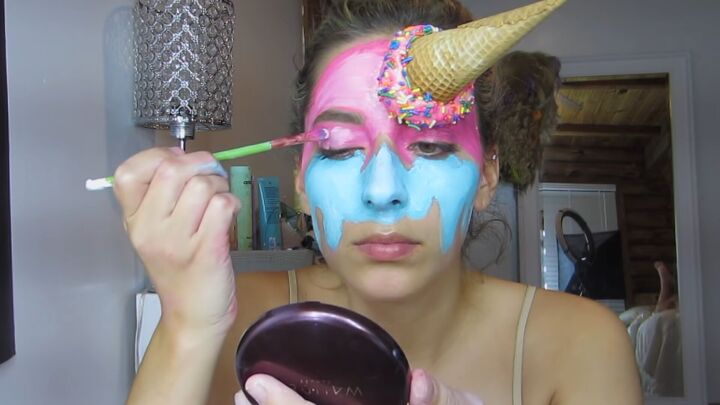
6. Add more dimension
Now, with a dark blue, take your eyeshadow brush and outline the drip lines. This is a full-proof way to create a remarkable shadow effect and make the drip look as real as possible!
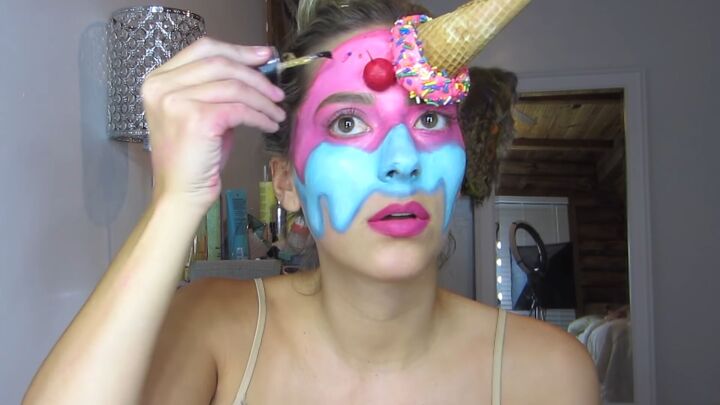
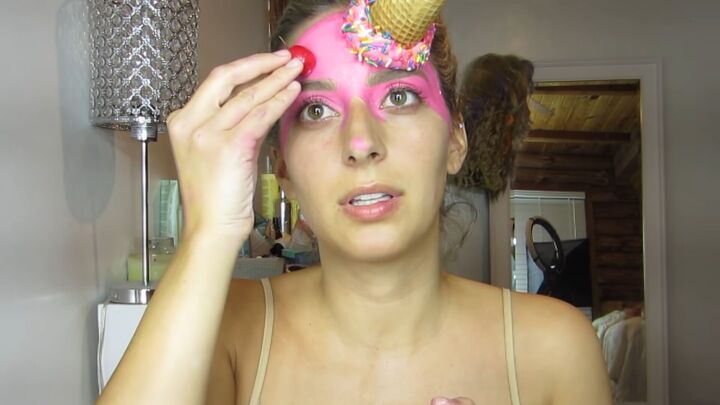
7. Add the finishing touches
So, now that we are almost done, it’s time to add some final touches to your ice cream costume makeup. Stick the cherry on your forehead with spirit gum, apply a lovely pink lipstick, and glue some cute sprinkles around your forehead area with some spirit gum.
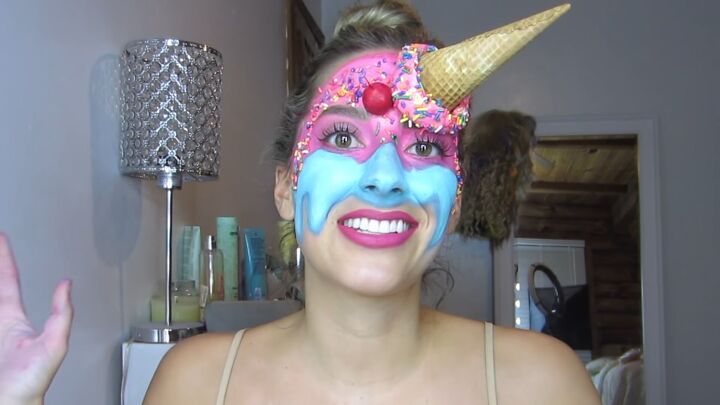
Ice cream makeup tutorial
Here’s the final ice cream makeup look! What do you think? I think it’s super fun and unique. It’s so different from the villain vibes we’re all used to seeing at Halloween. Thanks for joining me on this ice cream eye makeup tutorial! Let me know your thoughts in the comments.
Products used
The author may collect a small share of sales from the links on this page.


Comments
Join the conversation
What clothing would you wear? To go with the ice cream theme I wonder ? Very cute!
Super fun idea! You make it look so easy, and your helper made me smile!