How to Make Ripped Jeans

After a failed attempt of searching several stores and websites for a perfect pair of ripped denim jeans, creating a customized one was the only way out! Follow along with me through the steps of creating the perfect pair of distressed denims. This quick and easy tutorial will add a valuable piece to your closet, right from the comforts of your home.
Tools and materials:
- Denim jeans
- Scissors
- Tweezers
- Pencil
Mark the jeans
Put on your denim jeans and mark the approximate spots where you want to create the ripped effect.
Tip: Use a pair of thick denim jeans and avoid ones that have elasticity to them.
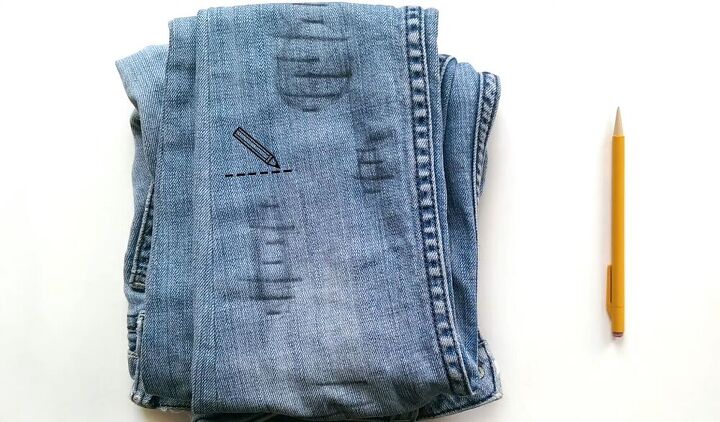
Draw horizontal lines at equal distance and make sure they are different in size.
Tip:
When you draw/cut the horizontal lines, keep them at more than half an inch in height from each other and make sure they don't start or end at the same point.
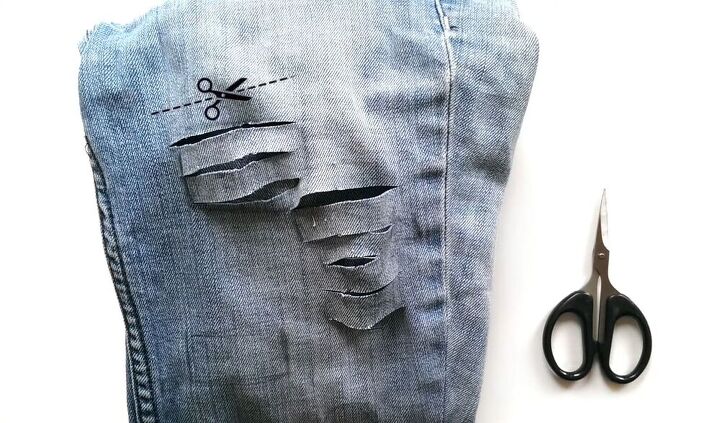
Cut
Use a pair of scissors to cut along the lines.
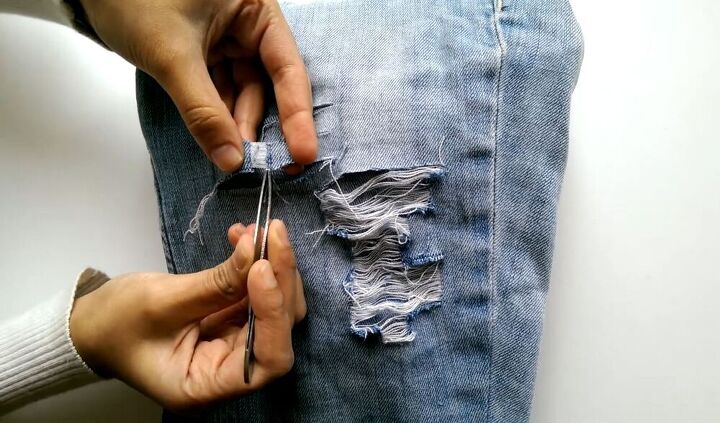
“Rip” the jeans
Now take a pair of tweezers and remove the yarn in a vertical direction. Separate the horizontal yarns to loosen up the vertical ones, making it easier to pull them out. Feel free to try the jeans on as you go to see how they look on. Once you’re done removing all the yarns, toss the denims in the washer, and you’re finished!
Tip: You will achieve a more rugged/worn-out look after several washes.
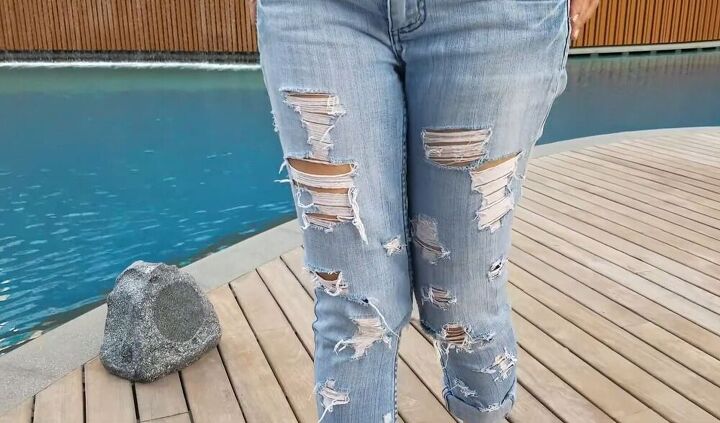
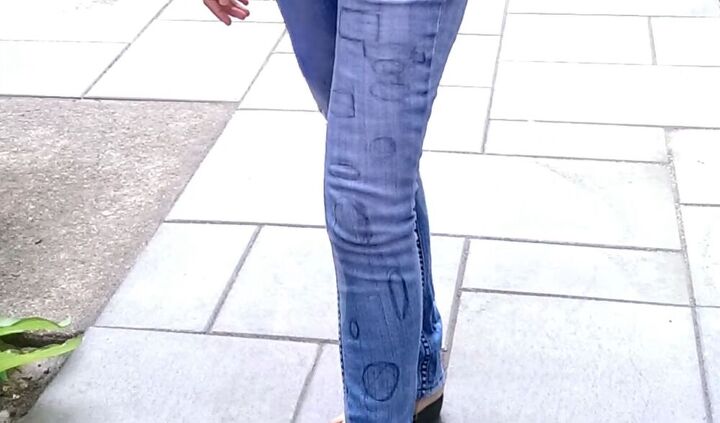
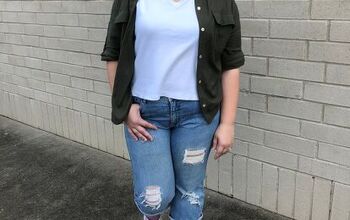
So simple with such great results - I love the way that these jeans turned out. I know that I’m going to be getting a lot of wear out of them. Go ahead and style these jeans with a basic t-shirt and a pair of sneakers.
The author may collect a small share of sales from the links on this page.


Comments
Join the conversation
Did this in the 80s 🤪
I’m going to try this technique.