Got Old Jeans Lying Around? Make This Cute DIY Denim Top

I’m so excited to show you this DIY denim top tutorial. This upcycle uses two old pairs of jeans to make a unique long-sleeved top that is absolutely gorgeous. Let's get started!
Tools and materials:
- 2 Pairs of jeans
- Scissors
- Chalk or marking pen
- Needle and thread
- Sewing machine
- Ruler
- Measuring tape
- Iron
- Seam ripper

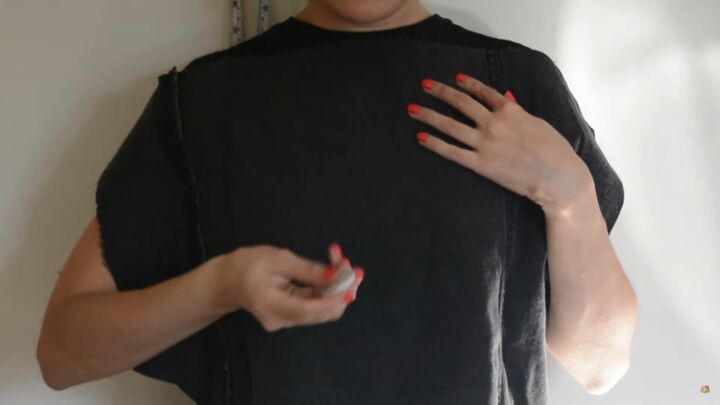
1. Measure Yourself
Before you begin, your measurements determine how many pairs of jeans you’ll need. Most people use two pairs. Use the measuring tape and write these measurements down:
- Measure the length of your arms from the shoulder down.
- Measure the length you want the top to be from the neck downward.
- Measure the length of the neckline.
I made the neckline a wide boat neck because I want to be able to pull the top over my head. If you want a higher neckline, you will have to put in a zipper in the back. This tutorial is for a wide boat neck style.
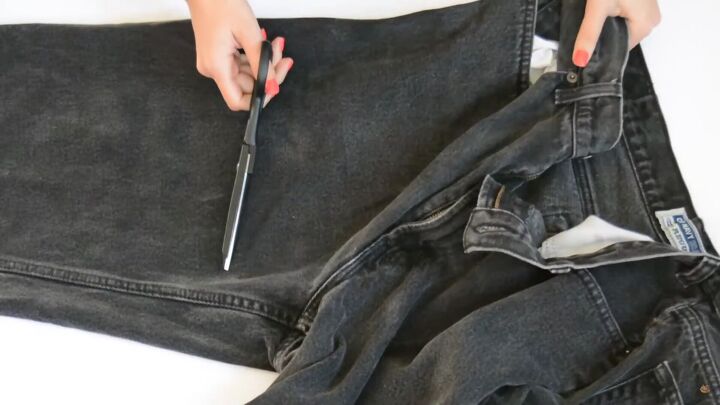
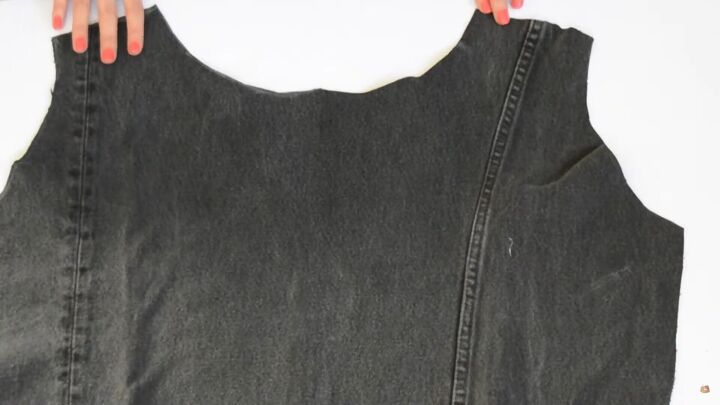
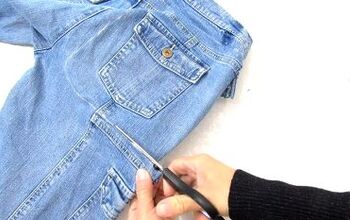
2. Cut the jeans
Cut the legs off of the jeans, being careful not to cut the inside pockets if they extend into the leg. Cut them open in the center and not on a seam.
Take the second pair of jeans. Mark a curved line at the top of the leg, similar to the way the top opening of a sleeve has a curved line.
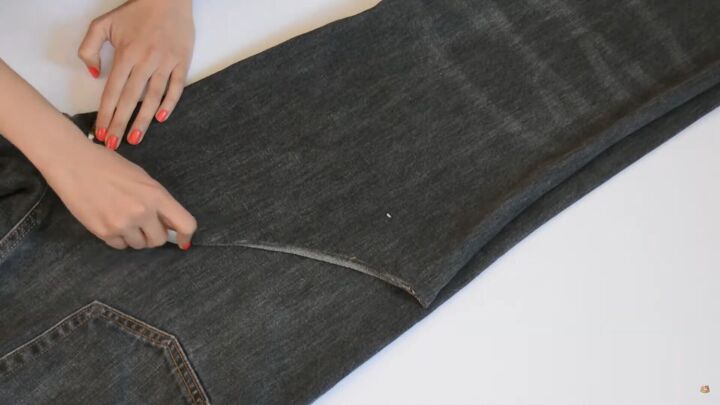
Cut the first leg and then use this piece as a pattern to cut the second leg.
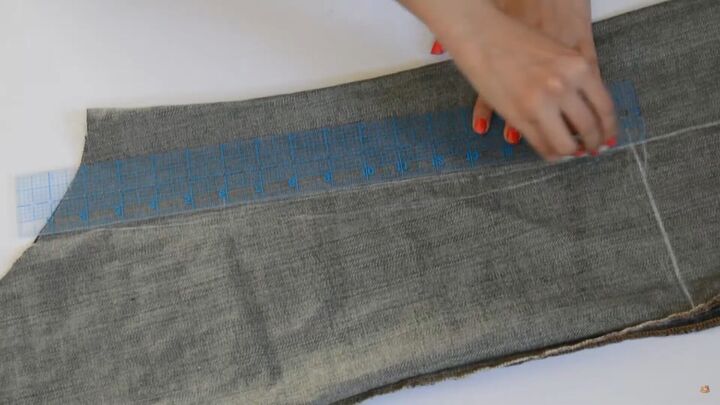
3. Mark the measurements
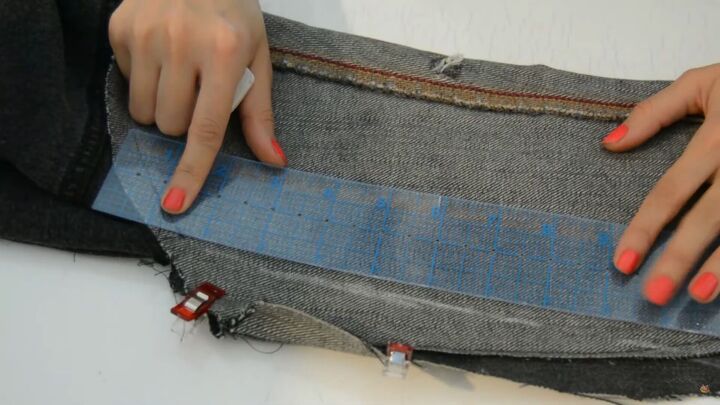
For the arm, use the ruler, measuring tape, and chalk to mark out the arm measurements. You determine how wide or narrow you want the arm fabric to be.
For the front bodice, lay the opened jean fabric across your chest. Use the chalk to mark the measurements that fit you.
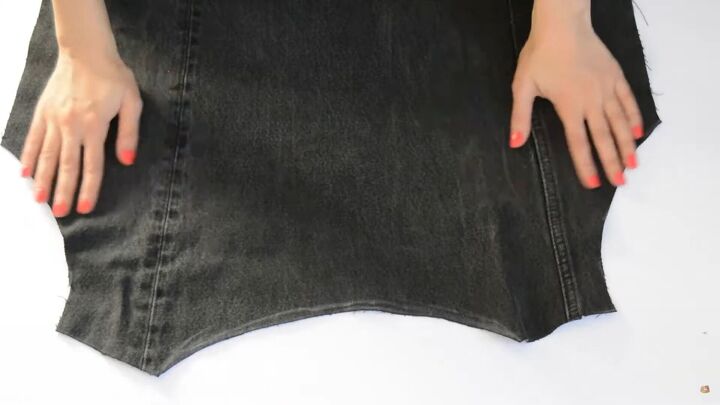
4. Cut the fabric
Lay the bodice front open on the other cut piece of jeans for the back. Trace a higher neckline for the back than on the front.
Cut the fabric based on your measurements with a ⅝-inch seam allowance for a french stitch and flat-felled seams.
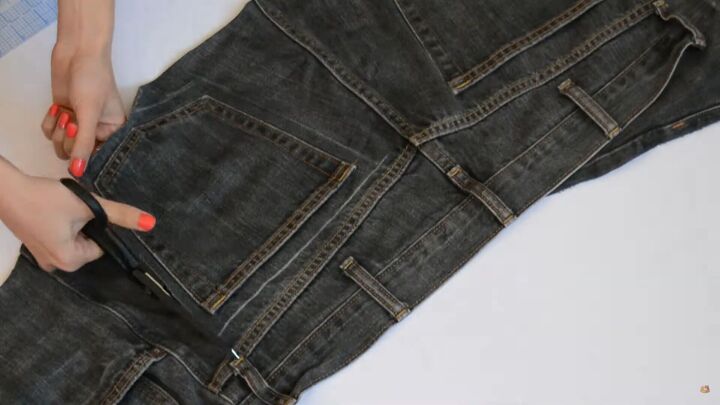
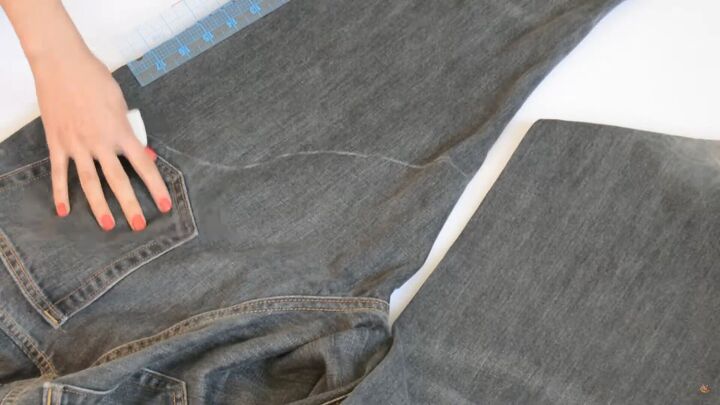
5. Cut a pocket
From the top part of one of the pairs of jeans, cut off a back pocket and set it aside.
6. Sew the shoulders of the top
The order for sewing is to sew the shoulders, add the pocket, then the side seams, and add the sleeves last.
The shoulders need a flat felled seam. Use a ⅝ -inch seam allowance. Sew together on the wrong side. Trim ¼ inch off of the seam allowance on one side. Iron to make it as flat as possible. Then, sew in place.
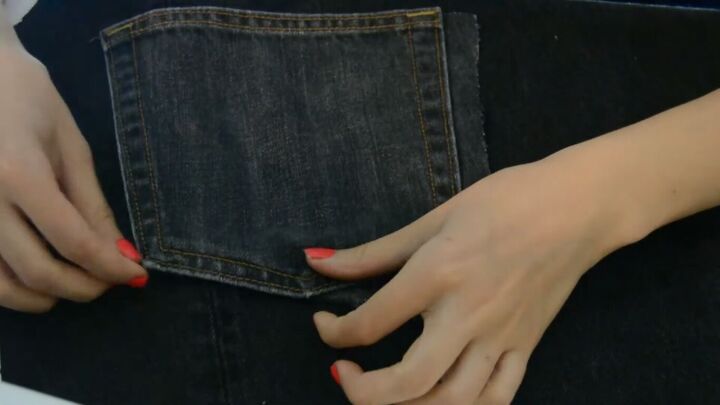
7. Attach the pocket
It’s much easier to attach the pocket before sewing the side seams. Use the reserved pocket. Remove any excess fabric from the pocket, leaving the seams intact. Sew the pocket on the right side of the front bodice as close to the edge as possible. Fold in the seam allowance and sew.
8. Sew the side seams
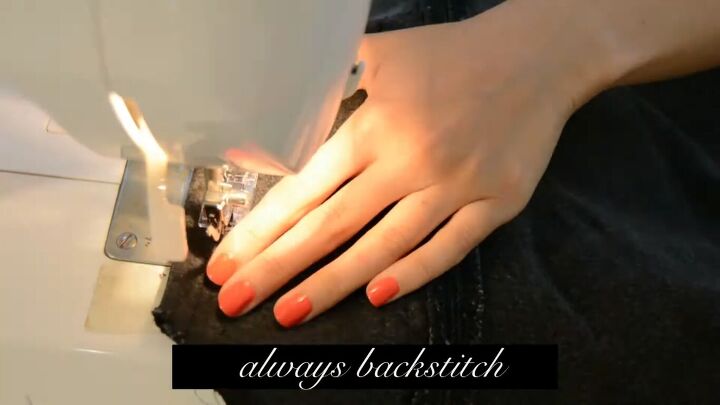
French stitch the side seams. First, sew on the right side with a ⅝-inch seam allowance. Trim to ¼ inch. Iron it flat. Then turn it inside. Use a backstitch. Then sew using a topstitch.
9. Sew and add the sleeves
Sew the marked measurements with a 1-inch seam allowance. Do a French seam on the inside of the sleeve.
To add the sleeves, clip the edges together and sew them together with a ½-inch seam allowance by the shoulder and sleeve. If there is too much fabric at the armpit, pinch the excess fabric, mark a line, pin it, and sew it straight. That should fix it!
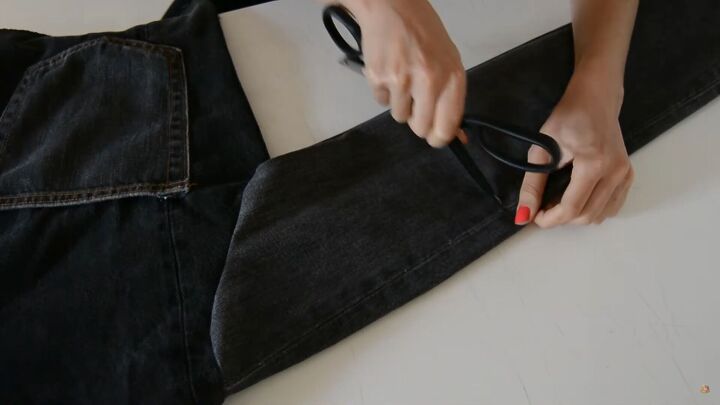
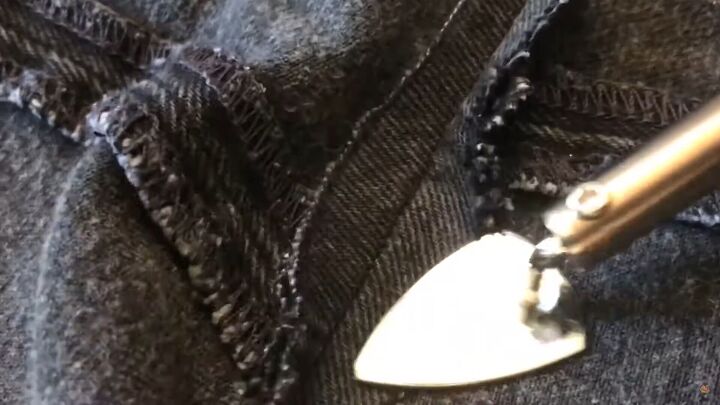
10. Distress or enhance the top
If you want to add some distressing to the top, scrape or drag the scissors on the sleeve.
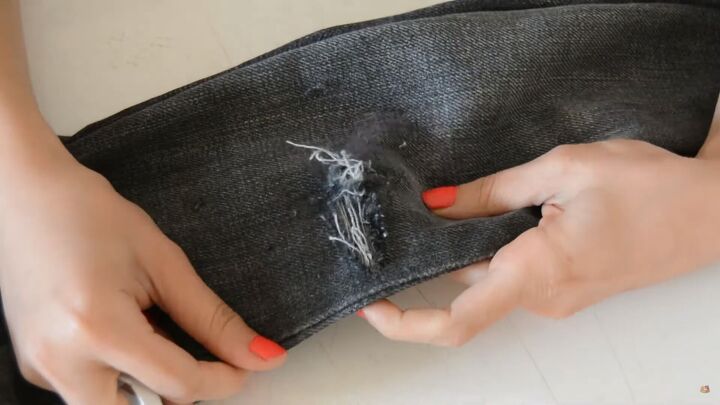
Then, use a seam ripper to pick at the fabric and show the white threads. If you decide to distress, do several on the sleeves.
You can also enhance the top by adding cute patches. You can also wear it as is!

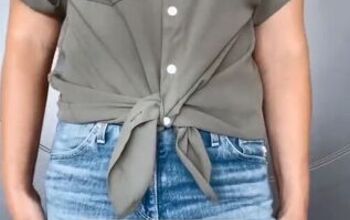
DIY denim top tutorial
This is a perfect layering denim top and a very sophisticated stylish way to repurpose old boot-cut jeans!
I hope you enjoyed this tutorial. Let me know what you think or share your experience making this DIY denim top in the comments!
The author may collect a small share of sales from the links on this page.


Comments
Join the conversation
When you measure your arm it should be slightly bent.