5 Polymer Clay Textures You Can Create Using Household Items

In this DIY, I’m going to show you five polymer clay textures you can make using everyday household items. I did a previous tutorial on polymer clay texture ideas, but now I have more. Polymer clay is so fun to mold and create things with, and here we’re going to be using unexpected items to make gorgeous patterned effects.
Tools and materials:
- Polymer clay
- Acrylic roller
- Hex key
- Plant pots
- Cornstarch
- Alcohol ink
- Pigment powder
- Torx socket set
- Screw
- Cutters
- Bandage
Texture 1 - Hex key
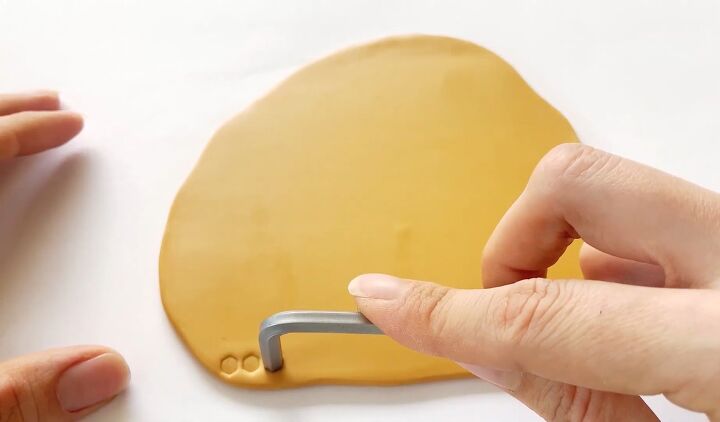
Roll your polymer clay flat. Then take a hex key (also known as an Allen key) and press it into the clay, leaving a small gap between each press.
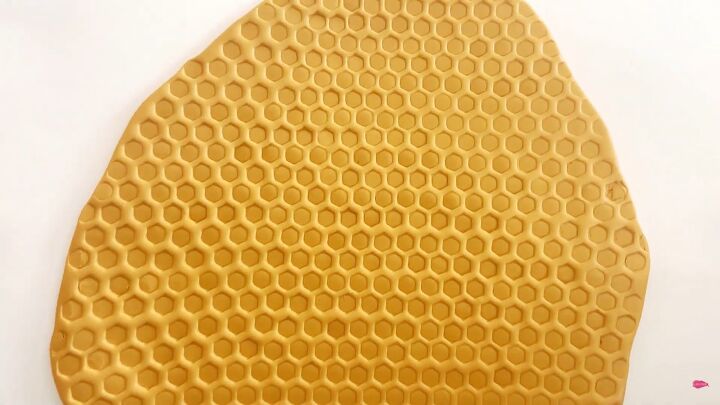
Repeat along the whole piece of clay, leaving the same space gap in between each time. This will create a wonderful hexagonal, honeycomb-looking effect.
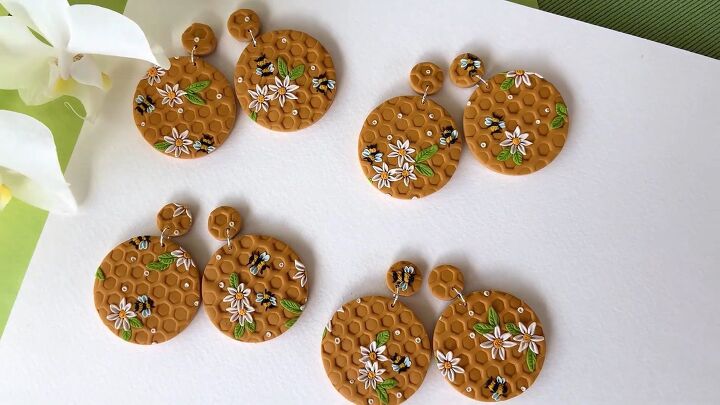
You can turn this clay into honeycomb earrings.
Texture 2 - Flowerpot
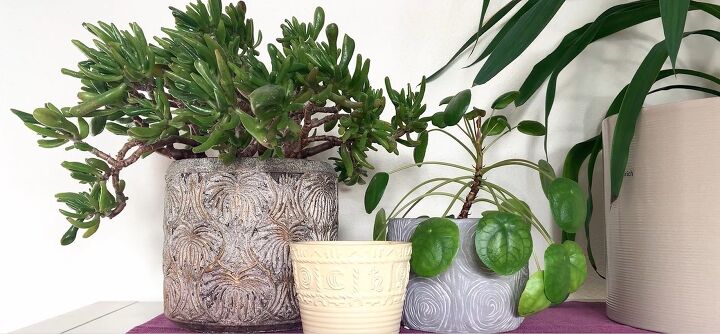
If you have textured pots for your plants, you can also use the textures for your polymer clay.
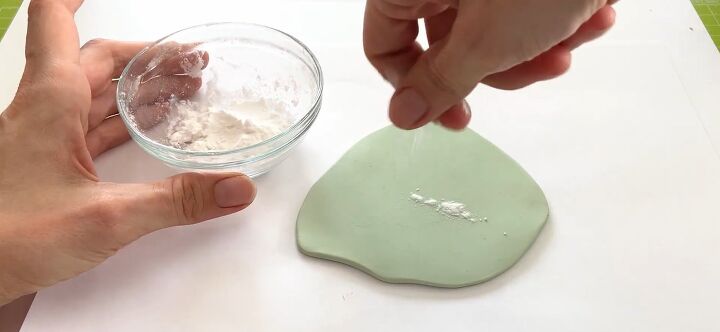
Step 1 - Rub clay with cornstarch
If you are worried that the clay might stick to the pots, first sprinkle a little bit of cornstarch onto it and rub it in.
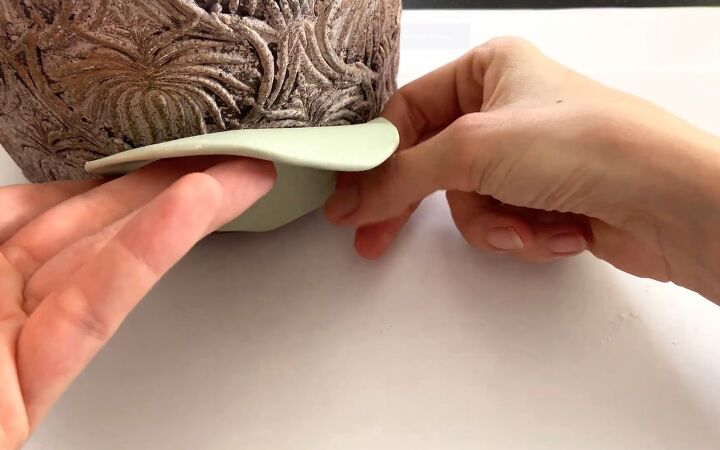
Step 2 - Press clay onto pot
Next, simply take your piece of flat clay and press it against your textured plant pot. You can also roll the pot over the piece of clay and press down on it to get some clear indentations.

Here is how the clay now looks.
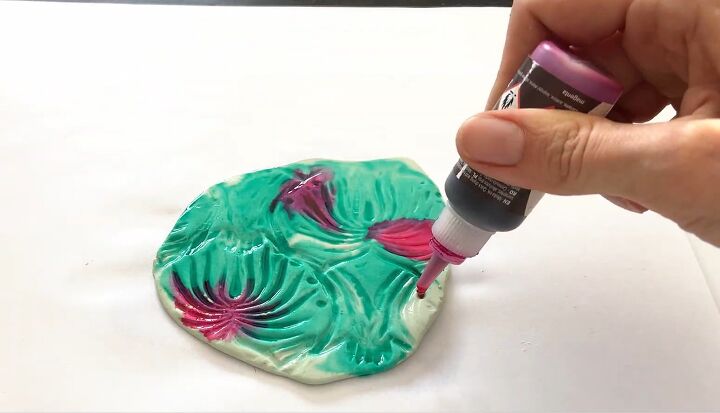
Step 3 - Dye the clay
I added alcohol inks and pigment powders to color the clay and achieve an interesting look. A great way to spread the ink around on the clay is by blowing through a straw.
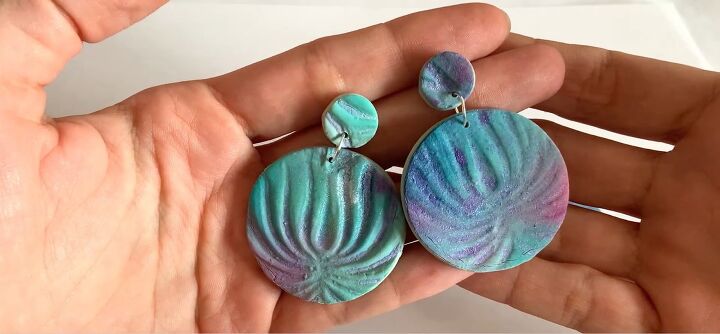
Here are the finished plant pot textured earrings.
Texture 3 - Torx socket set
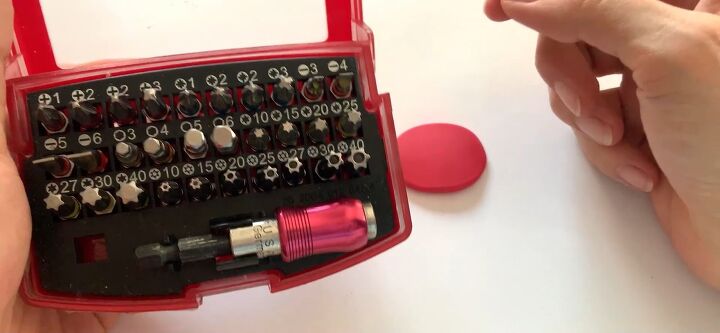
A set like this is your goldmine for various tiny “stamps.”
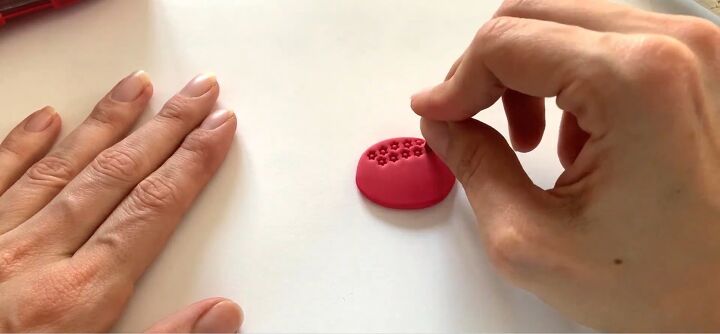
Choose a Torx head and press it into the clay, leaving the same space in between each press for an even-looking pattern.
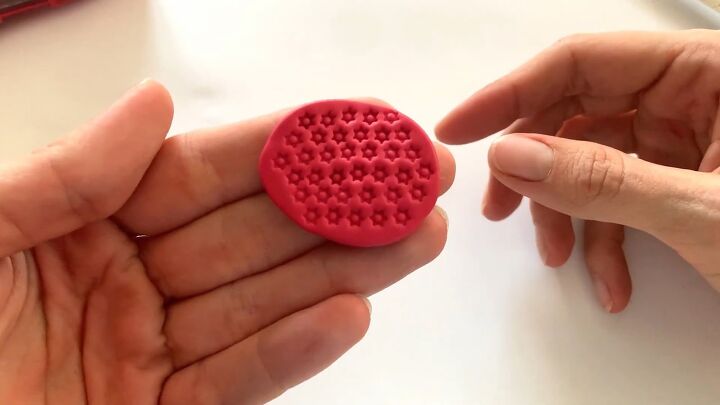
Here is the finished look.
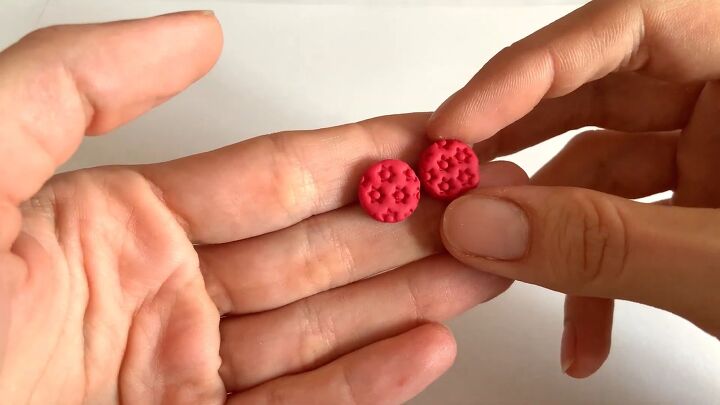
And here is the clay transformed into a cute pair of earrings.
Texture 4 - Screw
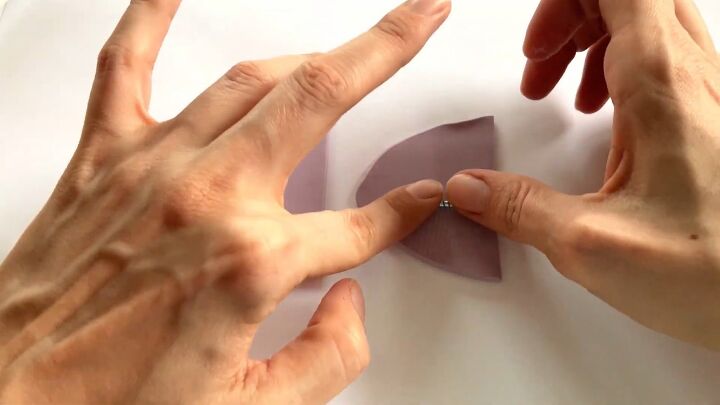
Take a long screw, place it horizontally on the clay and roll it along. This will create nice neat lines.
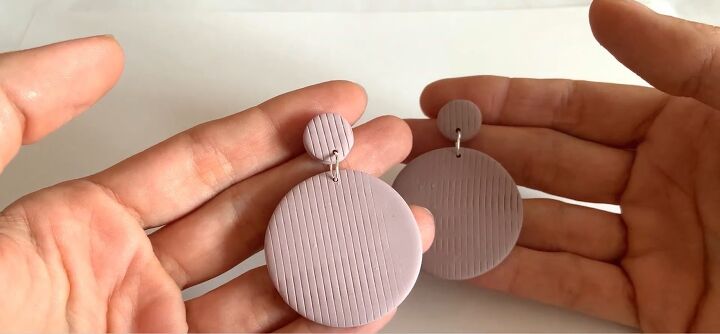
The screw creates a very simple and minimalistic design.
Texture 5 - Bandage
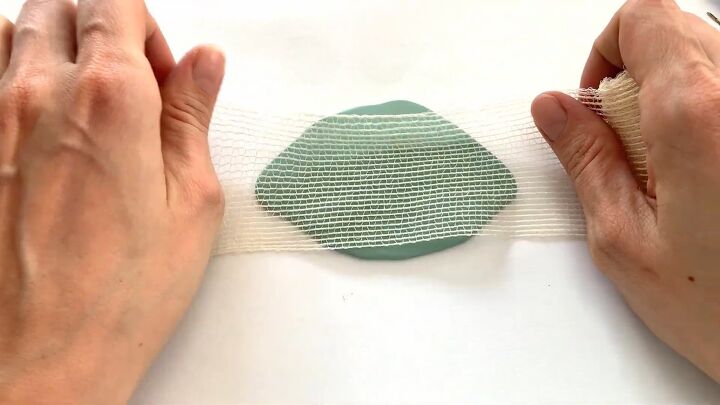
Stretch out a bandage over a piece of clay and press it onto the clay to make an imprint. Make sure that you are just pressing the bandage and aren’t leaving finger marks.
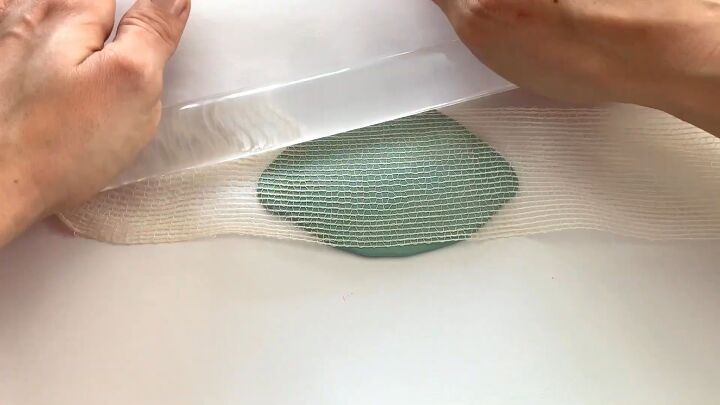
You can also take your acrylic roller and roll that over the bandage as well.
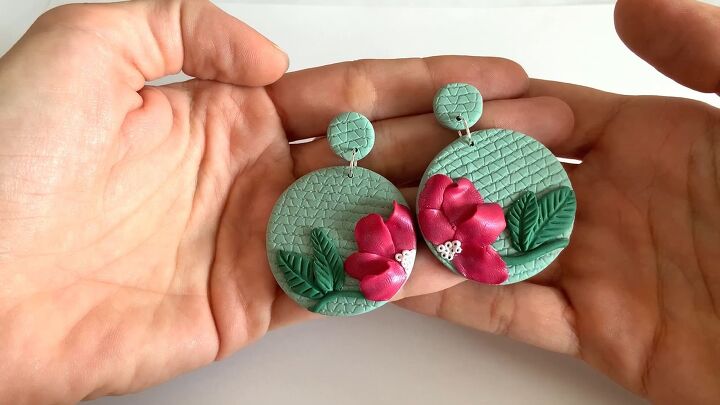
A small pattern like this is great for backgrounds.
Bonus: bandage for snakeskin

If you would like to create a snake as part of your design, all you need to do is roll your clay thin, place the bandage over the top and pinch it to make the imprint on the clay. Do this all along the piece of clay.
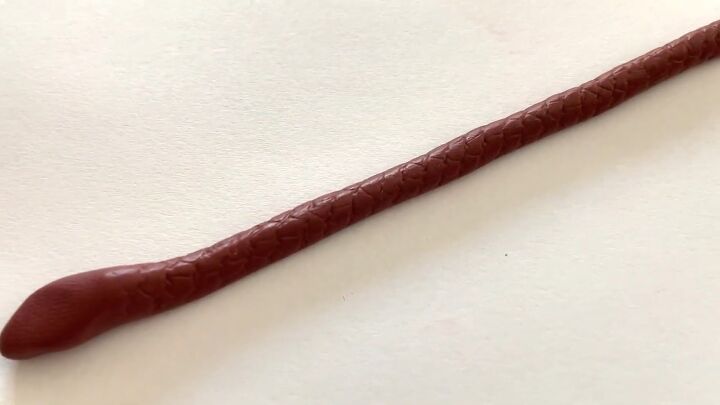
There you have a realistic-looking snake that you can incorporate into an earring design.
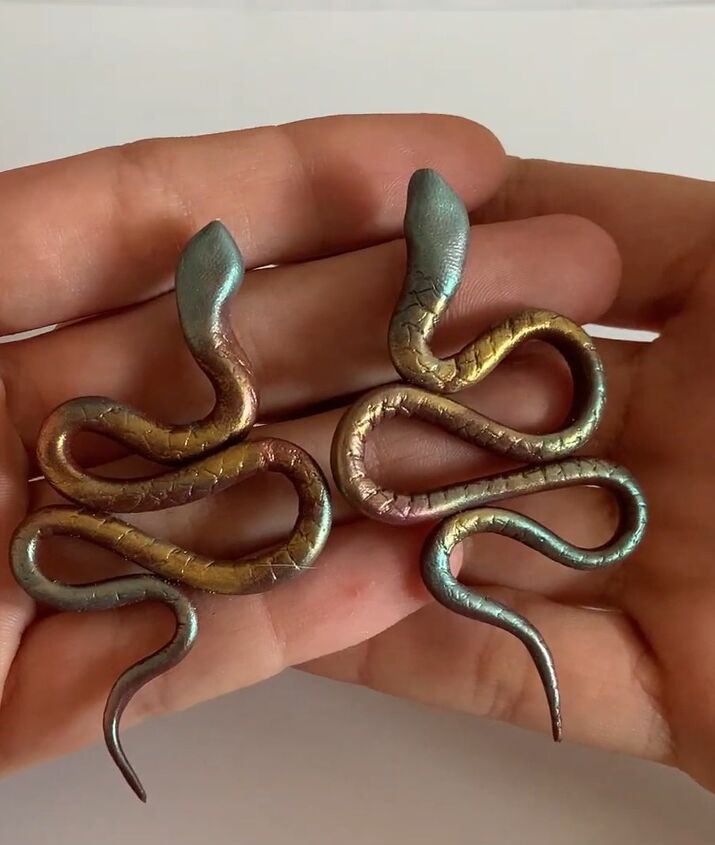
Here I curled the snake up and added pigment powder to achieve the mystical snake coloring.
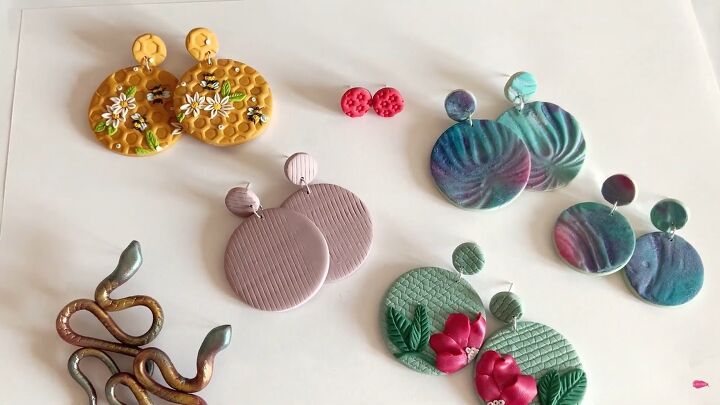
Polymer clay textures
I hope you enjoyed learning how to make interesting textures on your polymer clay using everyday objects that you can easily find around the house.
Polymer clay is so malleable and versatile, and there are so many wonderful designs that you can make with it. Why not see what other fun textures you can create using household objects?
The author may collect a small share of sales from the links on this page.


Comments
Join the conversation
I made an oval pendant 2.5x1.25 for my friend's hallway llama fabric statue.
baked in the bail and used fine ribbon to tie it on the neck. It's name is : LIMA
Very nice, thank you for sharing :)