How to Make Cute DIY Pins With Resin & Glitter - Inspired By Tumblr

If you love these badge pins as much as I do, then you know the pain of trying to find ones you really love. So, stop buying them and start DIY’ing them.
In this tutorial, I’m going to show you how to make your own DIY pins so you can customize them to your liking! I’m showing how to specifically make kawaii Tumblr pins, but you can easily modify the tutorial to match any aesthetic you want!
Tools and materials:
- Printer and printer paper
- Glitter / Glitter pen
- UV resin
- UV lamp
- Scissors
- Safety pins
- Superglue
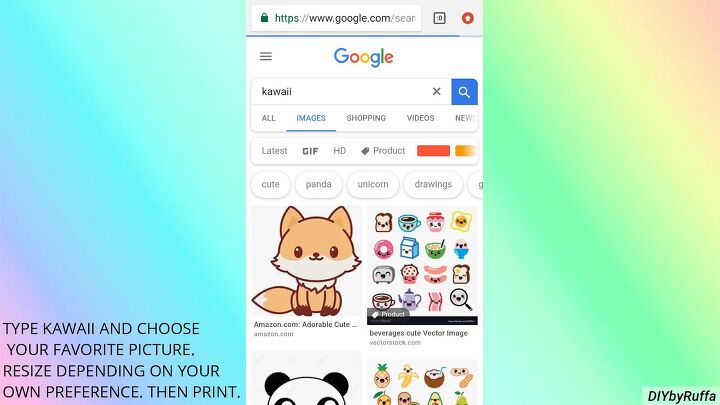
1. Find the designs you like and print them off
On Google Images, type Kawaii and choose the pictures you like. After saving them, compile them all in a word document.
Note that you should choose images that don't have copyright.
Resize them to how big you want them to be and then print!
2. Cut out your designs
After you print, cut out each individual design. Leave a small white outline around the image for a more finished look.
3. Color the border (optional)
This is optional but I like to color the white outline with a glitter pen, but you can keep it as it is if you like.
4. Add resin
Add a small drop of resin to your image and carefully spread it across the image using whatever you have on hand. Not only does resin preserve your image, but it also makes the colors very pigmented and bright!
5. Irradiate and repeat
Now you should irradiate your badges with the UV lamp for three minutes. You can leave them alone and go do something else while you wait!
When you return, it should be a harder texture, a bit bendy but a little more durable.
6. Repeat and add glitter
We’re going to repeat the process three more times to make the pins thicker and more solid.
After the front is finished, apply resin to the back. Here, after spreading my resin, I’m sprinkling glitter on the resin.
Then, it goes under the UV lamp for another three minutes.
7. Apply glue and safety pins
Once your pins are done, apply glue to the back of the badge.
Then attach the safety pins standing up. Make sure to press down on both sides of the safety pin so it’s adhered correctly.
Apply resin to the safety pin to make it clear and shiny, and also for a bit more security, and then put it under the UV lamp for three minutes.
All done!
DIY pins tutorial
I love these pins! They’re so cute, easy to make, and fun to use for decorating clothes and bags.
If you decide to follow this tutorial on how to make resin pins, let me know what designs you choose and how you’re going to wear your new DIY pins!
Enjoyed the project?
Suggested materials:
- Printer and printer paper
- Glitter / Glitter pen
- UV resin
- UV lamp
- Scissors
- Safety pins
- Superglue
The author may collect a small share of sales from the links on this page.


Comments
Join the conversation