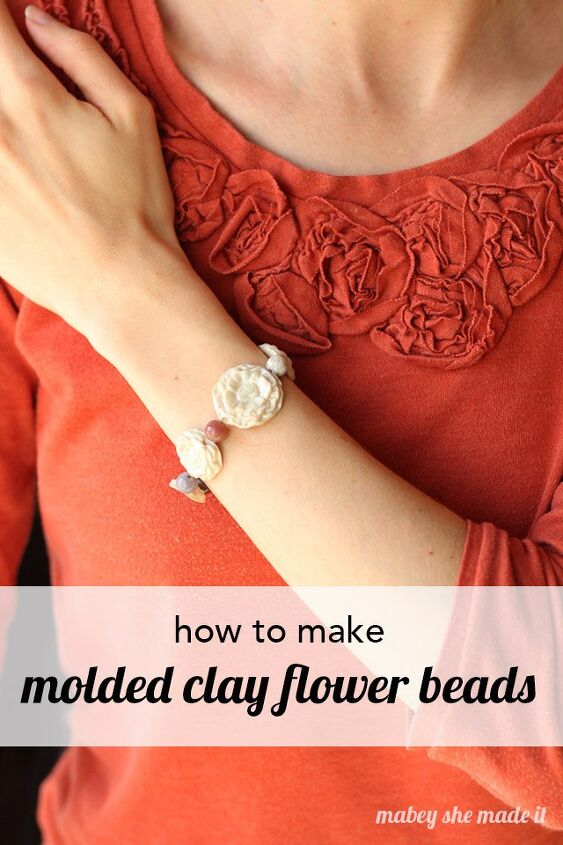
Molded Flowers: A Beginner's Polymer Clay Tutorial
Have you ever been tempted to try a new skill or crafting medium? I like to think of myself as willing to try anything once in the crafting arena, so when I was presented with the opportunity to make a project and polymer clay tutorial, I was excited to try my hand at it.
The clay came, and then it sat. I was intimidated! I have never been a sculptor. The times I try to create animals or recognizable shapes for my kids, they mostly fall pretty flat (I can make a mean snake though). But I could do it!
I finally sat down to get started on a project, and after several hours I was disappointed when it didn’t turn out. I was no good at this. But in that moment I also realized that we all have to start somewhere. And my somewhere wasn’t with a globe complete with base and intricate continents. (You can totally laugh at me–what was I thinking?) I’ll leave that to someone a little more advanced.
So I started over with something a lot more realistic for a beginner. I remembered I had some little silicone molds, so I pulled them out and started playing. And the results were cute, simple, and frustration-free.
Molded Flower (and Bead) Polymer Clay Tutorial Supplies
- Sculpy Premo! clay
- Silcone mold
- Large needle or needle tool
- Waxed paper or aluminum foil to protect your surface
- Oven
- Coordinating beads, beading cord, and fold-over elastic
Instructions
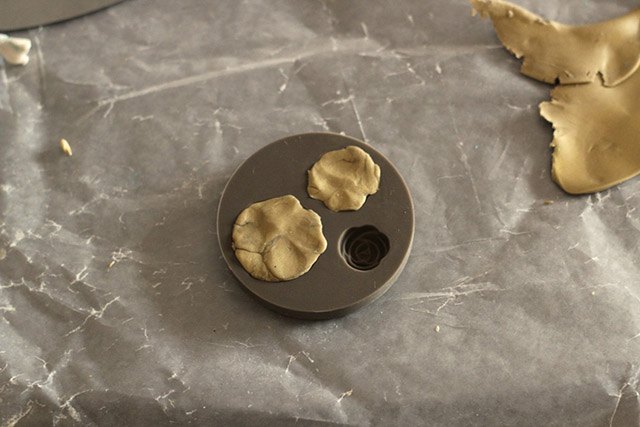
- Knead and work your clay for a few minutes to get it nice and warm. Since we’re going to squish it into a mold, we want it to be malleable.
- A little at a time, fill your mold with clay making sure to fill all the little nooks completely so your completed bead will have crisp edges and lots of detail. Make sure you pack it in tight!
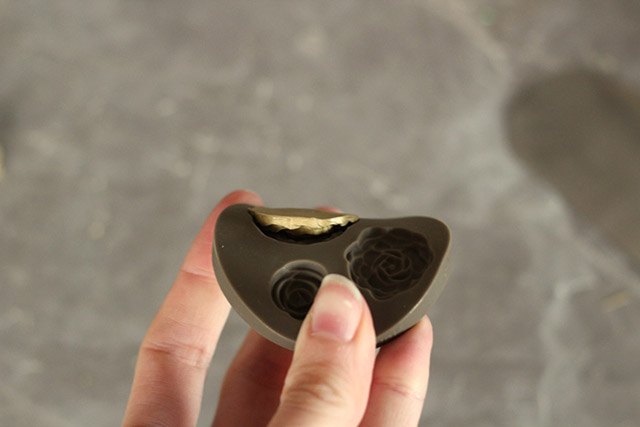
Once it’s all packed, use the side of your thumb or a knife to get off all the excess clay and make a nice flat surface.
Bend your mold a little all the way around your shape, and your shape will pop out. Be careful not to put pressure on the details.
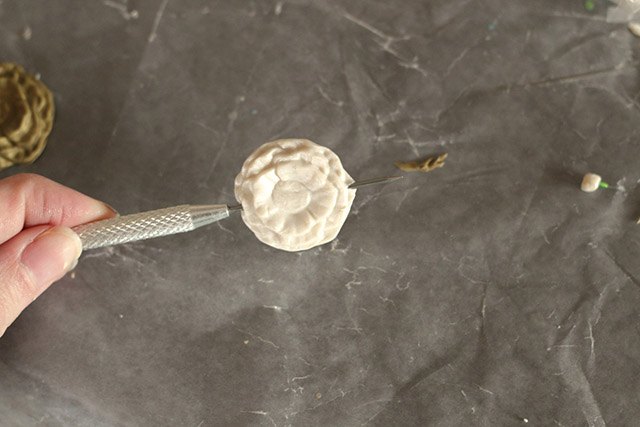
To create beads, take a sharp tool or large needle, and gently work it through the clay from one end to the other without smooshing the details.
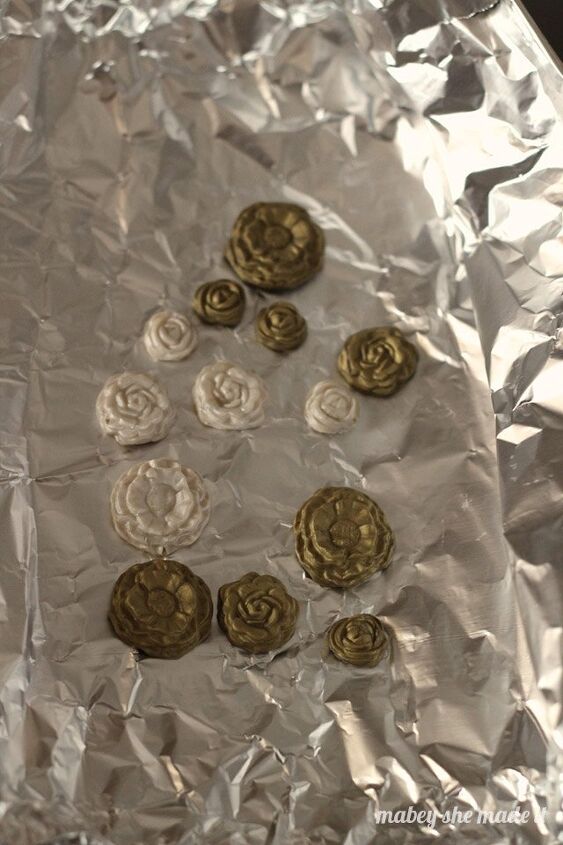
Once you have your beads created, put them in a little aluminum foil pouch, and bake them in your oven at 275 degrees for 30 minutes per 1/4″ (mine were a little closer to 1/2″ so I baked them for 1 hour).
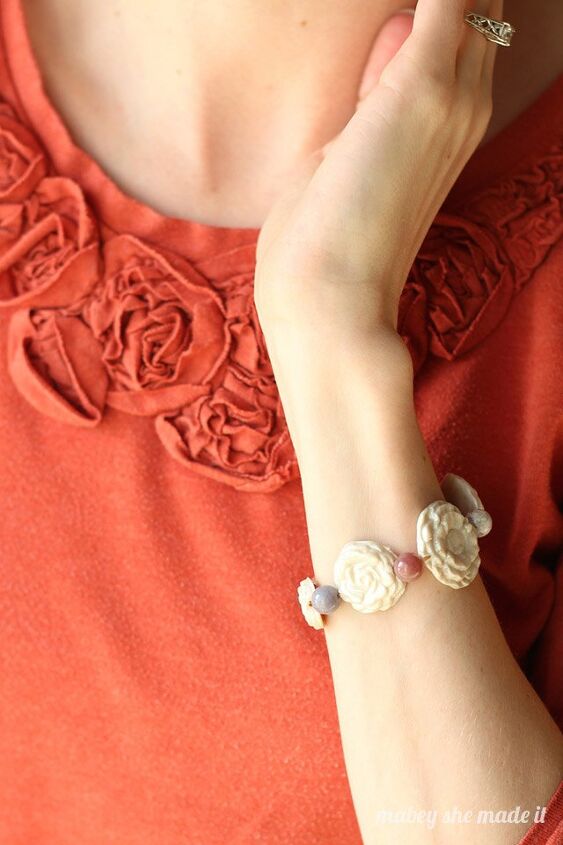
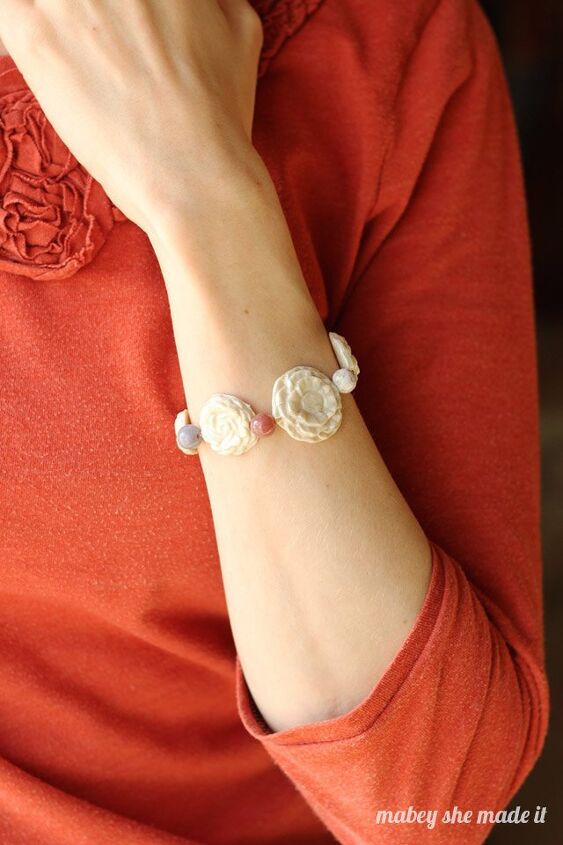
Once they’re cool, string them on a bracelet as desired using beading cord and coordinating beads.
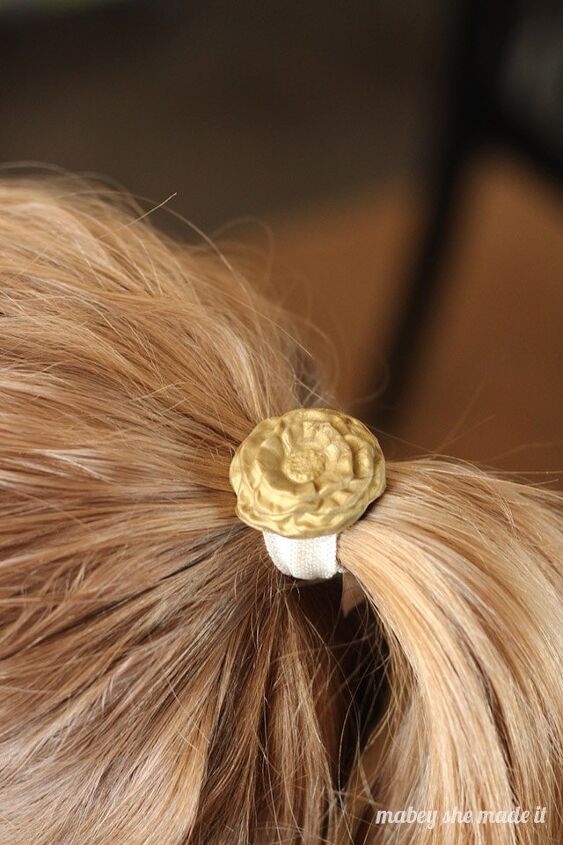
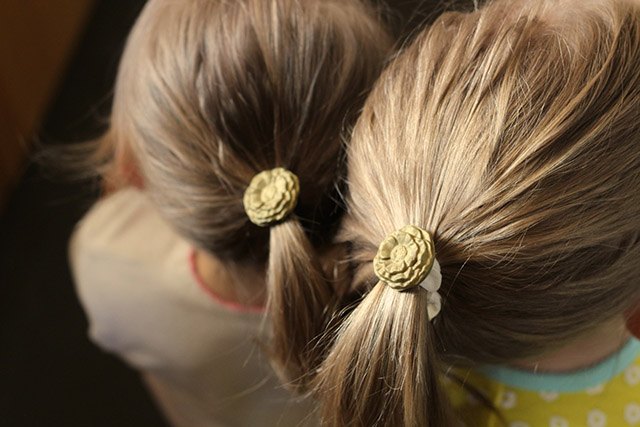
Or, glue them to some fold-over elastic for fun and unique hair ties.
No matter what you end up doing with them, this polymer clay tutorial will help you get beautiful results even if you’re a super beginner like me.
And over time, I’m sure I’ll get back to that globe–it’ll be awesome when I’ve got a few more skills!
The author may collect a small share of sales from the links on this page.


Comments
Join the conversation
Great idea! I'm going to make a necklace out of these flowers!