4 Ways to Create Super Cute, Custom Wristbands

Hey, guys! Today, I’m going to show you how to make custom wristbands for personalized gifts for your friends and your family, and it’s so easy! Let’s get started.
Tools and materials:
- Wristbands
- Wristband hole punching kit
- Yarn or cord
- Plastic wire
- Charms
- Yarn needle
- Scissors
- Beads
- Pliers
Style 1: Punching holes
1. Mark the letters on paper
If this is your first time making these wristbands, you should color in the letters you want to use on the paper before you punch any holes to avoid mistakes.
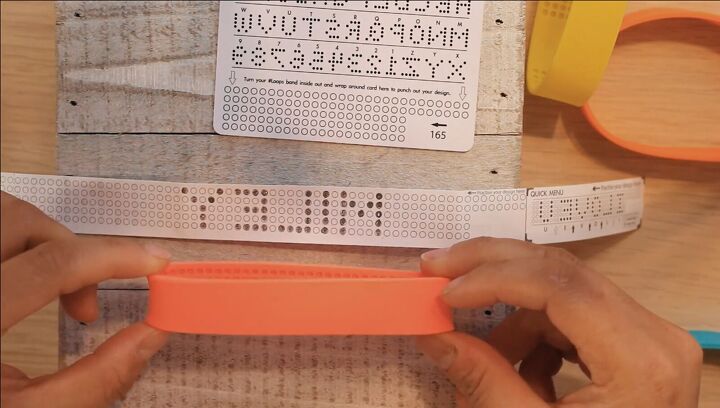
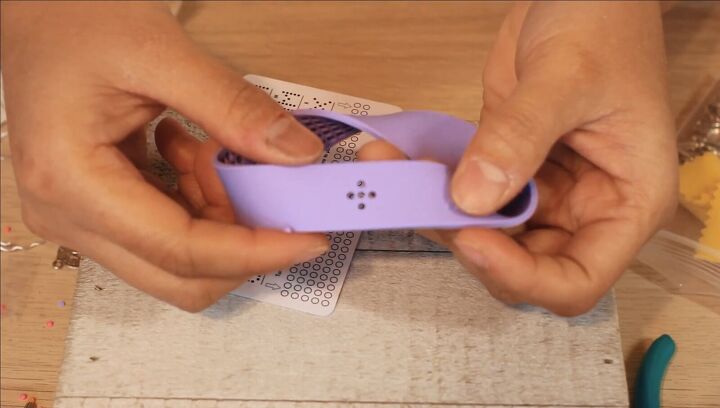
2. Wrap the wristband around the card
Turn the wristband inside out, and wrap it around the punch card. The card and tool should be included in the package.
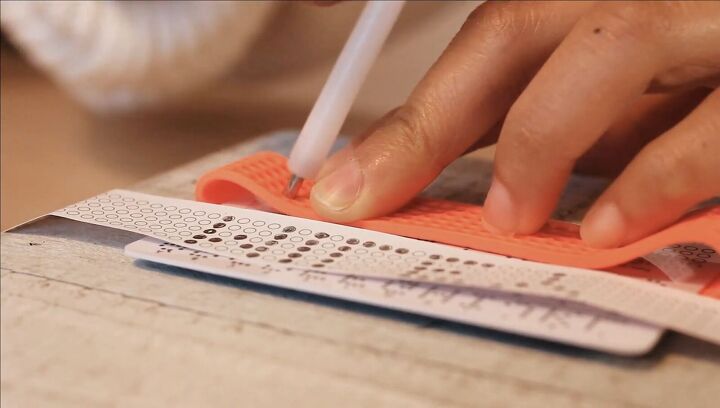
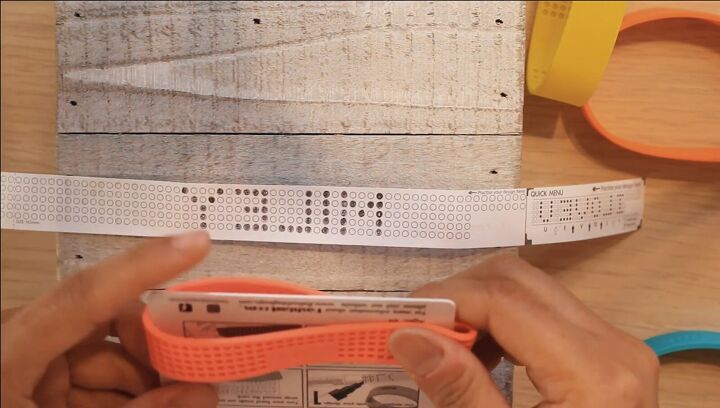
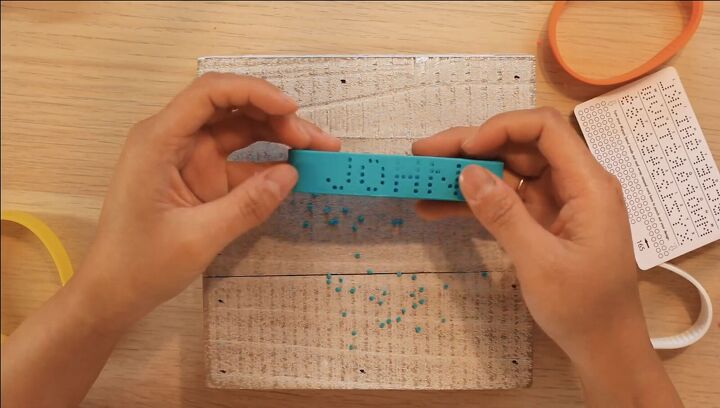
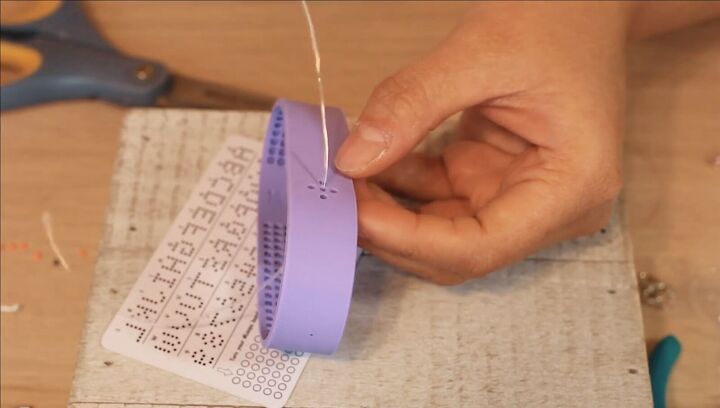
3. Punch the holes
Align your wristband with your filled-out sheet, and punch out the holes by following the design you made with the included tool.
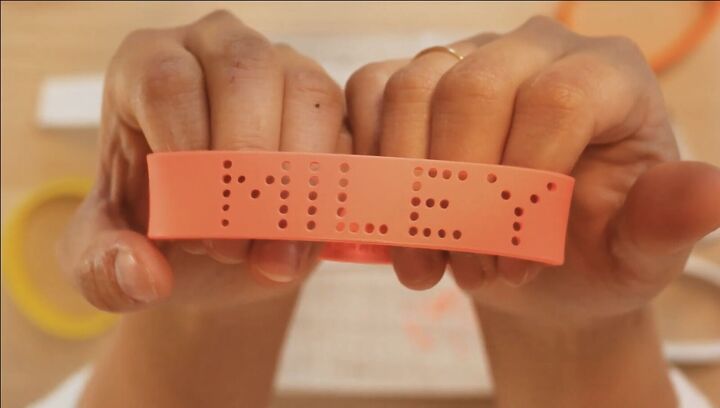
Here’s one of the finished personalized wristbands!
Style 2: Highlight letters
1. Punch the letters into your wristband
First, punch your customized letters on the band as shown in the previous style.
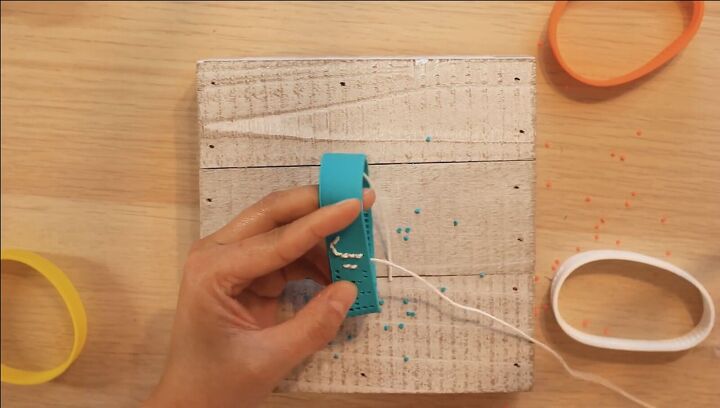
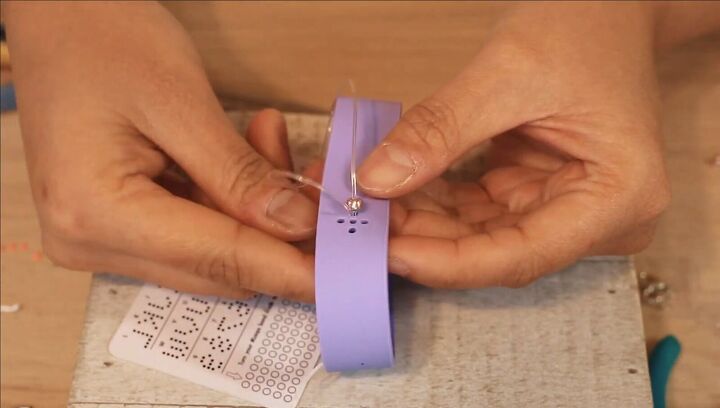
2. Thread cord/yarn through the holes
Next, choose any cord or yarn to highlight the letters. Then, use a yarn needle to thread the yarn or cord through the holes.
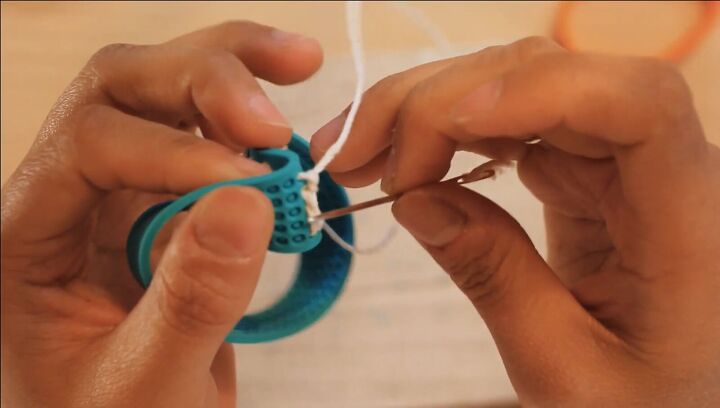
3. Tie off
Tie a knot after you go through the last hole.
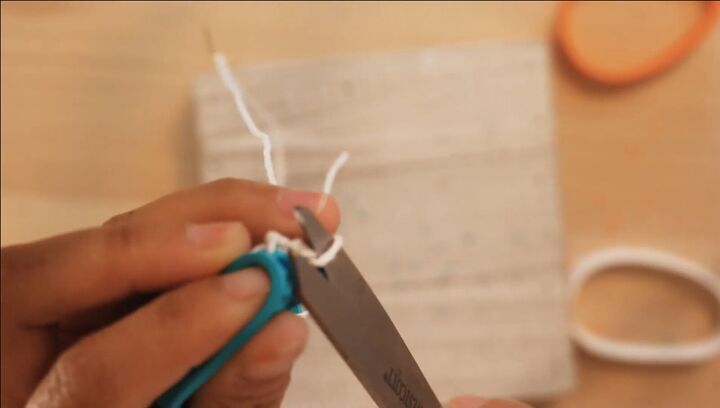
Snip off the extra yarn.
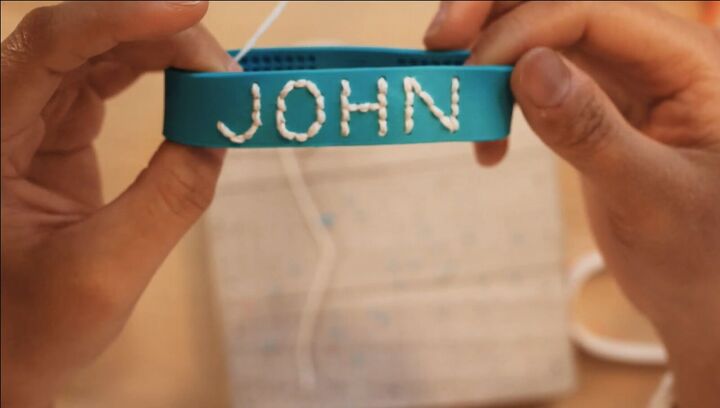
Here’s the finished wristband! This style is another great one for a your name wristband.
Style 3: Glass seed beads
1. Punch holes
For this one, we’re going to be attaching glass seed beads in a flower shape on the band. To achieve this look, punch your holes in this formation.
2. Thread a wire
Attach the bead to the band by using the yarn needle to thread a wire through your desired hole from underneath the band.
3. Slide on the bead
Slide the bead onto the wire, and then pull the wire back through the same hole. Repeat steps 2 and 3 for each hole and bead.
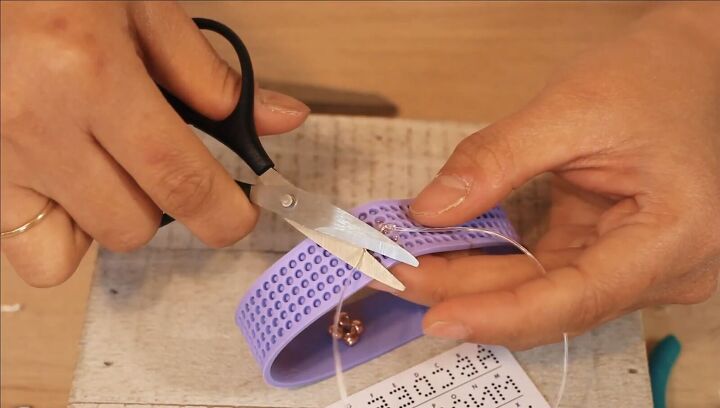
4. Tie off
Once you’re finished adding the beads, turn the band inside out and tie a knot, then cut off the excess wire.
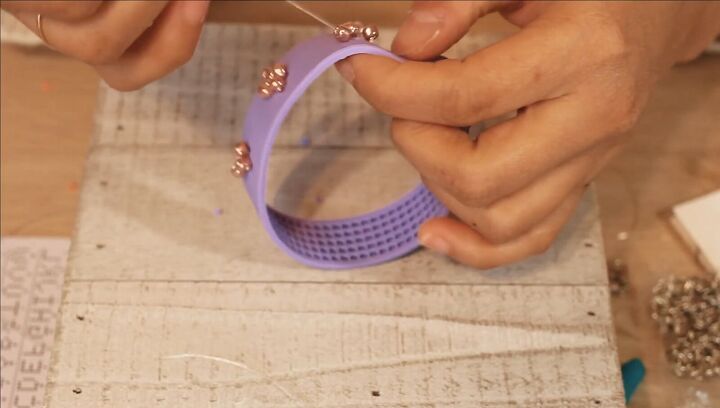
5. Repeat
Repeat the above steps until you’re satisfied with your design. I added five flowers to mine.
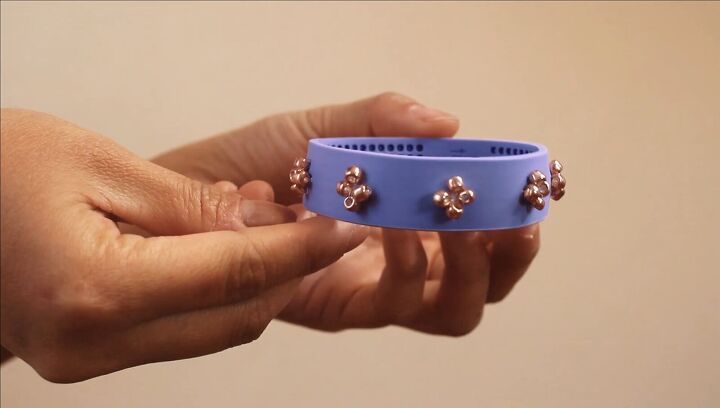
Here’s the finished custom silicone wristband!
Style 4: Charms
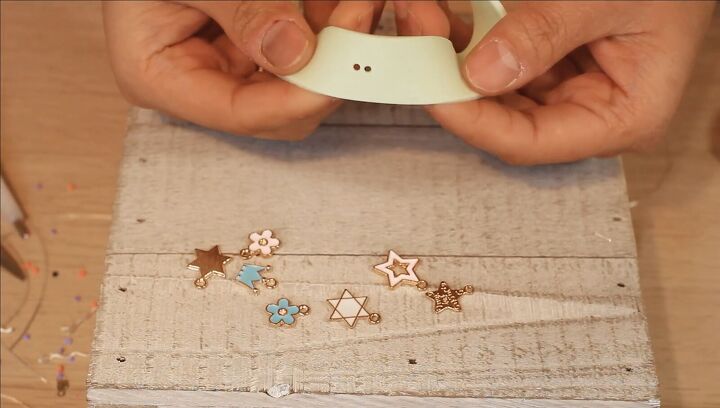
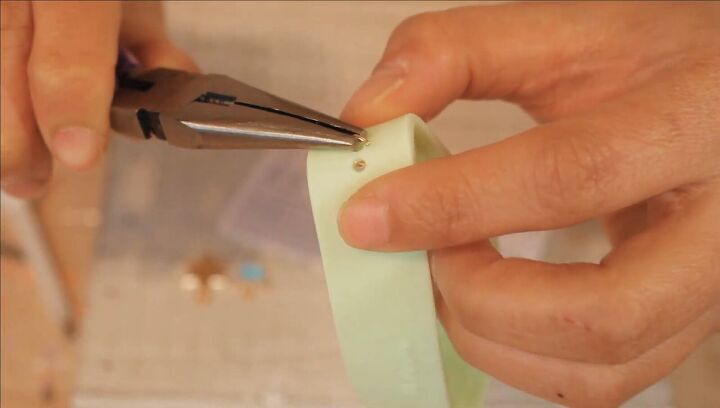
1. Punch holes
Punch two holes close together. You’ll need two holes for each charm.
2. Attach the jump rings
Attach one jump ring so an end goes through both holes.
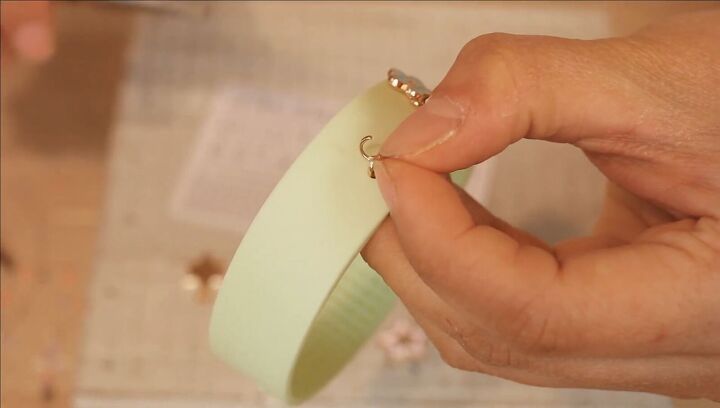
Attach the second jump ring to the first, closing the first ring but leaving the second open for the charm.
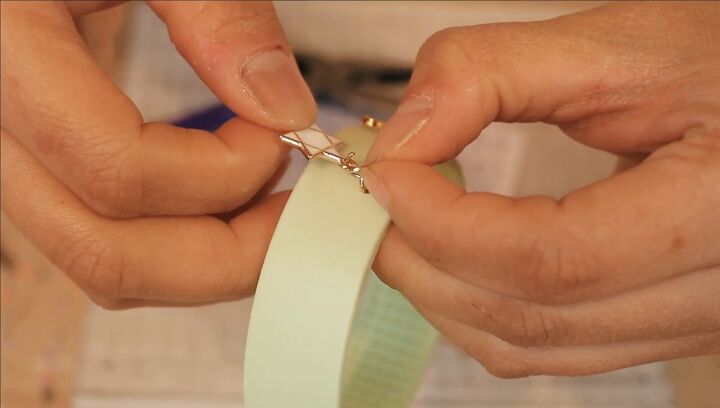
3. Connect the charm
Connect the charm to the second jump ring, and close it with the pliers.
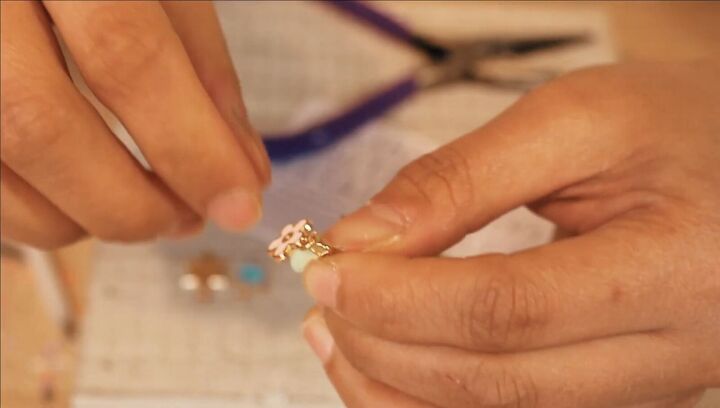
4. Repeat
Attach as many charms as you like!
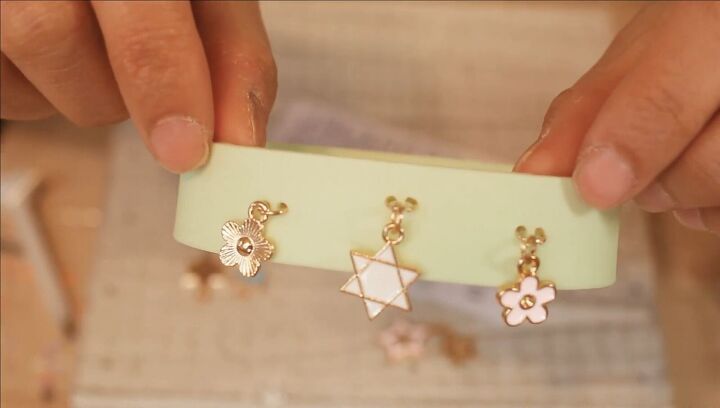
Here’s the finished wristband!
Custom Wristbands Tutorial
These custom rubber wristbands are so cute and easy to personalize as gifts for the people you love! Let me know down below which one is your favorite!
The author may collect a small share of sales from the links on this page.


Comments
Join the conversation