How to Make 3 Cute Macrame Friendship Bracelets

Learn how to make these 3 stylish knot friendship bracelets. They are super quick to make, and I think they look even cuter than the trendy Pura Vida ones. Follow this tutorial to learn the basic knots of macrame–let’s get started!
Tools and materials:
- 2mm thick waxed cotton cord in different colors
- Scissors
- Yard stick
- Thin notebook
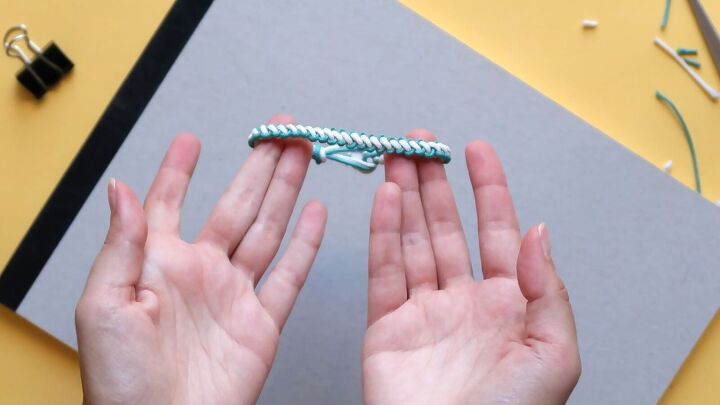
Chunky blue S-braided bracelet
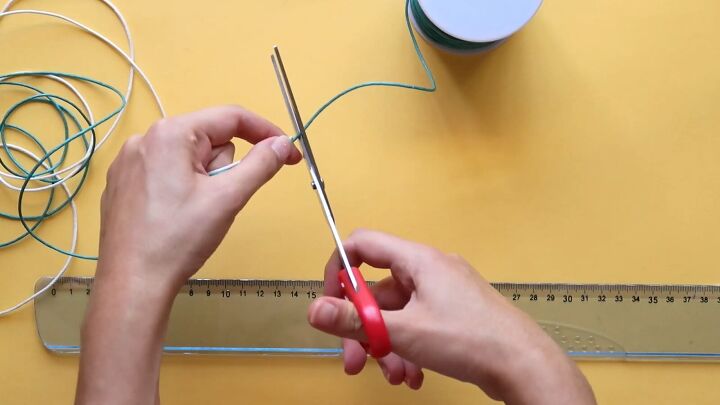
1. Measure and cut
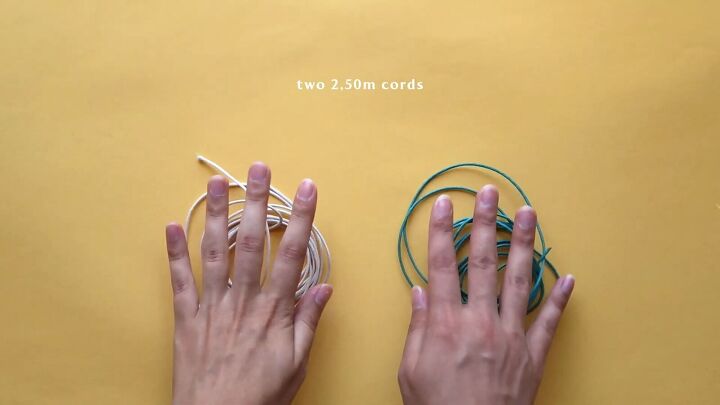
Measure and cut two cords, one of each color, about 80”, or slightly more if you are making this knot friendship bracelet for a larger than average wrist.
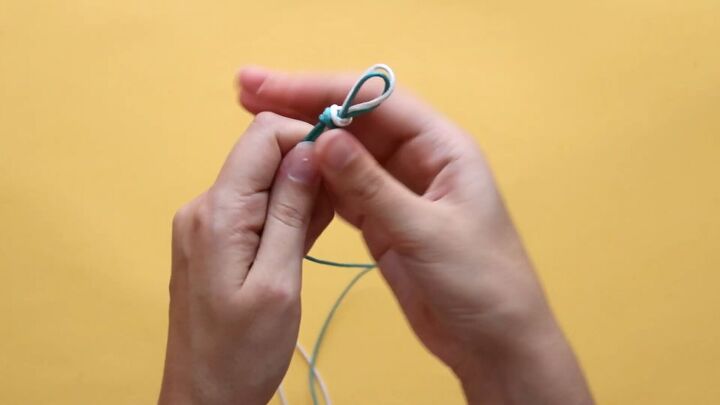
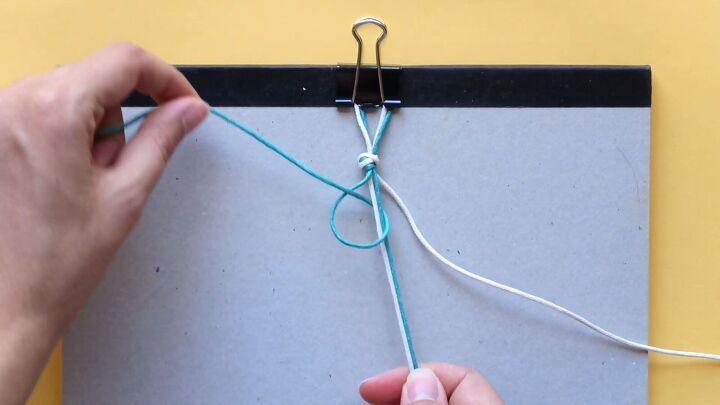
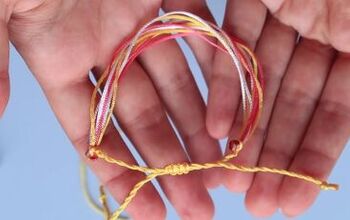
2. Tie a knot
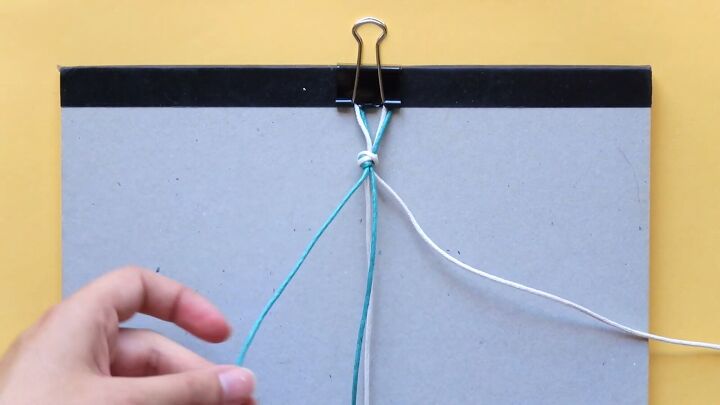
Fold them both in half, then create a loop which will be part of a button closure once the bracelet knotting is complete.
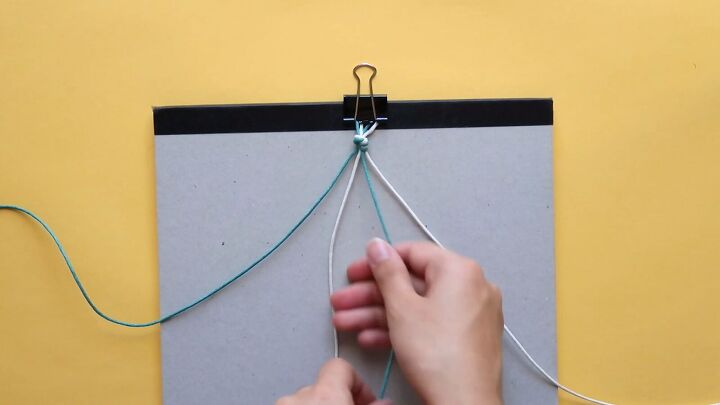
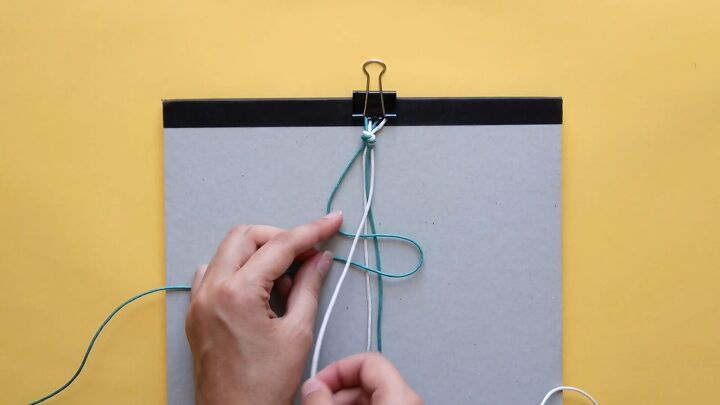
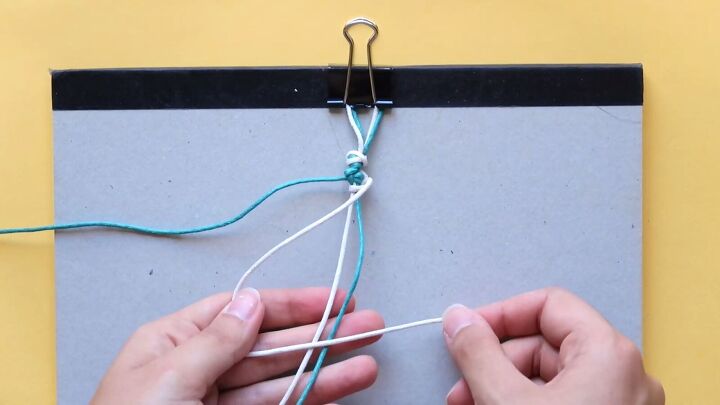
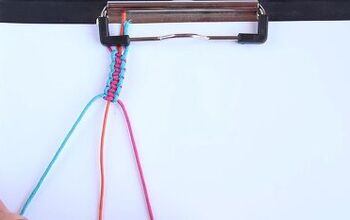
3. Clip and separate
Clip the cords onto something like a notebook using a binder clip. Separate the cords in alternating color order.
For the sake of clarity, in this tutorial I will assume you are using the same colors as I am, and in the same order.
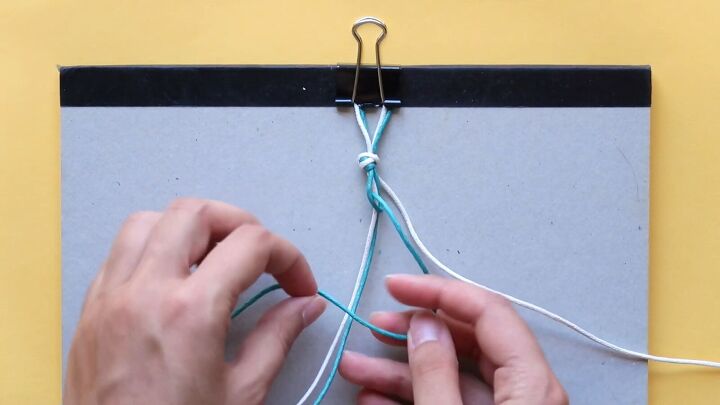
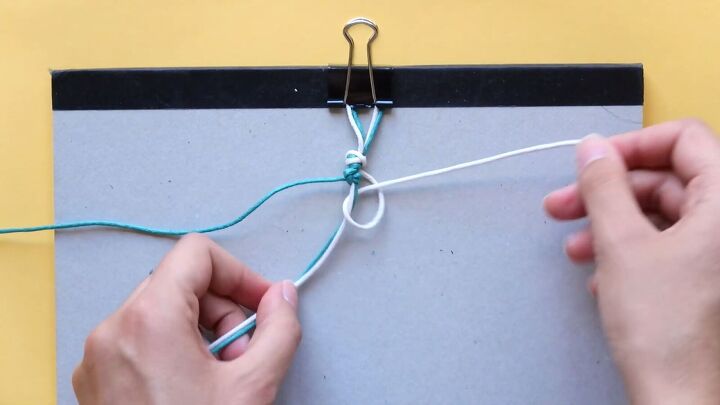
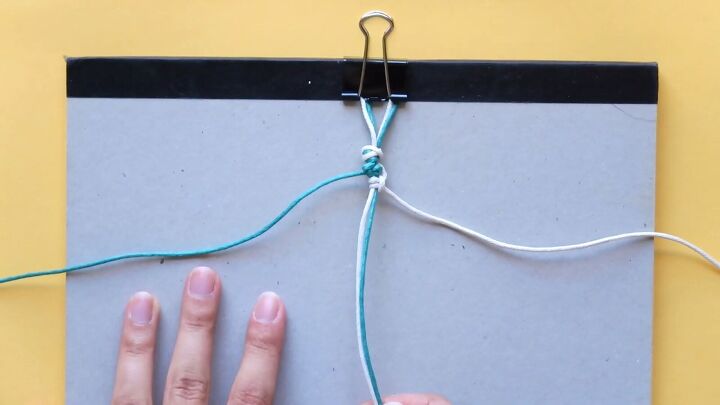
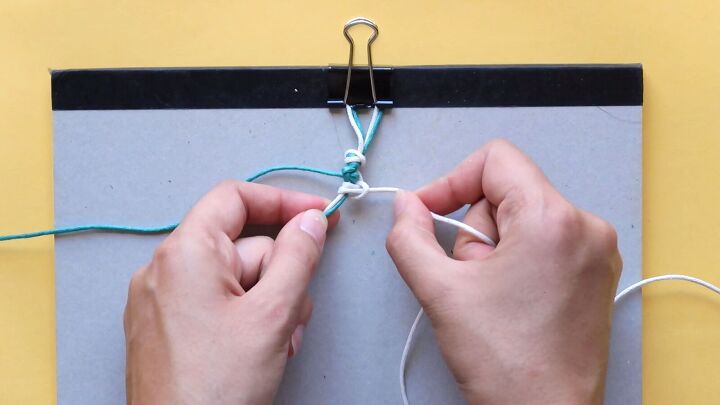
4. Start with an S and continue knotting
Make an S with the blue outer cord, like this:
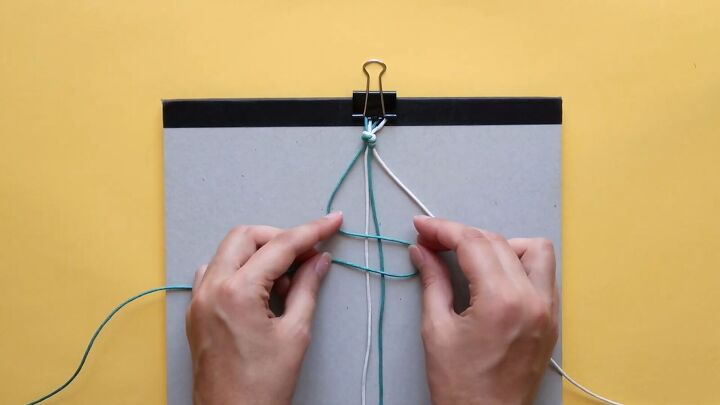
Then, cross the white outer cord over the S.
Next, bring that white cord under the middle cords and into the blue loop.
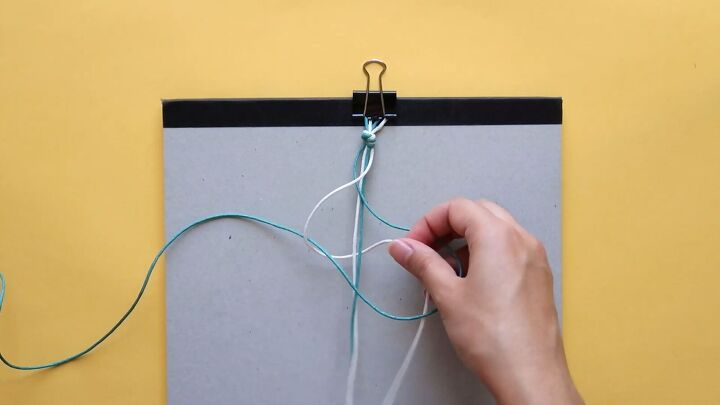
Now tighten all the cords.
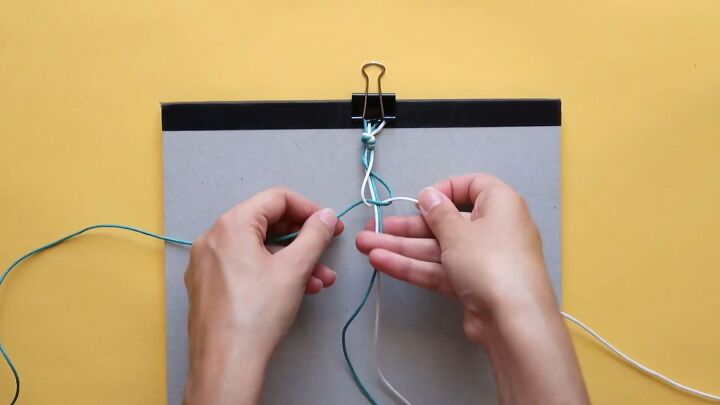
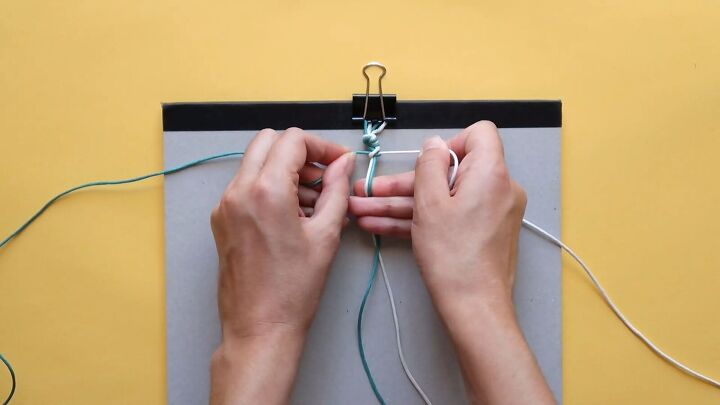
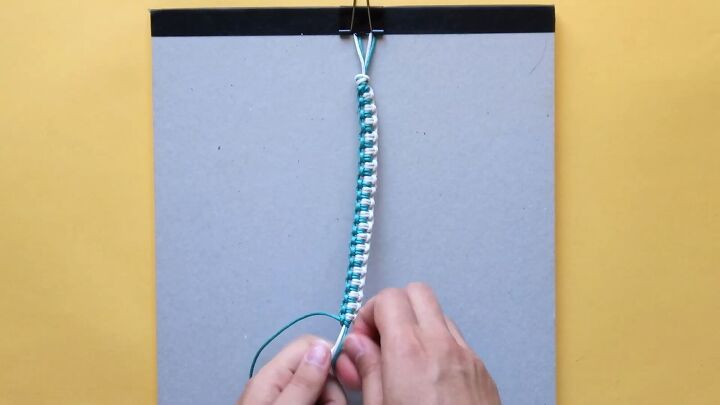
Keep repeating this knot and you’ll see the bracelet take shape.
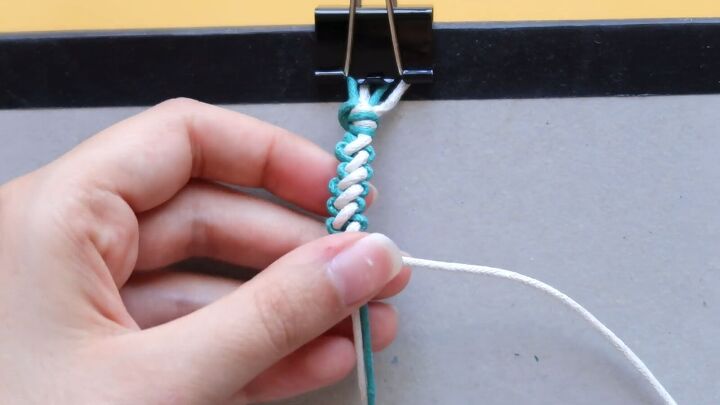
This is what the underside looks like:
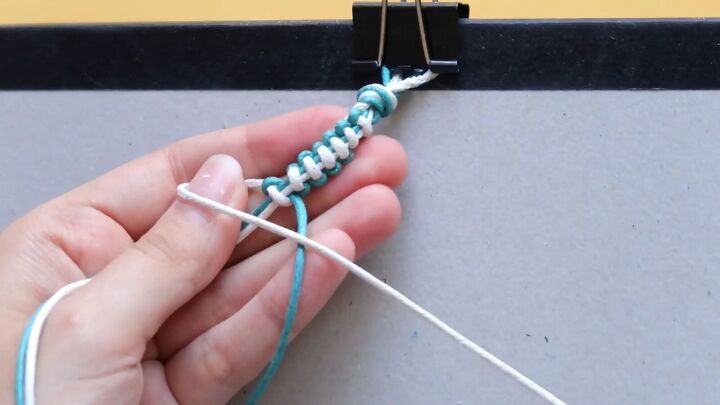
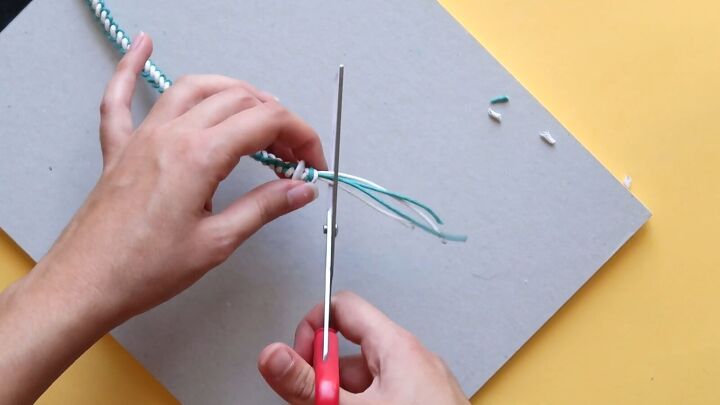
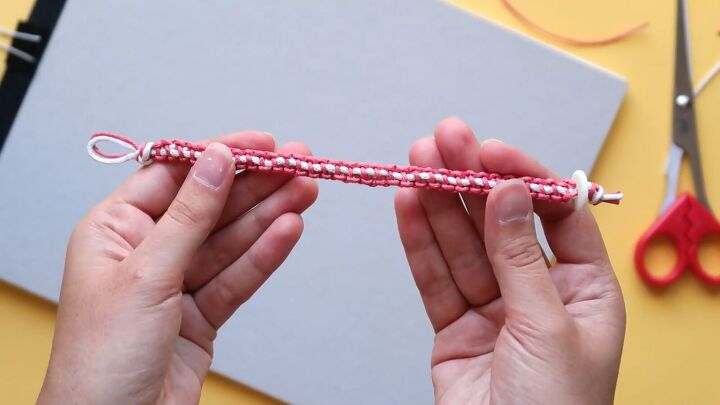
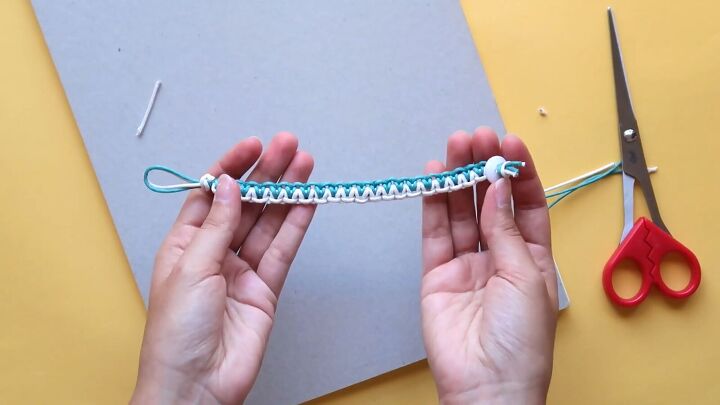
5. Trim and attach the button
Once the bracelet is long enough for the wrist, cut the uneven ends.
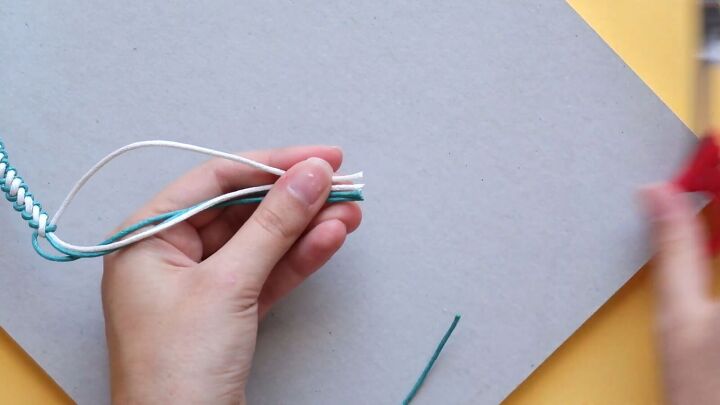
Now it’s time to thread on the button. If you have some difficulty, you may need to trim the ends of the cords at an angle so that they can fit through the holes.
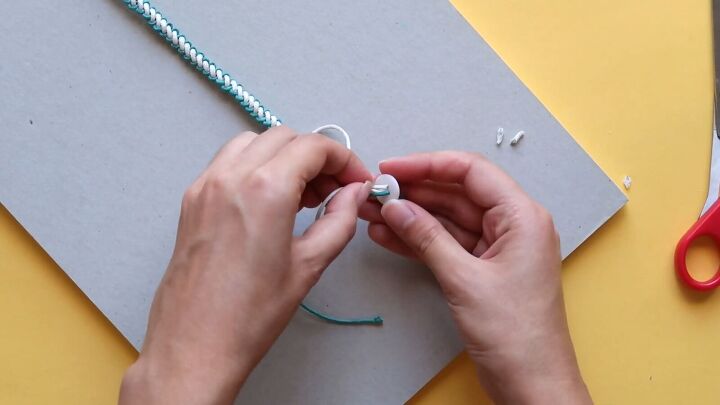
Next, tie a knot with the ends, after the button, then cut the excess.
Here is the first finished knot friendship bracelet:
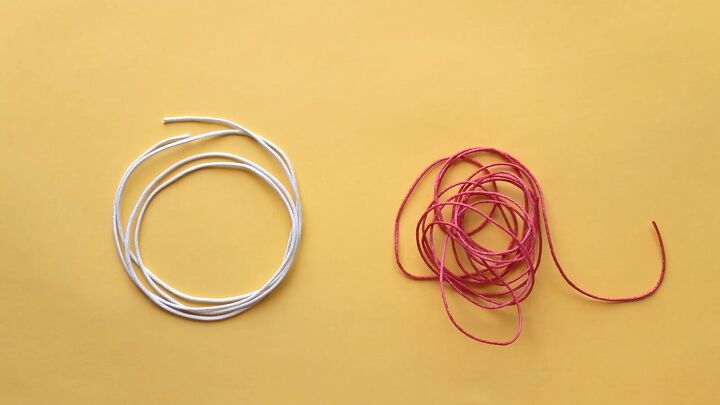
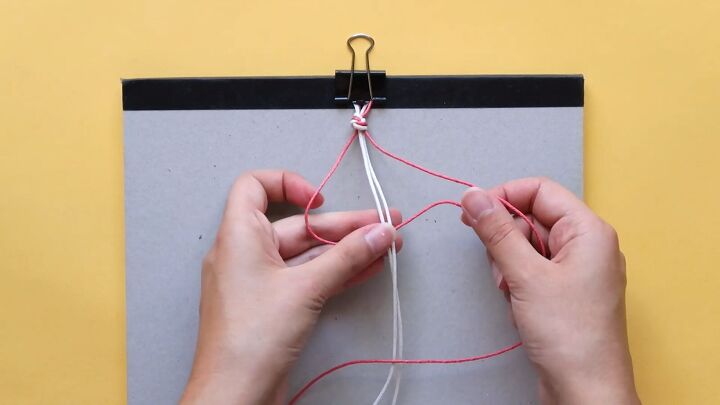
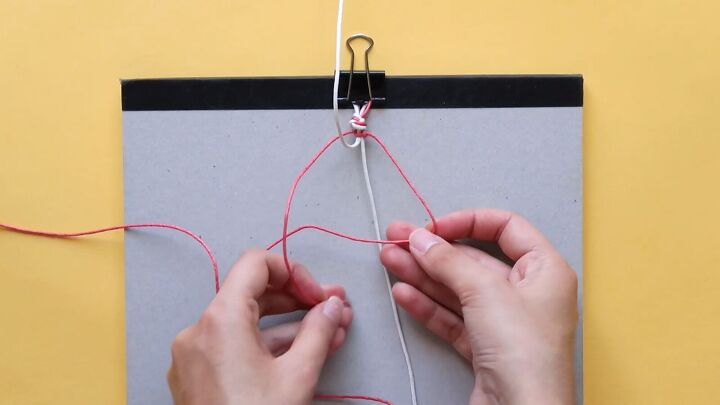
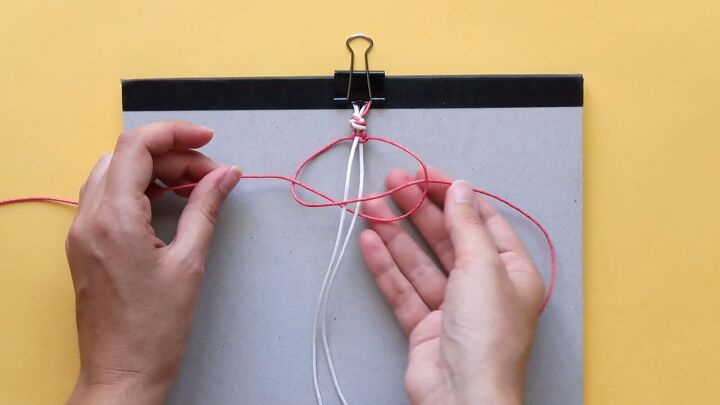
Red and white knot bracelet
1. Measure and cut
Choose two colors of cords, cut one that is roughly 98” and the other (the middle cord) that is 39”. Again, for the sake of having a clear tutorial, I will assume you are using red and white, like me.
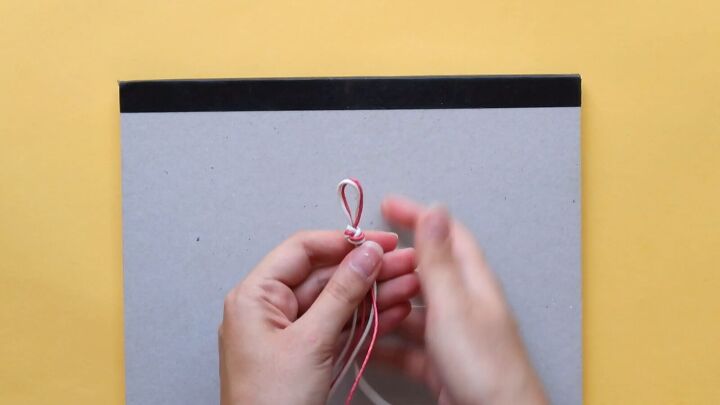
2. Tie and knot
Like with the first bracelet, tie the cords together and make a knot and loop for the button closure. Then attach it to a notebook with a binder clip.
3. Knot 1-outer cords
Pull the outer, left, red cord in the shape of a backward capital D.
Then, place the other red cord over it and then under the middle (white) cords. (See video 5:29-5:40)
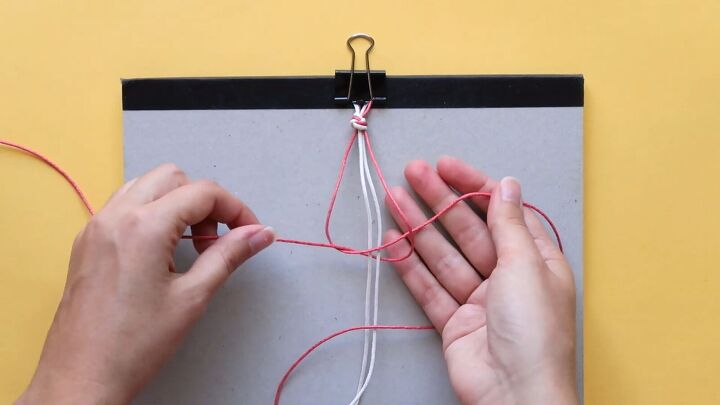
Now tighten the knot.
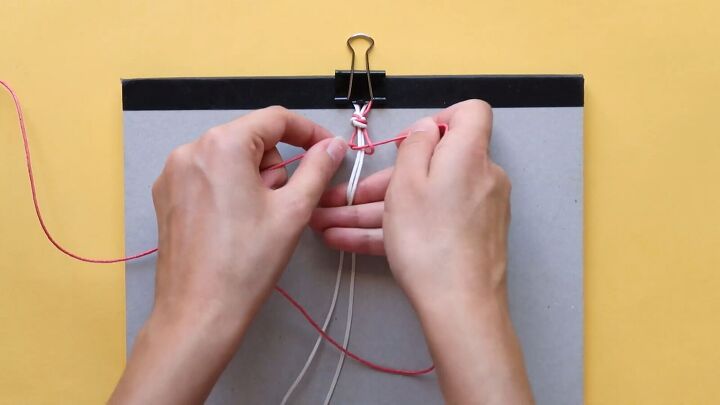
4. Knot 2
Take the left, inner (white) cord and lift it up, out of the way.
Make the other half of the square knot, starting on the right. Take the right cord and fold it into a capital D.
Then, take the other red cord over it, then pull it under the middle cord and into the loop. Then tighten. (See video 6:00-6:12)
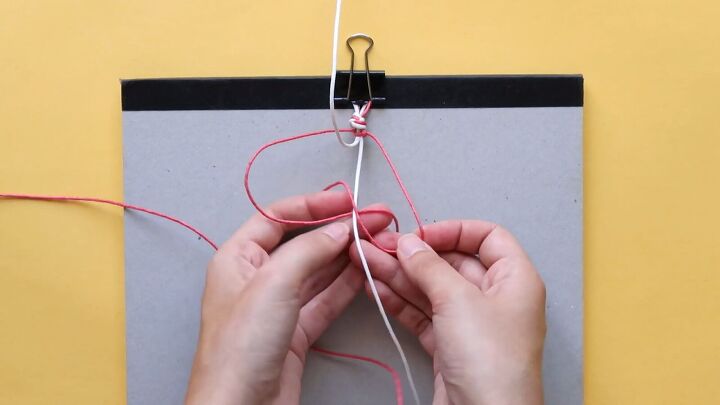
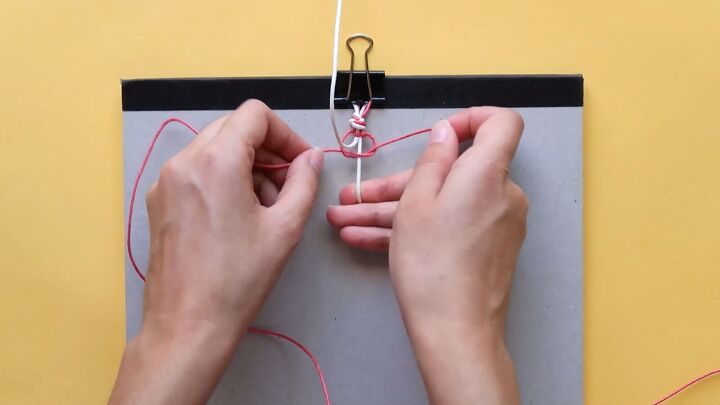
Bring the white cord back down and repeat Knot 1 (See step 3.)
Then, put one of the white cords above again and repeat the process (repeating Step 4, Knot 2).
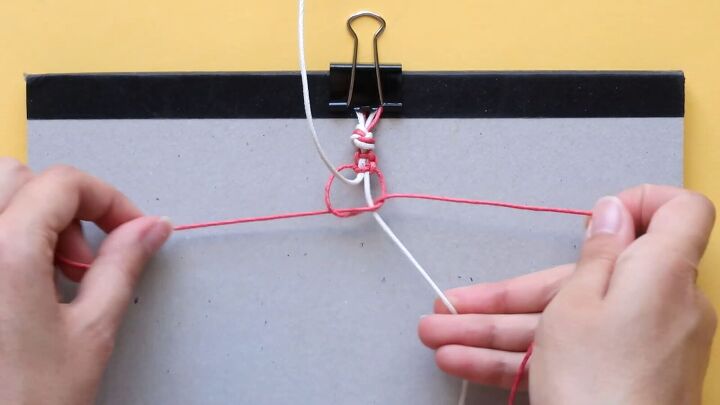
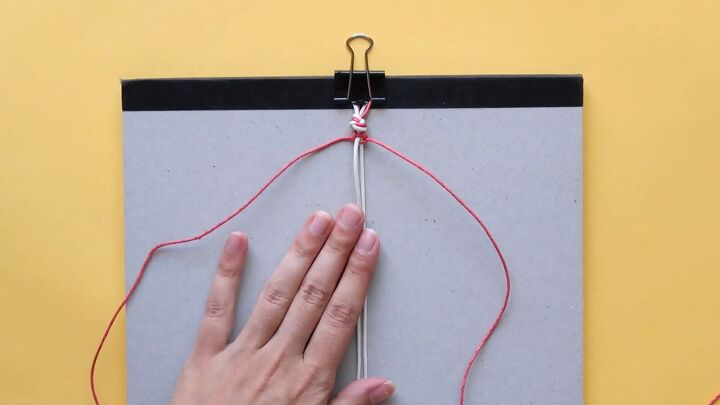
Continue knotting until you reach the right length for the wrist.
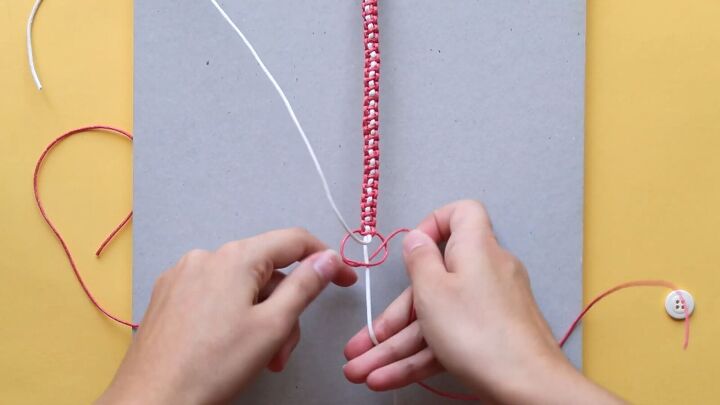
5. Trim and attach the button
Cut off the uneven ends of the cords.
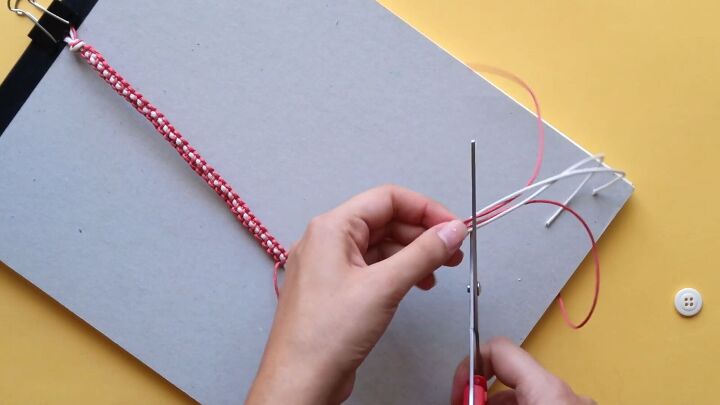
Put the cords through the buttonholes and tie a knot to secure them. Then cut off the excess cords. And voilà:
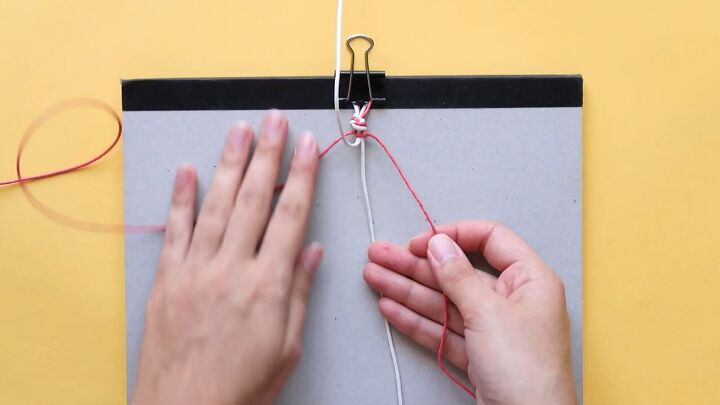
Thin blue braid bracelet
1. Measure and cut
Start by cutting two 98” cords, or longer depending on the wrist. Use two different colors.
2. Knot, attach and set your cords
As we did with the other bracelets, make a loop for the button and attach the cords to a notebook. Then separate a cord of each color, like this:
3. Make blue knots on the left
Make a knot with the outer, left blue cord by starting with a backward, capital D shape.
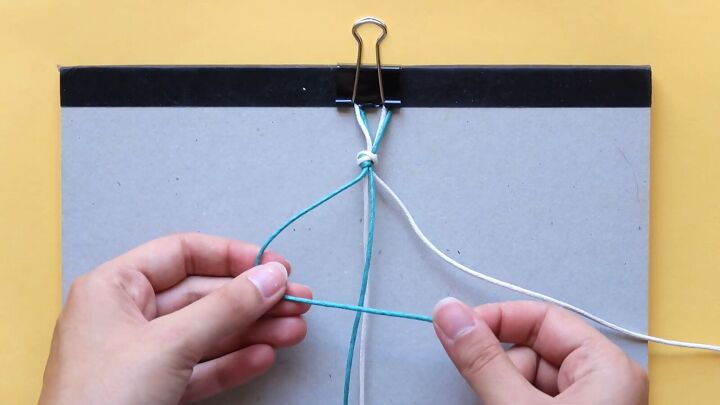
Tuck that blue cord under the middle cords and pull it through.
Then, repeat the same knot, but this time from the right. Then tighten it. (See video 9:00-9:05)
4. Make white knots on the right
Do the same process, but on the right side, using the outer white cord. Start with a capital D shape, loop the white end through.
Pull the end tightly.
Then switch directions with the white cord, making a backwards D shape to the left.
Pull the end through and tighten again.
Keep repeating this process, making two knots on alternating sides, until you have the length you want for the knot friendship bracelet.
5. Trim and attach the button
As before, trim the ends, thread the cords through a button, then cut off the excess cord after the button. Here it is:
Now let’s compare all three styles:
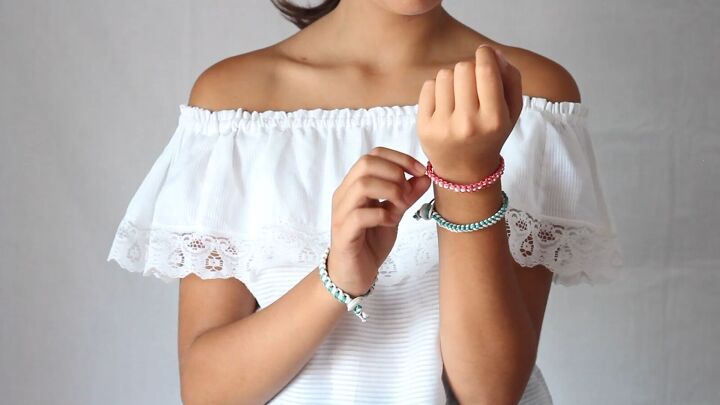

Knot friendship bracelet
Which one is your favorite knot friendship bracelet? Did you make them for you and a friend? Share in the comments below.
The author may collect a small share of sales from the links on this page.


Comments
Join the conversation