Easy Three-Strand Memory Wire Bracelet

I love this bracelet. I’m obsessed with this bracelet. It’s easy to make, it’s easy to put on because there’s no clasp, and it’s absolutely beautiful. I just can’t wait to get started on making this fantastic, easy memory wire bracelet with you. So let’s go!
Tools and materials:
- Cutter tool
- Round nose pliers
- Memory wire
- 10mm, 8mm, and 6 mm beads
- 2 head pins (optional)
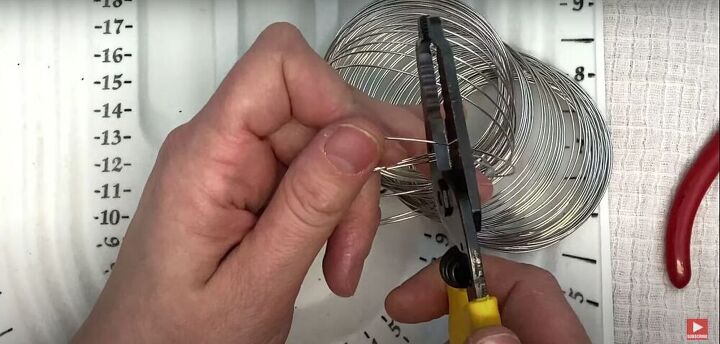
Cut
Cut enough memory wire to make a three-strand bracelet. For instructions on how to measure the wire, see 2:35-3:24 in the video.
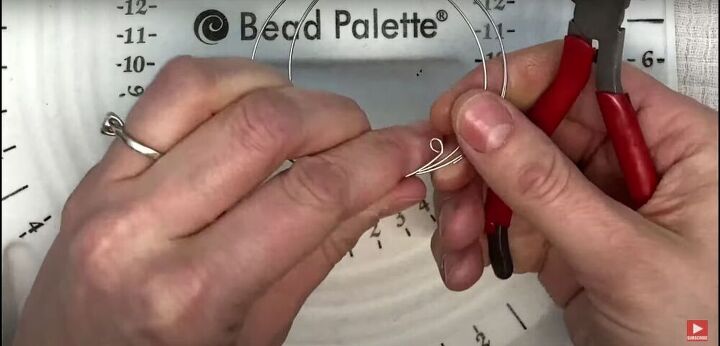
Curl
Curl one end of the wire inwards with the round nose pliers.
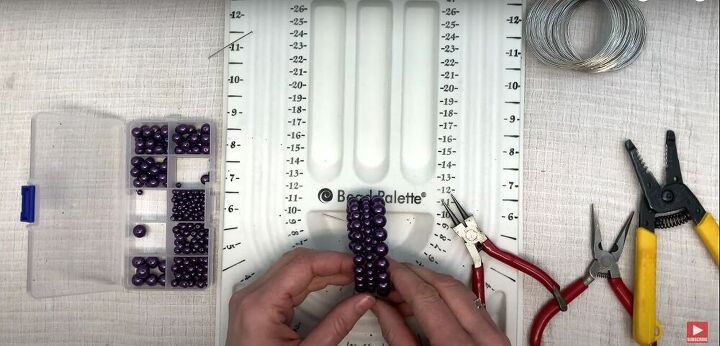
Add beads
Starting with the largest beads, start sliding beads onto the wire. Keep adding the same size beads until they make a full circle.
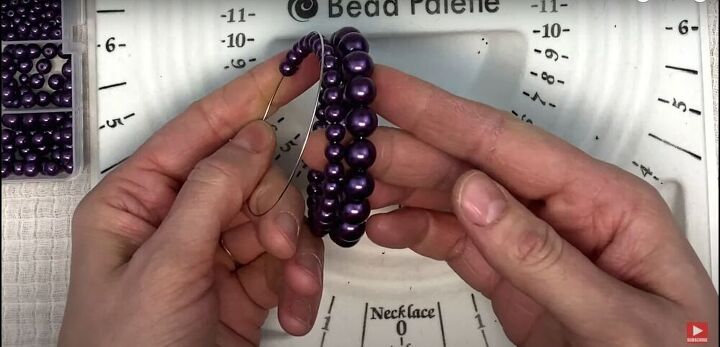
Next, start sliding the smallest beads onto the wire until you’ve made a full circle with those beads.
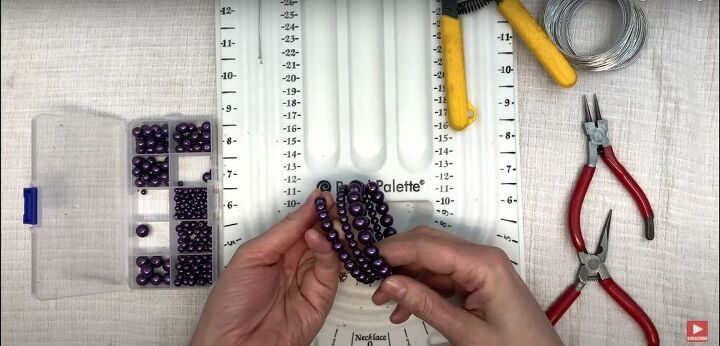
Finally, add the medium-size beads until they make a full circle, and you have about an inch of wire left at the end.
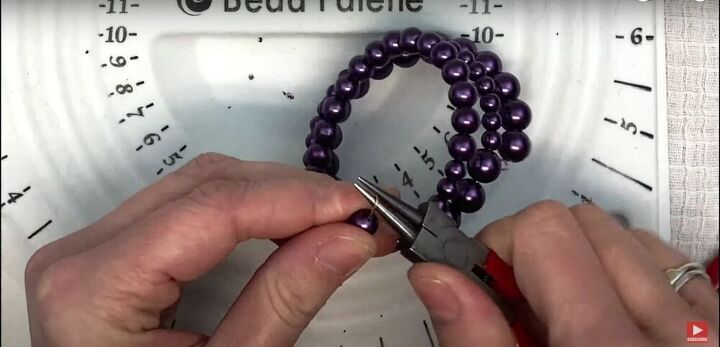
Curl
Curl the end of the wire inward with a round nose plier, to prevent the beads from slipping off.
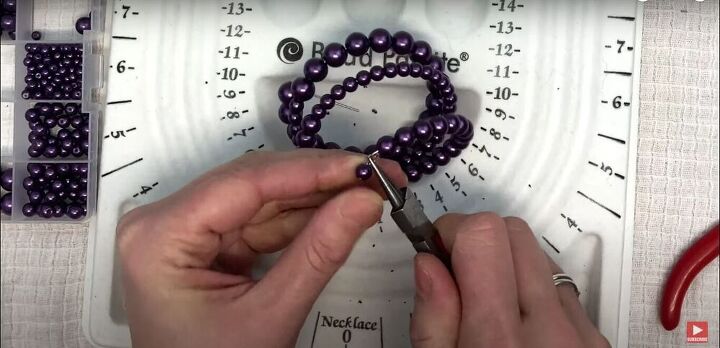
Add the finishing touch
This step is totally optional. It just adds a little flair to this already adorable bracelet. To finish it off, place one bead on a headpin, cut the pin so there’s about ½ an inch of exposed wire, and curl the wire inwards to make a loop. Before closing the loop fully, attach the headpin with the bead on it to the loop on the end of the bracelet. Then close it completely. You can do this for one or both ends of the bracelet.
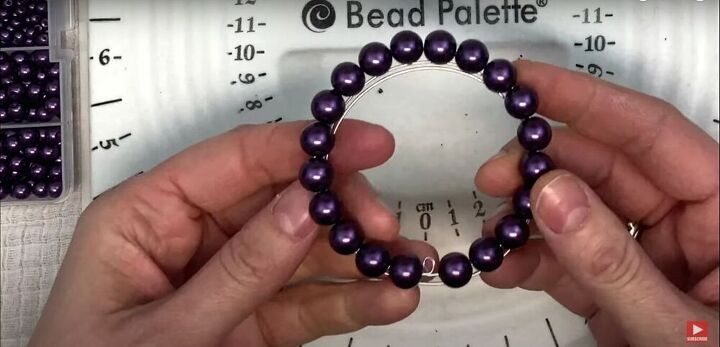
And that, my friends, is how to make a memory wire bracelet that looks like multiple strands of beads.

If this tutorial has inspired you to create your own beaded memory wire bracelet or any other project based on this technique, I would love to see your creations! headpins
The author may collect a small share of sales from the links on this page.


Comments
Join the conversation