How to Make a Flower Out of Polymer Clay - Part 3: Three-Petal Flower

In this polymer clay flower tutorial, I’m going to show you how to make some gorgeous and realistic flowers that you can use for earrings. Did I mention that they are super easy as well? If you are new to making designs with polymer clay, these simple flowers are a great starting point.
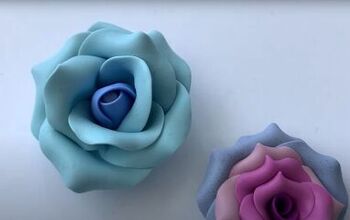
Also, check out how to make a polymer clay wild rose and multi-colored rose in parts 1 and 2 of this series.
Tools and materials:
- Polymer clay in two colors
- Cutter blade
- Earring hooks
- Optional: paint, paintbrush, dotting tool
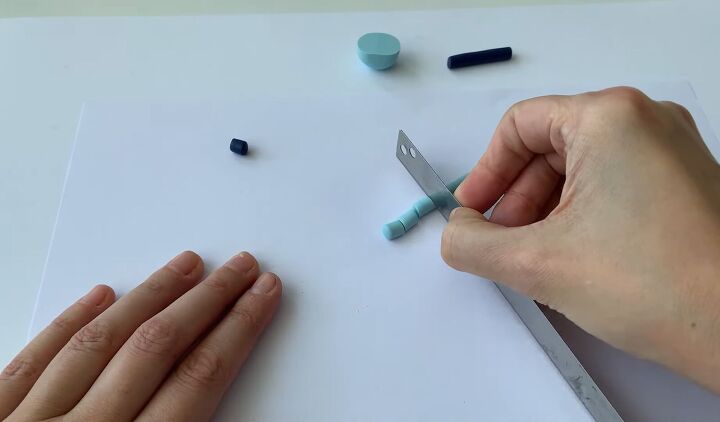
1. Cut the clay
First, prepare the polymer clay pieces. You need one piece for the flower center (that will be in one color) and three pieces for the petals (in a different color).
I’ve gone for navy and light blue for my design, but you can use any color combination you like.
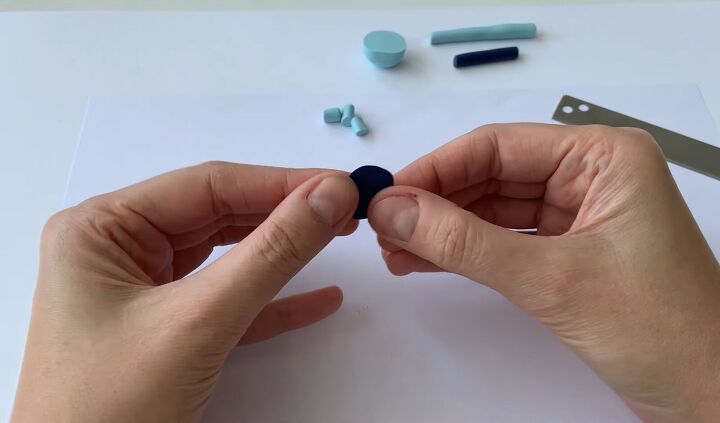
2. Press the center piece into a circle
Take the piece that will be the center of the flower, roll it into a ball and then flatten it with your fingers to create a nice thin flat circle.
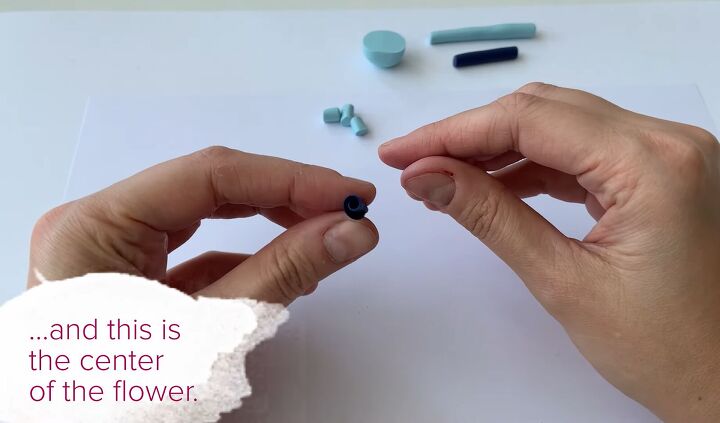
3. Roll into a cone
Then use your fingers to roll the circle into a cone. Now you have the center of the flower complete.

4. Press petal pieces into circles
Create flat circles from the three pieces of the other color.
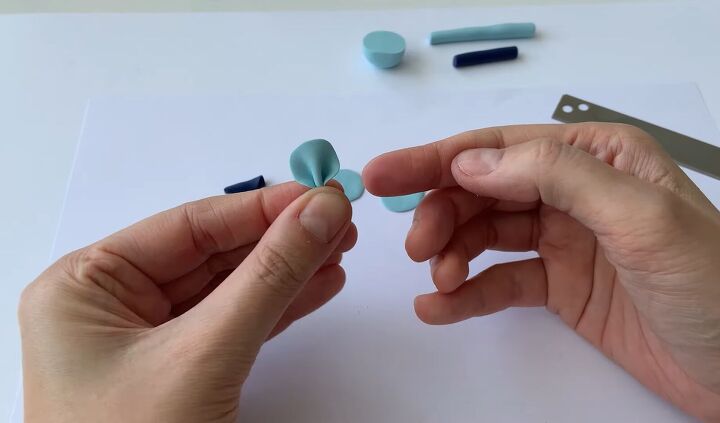
5. Shape into petals
Now you are ready to start folding the petals into their specific shapes. To start, you want to pinch one end of the circle gently so it creates the design shown.
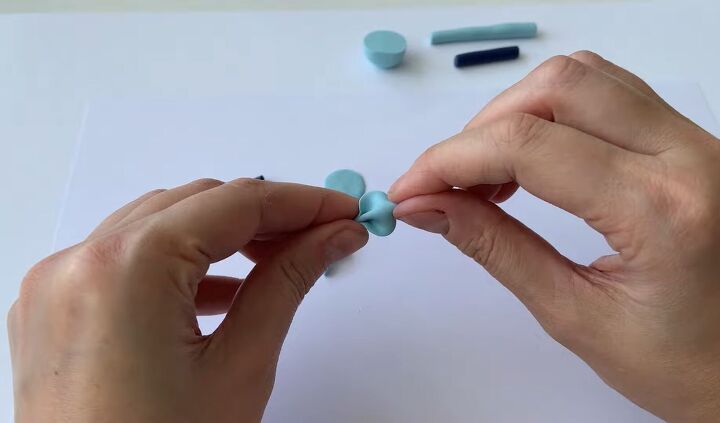
Then pinch the opposite side. If you make a mistake, don’t worry; simply press the clay into a circle again and have another go at it.

6. Attach to the center
Now attach the petals all around the center of the flower. This move helps the petals to stick together nicely and prepares the stem for the cut that we will make.
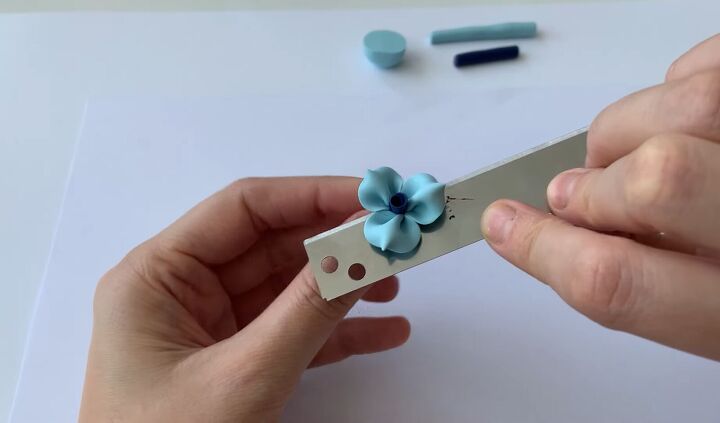
7. Cut the stem
The next step is to cut the stem off so that you are just left with the top of the flower.
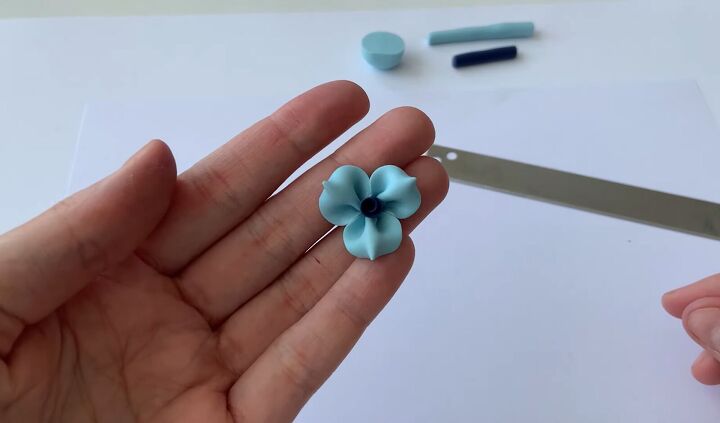
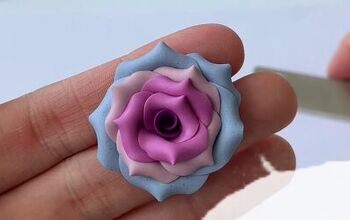
8. Bake & add fastenings
Here is the finished design! Now that you have one flower repeat the process to make another one. Once done, all you need to do is bake the flowers in the oven (check out the instructions on your polymer clay to see how long for and at what temperature).
Then you can pierce a small hole in the flowers, attach the earring hooks and you’ll have a pair of gorgeous handmade polymer clay flower earrings!
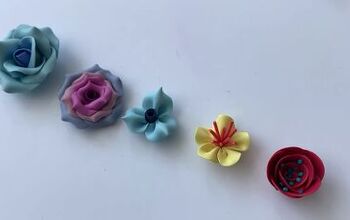
I’m now going to show you some ways that you can alter the design to create other variations:
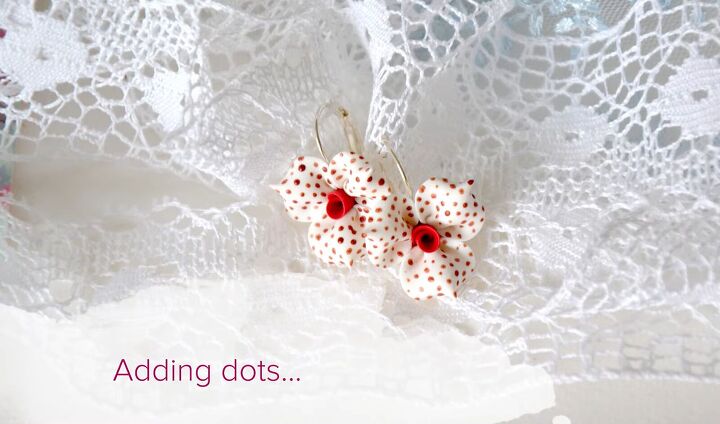
The first way is by adding dots with paint and a thin paintbrush or dotting tool. This adds a bit more decoration to the design.
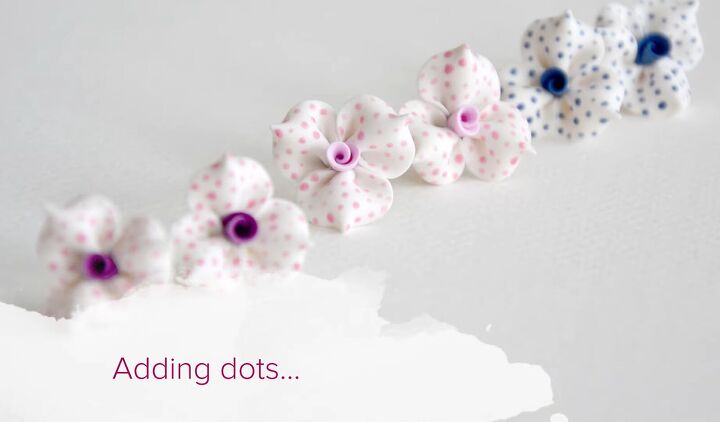
Here I have gone for white petals and matched the dots to the color of the flower’s center.
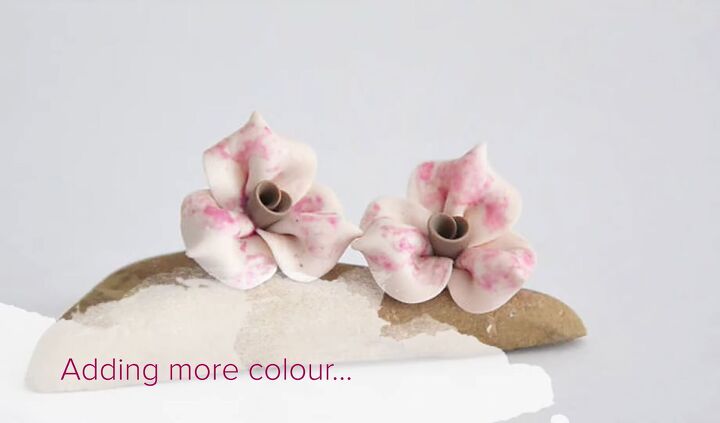
The next step is to paint on more color. You can just brush the paint on gently to the petals.
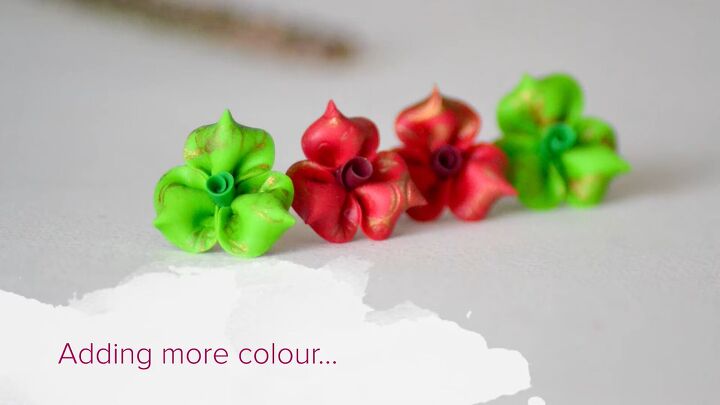
Here I have used gold paint for a refined-looking finish.

The last option is to add a second tier of petals. You can also then combine this with the dotted and painted designs as well.
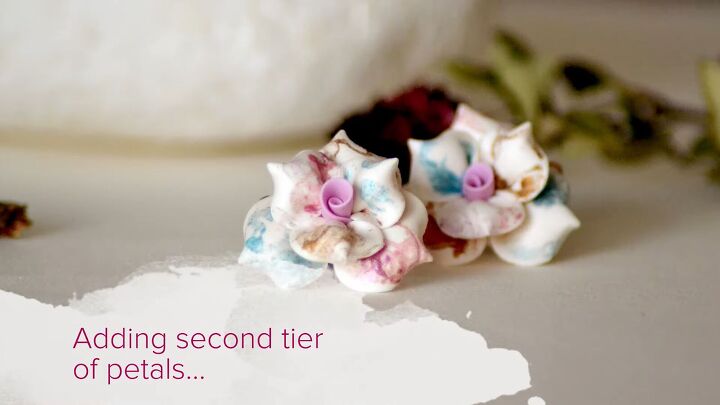
This creates more of a layered look. In these examples, the color of the petals is the same on both tiers, but you could opt for a different color on each tier if you wanted to.
Polymer clay flower tutorial
You now know how to make a flower out of polymer clay! I very much hope that you enjoyed this polymer clay flower tutorial. As I said, it is very simple and straightforward and doesn’t require any background experience working with clay.
The finished earrings look super cute and also make great gifts!
The author may collect a small share of sales from the links on this page.


Comments
Join the conversation
What a fabulous project! You make it seem so simple to do, but I don't have the most nimble fingers in the world. ✌️