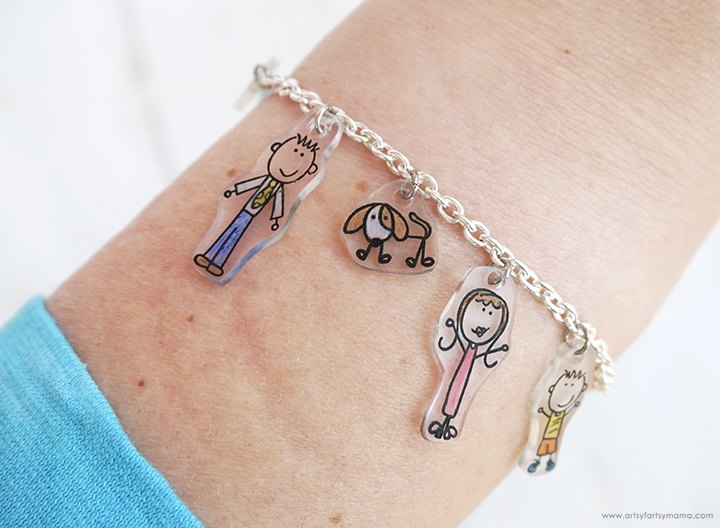
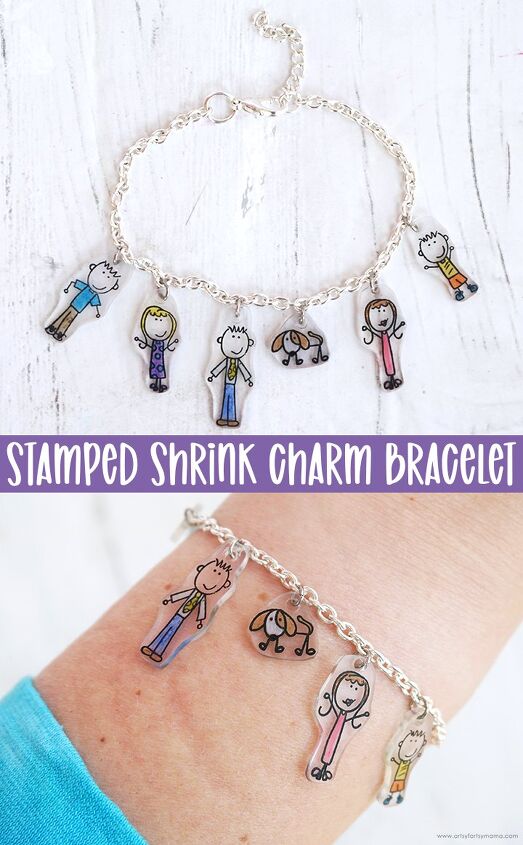
Stamped Shrink Charm Bracelet
Make an adorable Charm Bracelet using stamps and shrink film!
I love making my own jewelry, especially bracelets. This charm bracelet was such a fun one to make, because it was made using stamps! I know it's hard to believe, but it's true - and it was such a cool experiment to try. This would be a fun craft to do with the kids, and the charm bracelet makes a fantastic gift idea for practically anyone. I've been so excited to share this project with you, and would love to hear what you think!
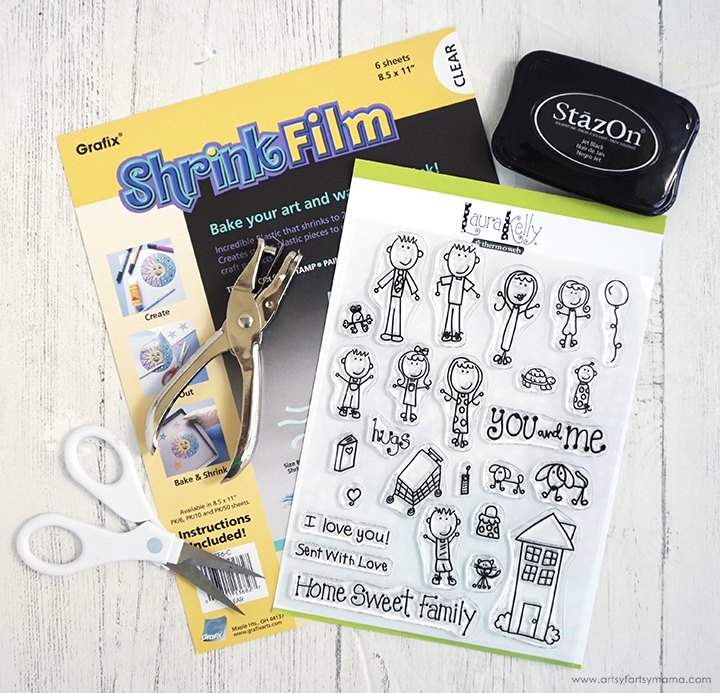
To make your own Stamped Shrink Charm Bracelet, you will need these supplies:
This project works best with sanded shrink film. If yours doesn't have a sanded side, you can sand it yourself with some sandpaper. Select characters from the Laura Kelly Me & My Peeps Stamp Set to represent your family members and place the stamps onto acrylic stamp blocks.
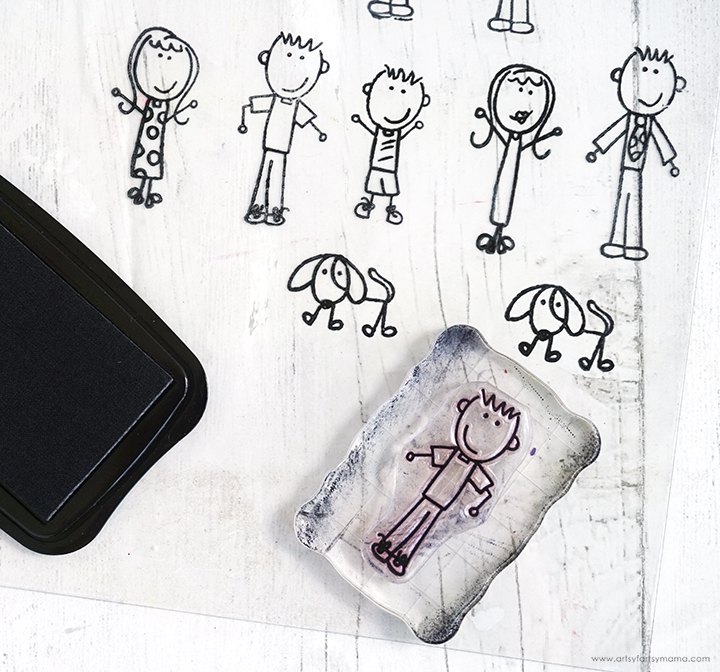
Gently tap the StazOn inkpad onto the stamp to apply a thin layer of ink to the surface. Place the stamp onto the shrink film and press it down evenly. Pull the stamp away to reveal the character. Stamping on shrink film is a bit different than paper, so you may need to practice a few times to get it right (I sure did!). Luckily, the shrink film isn't wasted because you stamped on it. Simply use a little rubbing alcohol and paper towel to wipe the mistakes away and start again!!
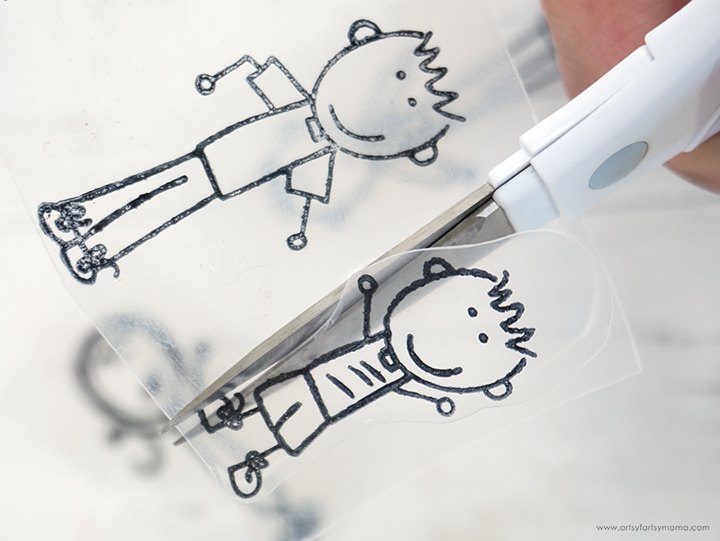
Let the stamp ink dry for about 5 minutes so that it doesn't smear if you accidentally touch it. Use scissors to carefully cut around all of the Peeps, cutting close to the body and leaving a larger section above the head. Round out any sharp corners or edges.
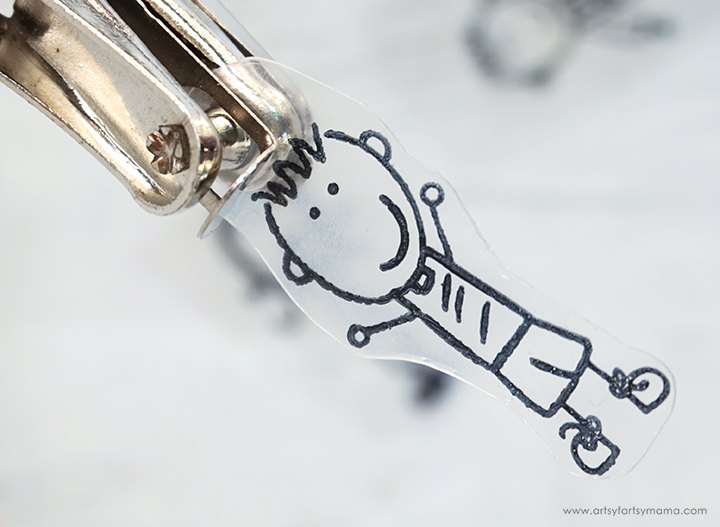
Use a hole punch to put a hole in that area above the head. This will be the hole that connects the charm to the bracelet, so try not to get too close to the edge! If it's too close, the hole could open up (and become useless) during the shrinking process.
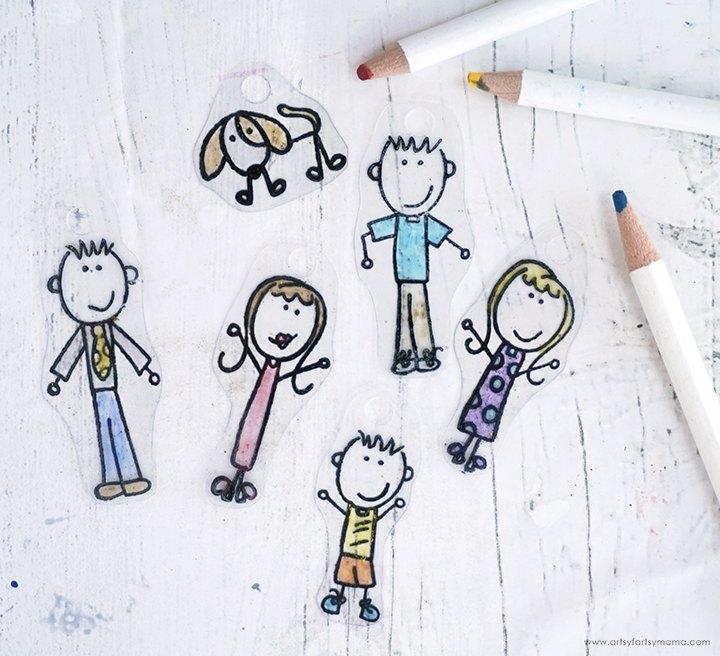
Color the Peep characters with colored pencils or permanent marker. Colored pencil will look light on the shrink film during this step, but will become more vibrant after shrinking.
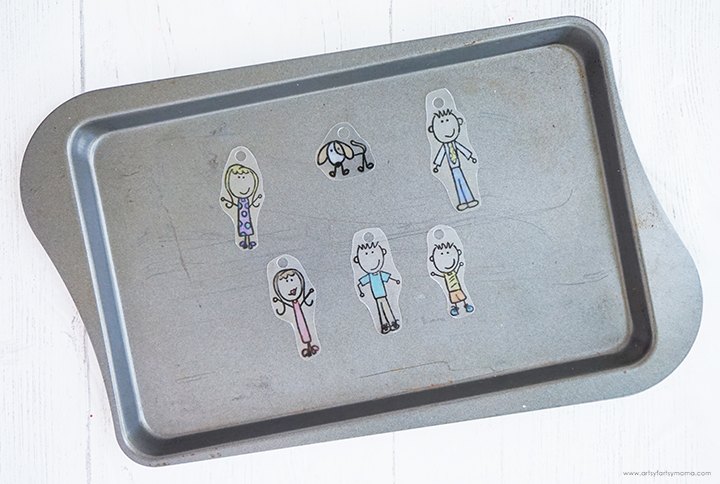
Place the shrink film characters on a baking sheet a few inches apart. If they are too close together, they could stick together in the heat. Follow the packaging directions to bake the charms. Usually, I bake at 300º-350º for 2-3 minutes until the pieces flatten back out and the shrinking has stopped.
Every oven works a little differently, so I recommend testing a piece before baking your charms.
This is the most exciting part, so turn on the oven light and grab a seat! As the film heats up, the designs will start to move and curl as they shrink down in size. Important: Do not panic or open the oven when they start curling up! They will flatten back out as they shrink. When they come out of the oven, they will be pliable for a few seconds. If you need to flatten them out, use these valuable few seconds to immediately press them down with the flat bottom of a glass or an untextured spatula. Caution: they will be very HOT!
Once the shrink charms have completely cooled, cover the marked side with clear sealant to keep it from rubbing off or smudging. If you want to make the colors in your charms really pop, add a coat of white paint to the back of the charm.
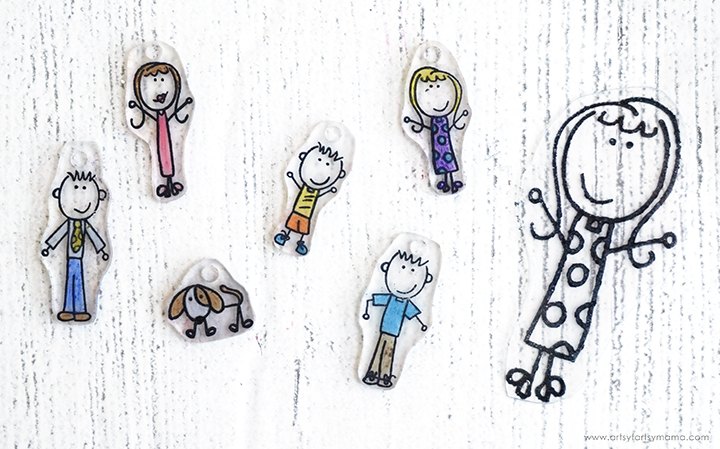
Look how itty bitty the charms are after they've been baked! Next to the set of charms is a stamped "before" piece for comparison!!
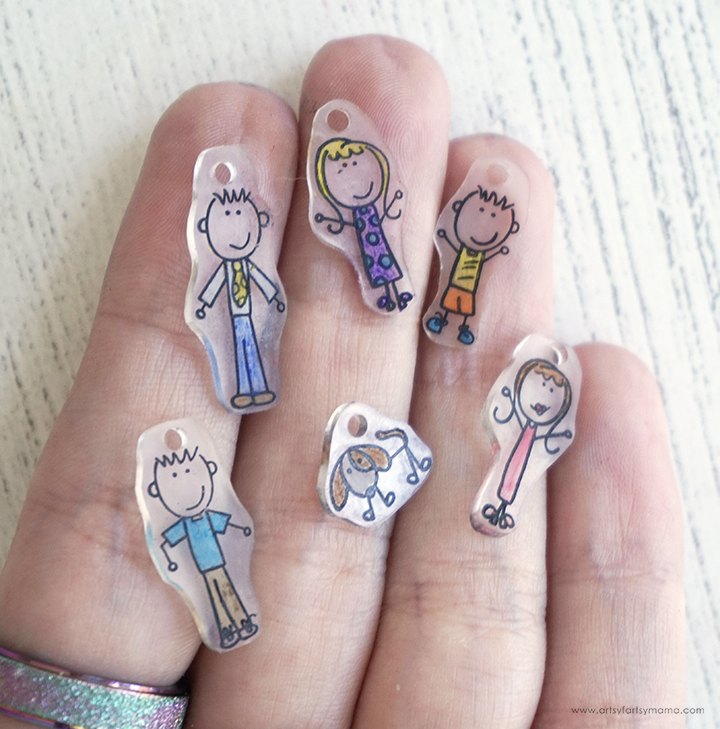
...and here they are in my hand! They are the perfect size for little charms, and look how vibrant the colors from the colored pencil are!!
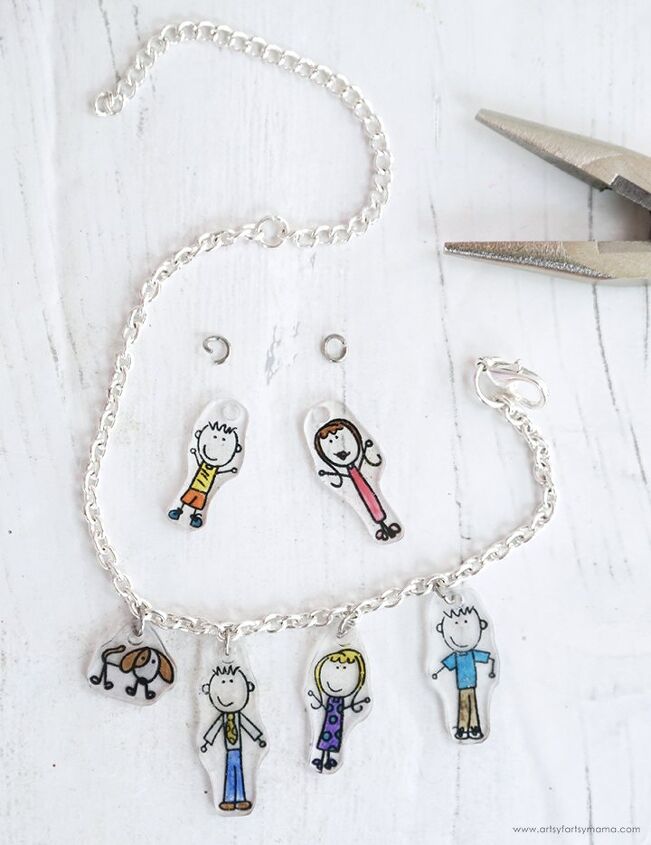
Measure around your wrist use jewelry wire cutters to cut a length of jewelry chain. Use jewelry pliers to attach a jump ring to both ends, and attach a lobster clasp to one of the rings. To make the bracelet size adjustable, add a smaller length of chain to the jump ring at the opposite end.
Use jewelry pliers to open a 4mm jump ring for each charm. Hook the jump ring through the hole in the charm, and then through the bracelet chain. Use the pliers to close the jump ring. Space the charms out evenly across the bracelet - mine are about 6 links apart.
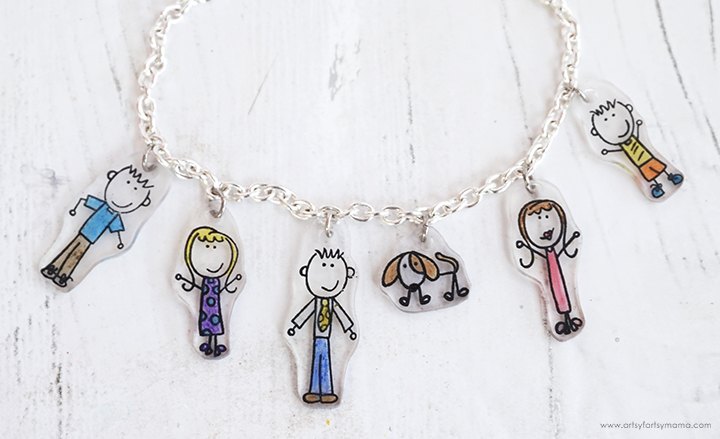
Once all of the charms are in place, the bracelet is ready to be worn or gifted. Isn't this so adorable?! It would be such a fun gift for kids to help make for moms, grandmas, or even for a group of friends. There are so many fun possibilities for custom charms using the Me & My Peeps Stamp Set.
As always, I would love to see your creations! Share yours on Instagram, Facebook, or leave a comment/photo on the project pin on Pinterest!
Don't forget to Pin, Like, and Share!
The author may collect a small share of sales from the links on this page.


Comments
Join the conversation