How to Upcycle Eyeglass Lenses as Brooches
This project is all about using old eyeglass lenses to make retro-cool brooches.
I wanted to see if you absolutely needed to use clear lenses or if you could make a brooch with sunglass lenses too. So I tried two methods, one of which will work for sunglasses.
Method 1 involves decoupaging some paper under the clear lens, and
Method 2 involves decoupaging over it. I actually used clear lenses for both, but if you are using thick paper like I did, I think Method 2 could work for tinted lenses like you would find in your broken pair of old sunnies.
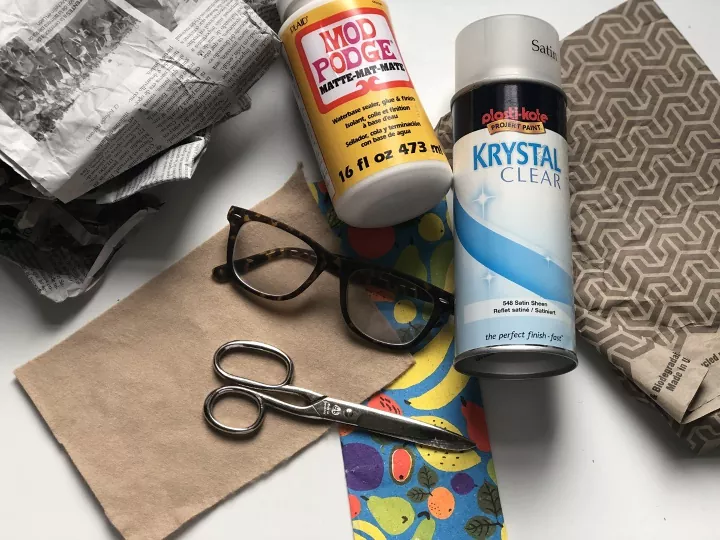
Materials Needed:
- Broken or unwanted glasses
- Scissors
- Scrap Paper or Decoupage Paper
- Mod Podge ( I used Matte)
- For Method 2: Plasti-kote Krystal Clear (I used Satin Finish)
- Brooch Clasps
- Sticky Back Felt
- Glue Gun or Needle and Thread
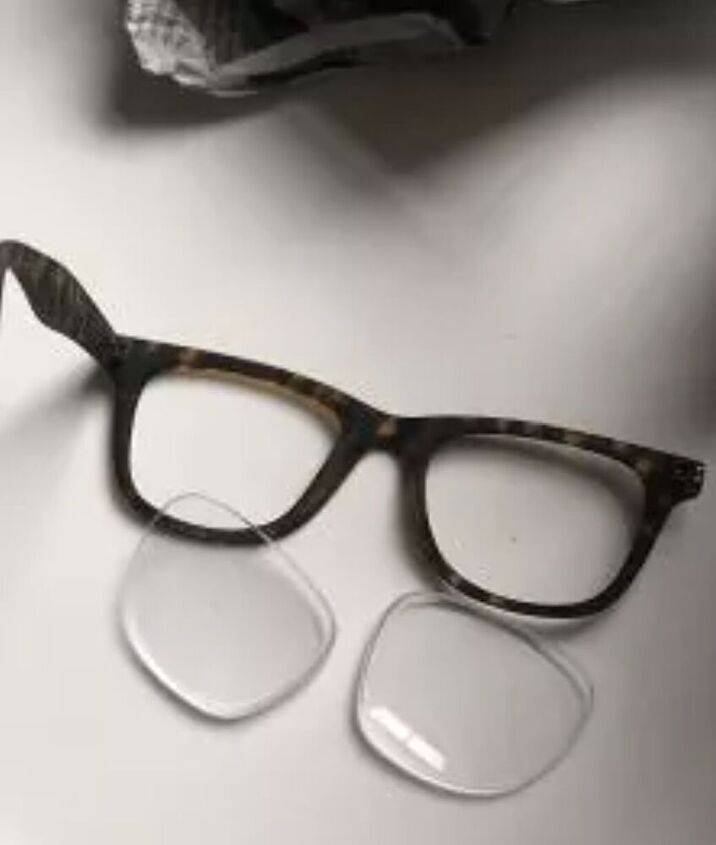
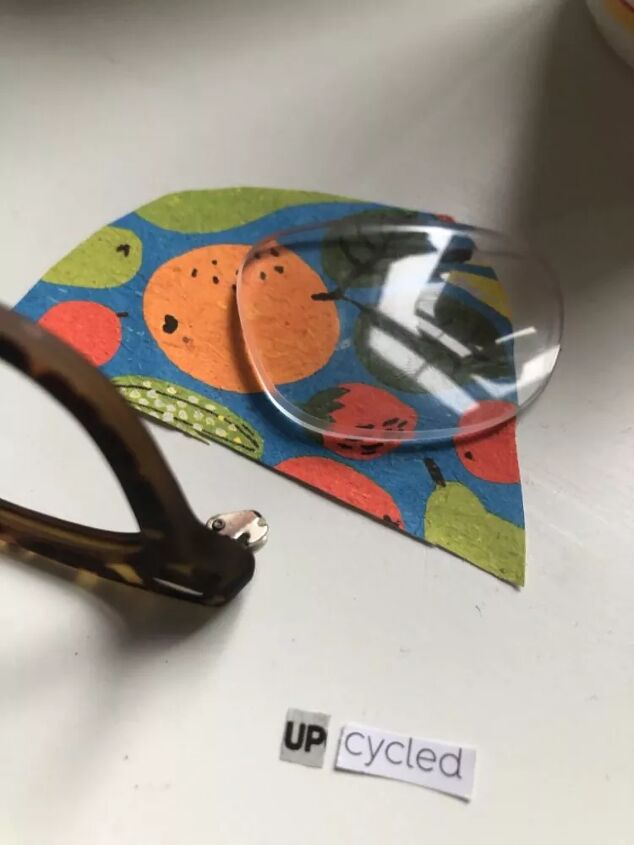
Step 1: Remove your lenses
If your lenses haven’t already popped out of your broken frames this is the first step. I had to twist the frame at the bridge a little bit to get these ones to budge as these were thick plastic frames and the lenses were pretty thick too due to my strong prescription! Once I applied a little pressure in the right place, they popped out pretty easily.
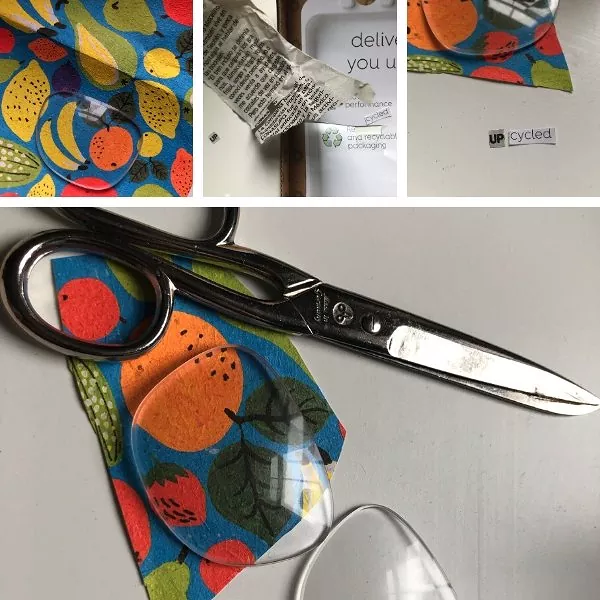
Step 2: Cut Out your Paper
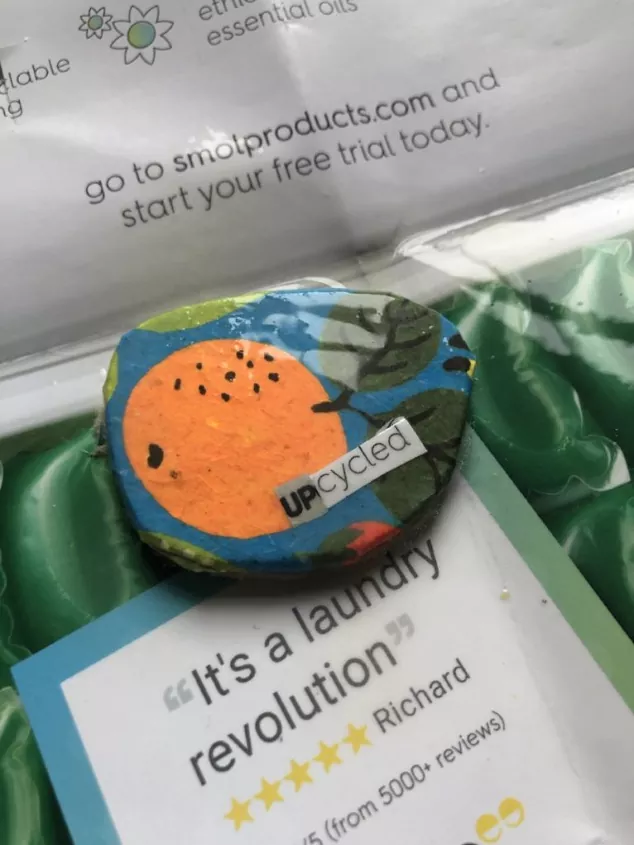
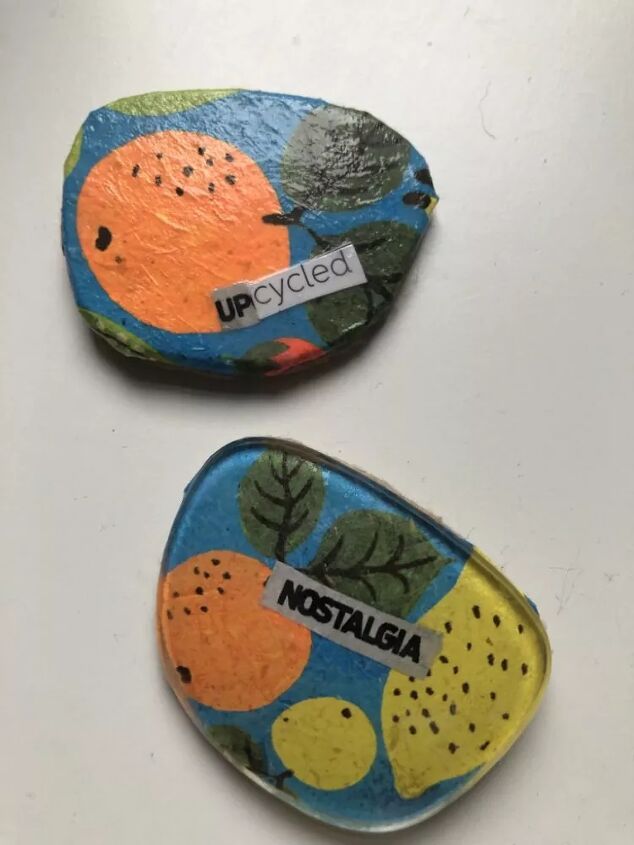
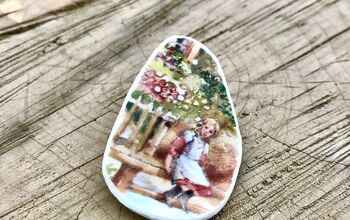
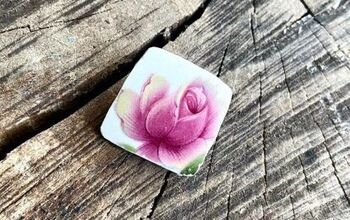
The next step is to choose the pattern or design for your brooch by cutting out a piece or pieces of scrap or decoupage paper to fit the shape of your lens. I used a fun fruity bit of scrap paper (left over gift wrap from a birthday present) as well as a bit of Mexican newspaper saved from a holiday and another bit of text from a flyer that came through my mailbox.
You can use anything you like for this from old photos to cuttings from magazines, newspapers or even old books. I liked the idea of having little words on the brooches as I saw others had done when I was researching this project so I put my own spin on it. You can leave that bit out of course if it isn’t to your taste.
Here is when we diverge for Method 1 & Method 2.
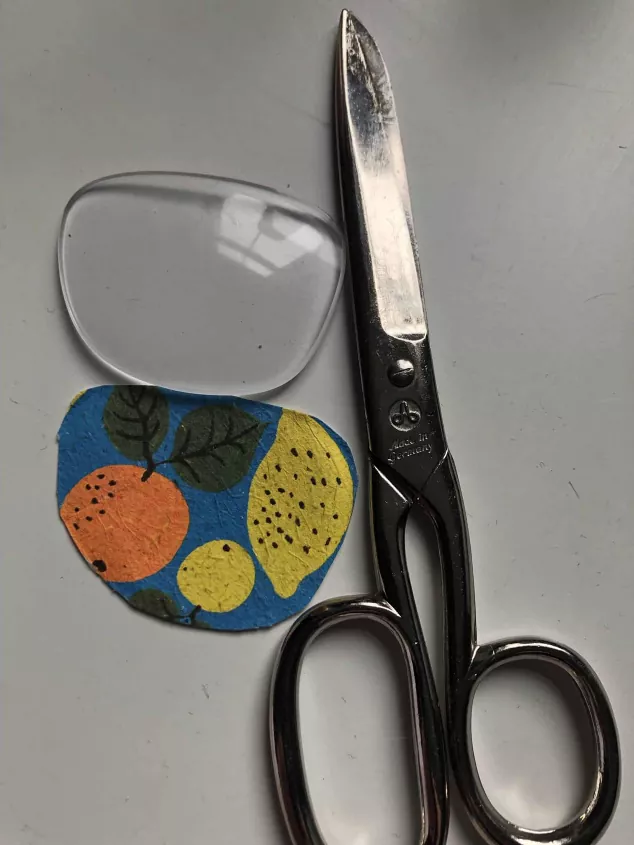
For Method 1 (Clear Lenses) – Cut your paper to fit the shape of your lens exactly (or as close as you can get)
For Method 2 (Either Clear or Tinted lenses) – Cut your paper.a bit bigger than the shape of your lens, big enough so you can wrap the paper to the back of the lens.
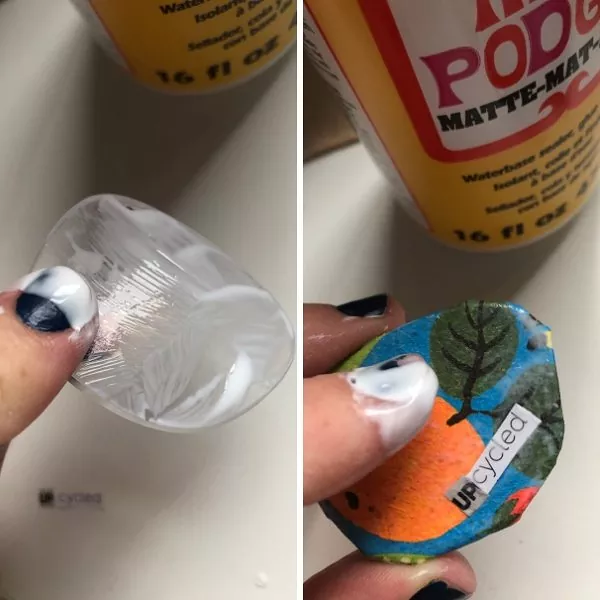
Step 3: Mod Podge
Next is to stick or decoupage your chosen paper on to your lens.
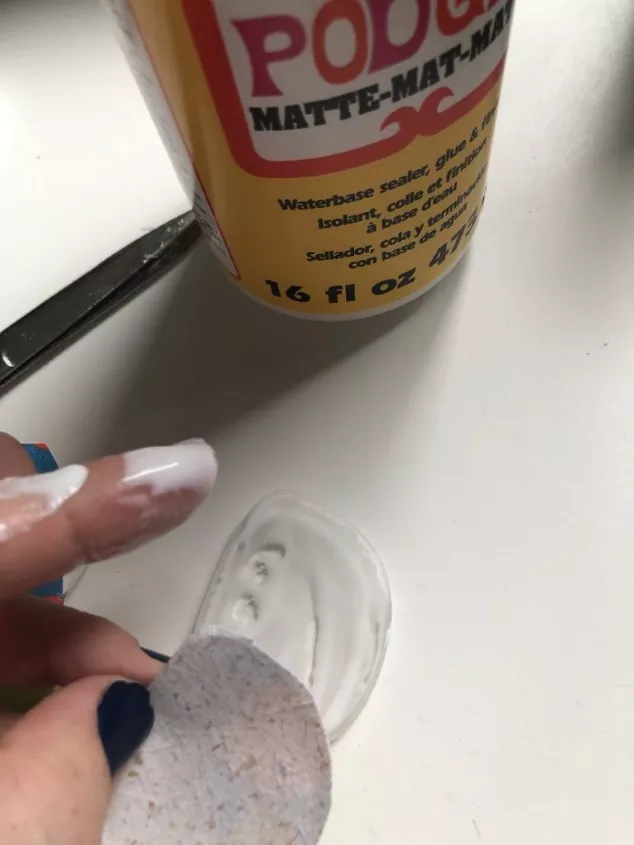
For Method 1 – apply the Mod Podge or other brand of craft glue to the underside of your lens. You could use a brush but your finger will work just as well. Then place your paper down with the pattern side facing the glue.
Don’t worry that the Mod Podge is white at this stage, it will dry clear and it won’t change the colour of the paper you’ve chosen.
Smooth the paper down on to the lens using your finger and working out any bubbles or thick splodges of glue.
Any excess glue on your finger you can use to smooth over the back side of the paper. Go right to the edges of the paper and try to sort of seal it against the lens.
Then leave it to dry.
For Method 2 – apply the Mod Podge to the outside/top of the lens and place your paper down with the non-patterned side touching the glue.
Do the same as above smoothing the paper out over the lens and working out any thick areas of glue.
Then take some more Mod Podge and smooth it over the top of the patterned side. As you do so wrap your paper around to the back of the lens and glue the edges down to the back so you have the pattern covering the edge of the lenses.
My scrap paper was a thick craft style wrapping paper so I had to make a few cuts to stop the paper being too bulky when it was folded around but if you are using magazine or newspaper you may not need to do this.
Once the paper is sufficiently stuck down, and you’ve smoothed the Mod Podge over so there are no bubbles or large splodges, leave it to one side to dry.
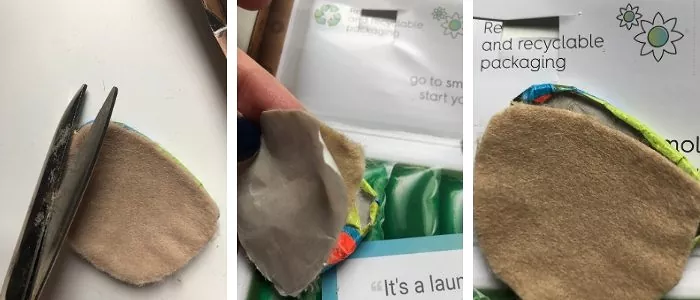
Step 4: Backing Felt
Whichever method you are trying, the next step is to cut some sticky back felt to size to fit the back of your lens.
Once you’ve cut it to the right size, remove the backing paper and stick it on so it covers the back of the lens completely.
Step 5: Adding your Brooch Clasp
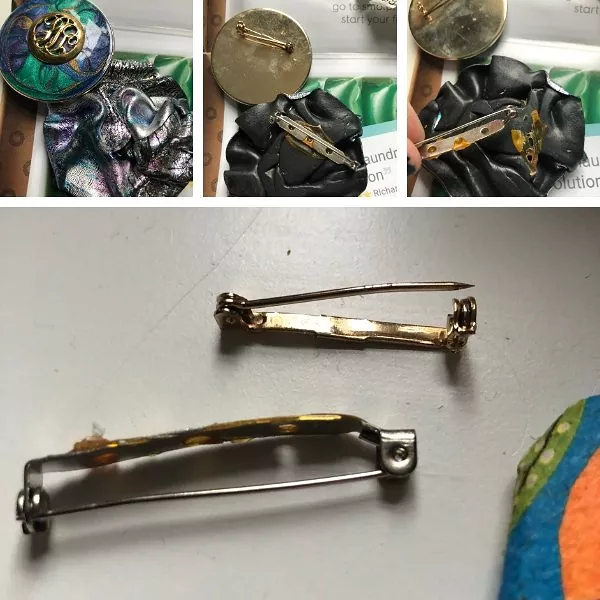
So for this project I used the fastener’s off of two unwanted brooches I already had.
One had been glued down and it came off fairly easily with a little tug, the other was welded on and I used a knife to slide it off (which bent it but I just straightened it out again after).
This sort of re-use is fine as I was making these for personal use, but if you are looking for a craft to sell on you’ll probably want to buy your brooch clasps new.
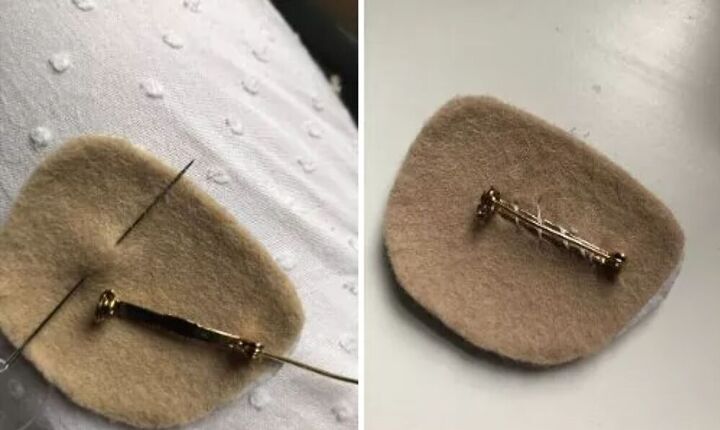
I decided to sew my brooch clasps on to the felt rather than glue them (partially because the glued one I took off came apart so easily!), but you could use strong craft glue for this too.
The only niggle I had with the sewing was that because the lenses are curved the needle wanted to stick back into the felt where I didn’t want it too so I had to gently put a fingernail under the needle as I sewed to stop it diving back under the felt unnecessarily.
If you are following Method 1, then that’s you done! If you are trying Method 2, you have one last step.
Step 6: Seal your Brooch
For Method 1, as the pattern is on the underside of the lens and the felt is on the back there is no need to put any kind of coating on the outside of your brooch.
For Method 2 it is optional, but as you could brush up against things when you have it on, I would suggest a finishing coat just to seal and protect it. I used one fairly thick blast of Plasti-kote Krystal Clear in a Satin Finish which will give it a slight sheen.
The image above is the brooch immediately after it was sprayed while it was still wet, when it dries it isn’t as glossy as this. You’ll need to leave it to dry for an hour or two after this before you pick it up or wear it.
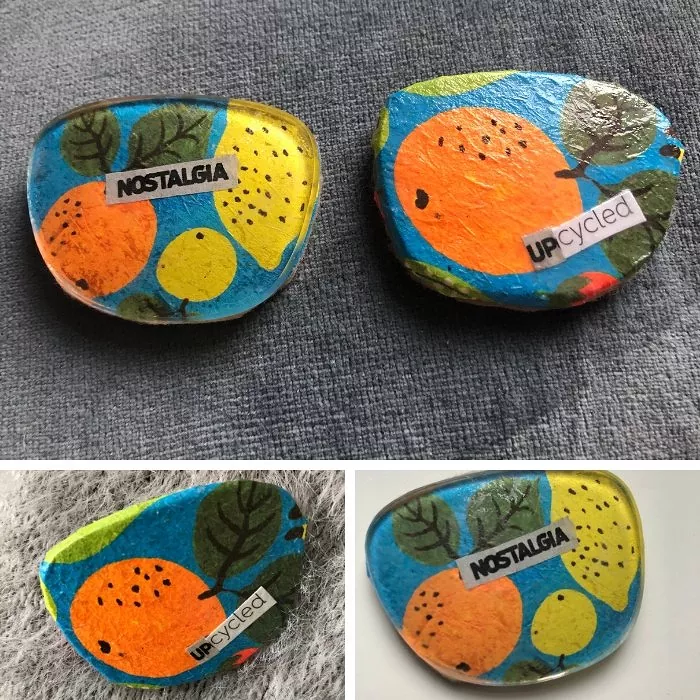
That’s it, two finished eyeglass lens brooches using two slightly different methods. Which one do you like? We’d love to see your versions of this project. Feel free to comment below or head over to our Facebook Page to join in the chat!
If you liked it Pin it to your DIY Crafts or Upcycling board!
The author may collect a small share of sales from the links on this page.


Comments
Join the conversation
When I was in grade school in the 70's we made pins from eyeglass lenses. My mom had mine for ages.
I donate my old glasses to a group that uses them for the poor in 3rd world countries.