Make Sparkly & Fashionable DIY Earrings in Under an Hour!

Welcome to my bead boutique. Want to learn how to make quick and easy DIY earrings? That’s right! I'm going to show you how to make DIY earrings in no time at all and you will love the result! All you need are beads, pliers, wire, and a quiet workspace so that you can create your masterpiece! Let’s start!
Tools and materials:
- 20 Gauge Titanium wire
- Headpins with ball on the end
- Accent beads:
- 5 x 8 Czech glass
- Czech glass spacers
- Chinese crystals
- 6mm Rhinestone spacers
- Tierracast pieces
- Tierracast bead caps
- Ear wires
- Bent chain nose pliers
- Cutters
- Chain Nose pliers
- Round Nose pliers
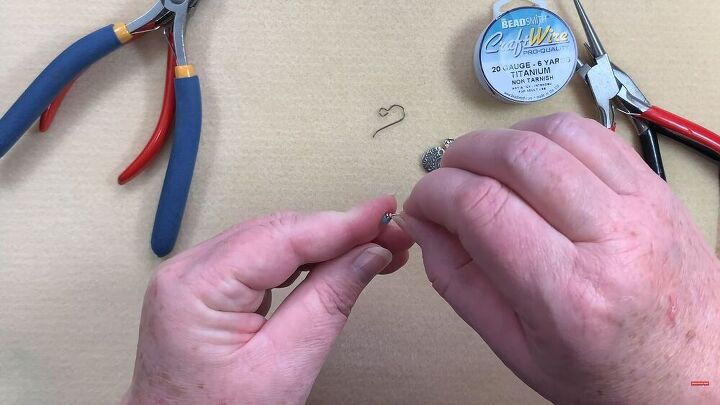
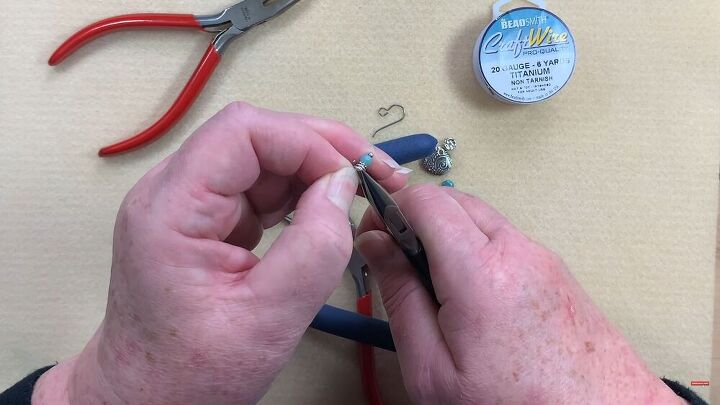
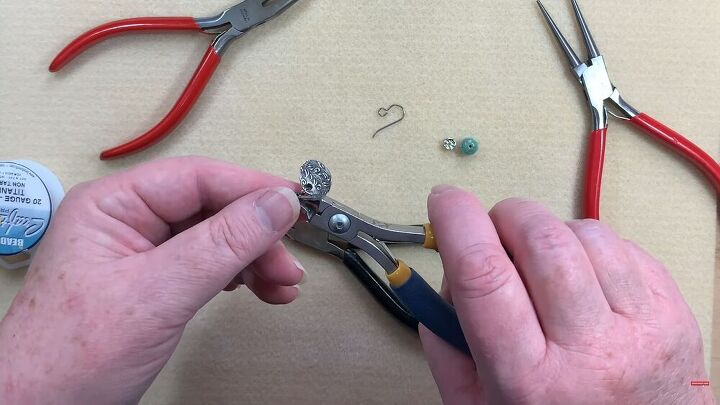
Start beading the headpin
Take a headpin and place one of your Chinese crystals and a bead cap. Then, bend it over so it doesn’t have a neck. Simply take your thumbnail, apply a little pressure and bend it over.
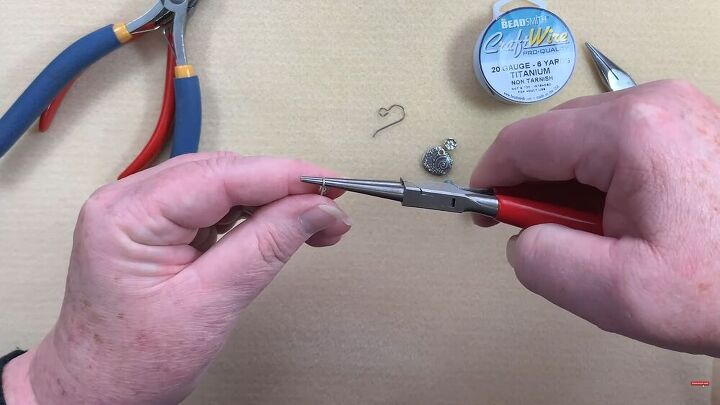
Make a wrap
Wrap the bead and bead cap by making a neat little loop. Place your round nose pliers down towards the end, pull your head pin-up, over the pliers, and down so that you have a small loop.
With your pliers holding the loop, wrap the remainder of the wire just above your beads and under your loop. Wrap it a few times. Use your bent chain nose pliers so you have a better grip to do this. You want to achieve a messy wrap.
Use your flush cutter to trim off the end. Use the flush side of the cutter.
Next, press down on the end of the wire you just cut off with a plier, so it sits tightly in place.
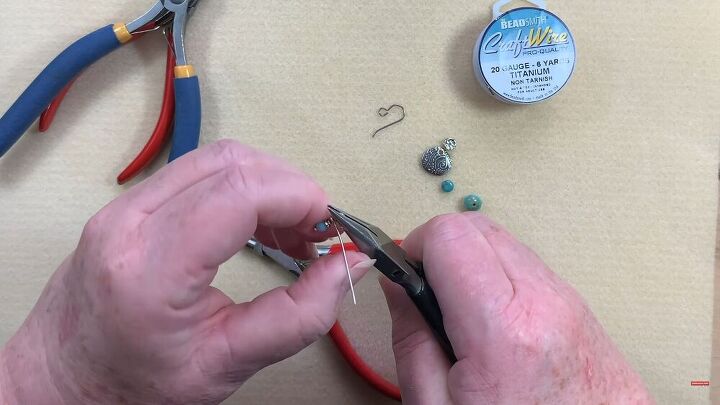
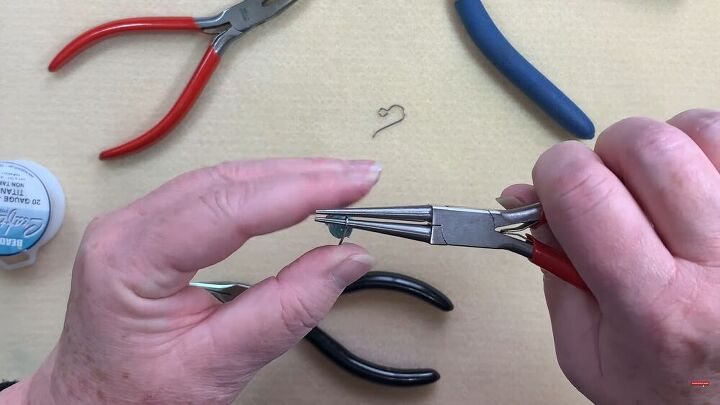
Cut and straighten the wire
Cut around 5 inches of your wire. Take your pliers and hold it at the end and with your fingers, straighten it out.
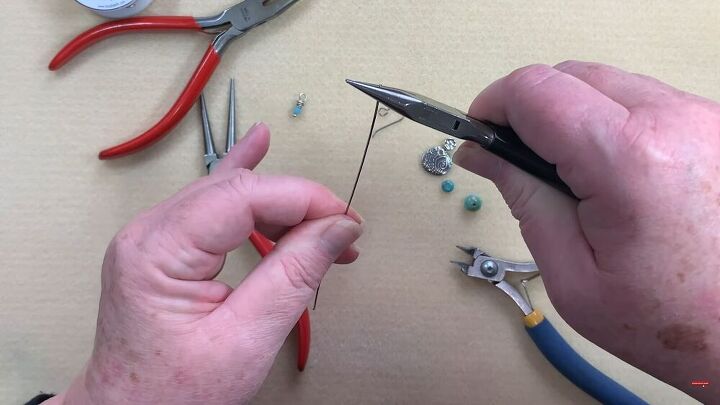
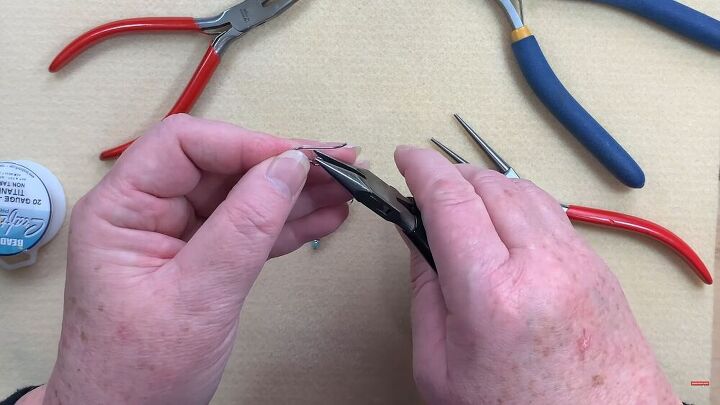
Create a middle loop
Take your round nose pliers, and create a loop in the middle of the wire. Do this by placing your wires in the middle of your round nose pliers (so that you create a bigger loop than the one you did before). Wrap the wire up, over the pliers, and down. Rotate your pliers so that they are parallel to the table, take one of the wires and push it 90 degrees up.
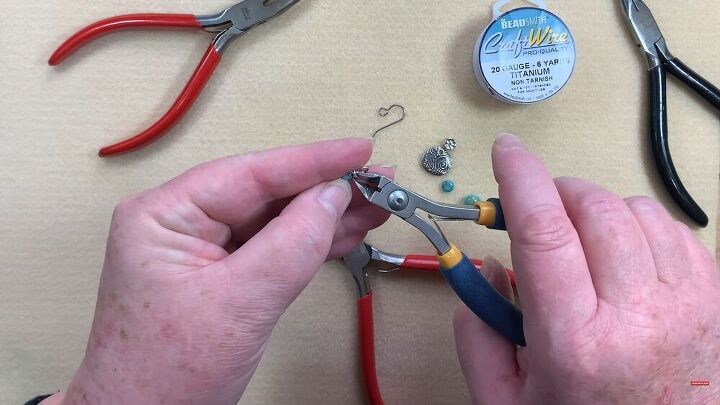
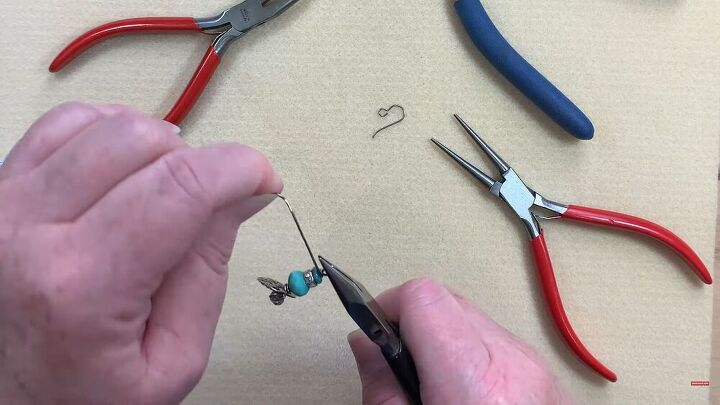
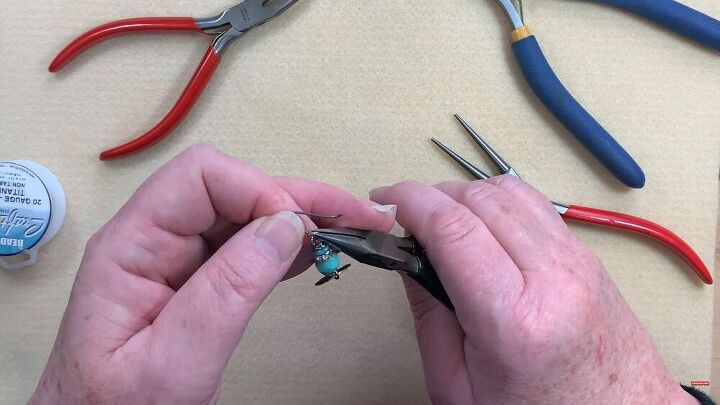
Add your beads and charm
Now you are going to take the charm you just created, and pop it into the loop on the wire. Take your Tierracast charm and pop it into the loop, too. With the shorter end of the wire, wrap it around the longer wire, so that the wrap sits above the loop with the earrings. Again, I want to create a bulkier look, so the wrap doesn’t need to be perfect.
Next, trim the remaining wire with your pliers and hold the wire in place.

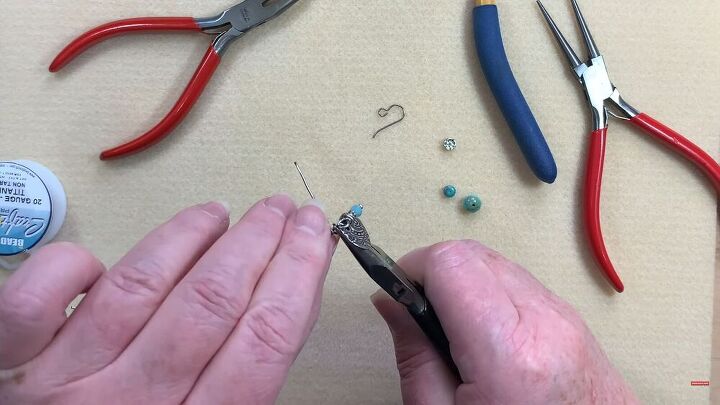
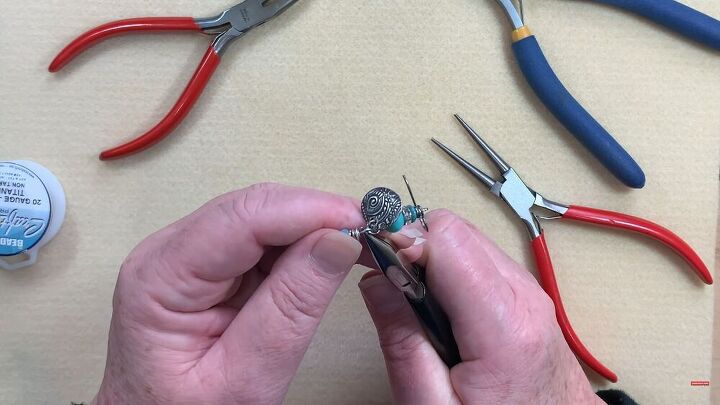
Place the remaining beads
Now, place your Czech glass, rhinestone spacer, and Czech glass spacer. Turn it sideways and bend the remaining wire right at the neck. You don’t want any neck on top of the last bead.
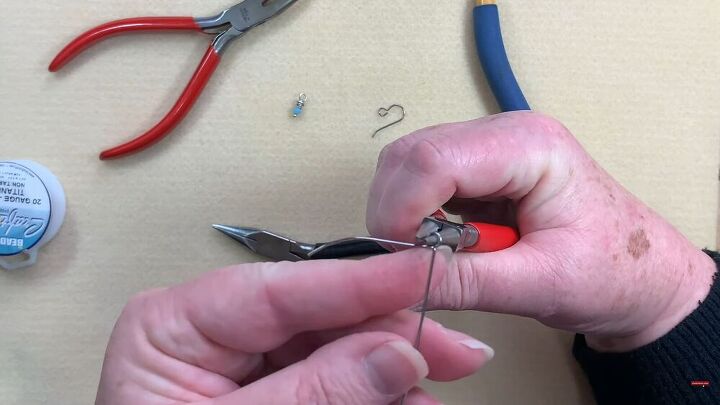
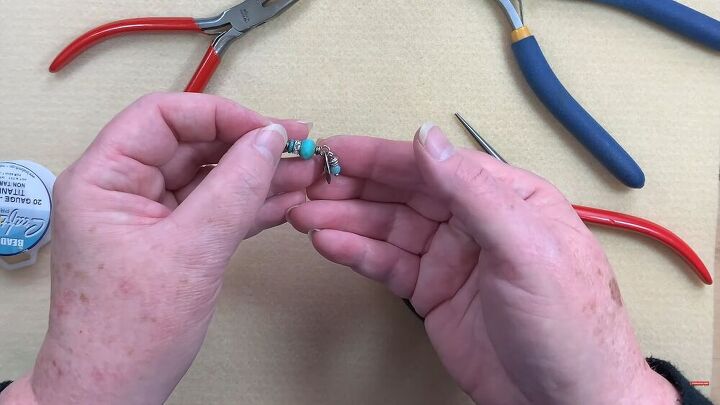
Make another loop
Take your round nose pliers, and you are probably going to have to come in at an angle to get the wire between the pliers. Place the wire in the middle and simply make a loop; up, over, and down. Rotate your pliers and make a little loop.
Next, do the same kind of bulky wrap, as you did with the other loops. Wrap it around twice, take your flush cutters, and cut as close to the loop as possible.
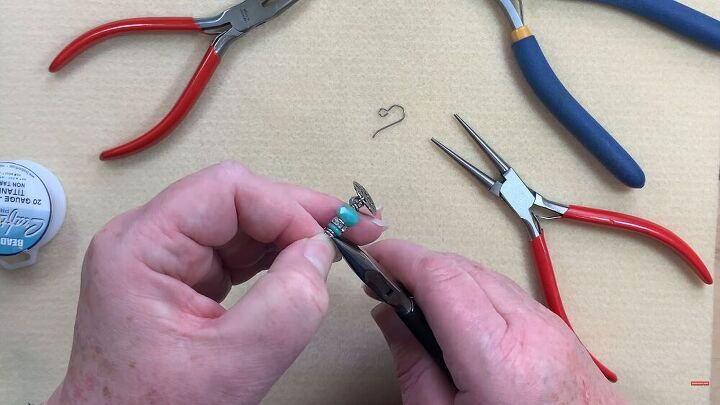
Tuck the cut wire down, making sure it doesn’t poke out.
Add the ear wire
Open the loop on the ear wire and loop it through your loop you just created.
Once the ear wire is looped, take your pliers and close it back, nice and tight. Jiggle it back and forth gently while closing it up.
Design tip
When you hold the earrings, you will notice that the bottom part of the earring, where the beads are located, is kind of pointing out a funny direction. I don’t like how that looks. Tweak this by taking your chain nose pliers and grab hold of the little loop that’s holding the tiny beads at the end. Push it down a little, so that it slightly bends. Next, hold it up again and see if it still needs tweaking. Bend accordingly until you get your desired structure. The aim here is to make sure the beads don’t point outwards but are rather pointing straight down.
You can see the beads lay flat on the charm and are not sticking out. This is perfect!
TIP:
Be sure not to over bend it, do this carefully and slowly.
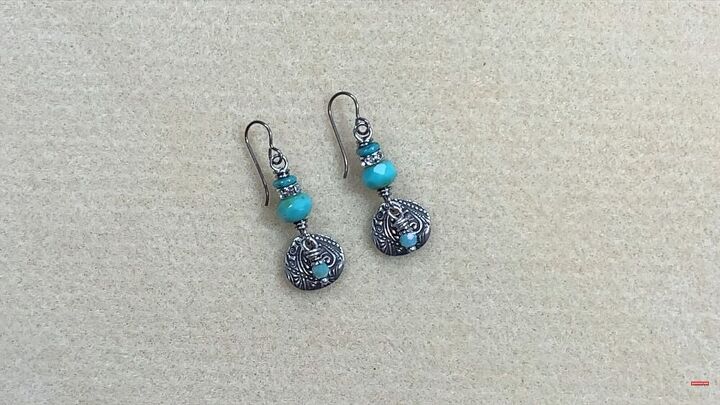
Your earrings are complete and boy, do they look beautiful. I named these my “Sadie” earrings. It’s named after my granddaughter as they are sparkly and pretty, just like her! I hope you enjoyed my easy DIY earring tutorial that is not only simple to make but affordable, too.
The author may collect a small share of sales from the links on this page.


Comments
Join the conversation