How to Make Creative Fabric-Covered Wood Earrings From Scraps

Mostly all DIY’ers have scrap fabric lying around, and if you don’t know what to do with them, I have the perfect project to make use of your scrap fabric! I’m going to show you how to make fabric-covered wood earrings with this DIY tutorial.
Get inspired and learn how to cover wood earrings with fabric. It’s a fun, straightforward project that will save you the heartache of throwing away your fabric scraps! Let’s get started!
Tools and materials:
- Fabric
- Scissors
- X-Acto knife
- Wooden pieces (pairs)
- Sponge applicator
- Mod Podge
- Wax paper
- Earring backs and posts or hooks
- Jump rings
- Pliers
- Jewelry glue
- Sandpaper
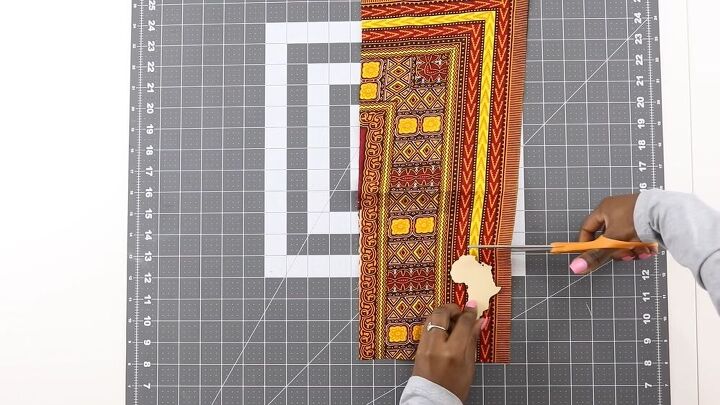
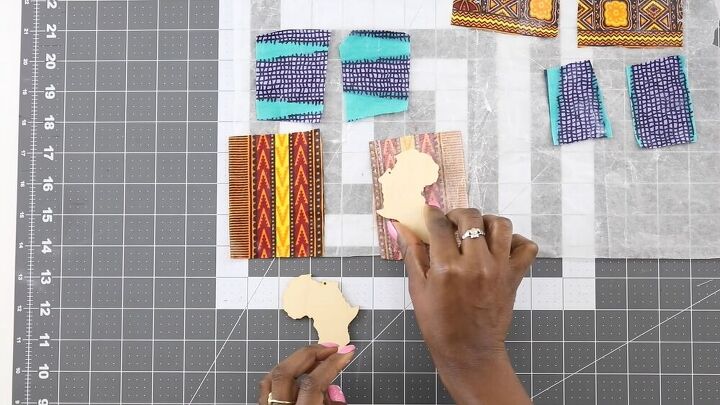
1. Cut the fabric
Lay your wooden pieces on your scrap fabric, and if necessary, cut out an area of the fabric that’s big enough to work with.
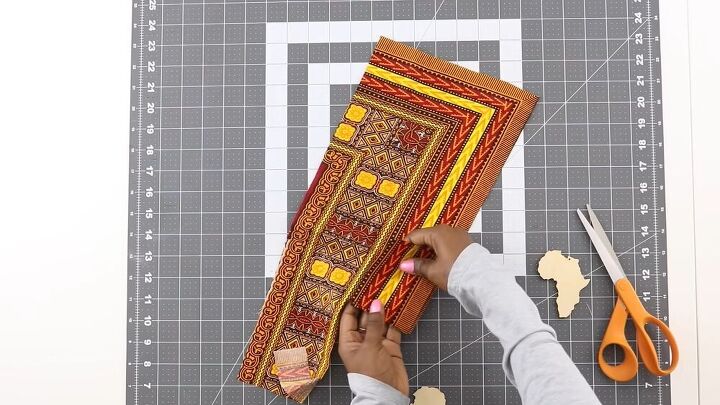
Now, cut another fabric piece by placing the first on top and using it as a guide. This way, you will minimize your fabric usage and not have more scraps to deal with after.
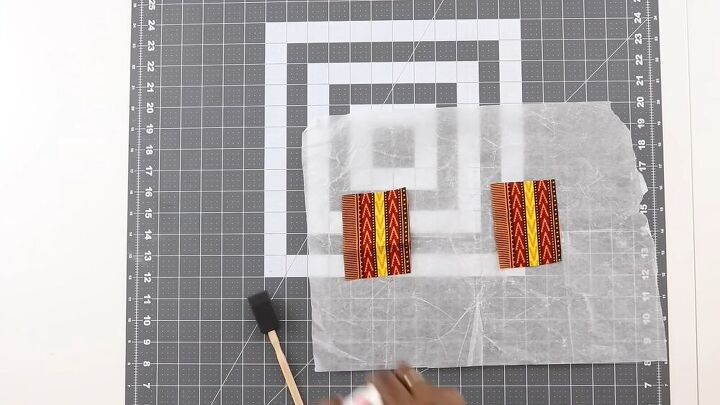
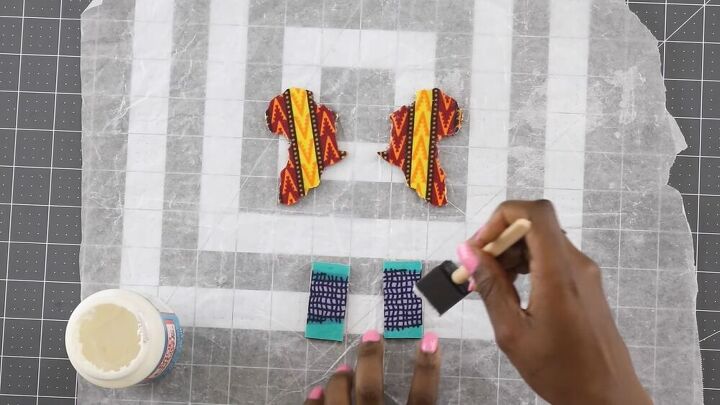
2. Start gluing
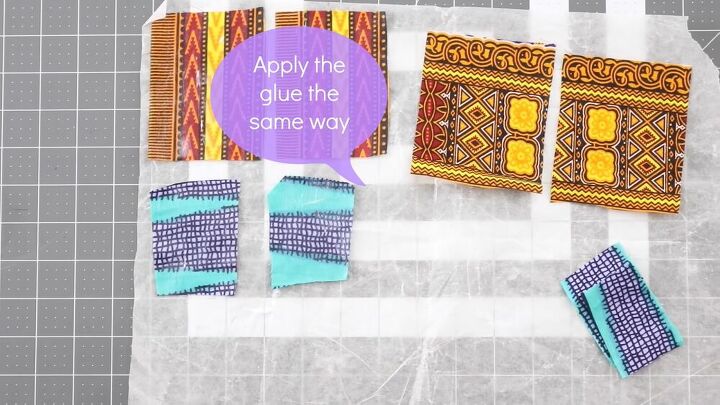
Now, go ahead and grab your wax paper, Mod Podge, and sponge applicator. Place your fabric with the right sides facing up on top of your wax paper.
Apply glue right on top. When applying your glue, make sure you are doing it in the same direction. Let it dry for 10-15 minutes.
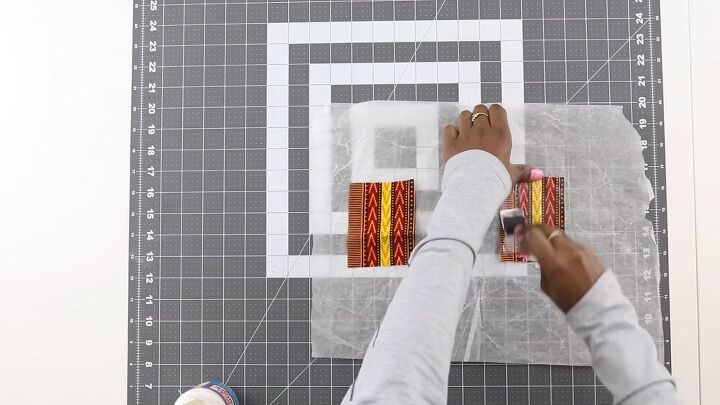
Optional: If you want your DIY fabric-covered wooden earrings to be covered front and back, cut more pieces from the same fabric and add the Mod Podge fabric glue, as shown above.
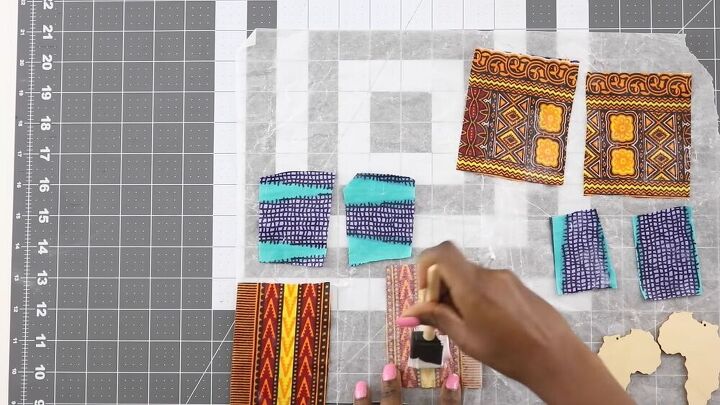
Now that your pieces are dry, flip them over and apply glue to the back.
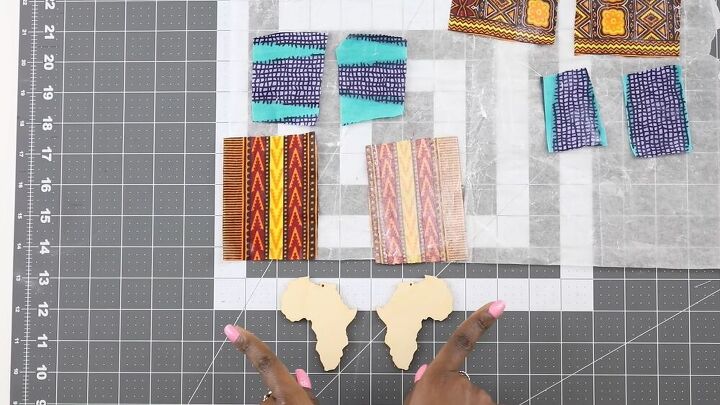
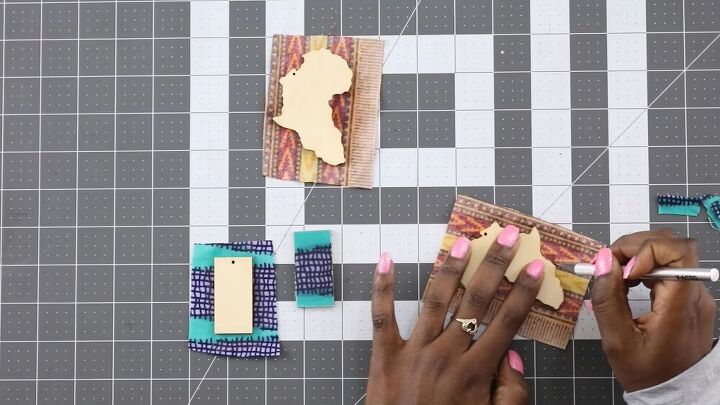
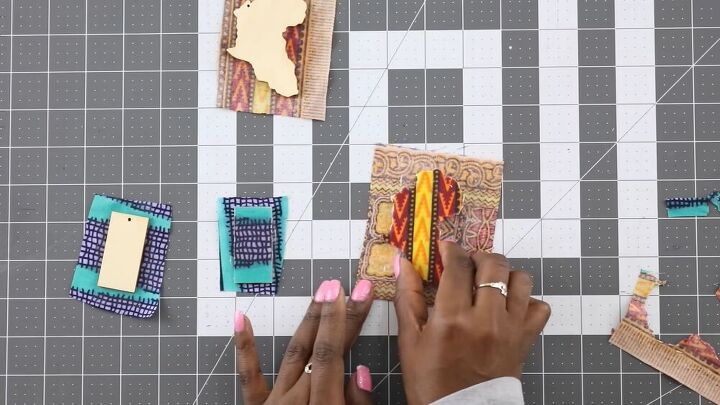
3. Glue the wooden pieces
Before you glue the wooden pieces to the fabric, make sure that your shapes are in the opposite direction. In my case, the outermost semi-circles on the African continent stick out on either end.
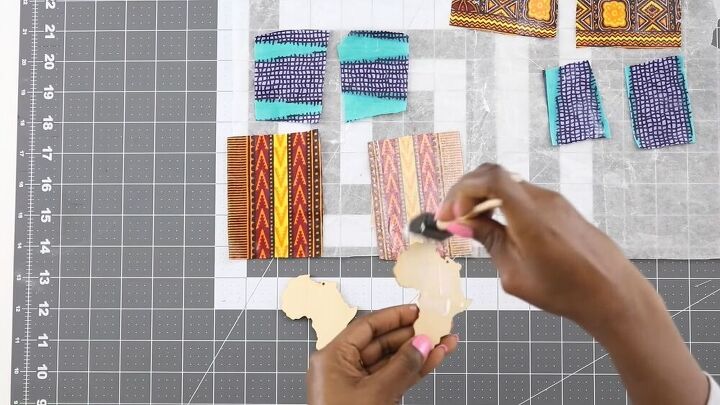
Now, apply Mod Podge to the wooden piece itself.
Then, stick the glued part down onto the fabric. Repeat this for the other piece. Before moving onto the next step, let the fabric-covered wooden earrings dry for 15 minutes.
4. Cut the shape
Grab your X-Acto knife and cut around the shape of your wooden earring. You’re basically slicing off the fabric. If your shape is as complex as mine, take your time - it will be worth it in the end!
5. Add the back piece
Again, this step is optional. But if you want both sides covered in fabric, glue the second fabric piece to the other side. Then, cut the edges of these too.
6. Add a top layer
Now that your fabric-covered wooden earrings are almost complete, add a top layer of Mod Podge to the front part of the earring to help seal it.
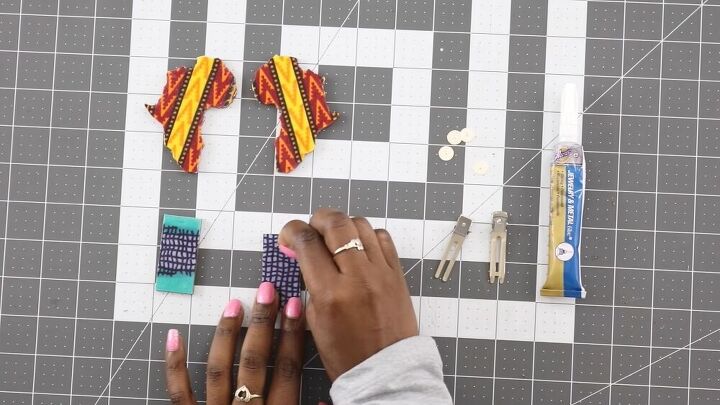
7. Assemble the earring post
If you want to do the earring post option (for stud earrings), go ahead and grab your glue, clips, and a small piece of sandpaper. Sand off a small area where you’ll be putting your earring post.
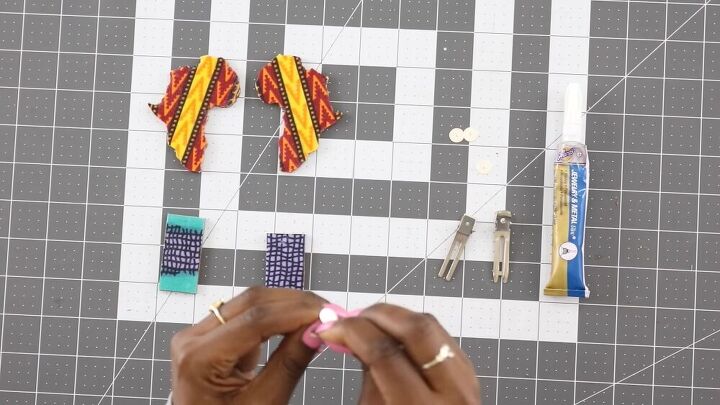
Then, sand the top part of your earring post.
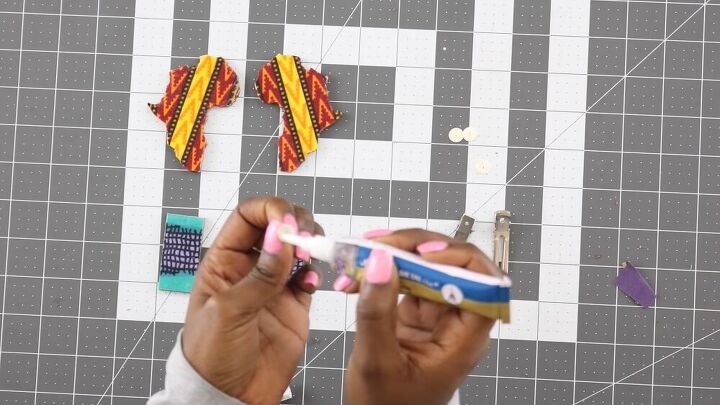
Add a little glue in the area you sanded down and add a little more glue to the post itself.

Next, press the post onto the earring.
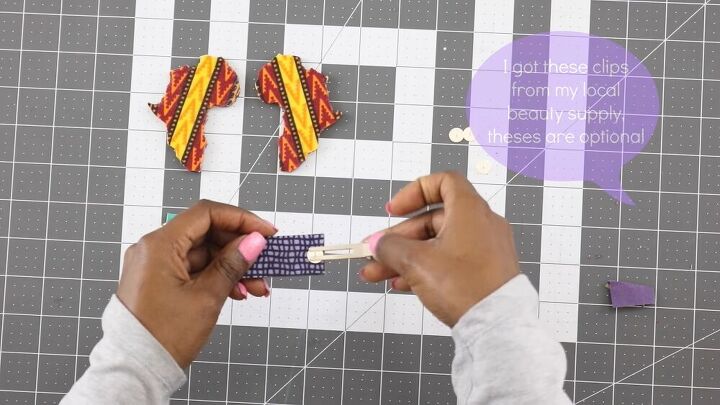
Add the earring clip after.
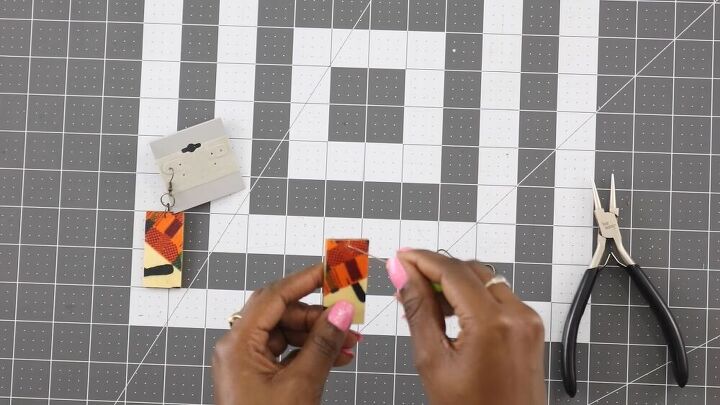
8. Add an earring loop
To add an earring loop, pierce a hole through the wooden piece on the center-top. I used a seam ripper for this, but anything sharp and sturdy should do the trick.
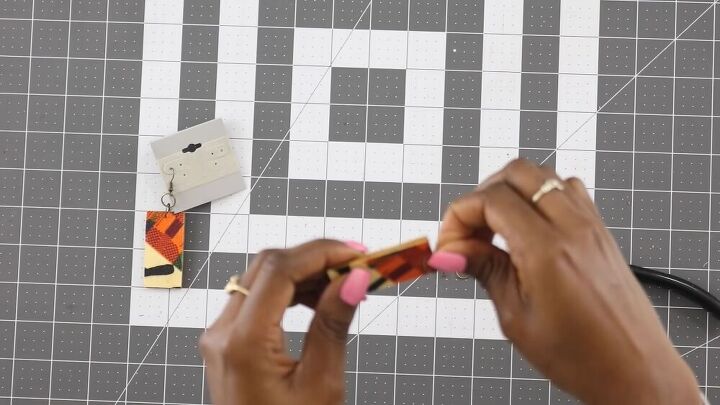
With your pliers, open up the jump ring and slide it through the hole.
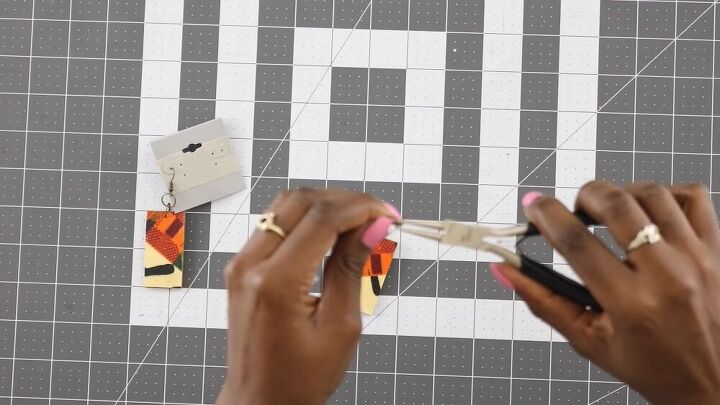
Add your second jump ring, slide your earring hook through and close the gap. Lastly, slide your second jump ring into the first and close the gap.
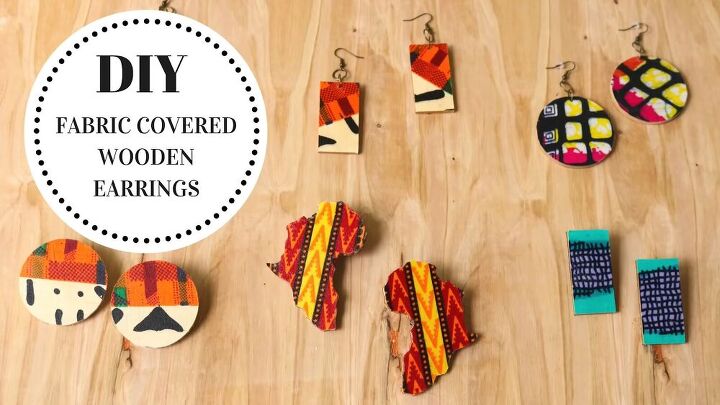
How to make fabric-covered wood earrings
Yay, now it’s complete!! You have yourself a fabulous set of DIY fabric-covered wooden earrings and a few fewer fabric scraps in your stash! See, I told you this tutorial would be fun and easy! Now you know how to make fabric-covered earrings at home. Good luck.
The author may collect a small share of sales from the links on this page.


Comments
Join the conversation