Learn How to Make These Lotus Flower Earrings From Scratch

I love flower earrings; they are so feminine and delicate. Today, I'm going to show you the process on how to make polymer clay flower earrings. The flower I'm using as inspiration is the lotus flower. It's got a beautiful and articulate design to it. In the end, you'll see how unique and gorgeous these DIY flower earrings will turn out. Ready? Let's get rolling!
Tools and materials:
- Polymer clay- white + 3 other colors
- Acrylic roller
- Blade
- Spatulas
- Stud earrings
- 2 popsicle sticks
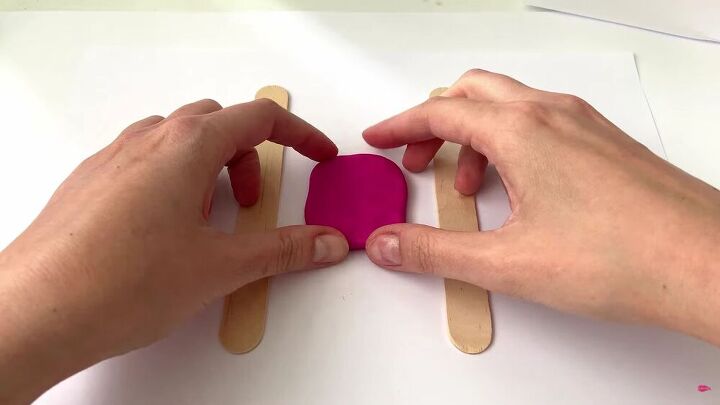
Flatten out each color
Using the wooden spatulas as a guide for thickness, lay one out on either side of your work area. Next, take a colored piece of polymer clay, and condition it. This means you'll need to stretch it open a little before you roll it out.
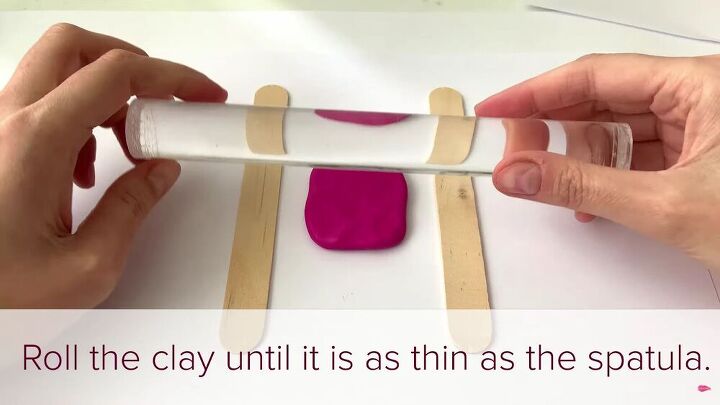
Next, place the conditioned clay on a flat, clean surface and begin rolling out the clay until its thickness is the same as the wooden spatulas.
TIP-
If you don't have spatulas, just roll it really thin.

Once you have rolled the clay to the desired thickness, repeat the step on the remaining colors.
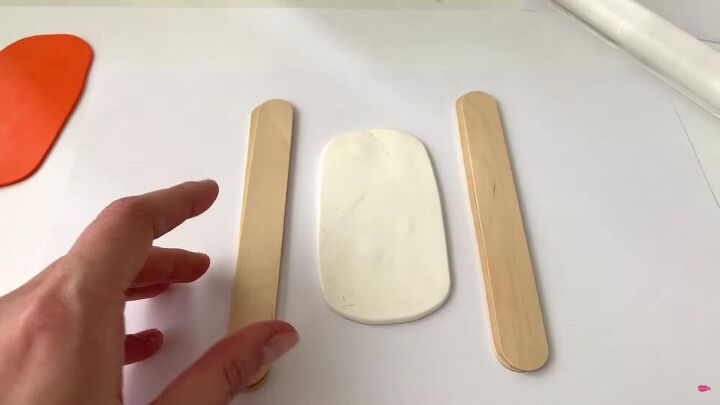
You'll need double the thickness with the white polymer clay; simply add another spatula on top of the first so that you have the perfect guide as to what thickness it should be. Now, condition the clay and roll it out carefully.
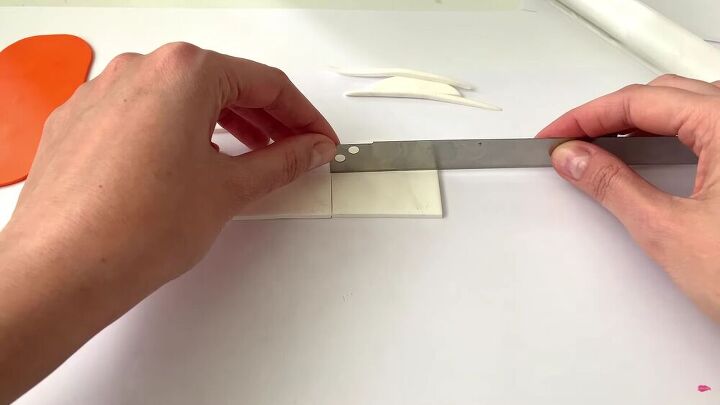
Cut the polymer clay
Now, using a blade, cut the white polymer clay. You will need four equal rectangles. Start by trimming the sides and then cutting the body. Once you've cut one rectangle, use it as a guide for the next.
TIP-
You'll notice in the video, I didn't have enough white clay for the 4th, so I used the excess trimmings to complete the fourth rectangle.
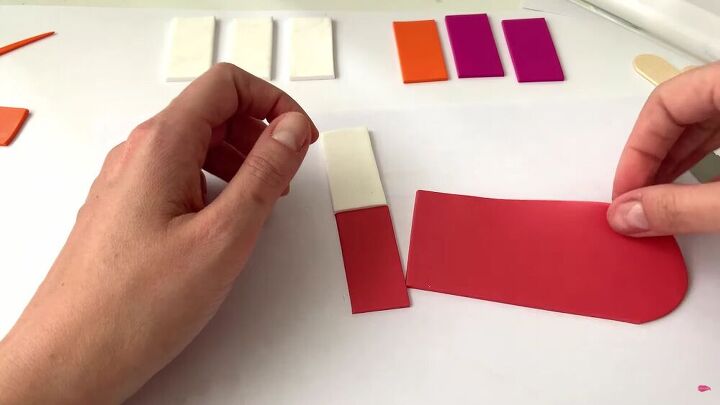
For the rest of the colors, use one white rectangle as a guide. Cut one orange rectangle, two pink rectangles, and one red rectangle.
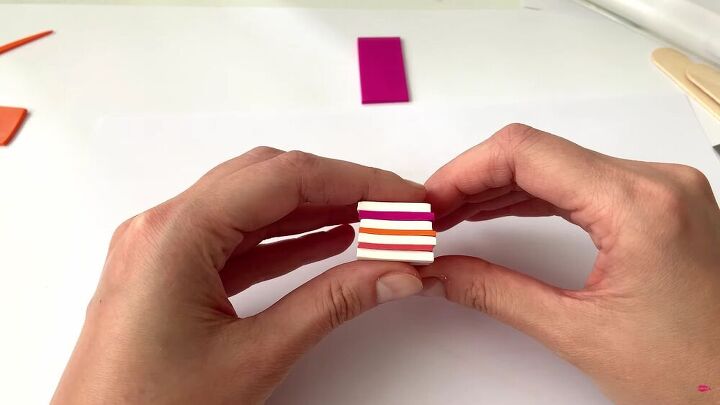
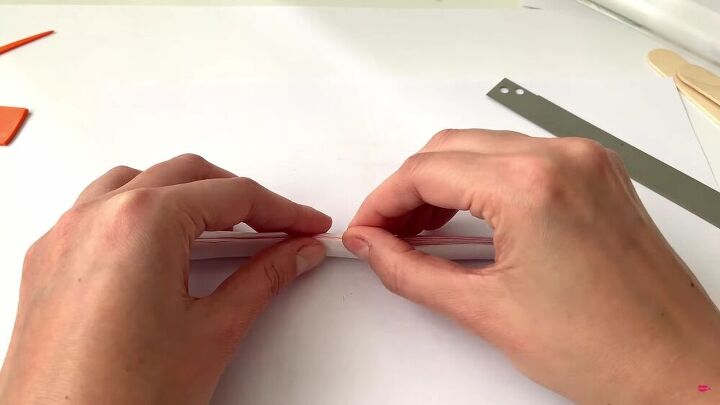
Stack and shape the clay
Stack the rectangles on top of each other, with a white rectangle between each color and on either end. You'll have one remaining color; keep it aside for now.
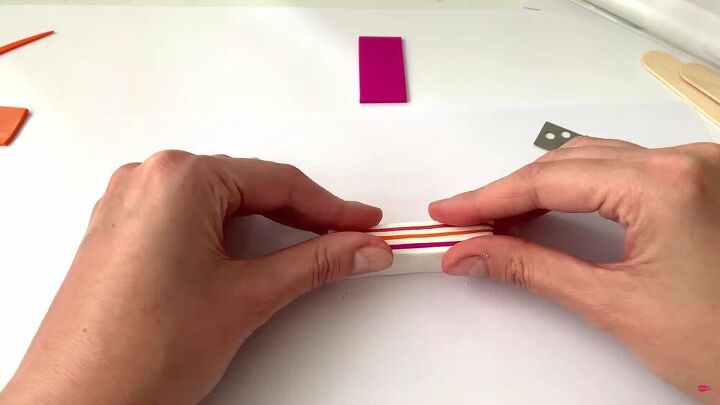
Even out the edges by cutting out the sides. Then, begin pressing the block slightly. The block needs to be reduced to half its size. So, gently press and pull the clay slowly.
Cut the block in half and add the last pink rectangle to one of the pieces, cutting it to size.
Now, attach the blocks, so they mirror each other.
Reduce the block again by gently pressing and pulling the clay. Do this slowly. The aim here is to make the outer white edges encase the rest of the clay pieces. Press and pull slowly, all while forming a snake-like structure. This process can be long, but it's worth taking your time.
TIP-
See my video from 4:05 minutes to see the technique.
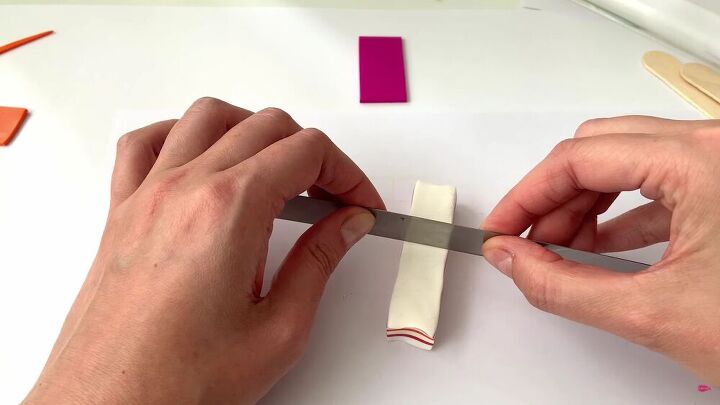
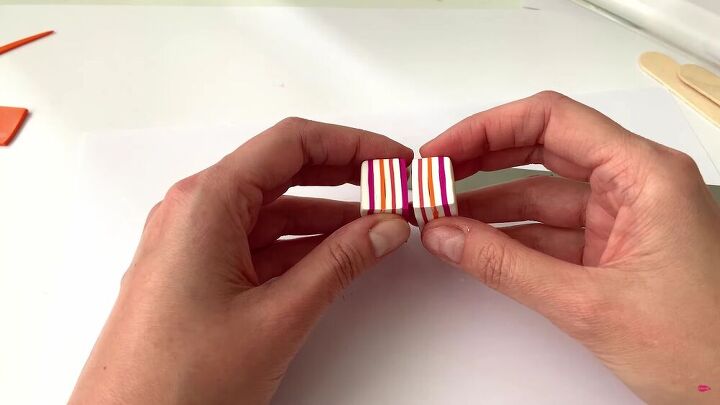
Cut the pieces
With your blade, start cutting the ends. Notice that they are a bit distorted? That's normal. But keep cutting small pieces till you find the non-distorted ends. Repeat this on the other end, too.
Cut 2 mm (.08 inch) thick pieces.
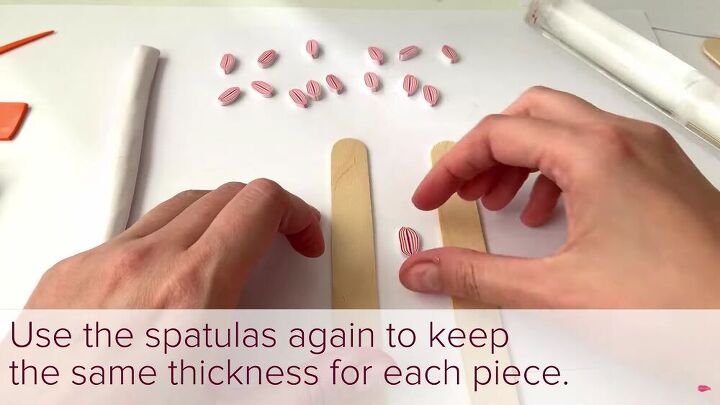
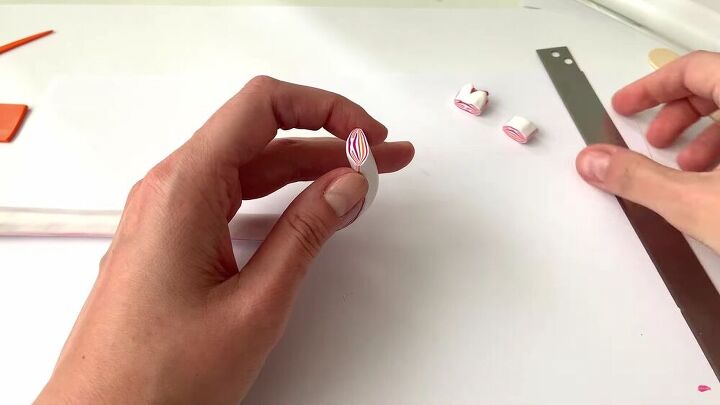
Roll each piece
Now, roll each piece to enlarge it. Again, use the spatula as a guide for the thickness ratio.
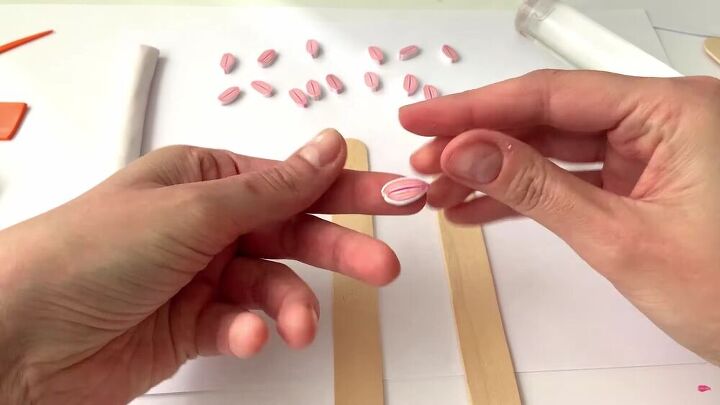
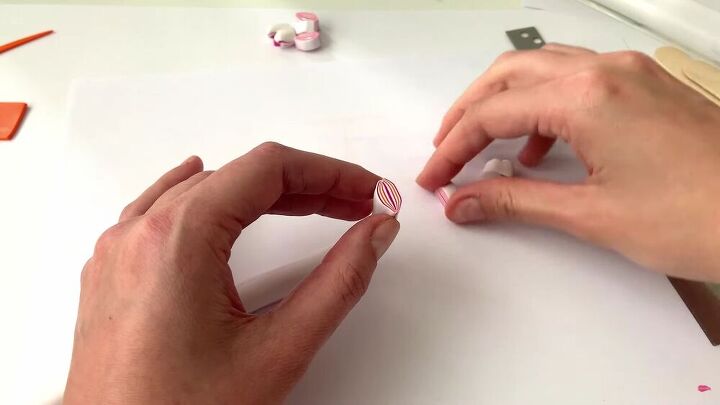
You can adjust each piece with your fingers, making spike-like shapes on the ends.

Assemble
Now, carefully assemble five pieces into a lotus flower shape, as shown. Gently press the pieces together, so they stick together during the baking process. Repeat for the other earring.
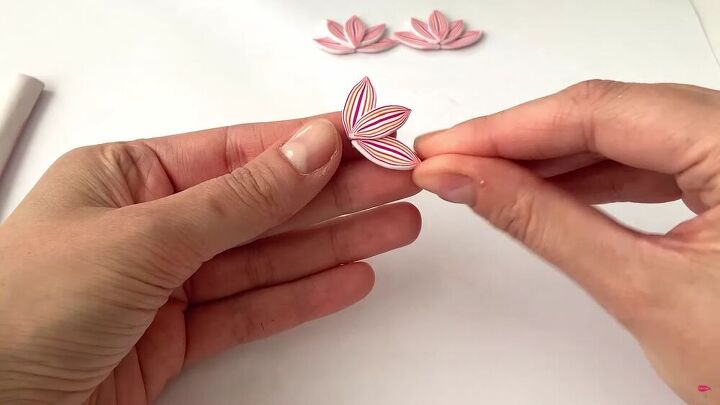
Next, make a flower using only three pieces and repeat for the other earring. You will also need one piece for the earring top.
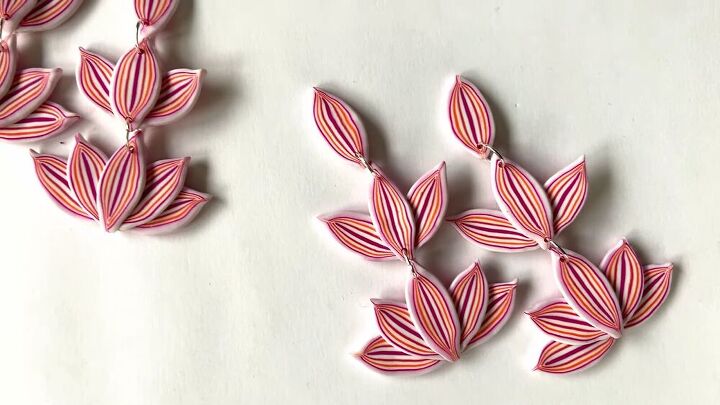
Look at that! Isn't it oh, so pretty? I love how these turned out, and I'm super chuffed with the combination of colors on these polymer clay earrings. Now you can make clay flower earrings easily with this tutorial. Happy rolling.
The author may collect a small share of sales from the links on this page.


Comments
Join the conversation
Yes looking forward to trying this project
That’s really pretty!