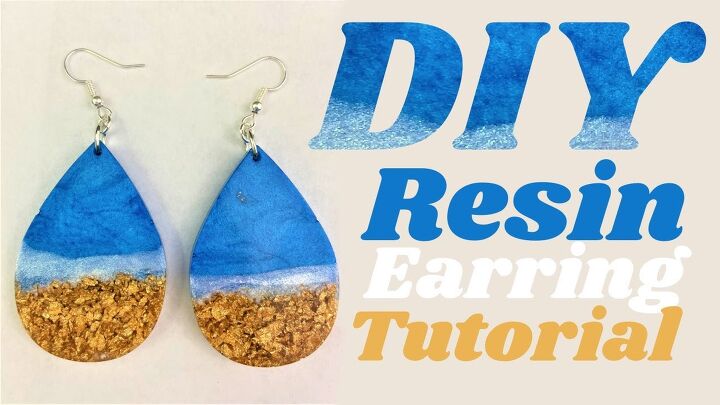
How to Make Pretty Resin Ocean Wave Earrings With Gold Foil

Today, I’m going to show you how to make resin ocean wave earrings. You are going to be totally obsessed with the results. So, join me as I show you some gorgeous ocean resin art and how you can take your jewelry-making to the next level.
Tools and materials:
- Longnose pliers
- Round nose pliers
- Small jump rings
- Large jump rings
- Resin
- Silicone measuring cup
- Plastic cups
- Sticks
- Earring mold
- Mica powder (blue and white)
- Gold foil
- Lighter
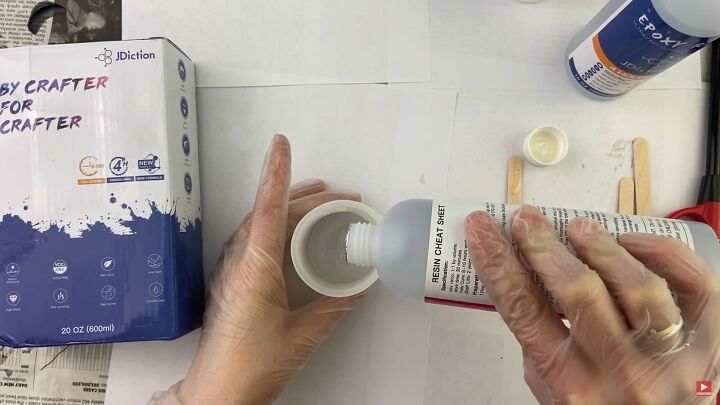
1. Mix the resin
Depending on the resin you’re using, be sure to follow the manufacturer's guidelines. For me, I had to mix resin A and B in a 1:1 ratio.
Now, stir the resin slowly; doing it too quickly will create bubbles. Stir until you don’t see any more swirls. This process may take 3-5 minutes. Again, be sure to read the instructions.
Tip: If there are too many bubbles, let it set for a while.
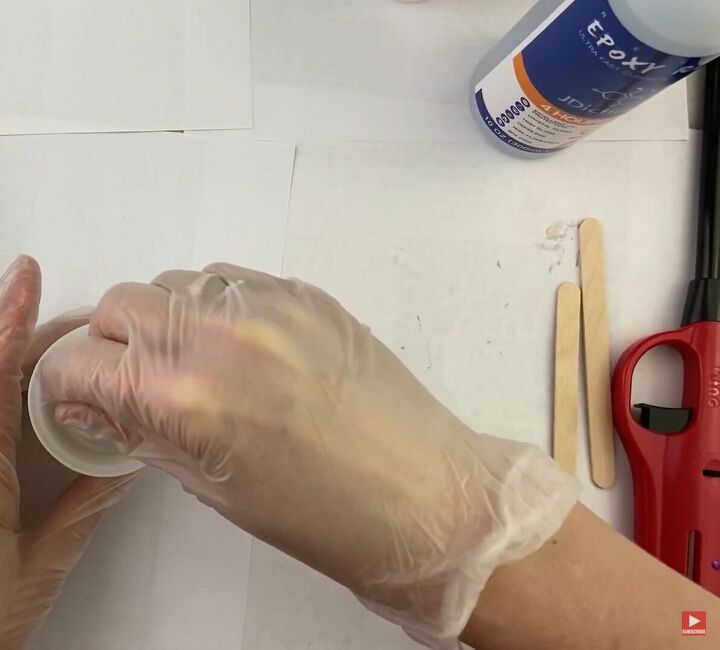
2. Add color
Now, portion your resin accordingly. I’ll be pouring it into three separate cups as I’ll be making three colors: blue, white, and gold.
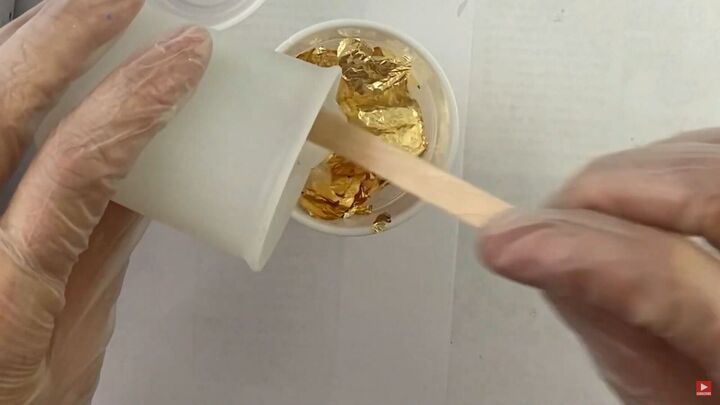
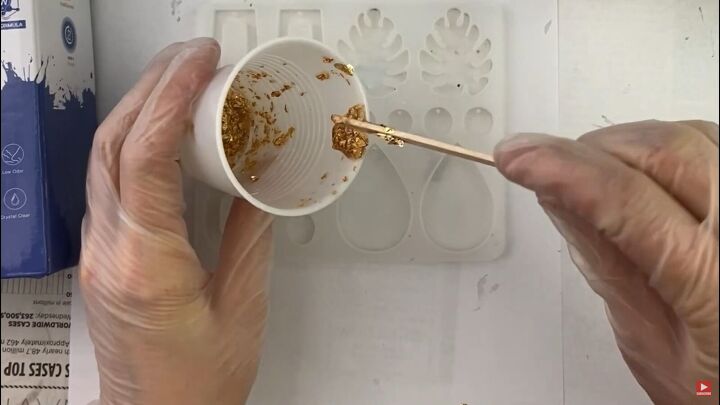
First, let’s do the foil. Add gold foil to one cup and add a little resin (you want most of the resin to be blue).
Tip: Make sure the foil is separate.
Mix and squish the foil into the resin. It should have a paste-like consistency. So, add a little more resin if needed.
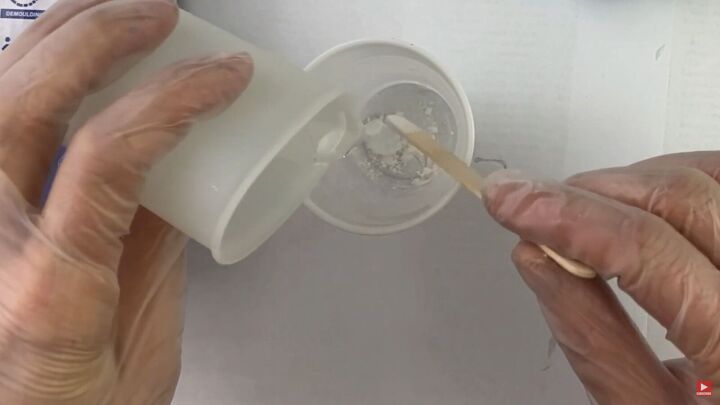
Next, add a little white Mica powder into a clean cup and stir in a little resin. You want this color to be somewhat translucent.
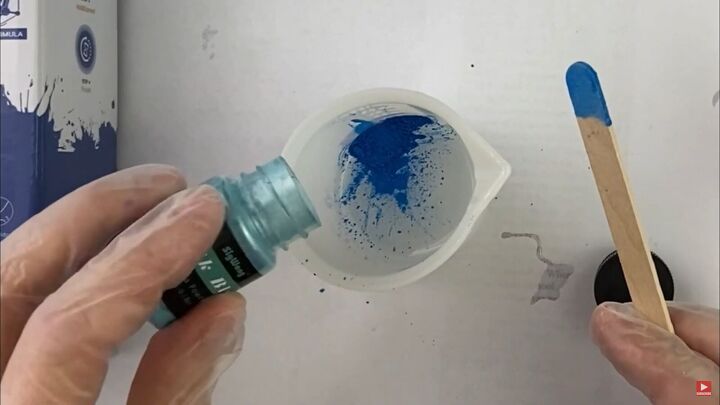
Add blue Mica powder to the remaining resin. I used two different blue colors to create a sea-like hue.
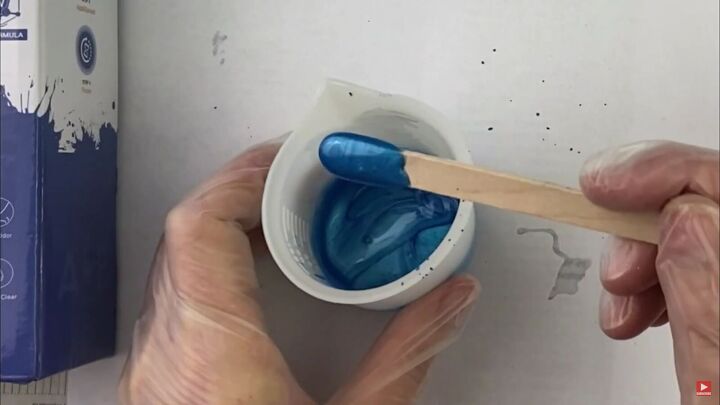
Mix everything together.
3. Make the resin beach scene
Ok, it’s molding time! Grab your earring molds and let’s start with the gold, which will be our sandy shore. Grab a little and scrape it onto your cup. Then, place it right in the center of your stick.
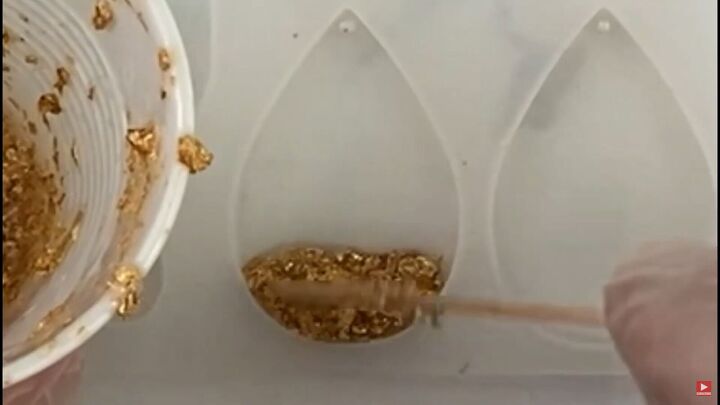
Next, place the paste-like gold resin at the bottom of your earring mold.
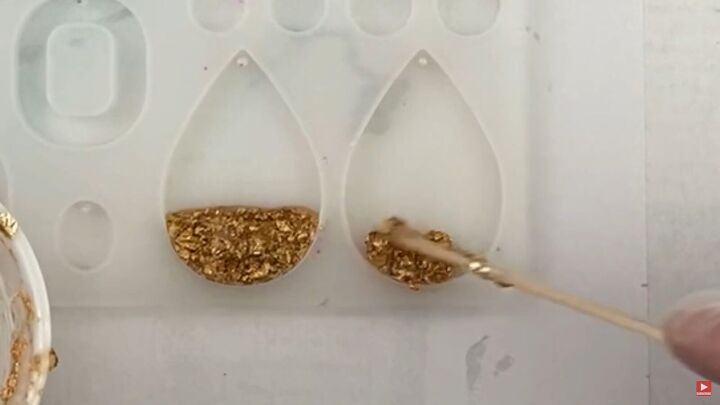
Layer as needed. Also, depending on how much sand you want, you could go higher. Repeat for the second earring.
Tip: Make sure you don’t go as high as the mold depth. The resin should sit just below the mold.
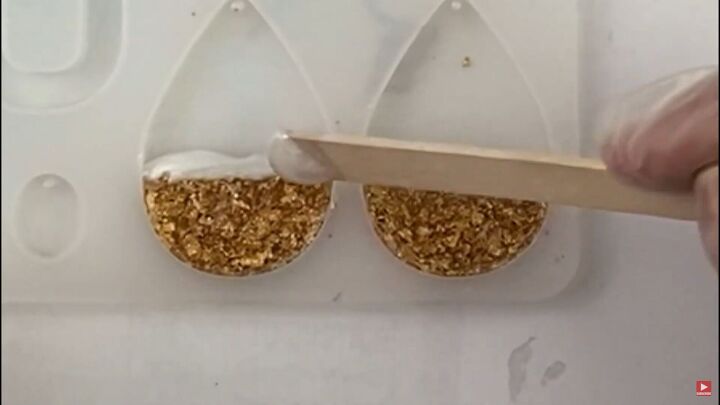
Place your translucent white resin right along the top of the gold resin.
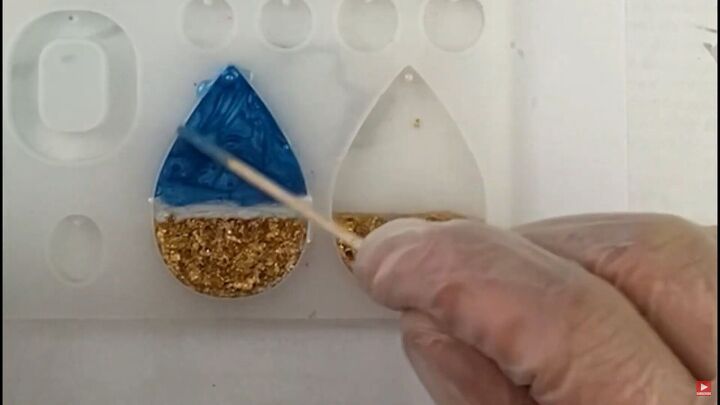
Lastly, place your blue resin in the remainder of the mold. Make sure to pour the blue resin along the white resin first. Be sure that the resin placed by the earring hole on top has no bubbles.
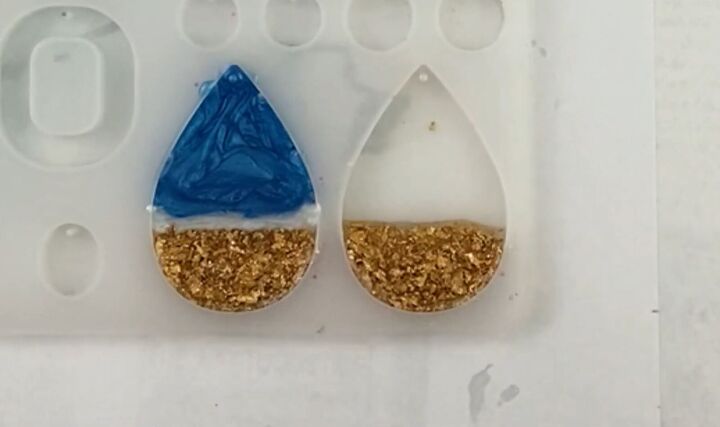
Doesn’t this look like the ocean? I love it! Repeat the same for the second earring piece.
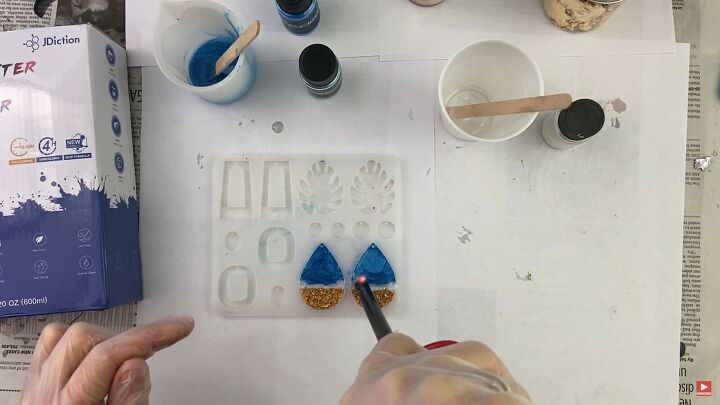
4. Get rid of bubbles
Hover a lighter on top of the resin. This will remove the bubbles. Now, all you have to do is wait for it to dry!
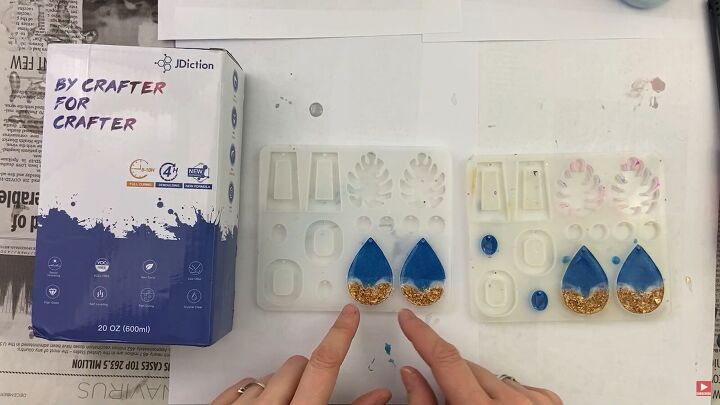
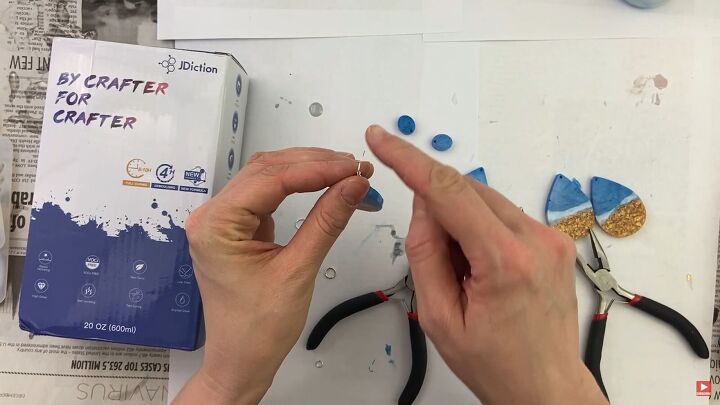
5. De-mold the earrings
My earrings took around 24 hours to dry. Also, sometimes, the resin has a mind of its own. The white and blue parts mixed a little together, but it still looks super cool.
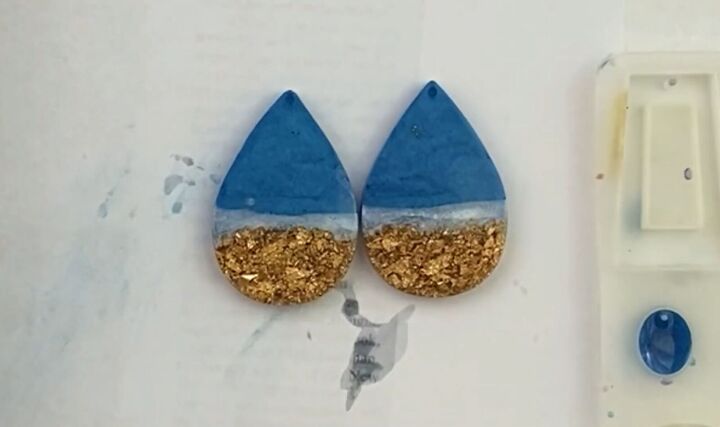
Look how the other side came out; so mesmerizing!
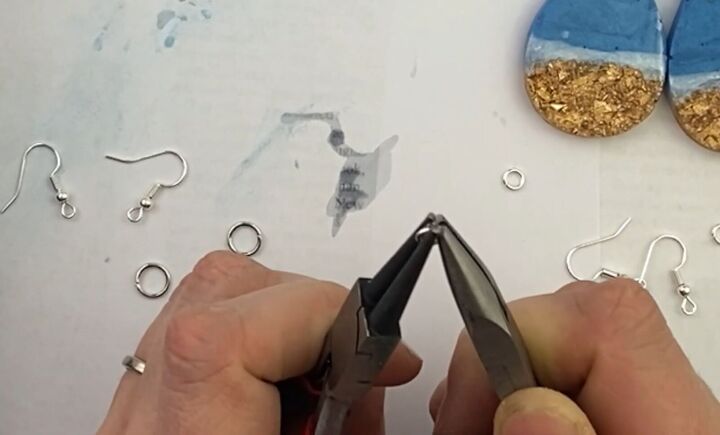
6. Add the hooks
The next step is adding the earring hooks. Grab your round and longnose pliers and open up the small jump ring.
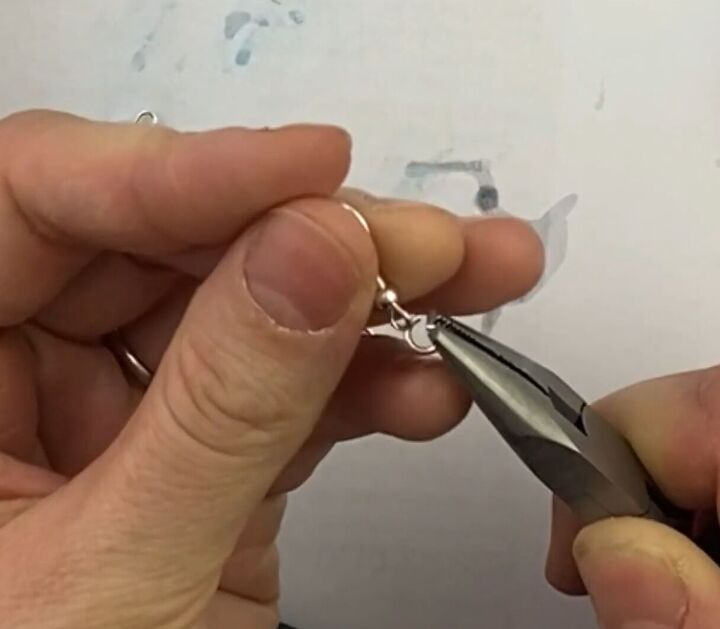
Now, slide your earring hook through the small jump ring and close it up after.
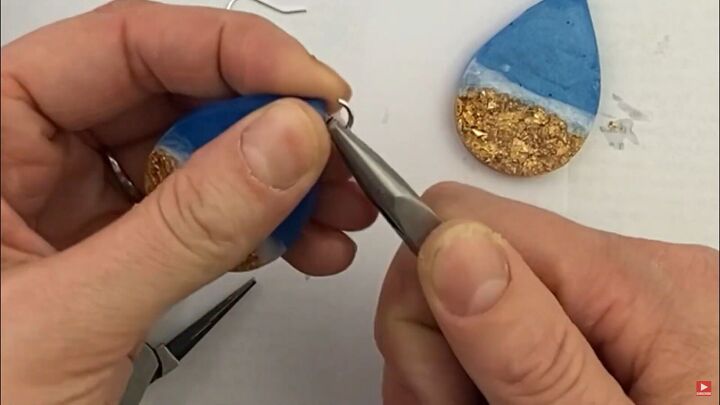
Open the big jump ring. Make sure to open it up really wide for the earring to fit through. Insert the earring through the jump ring.
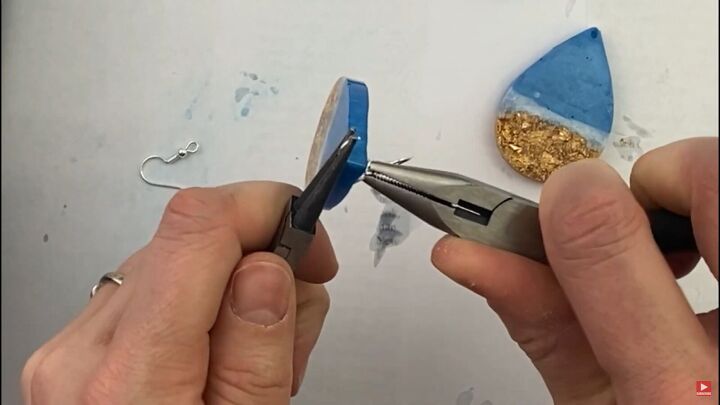
Place your hook through, too, and close up the big jump ring.
Make sure the hook faces the opposite side of the good side.

How to make resin ocean wave earrings
So, that’s how you make resin ocean wave earrings! I hope you enjoyed this project and that you try out this technique to make your own summery earrings.
Thanks for joining me on this ocean resin art tutorial! Good luck.
The author may collect a small share of sales from the links on this page.


Comments
Join the conversation
Love these pretty ocean wave earrings!