How to DIY an Elegant Floating Bead Necklace

In this tutorial, I’m going to show you how to make a floating bead necklace.
For this particular DIY beaded necklace, you won’t need mini beads which makes it a great necklace if you don’t have a lot of the same bead.
So grab what you do have, and let’s get started!
Tools and materials:
- Three spools of wire (0.45mm, two 0.3mm)
- Wire cutters
- Pliers
- Jump rings
- Gel super glue
- Beads in various sizes
- Clamshell end cap beads
- Crimping beads
- Chain
- Clasp
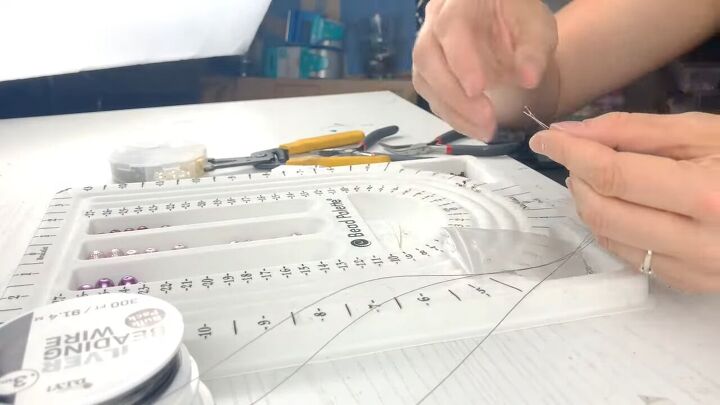
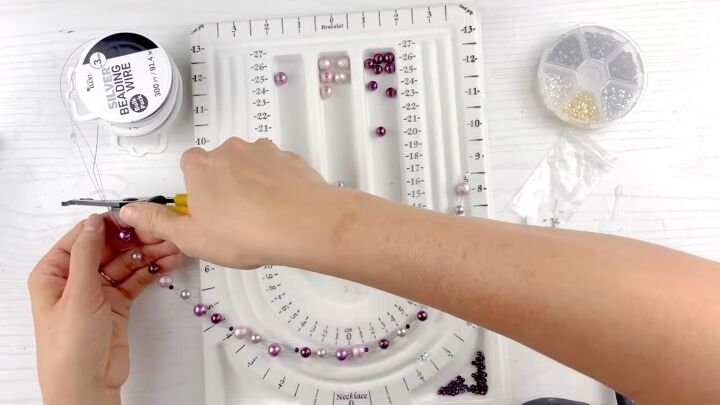
1. Unroll three spools of wire together
You’ll need 3 different-sized spools of wire: a 0.45 mm, which is the thickest of the three, and two 0.3 mm.
With the 0.45 spool at the bottom, stack the three spools on top of each other and unroll the wire simultaneously.

2. Cut off the ends
Cut off the ends of your wire to make sure there aren’t any kinks or bends at the very end.
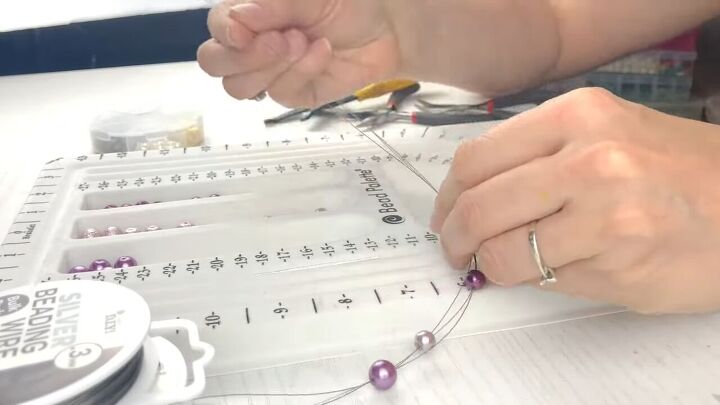
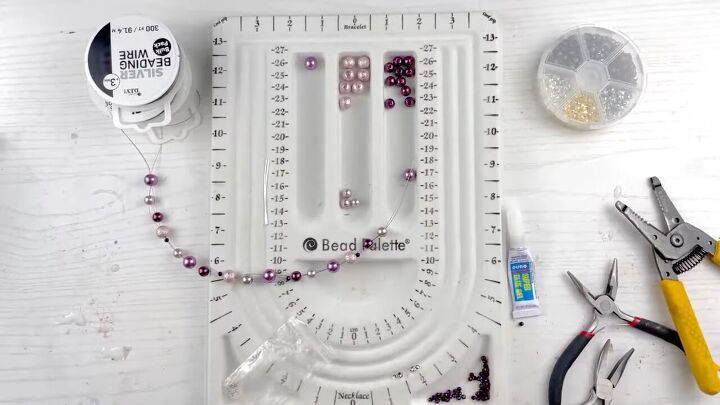
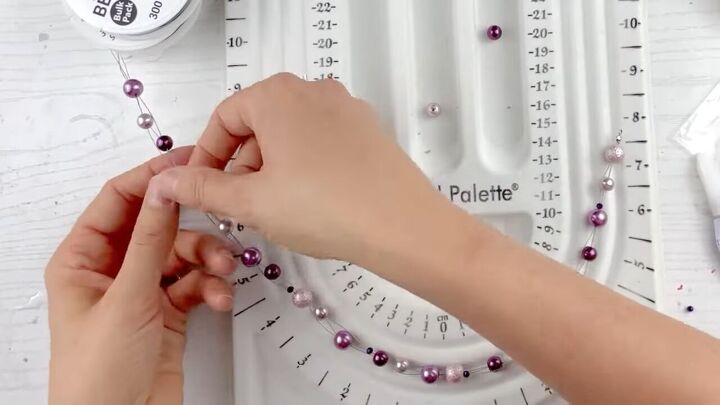
3. Place the beads on the wire
The pattern we’ll be using is a floating illusion look.
To achieve this, place the first bead on all three wires. Place the second bead on only two wires.
For the third bead, remove one of the wires that you used with the second bead, and combine it with the wire you didn’t use.
Place the third bead on these two wires.
4. Repeat the pattern to fill the necklace
Repeat the three-two-two pattern all the way down until you fill-up the necklace.
I’ll be using 12mm, 8mm, 6mm, and 2mm beads. I like to use the bigger beads on the three wires.
I find just using two wires makes it hard for the other wire to go around the big bead, and it can give it a weird kink.
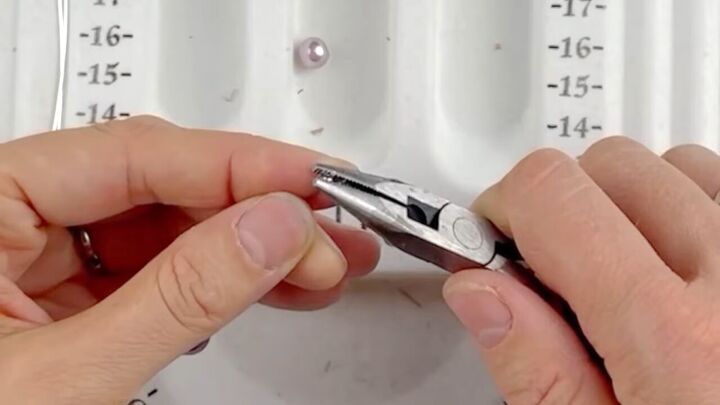
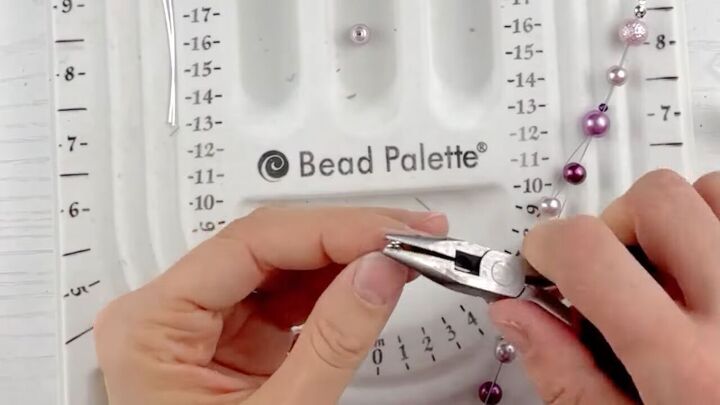
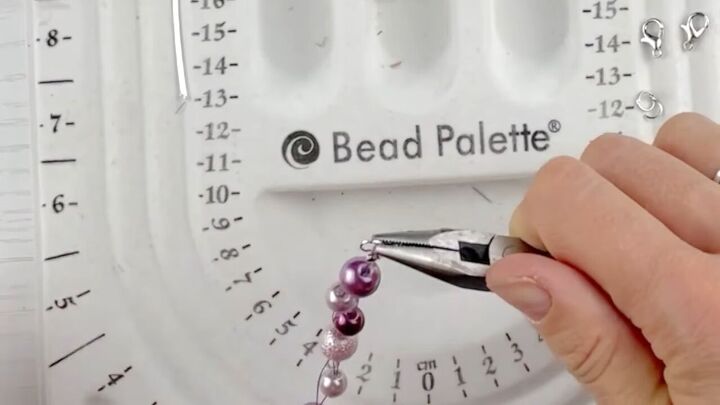
5. Clip the ends
Clip the ends of the wires to ensure they’re the same length.

6. Add a clamshell end cap bead
Place a clamshell end cap bead on the three wires. I like using the clamshell end caps to combine wires.
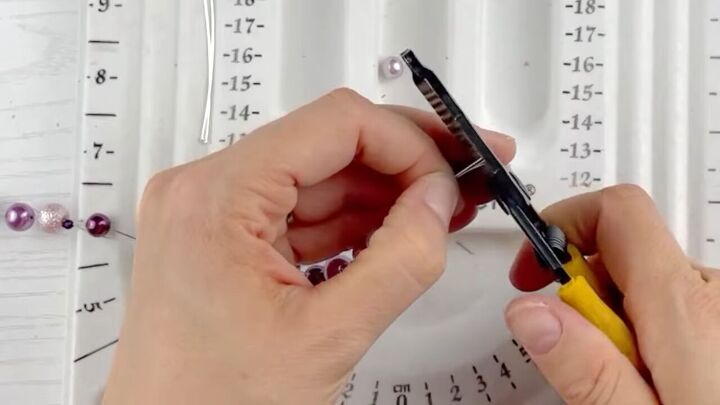
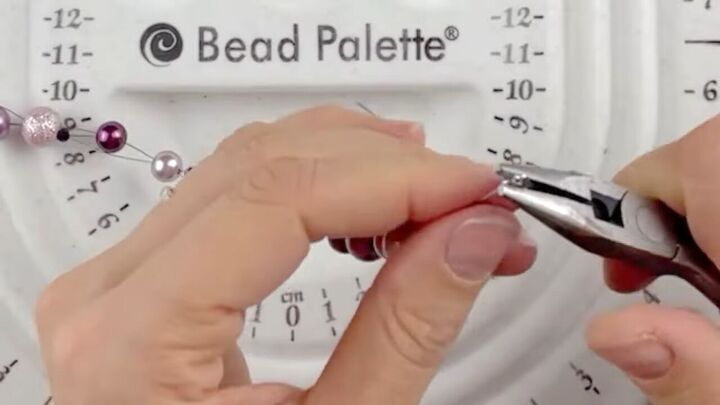
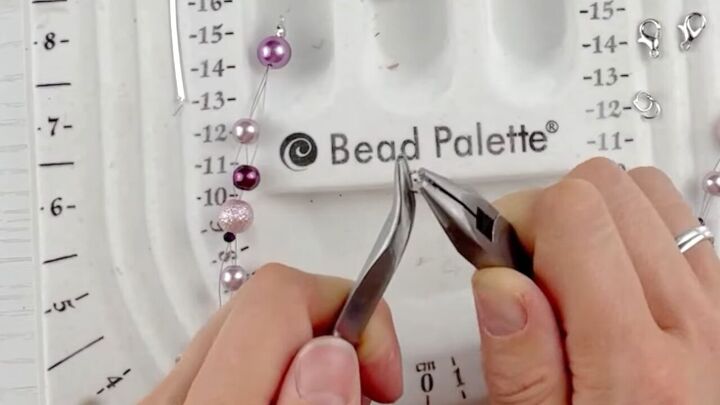
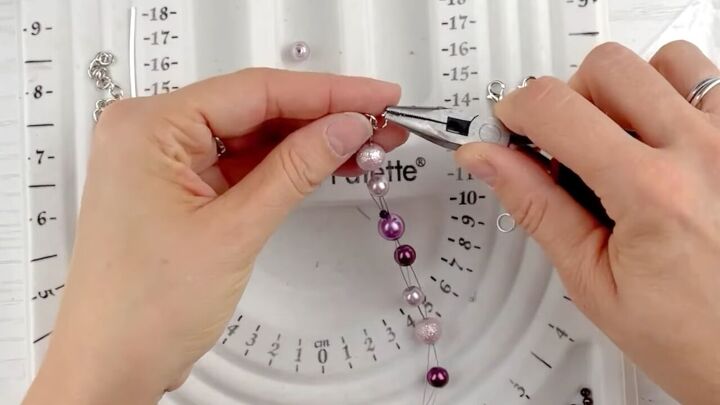
7. Crimp a crimping bead on the end
Place a crimping bead on the three wires. Bring the crimping bead up so the wires just past it, then crimp it with pliers.
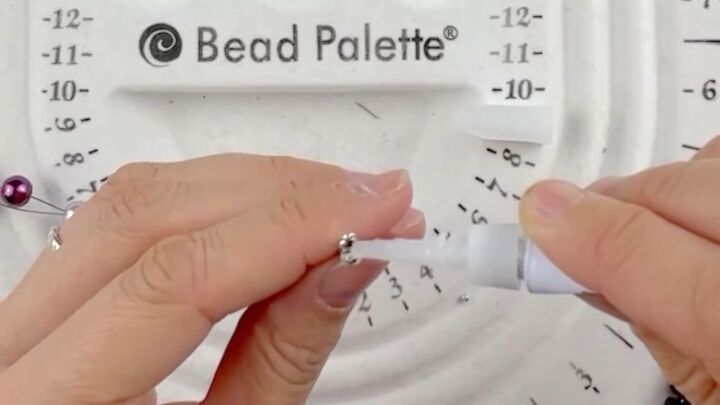
8. Encase the crimping bead with a clamshell end cap
Bring the clamshell endcap up so it encases the crimping bead.
Place a little dab of gel superglue onto the clamshell, then crimp it together.
9. Push up the beads
Push up all of the beads so there isn’t a big gap between the beads and the clamshell.
10. Cut the wire from the spools
Cut the ends of the wire. Make sure you cut it even.
11. Apply the crimping bead and clamshell clasp
Repeat steps 6-8 to apply the crimping bead and clamshell endcap at the end of the necklace.
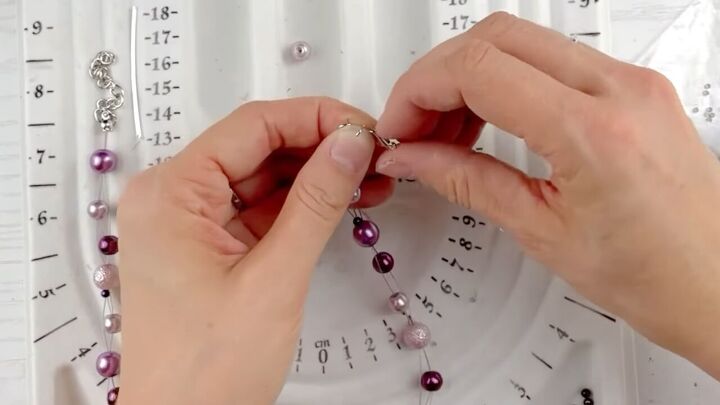
12. Open a jump ring
Use two pliers to open a jump ring by pulling one towards you and one away from you.
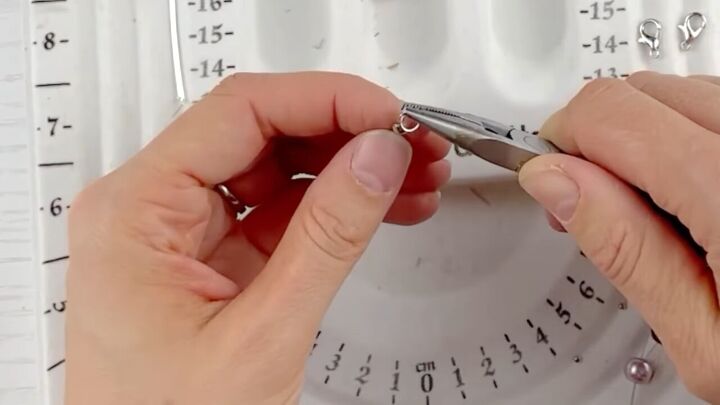
13. Place the jump ring on the clamshell end cap
Put one end of the jump ring into the hole of the clamshell end cap on the end of the necklace.
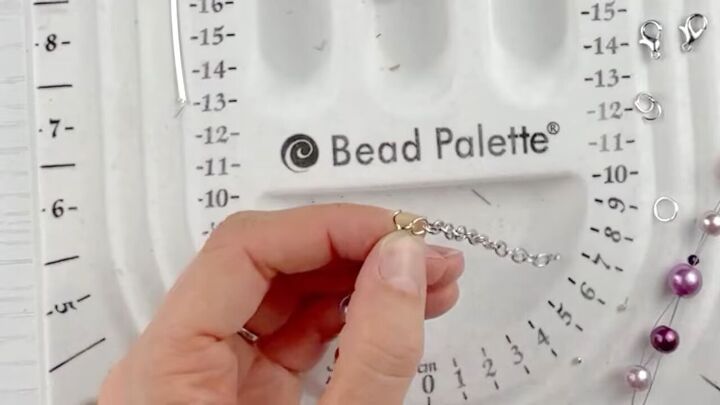
14. Add a chain
Add a chain to the jump ring. This chain will make the necklace adjustable.
You can add the chain on either side since it doesn’t matter which way is front or back with this necklace.
If you’re right-handed, you can add the chain on the right side.
If you’re left-handed, you can add the chain on the left side.
15. Close the jump ring
16. Add two jump rings to the other end of the necklace
For the other end of the necklace, I like to add two jump rings as this is where I’ll be adding my clasp.
I’ve found it’s easier to grab the clasp this way.
17. Add the clasp to the final jump ring
On the second jump ring, add the clasp before closing it up.
I recommend testing out the clasp and making sure it works properly before adding it.
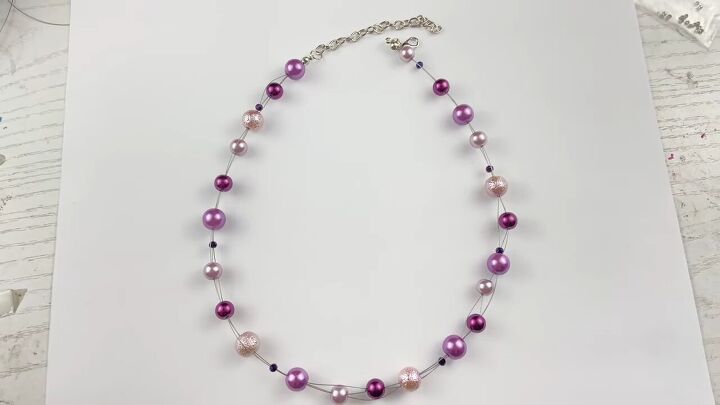
DIY floating bead necklace
Here’s the finished, gorgeous floating necklace! Share your thoughts in the comments down below.
Then, go and check out my Cute and Easy Floral Resin Earring DIY Tutorial.
The author may collect a small share of sales from the links on this page.


Comments
Join the conversation