How to Make a Beautiful Floating Bead Necklace in a Few Simple Steps

What’s going on, my fellow jewelers? Today, we’re making a floating bead necklace. I’ve done this technique so many times but I tweaked it a bit and it looked like an entirely different necklace!
The little beads complement the big beads and the big beads are so pretty. It’s so beautiful, and I just had to share this with you all! So keep reading, because I’m going to show you how to make a floating bead necklace.
Let’s get started!
Tools and materials:
- Big and small beads
- Chain
- Jump rings
- Wire
- Pliers
- Cutting tools
- Lobster clasp
- Crimping beads

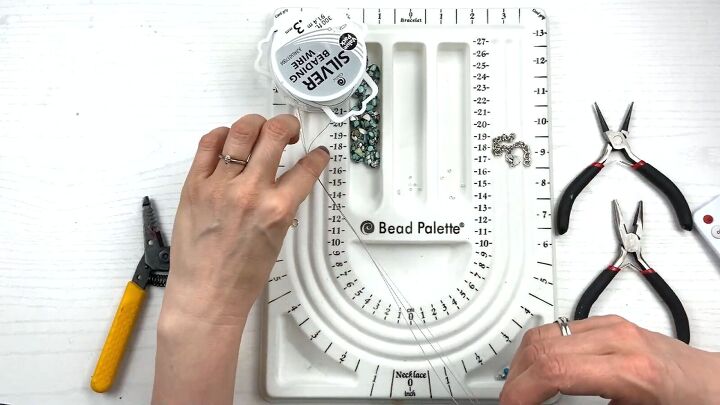
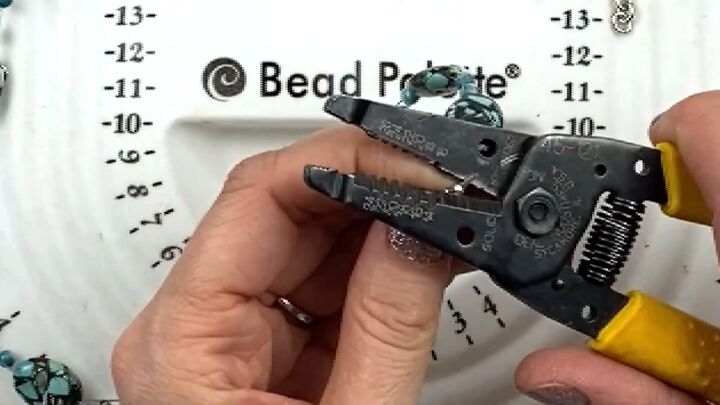
1. Prepare your wire
For the wire, I’m using three strands. Two are 0.3mm and the third is .45mm. It’s fine if you decide to do yours all the same length, I just like to have one big wire.
You can cut your wire, but I like to do this technique where I stack the three spools on top of each other.
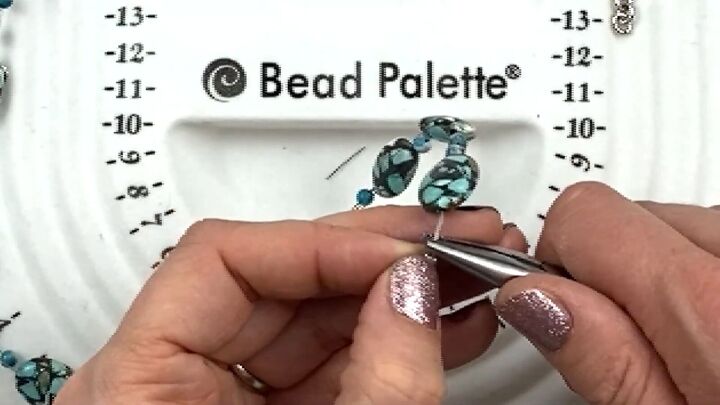
2. Add a big bead
The first bead should be your big bead. Just add the big bead to all three wires and push it all the way down to the end.
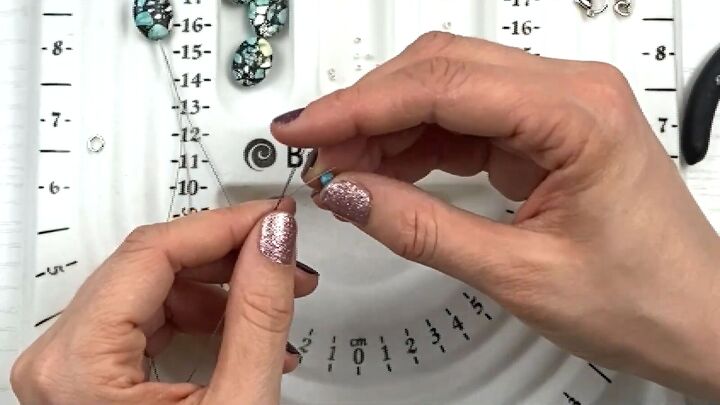
3. Add a small bead
Next, we’re adding a small bead. This time, put the small bead on only two of the wires. The reason I chose to only have one big wire is that the small beads won’t fit on two of the big wires.
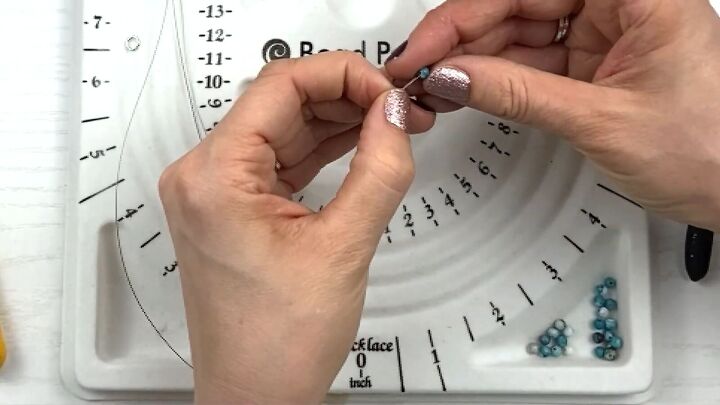
4. Next small bead
Now, for our next small bead, we’re going to combine one of the strands we used for the previous bead and the strand we didn’t (the big one). Add the bead onto these two strands.
5. Repeat
Now, all you have to do is repeat the previous steps. It’s a pattern. So, the big bead has three wires. The next small bead has two wires, and the second small bead has two different wires.
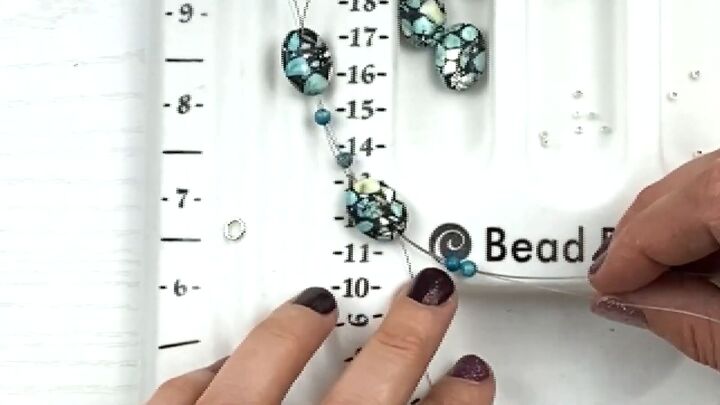
Make sure to change and use different wires, because if you put them on the same wire, they stick together and don’t have the same pretty effect.

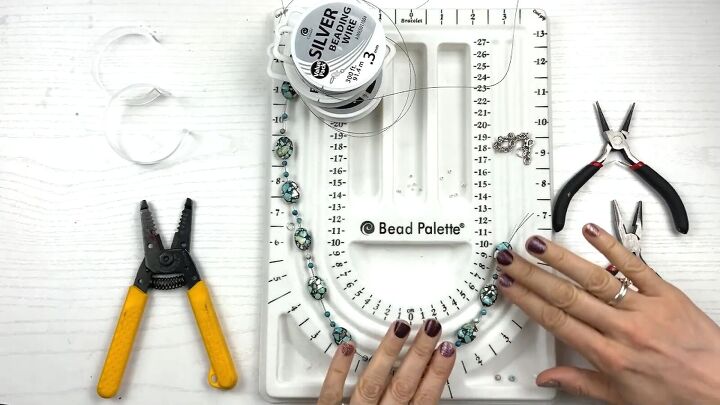
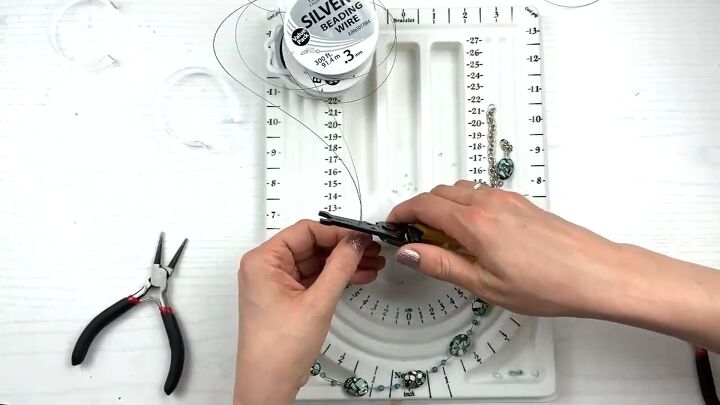
6. Adjust your beads
Before you attach your clasp, make sure your beads are all spread out in a way that you like so you know exactly how much wire you need before cutting.
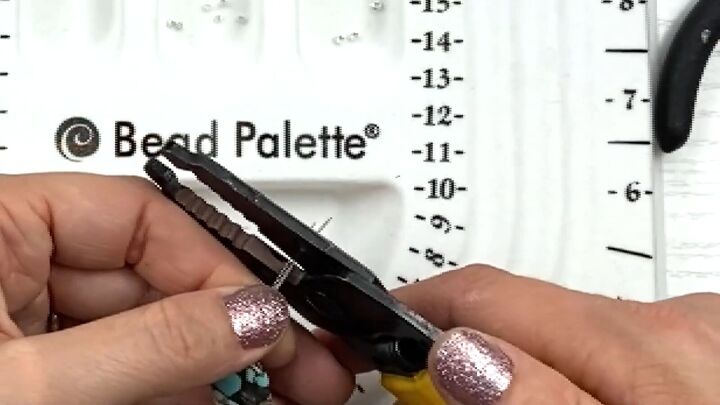
7. Cut the wire
If the ends of your wire are different sizes, cut them to the length of the smallest wire so they’re all even.
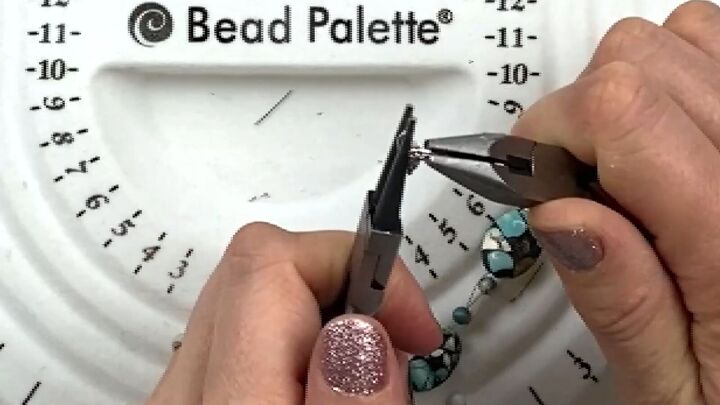
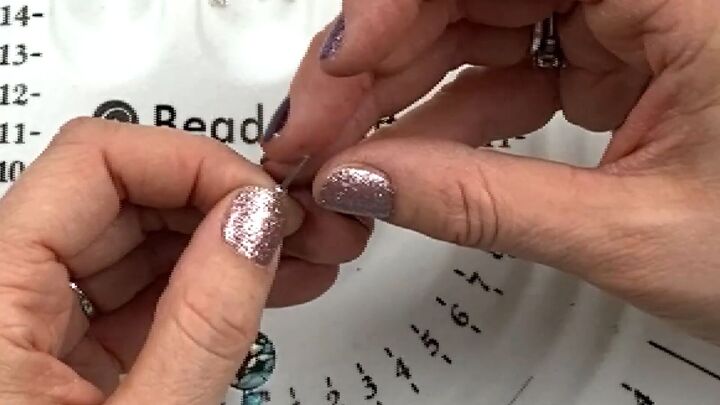
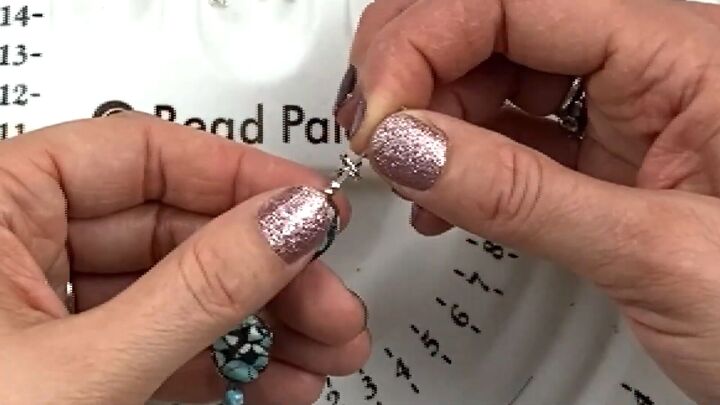
8. Attach the jump rings
Next, we’re going to attach the jump rings to the lobster clasp and the chain. We’re adding the jump rings because the links of the necklace aren’t always sealed tight and it’s less likely the necklace will fall apart if we use jump rings.
Slip it on the lobster clasp and then seal it up so there’s no gap.
Then do the same with the chain.
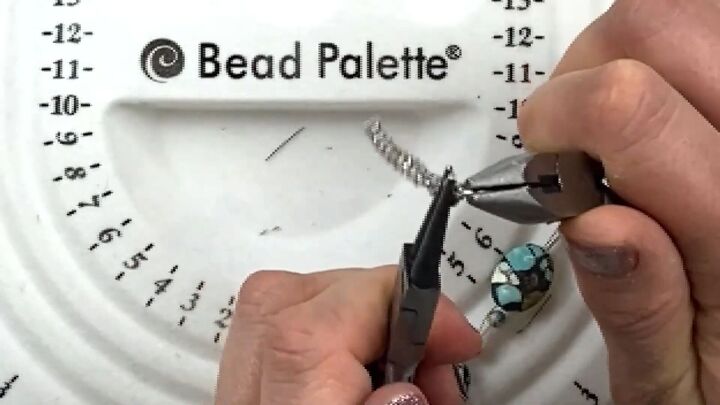
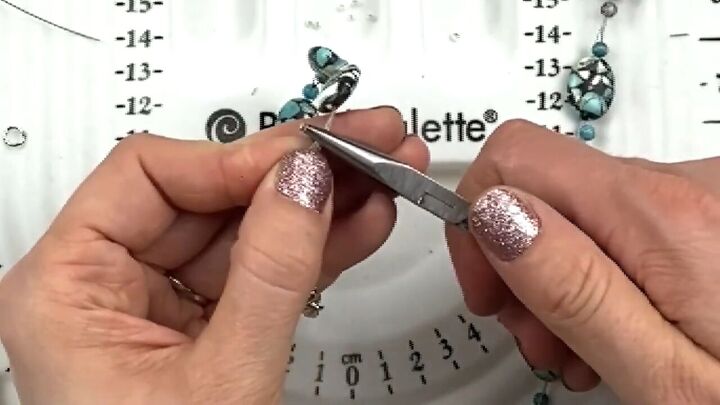
9. Add crimping beads
Now we’re going to add the jump ring attached to the lobster clasp to our necklace with crimping beads. You’re going to need two crimping beads and you want to put one on each side of the wire.
Attach the jump ring and push the wire through the crimping beads. Then, slide on the jump ring, making sure the crimping beads are staying on one side of the jump ring.

Then, bend the wire around the jump ring and push it through both crimping beads.
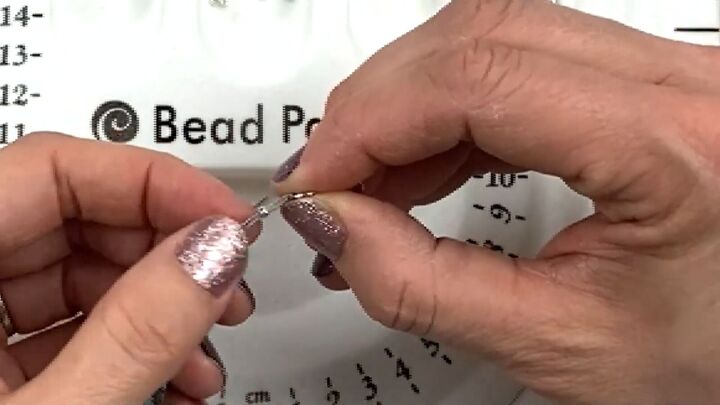
Finally, put the other crimping bead on all three wires.
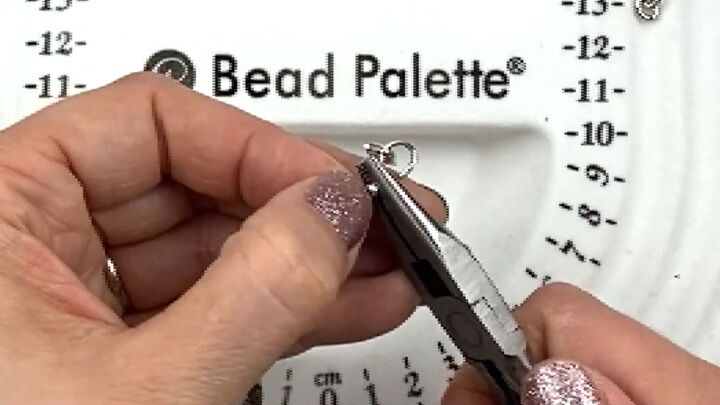
Crimp the first crimping bead, the one closest to the jump ring, so there’s a little bit of give.
Then, cut off the excess wire.
Then, crimp the second crimping bead. I like to do two crimping beads when I have more than one wire.
10. Cut the wire
Make sure that the necklace is spaced out and looks nice, then it’s time to cut off the end of the wire. Cut a good enough amount since we’re going to bend it like in the previous steps.
11. Add the crimping beads on the other end
Follow the previous steps to add the crimping beads to the other end of the wire. The jump ring for this one should be the one attached to the chain.

Floating bead necklace tutorial
Here’s the finished DIY floating bead necklace! It’s so gorgeous and fabulous, and I love it so much.
If you enjoyed this floating bead necklace tutorial, let me know down below. I’d love to know what you think!
The author may collect a small share of sales from the links on this page.


Comments
Join the conversation
This is really pretty! I think I may have to watch the tutorial to really understand how to do it. Thanks for sharing!