Grab Fabric Scraps & Mod Podge For This Fun DIY Fabric Bead Necklace

You may have used fabric before to create your own clothes, but have you ever used it to make jewelry? In this DIY, I’m going to show you how to create a fabric bead necklace.
That’s right, the beads here will be made out of fabric. This DIY does take some time, but I guarantee that the end result is worth every minute. Let’s jump on in!
Tools and materials:
- Mod Podge
- Glue stick
- Fabric
- Toothpicks
- Scissors
- Eye pins
- Clasp
- Chain
- Jump rings
- Sponge
- Ruler
- Ziploc bag
- Pliers
- Round-nosed pliers
- Wire cutters
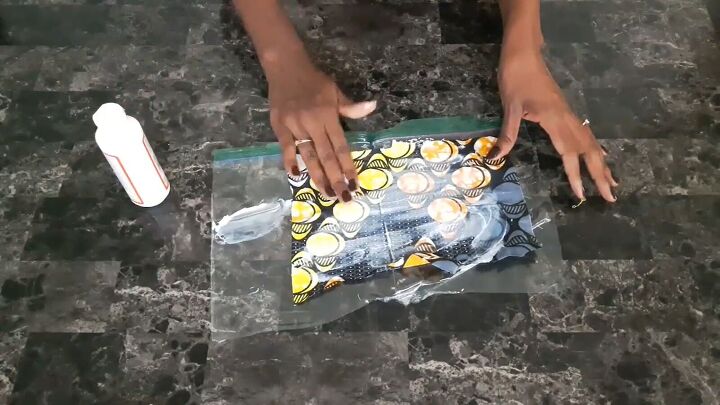
1. Spread Mod Podge on fabric
Start by taking a Ziploc bag and cutting along one of the long sides and across the bottom. Then open the bag up. This is a simple hack that will act as the work surface.
Squirt some Mod Podge down on the plastic surface. Then, using your fingers, smear it over a rectangular piece of fabric. This will make the fabric nice and stiff.
You then want to let it dry for a day.
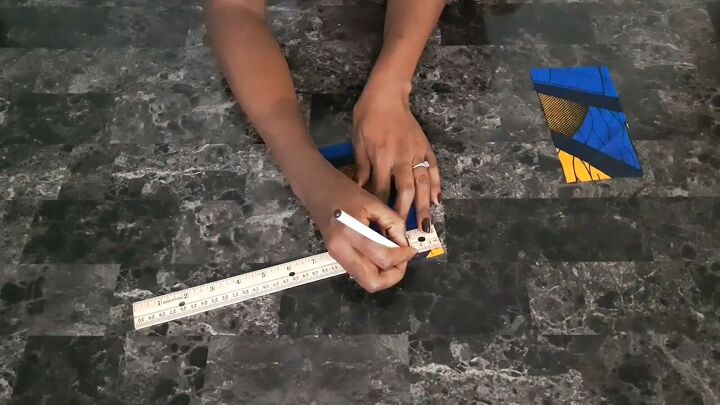
2. Measure and mark the fabric
Once dried, measure your fabric so that it is 16cm (6.3 inches) in length.
Then, with the wrong side of your fabric facing you, mark every 2cm (0.8 inches) starting from 1cm (0.4 inches) on the top edge.
On the bottom edge, mark every 2cm (0.8 inches) starting from 2cm (0.8 inches).
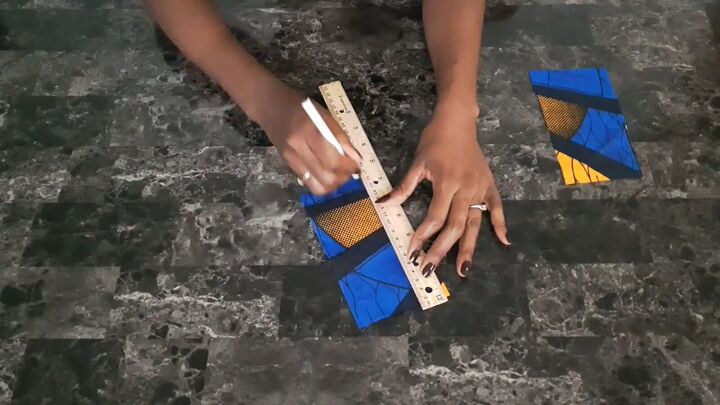
3. Connect the lines
Proceed to draw diagonal lines connecting the points you’ve marked.
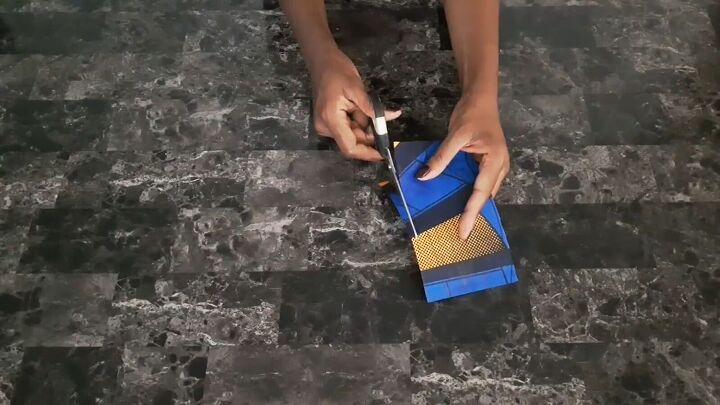
4. Cut
Then cut carefully along the lines. You will be left with triangular strips.
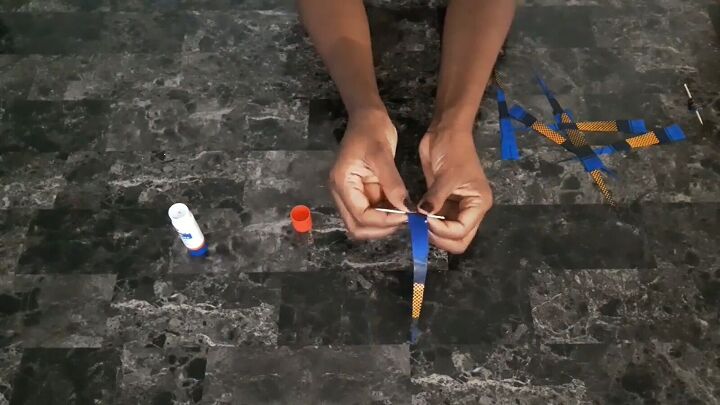
5. Roll the fabric
Take a toothpick and wrap tightly from the top edge of the fabric triangle around it. Place glue on the fabric as you do this. This rolling process will create your beads.
Once done, take some Mod Podge and place it around the outside of the rolled fabric. Doing this will make the fabric stiffen and turn into hard, durable beads.
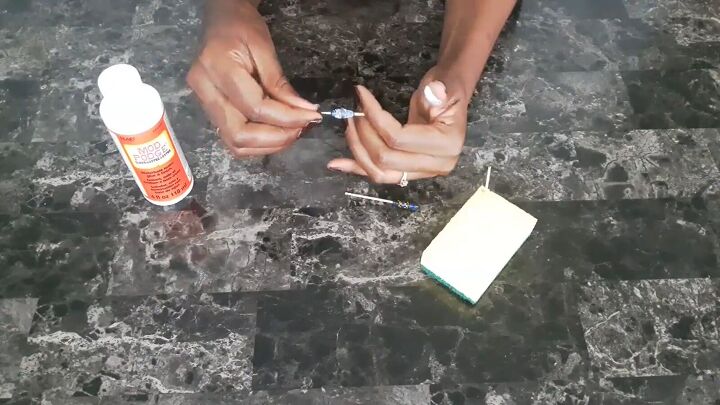
My hack to let the rolled-up fabric dry is to stab the toothpicks into a sponge, and then they can dry while standing up.

6. Put the beads through an eye pin
String the bead into an eye pin. Then, roll up both edges of the pin using the pliers. Proceed to do this for all of your pins.
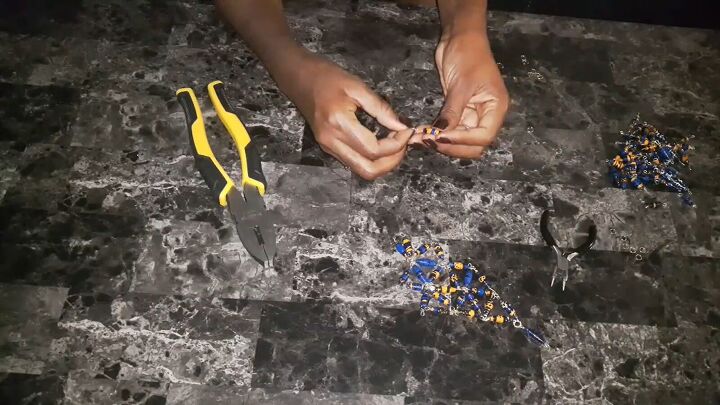
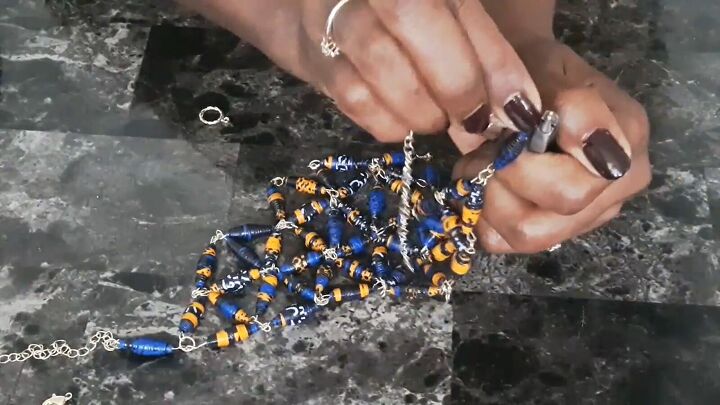
7. Join the beads together
The next step is to take some jump rings, open them up with your pliers, hook three beads through one jump ring, and close the jump rings with the pliers.
Next, take one of the beads from the last step and connect a jump ring and two more beads to the other end. Continue this process by making a tessellating pattern with triangles.
Add three beads to each jump ring, connect them together, and add extra beads where necessary.
You can make the design as big or small as you like.
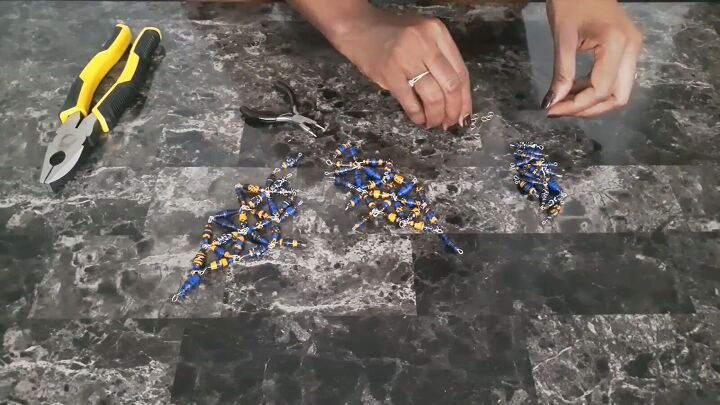
I find it easiest to make two of the same pattern and then join them together in the middle to get a symmetrical design.
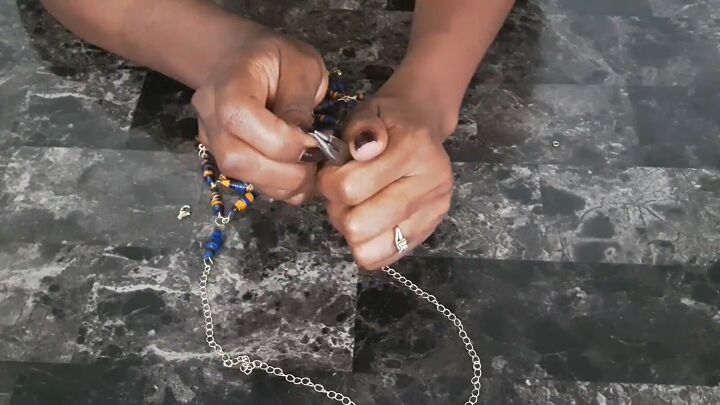
8. Connect the chain
Cut your chain into two equal parts. Open up the end of the chain with the pliers. Attach the chain to either side. Then, close the chain again.
9. Add the clasp
To finish off, put a clasp in a jump ring and attach it to one end of the chain.

DIY fabric bead necklace tutorial
Here we have our finished DIY fabric bead necklace with a gorgeous tessellated pattern. I love how you can transform a simple piece of fabric into a funky and unique accessory.
As I said before, you can design the necklace in whatever pattern you like, so there is flexibility there to do your own thing!
I hope you give this DIY a go.
The author may collect a small share of sales from the links on this page.


Comments
Join the conversation
Great idea! I will have to try this!
What talent, absolutely Beautiful!!!!!! 🤩