How I Upcycled A Goodwill Jumpsuit Into A Cottagecore Look

Greetings, fellow fashion aficionados and sustainability advocates! Join me on a heartwarming journey as we breathe new life into a thrifted Goodwill jumpsuit, transforming it into a whimsical cottagecore treasure. From saying goodbye to shoulder pads to adding a touch of milkmaid magic, this upcycling adventure is a celebration of slow fashion, sustainable style, and infusing your personality into your wardrobe.

Unveiling the Transformation:
Start by assessing your thrifted find. In my case, a dated jumpsuit with shoulder pads, false front buttons, and a worn-out back zipper was the canvas for my creativity. Bid adieu to the shoulder pads and remove any elements that feel outdated or unnecessary. This instantly gives the jumpsuit a more contemporary and relaxed silhouette.
A simple seam ripper made easy work of cutting loose the shoulder pads, false front buttons, and even the label on the inside of the garment. However, you can also small thread snips or scissors to remove any smaller elements of your garment you wish to change. Sometimes it's the smallest things (like swapping out the buttons, for example) that can make a HUGE impact in making a piece all your own.
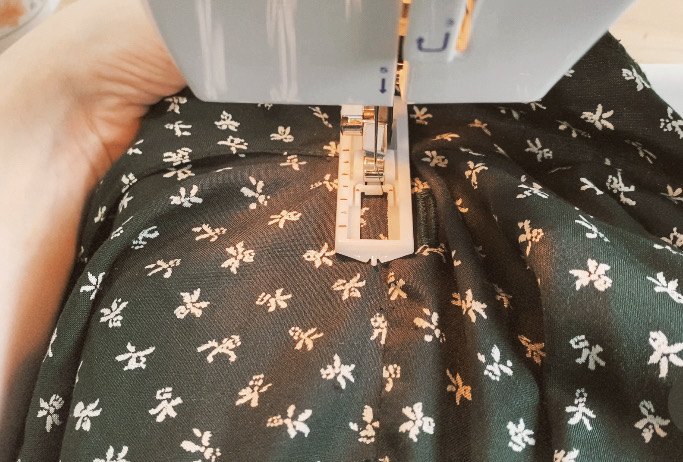
With the shoulder pads, front buttons, and back zipper removed, I was able to recreate the neckline to give it more of a cottagecore, milkmaid vibe. To do this, I started by creating 2 button holes in the front of the garment, making sure NOT to stitch the inside facing. Then, I sewed 2 rows of stitching with the first row being 1/4" away from the top edge of the neckline and the second row being 1/4" below the button holes I had created. Once that was done, I reinforced the stitching at the holes with some fray-check and used my seam ripper to *carefully* trim away at the fabric inside the holes, opening them up.
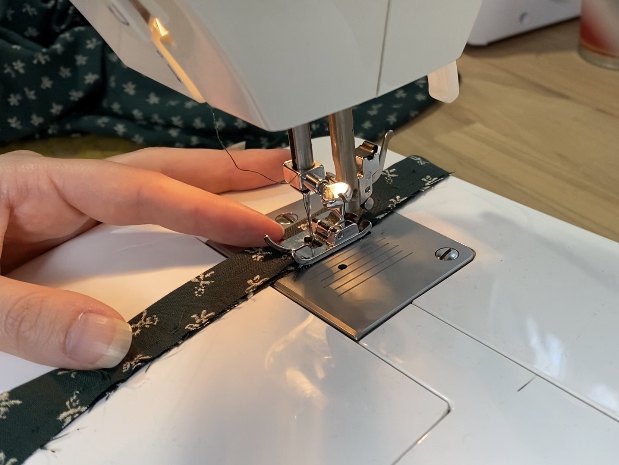
Once that was done I used a strip of excess fabric (takes from the hem) measuring 1 inch wide, folded it in half with right side facing, and sewed along the opened edge.
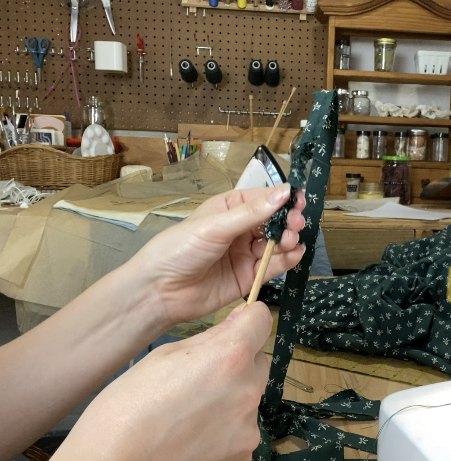
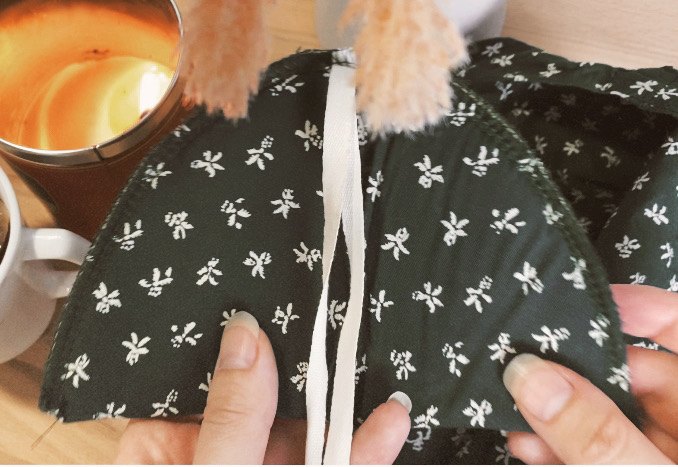
Then I used a long knitting needle to help me turn the fabric tube right side out and sewed my opened edges closed. This created the strip of fabric I used as the tie at the new neckline. I attached the fabric strip to a bodkin (you could also use a safety pin) and fed the fabric through the channel I had created at the neckline. The end result looked like this:
Lastly, my jumpsuit was originally 4 inches too long for me, so I cut off the excess and adjusted the hem by folding the fabric edges up 1/4" twice, pressing, and sewing along the opened edge.
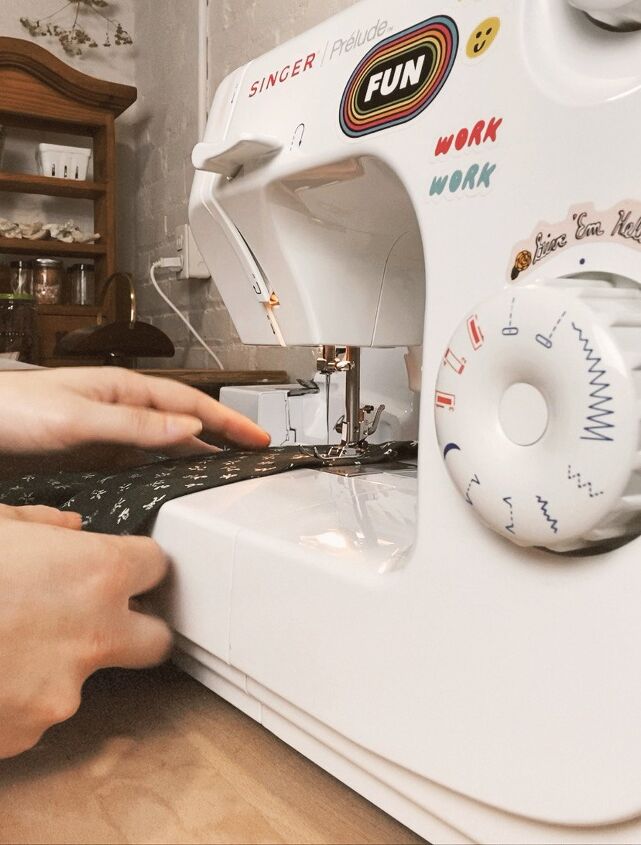
If you're brand new to flipping or refashioning old/thrifted clothing, hemming is a great place to start. It takes only a little skill to master the technique quickly and can make a world of difference to a garment. Once you get this skill under your belt, there's nothing standing in your way from completely transforming piece after piece for an entirely sustainable wardrobe!
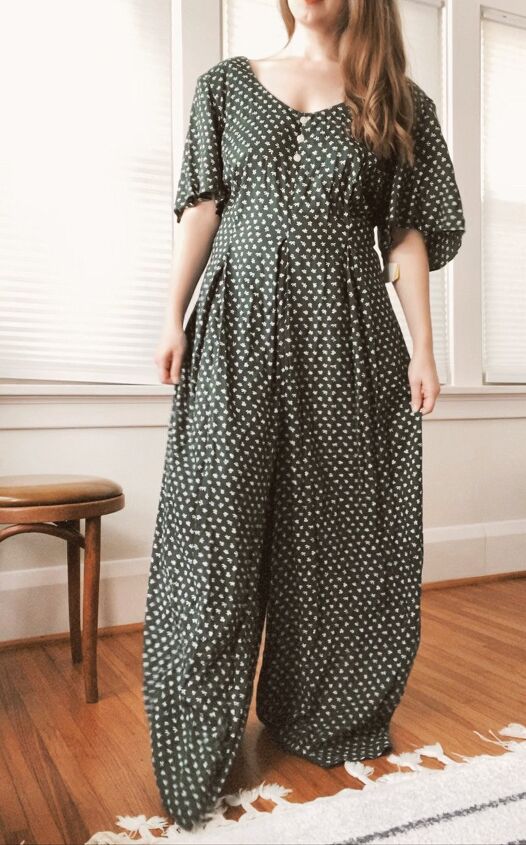
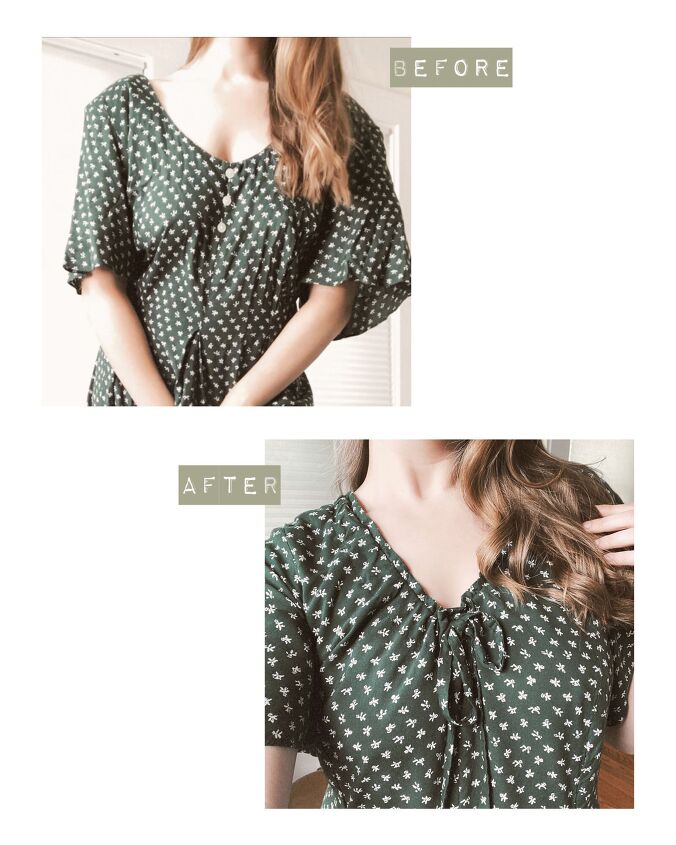
A little reminder of the "before"...

...and here's the "after".
So there you have it, an enchanting journey of turning a dated jumpsuit into a cottagecore marvel. Through careful alterations and a sprinkle of creativity, I've not only crafted a charming ensemble but also embraced the essence of slow fashion and sustainable style.
Remember, fashion is a canvas, and with a little imagination, you can paint a masterpiece that speaks to your heart while preserving our beautiful planet. 🌼🌿🌸
Happy Making!
-Caley
The author may collect a small share of sales from the links on this page.


Comments
Join the conversation