How to Create a Super Cute Leather Friendship Bracelet

Today, I’m going to show you how to make leather friendship bracelets.
I’m going to take you through it step by step and tell you how to braid the leather. I just love these friendship bracelets. They are a fun gift for friends, and you can make them for yourself. They’re so simple to make which is great because you will want to make a ton of them once you see how easy they are to make.
I’m using magnetic clasps because they’re easier to take on and off, but you can use any clasp you want. Just don’t forget to match the width of the clasp with the width of the cord. All right. Let’s get started!
Tools and materials:
- Leather cord: 1.5 mm
- Magnetic clasps: 8 mm diameter
- Epoxy glue
- Scissors
- 2 clips
- Cardboard
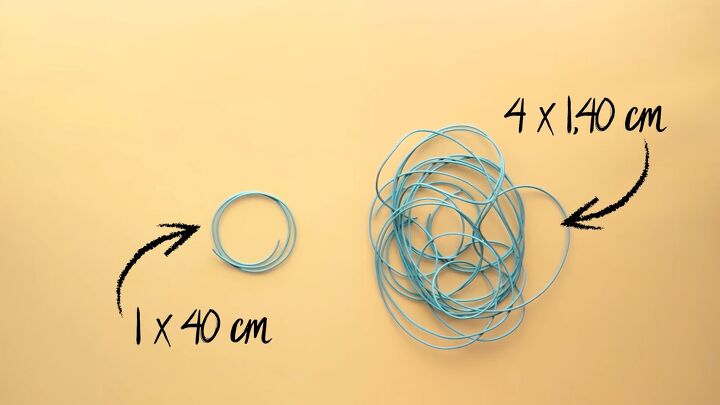
1. Measure and cut the cords
Start by cutting 4 cords measuring 140 centimeters (55 inches) and one small cord at 40 centimeters (15 Inches).
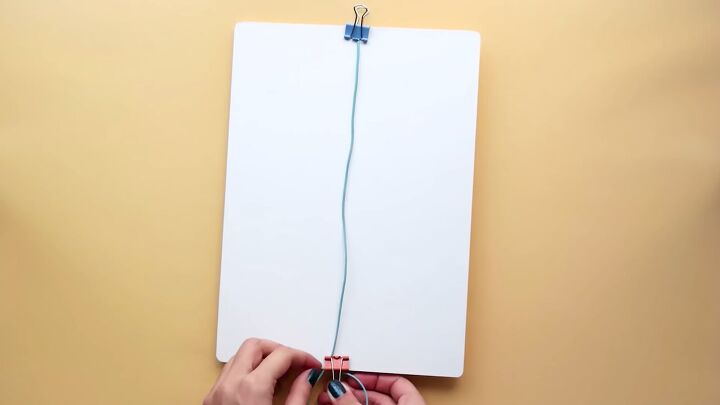
2. Clip to a board
Clip both ends of the small cord onto a piece of cardboard to hold it.
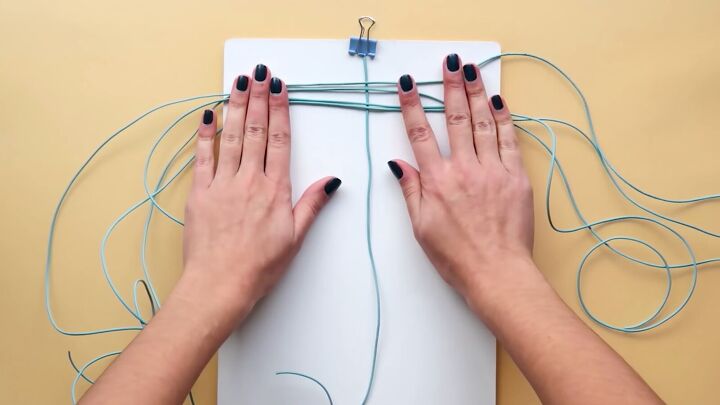
3. Line strings up in place
Take the 4 long cords and hold them together with the ends lined up to each other and fold them over to find the center.
Place the centers of all four cords across the top of the clipped strings. Hold them in pairs about a centimeter apart.
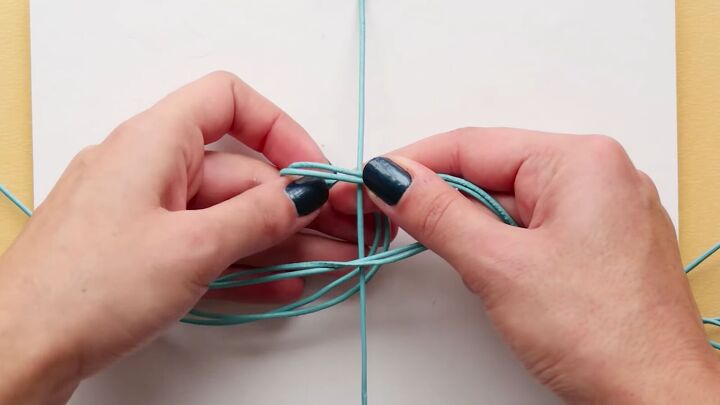
4. Start the braid
Take the top left cords, bring them under the clipped cord and wrap them back around to the left crossing it over the bottom two cords.
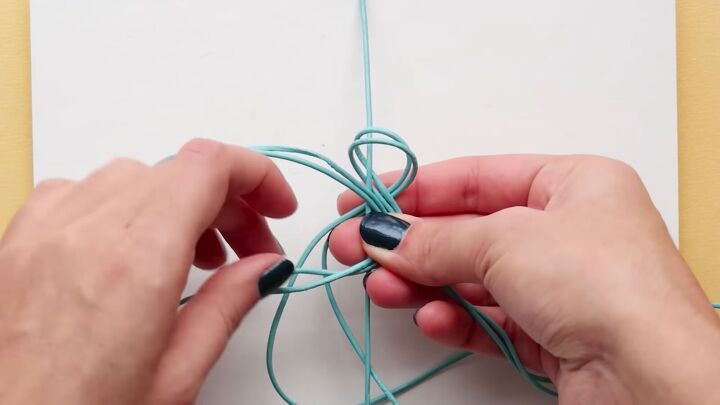
Then take the top right cords, bringing them under and through the two pairs of cords on the left.
Then cross them over the cords at the bottom.
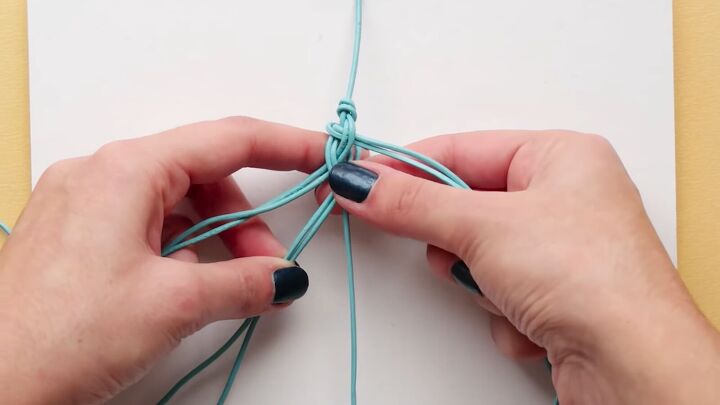
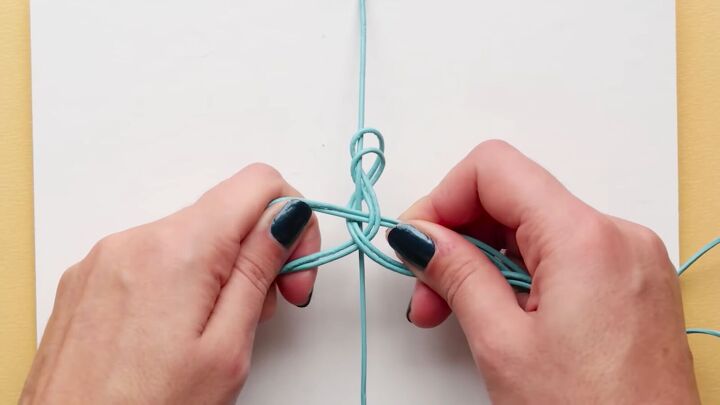
5. Repeat the steps to complete the braid
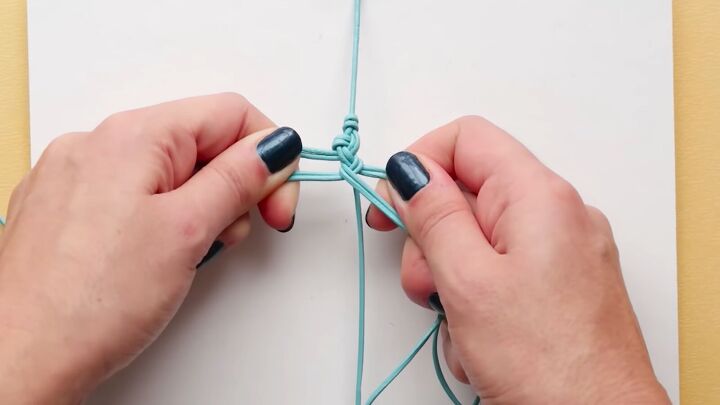
Tighten it up and repeat the process.
Tighten again and continue to repeat the process all the way down.
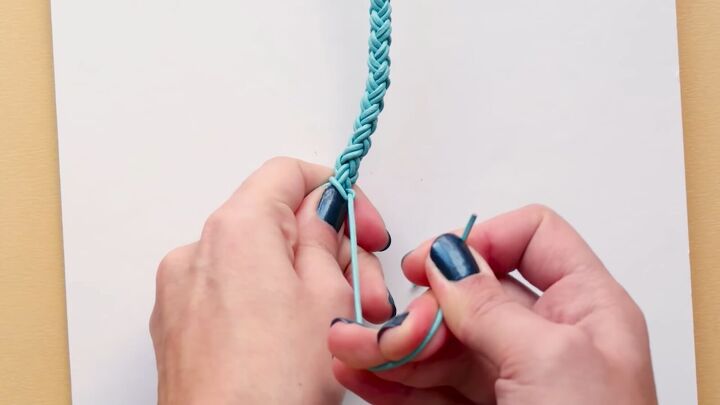
6. Tie the bracelet closed
Once the bracelet is long enough, take one cord and tie it around the rest to keep everything in place.
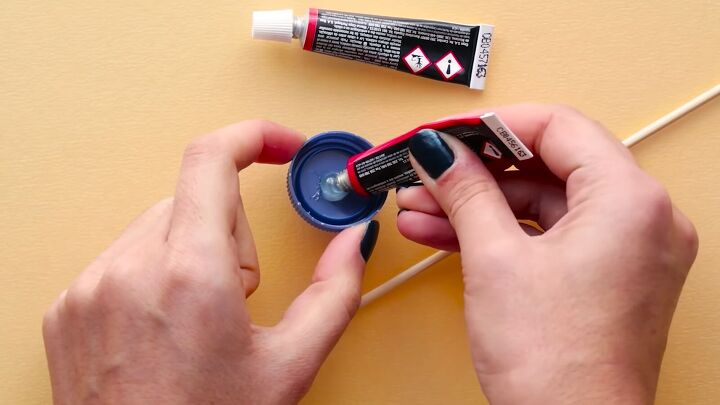
7. Attach the closure
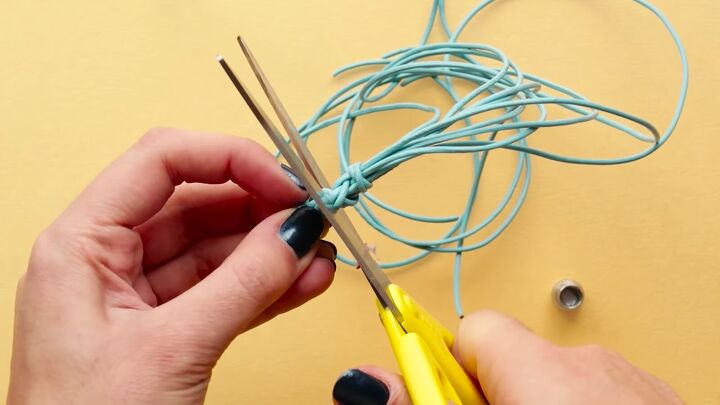
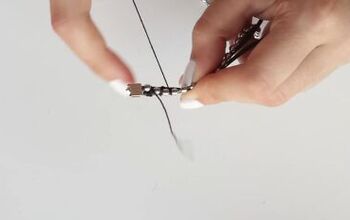
Cut the ends of the bracelet. Next you have to attach the closure pieces.
I like to use epoxy glue to attach the closure, but you can use whichever glue you prefer. Just make sure it’s a strong holding glue.
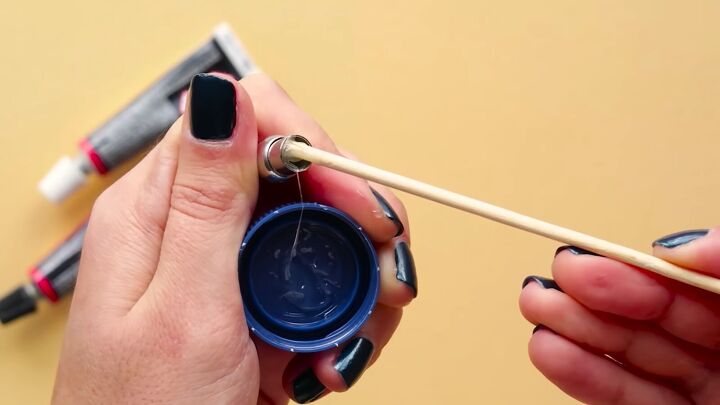
Fill the insides of the clasp with glue.
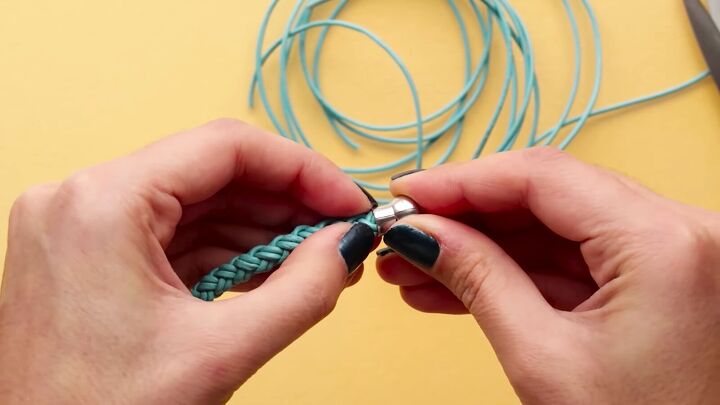
Then place the ends of the bracelet and place them into the closures.
8. Let it dry
Leave it to dry overnight and it’s ready to wear.
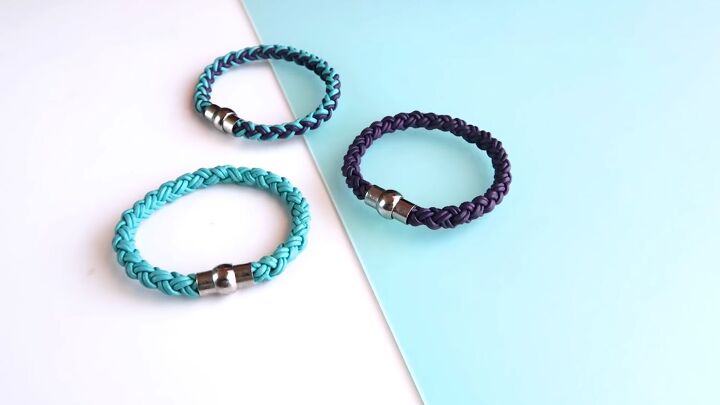
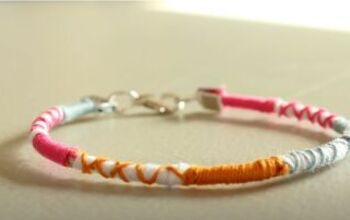
Leather friendship bracelet
Isn’t it gorgeous? It looks like a store bought item.
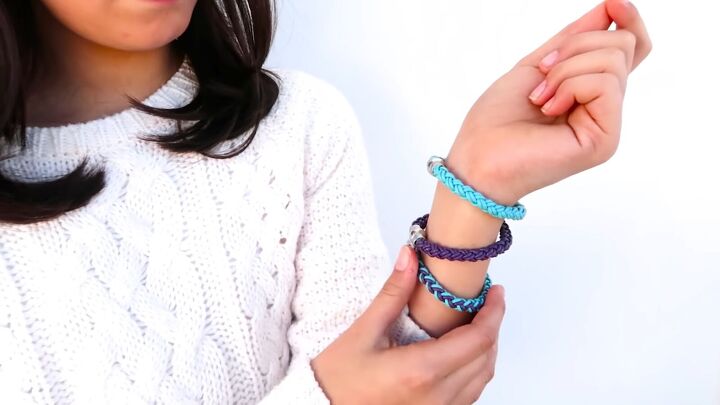
It feels so good to be creative and make things you can wear proudly. I love the way they looked stacked together, wearing 3 or 4 at a time.
I used the same color for the tutorial, but it can also be really fun to play with colors. Now that you’ve seen how easy it is you can experiment and make one for everyone you know.
Let me know how yours came out in the comment section.
The author may collect a small share of sales from the links on this page.


Comments
Join the conversation