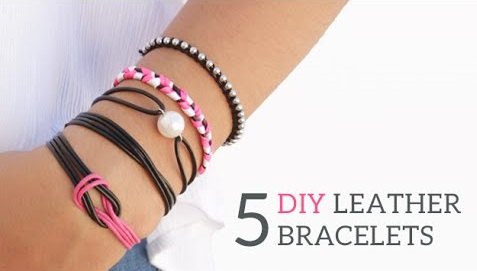
5 Super Cute DIY Leather Friendship Bracelet Ideas

Learn how to make these 5 styles of easy leather friendship bracelets to give to your friends or to keep for yourself!
Each DIY bracelet should only take 5-10 minutes. So, without further ado, let’s get started.
Tools and materials:
- Scissors
- Glue
- Measuring tape
- Clipboard
- Curved and straight pliers
- Ribbon bracelet-
- 40” leather cord
- 2 pieces of thin ribbon of different colors, 30” each
- 1 Button
- Pearl bracelet-
- 20” leather cord
- Wire
- Pearl bead
- 2 Crimp ends
- Lobster clasp
- Chain
- Twisted bracelet-
- 35.5” leather cord
- 2 Crimp ends
- Lobster clasp
- Chain
- Knotted bracelet-
- 2 strands of leather, each 20” (preferably 2 colors)
- 2 Crimp ends
- Lobster clasp
- Chain
- Leather and chain bracelet-
- 20” leather cord
- Ball chain
- 2 Crimp ends
- Crochet Thread
- Lobster clasp
- Chain

Ribbon bracelet
1. Set it up
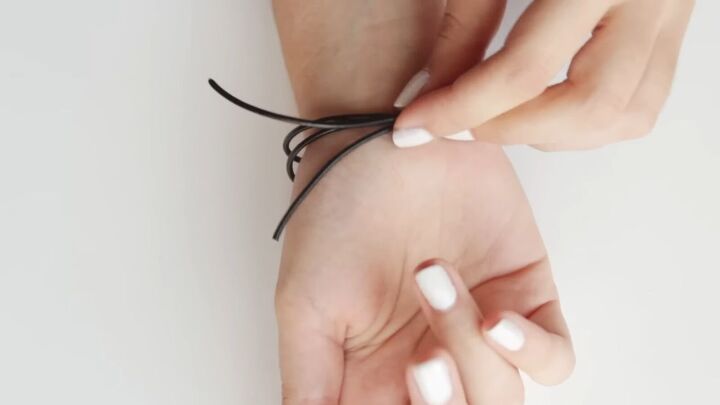
Fold 40” of leather cord in half and use a clipboard to hold it in place. Next, grab 2 ribbons, each 30”, and tie them together at the top of the cord. Make sure to leave enough space for the button closure.
2. Weave the ribbons
Take both ribbons and weave them over one cord, and then over the other (See video 2:00-2:12). Adjust the ribbons as you go to make sure that both colors are showing.
3. Tie and add a button
Once the bracelet is long enough, tie the ribbon around the leather.
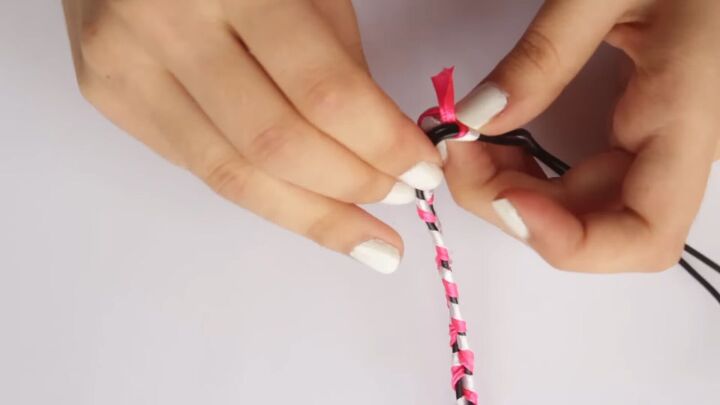
Then, thread the cords through the button, make a knot and cut the excess cord.
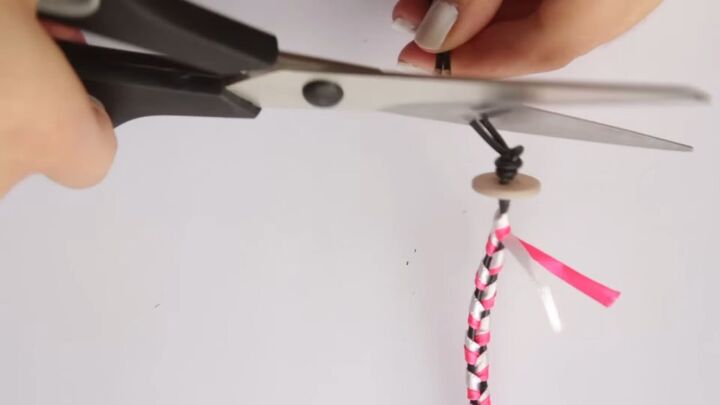
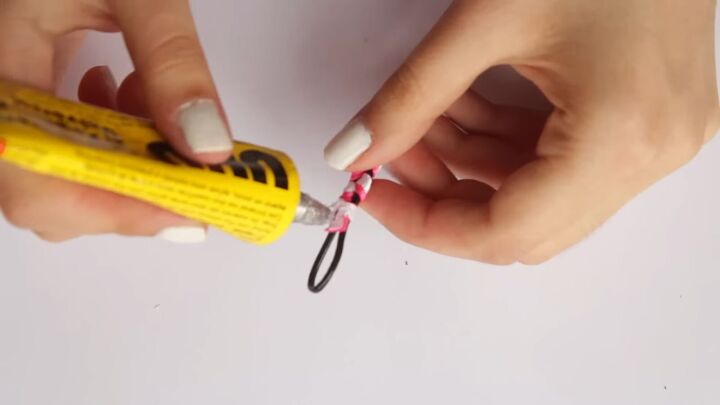
Lastly, cut the excess ribbon and apply a drop of glue to the ribbon ends. This ensures that they don’t come apart and prevents fraying.
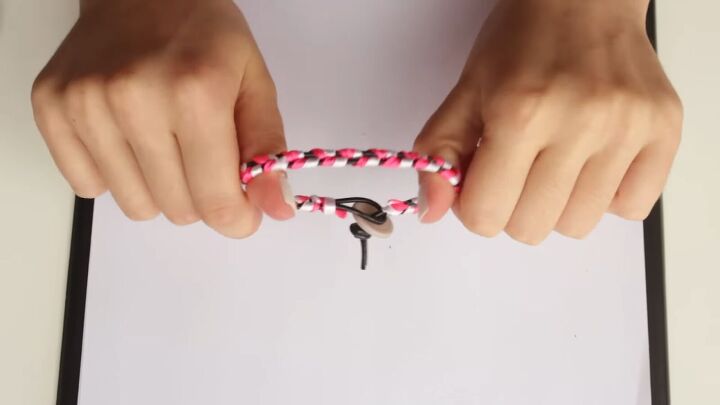
Your first leather friendship bracelet is ready!
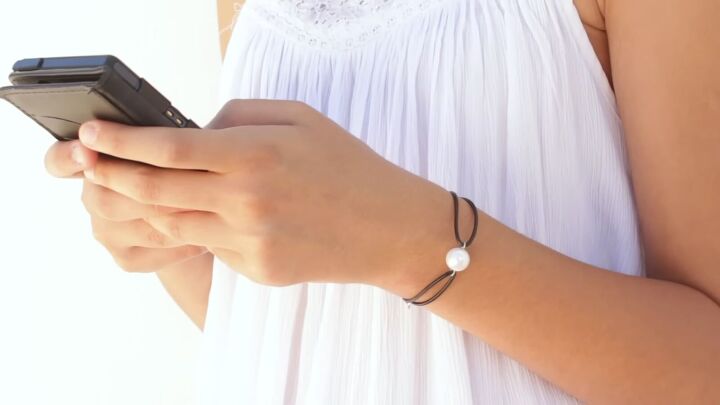
Pearl bracelet
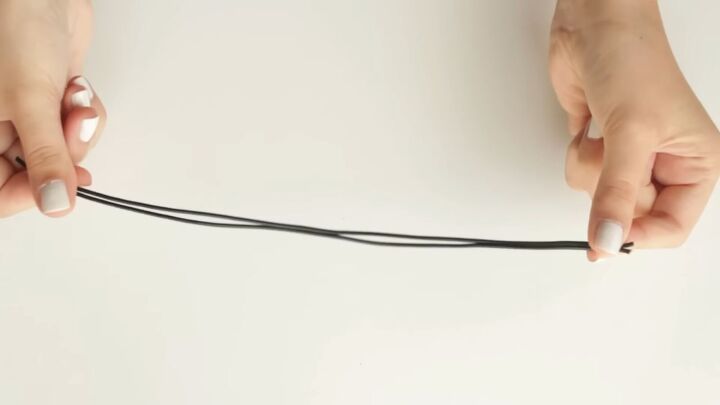
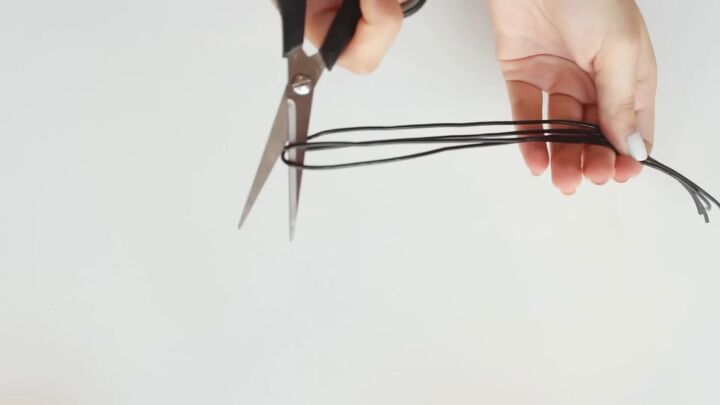
1. Cut the cord
Cut your 20” leather cord in half and set aside.
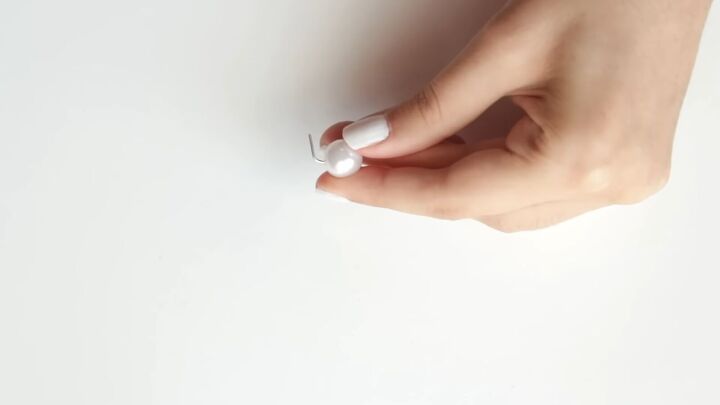
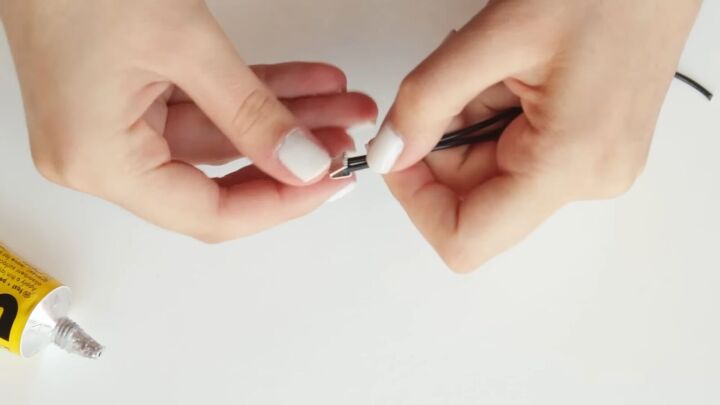
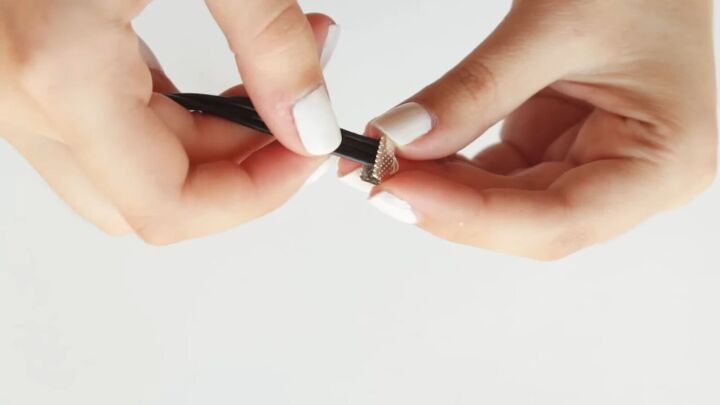
2. Cut the wire and add the pearl bead
Using pliers, cut a small piece of wire, about 1.5-2” and thread it through the pearl bead. Now, bend the wire at a 90° angle.
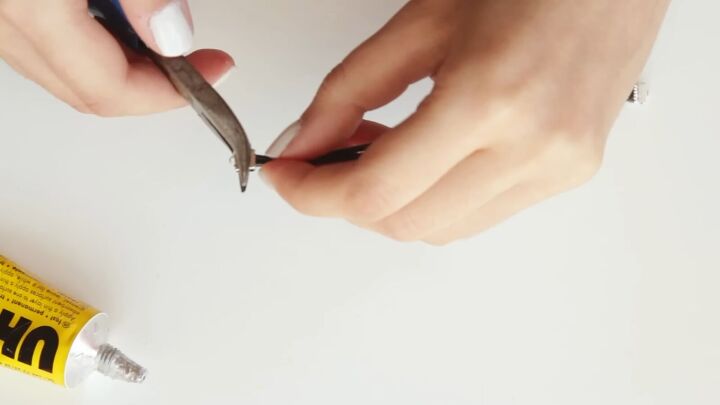
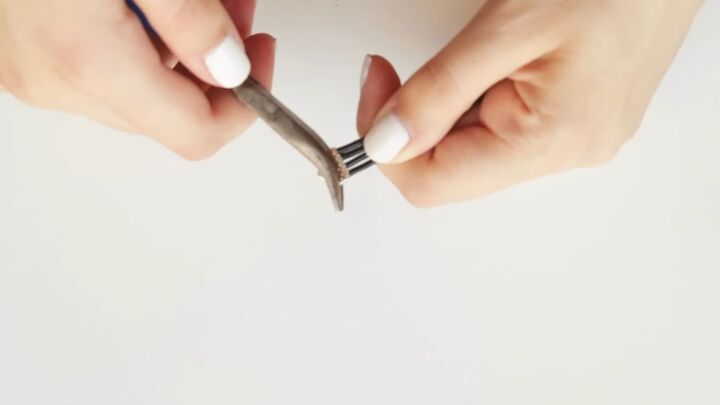
3. Create two loops
With the pliers, wrap the wire in the opposite direction to create a loop.
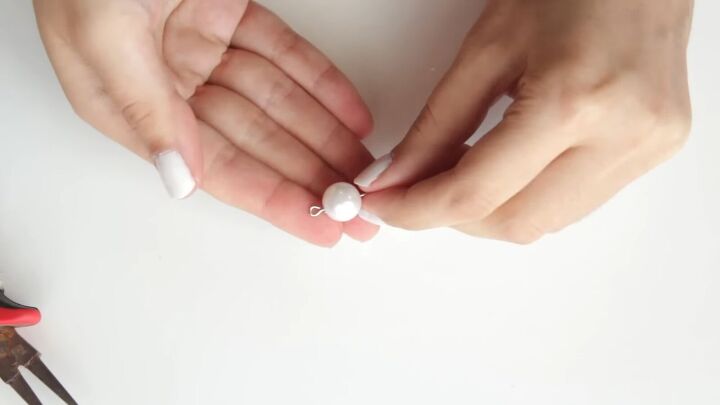
Do the same for the other side.
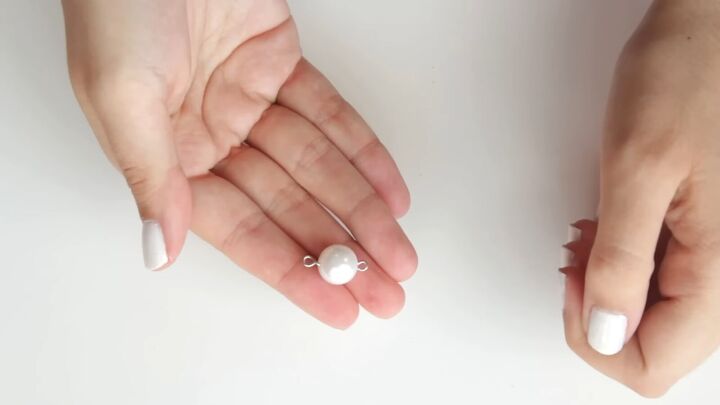
4. Thread the cords
Thread one piece of cord through each loop and bend them.

5. Cut excess
Measure on the wrist and cut the excess cord.
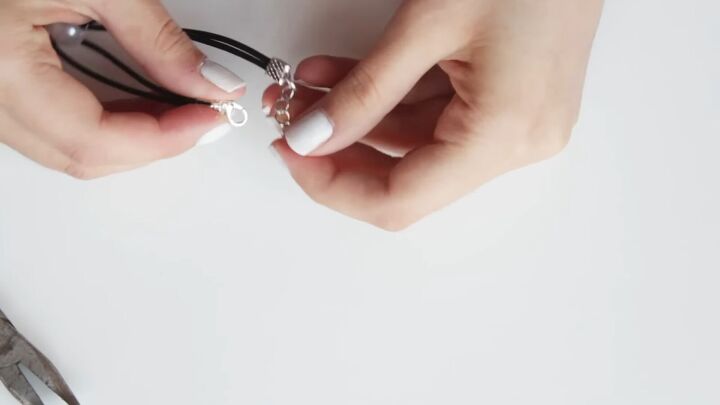
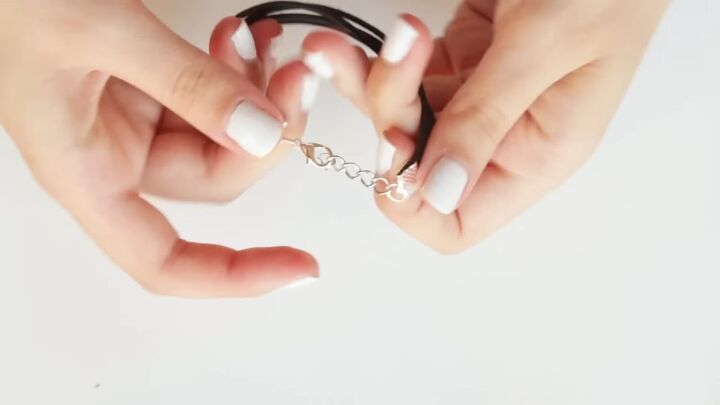
6. Attach clasp pieces
Put a drop of glue at the end of one side of the cords and apply your first crimp end.
Close it with a plier and repeat for the other side.
Using your pliers, attach a small piece of chain to one of the crimp ends for the option of adjusting the size later.
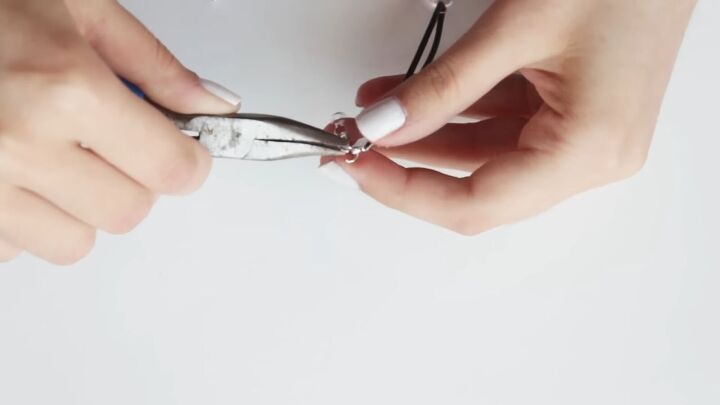
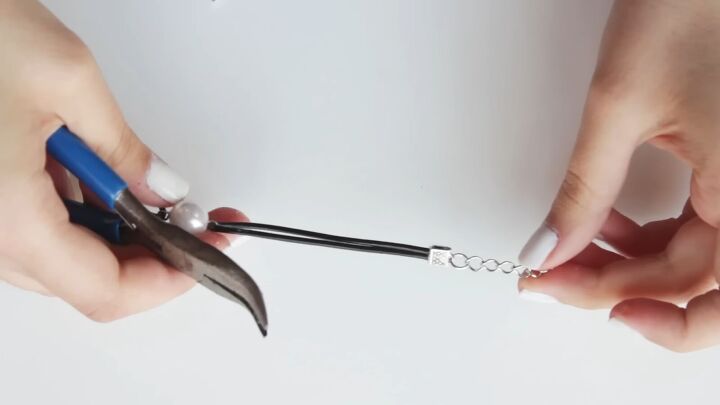
Attach one jump ring and the clasp to the other crimp end.
Here’s the DIY leather and pearl bracelet:
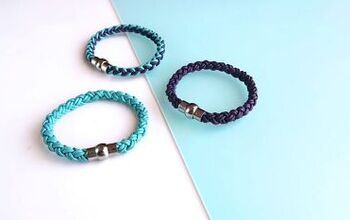
Twisted bracelet
1. Divide your cord into 4
Grab a 35.5” piece of cord and cut it into 4 equal parts.
2. Attach a crimp end
Attach the ends of one bunch of the cords to a crimp end using a dot of glue. Close it with pliers.
3. Adjust and twist
Cut the cords to fit your wrist. Then, make the twist by bringing 2 of the cords to the opposite side.
4. Attach the second crimp end
Make sure the other ends are even. Then, secure with another crimp end with glue, pressing with your pliers.
5. Attach the clasp and chain
Lastly, attach a jump ring, clasp and chain, and you’re done!
Here’s the twist leather bracelet:

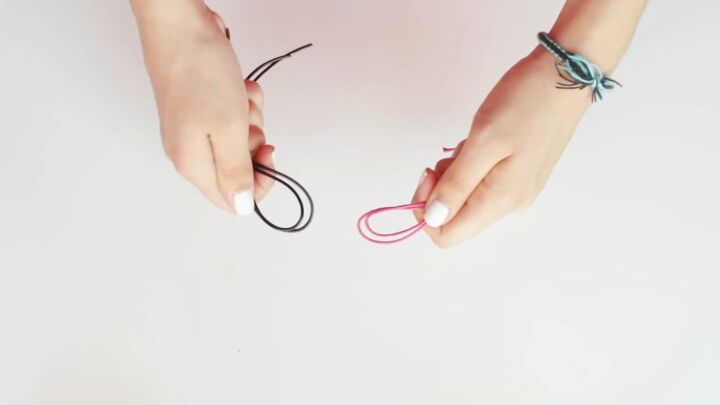
Knotted bracelet
For this bracelet, use leather cords of two different colors for contrast.
1. Cut and loop
Cut each cord in half, then fold each color in each hand, making a loop.
2. Make the knot
Then, thread the black cord through the pink cord.

Bring the ends of the pink cord through the black loop.
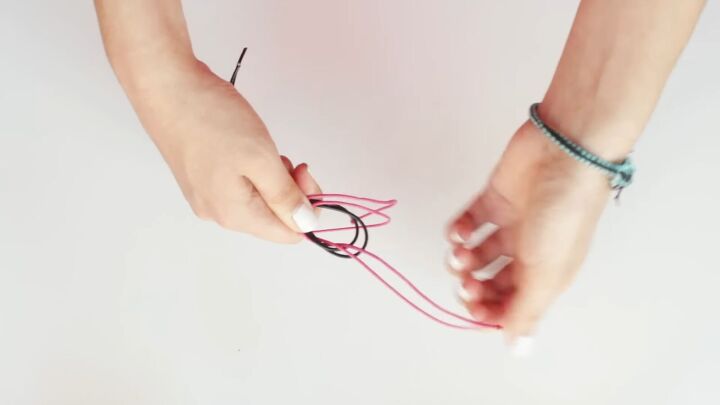
Pull them loosely.
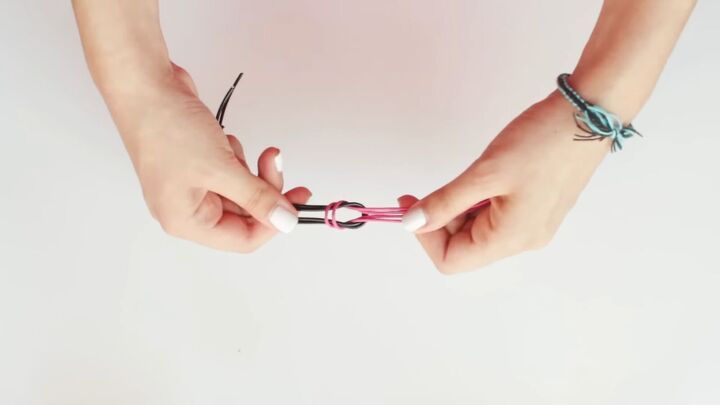
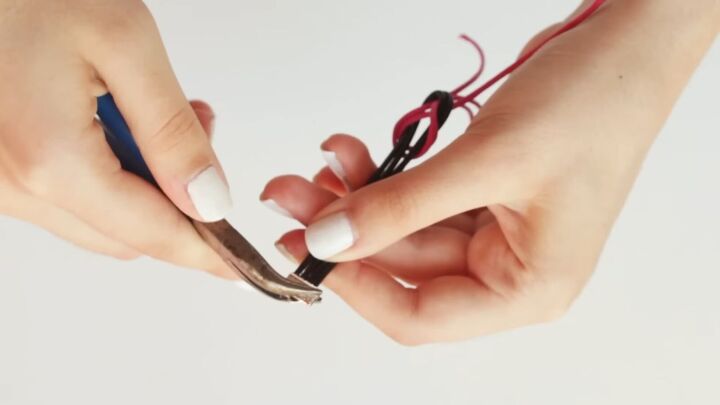
3. Adjust and attach clasp pieces
Measure on your wrist and cut the excess cord. Then attach the crimp ends with a dot of glue and pliers.
Then add the jump ring. Add the second crimp end, chain and clasp on the other side.
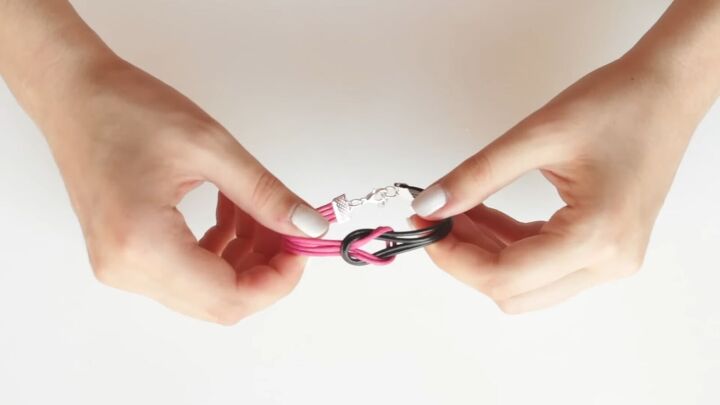
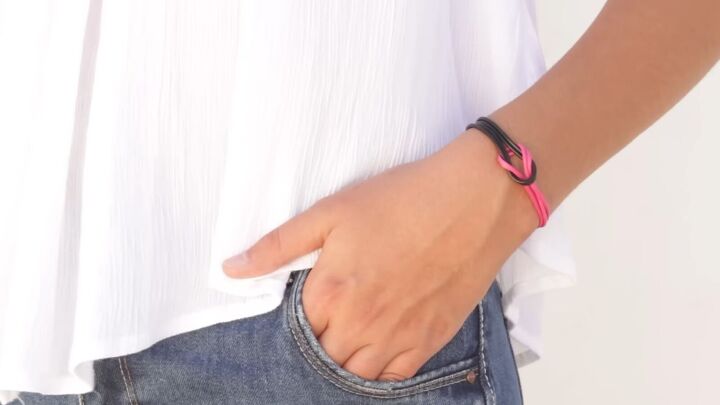
Now your fourth leather bracelet is complete!
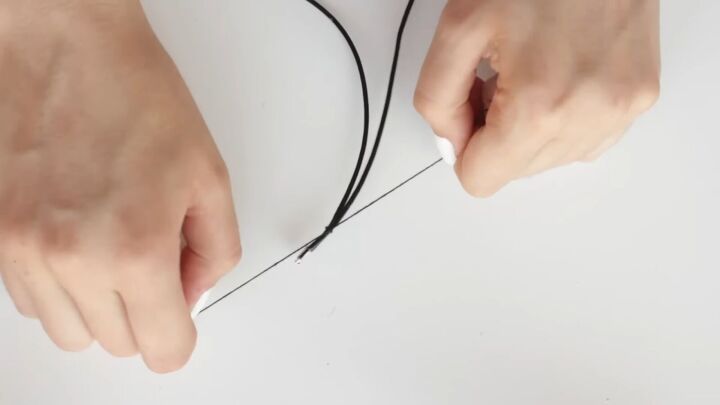
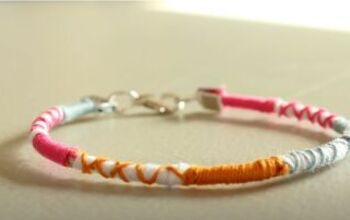
Leather and chain bracelet
1. Cut cords and add one crimp end
Cut a 20” piece of cord in half, then attach a crimp end to one side.
2. Cut and attach thread
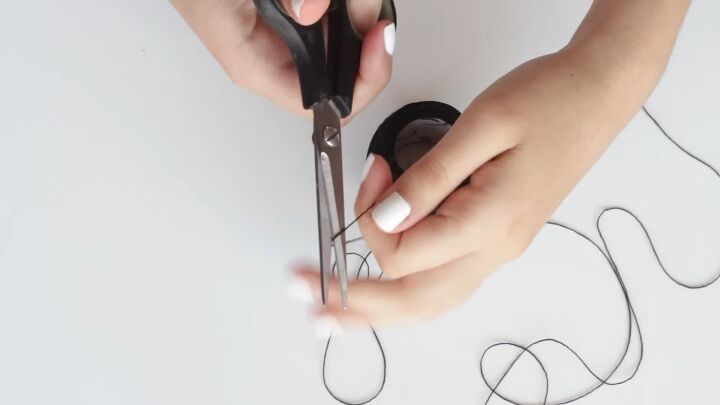
Cut about 35” of thread.
Tie the thread at the top of the leather cord.
3. Tie on the ball chain, then wrap
Tie in the same place a small piece of ball chain, making the knot in between the first and second ball.
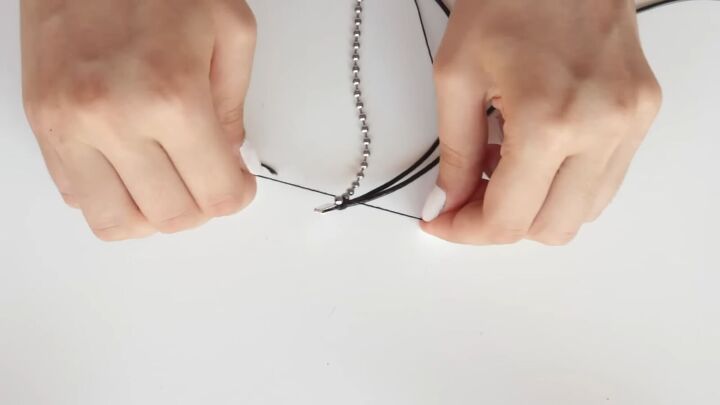
Now, wrap the thread around the bracelet, making sure the chain sits between the two leather cords.
Once you’ve reached the end, tie the thread.

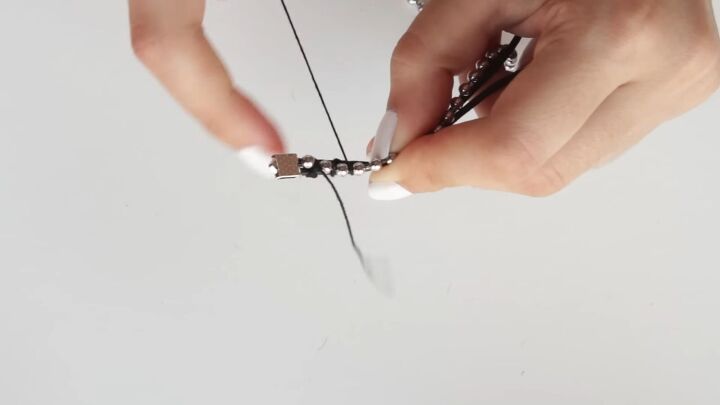
4. Attach closure pieces
Cut the excess thread and cord, then attach the crimp ends and closure pieces (you’re an expert now!).

And it’s done!
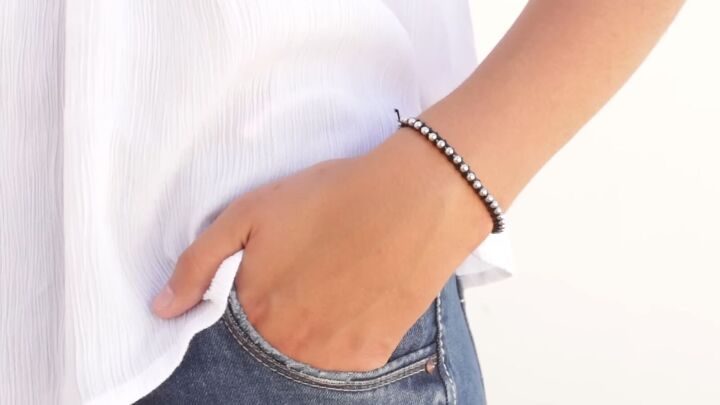
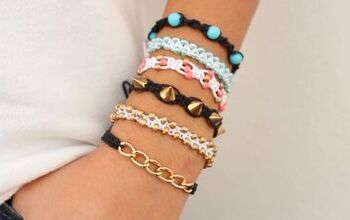
What do you think? I really like how these leather friendship bracelets turned out.
I’m a fan of the minimalistic style. Let me know in the comments below which one is your favorite! Who do you plan to gift these DIY bracelets to?
The author may collect a small share of sales from the links on this page.


Comments
Join the conversation
These are so pretty!
A wardrobe of easy made bracelets. Great for kids.
Boys like some models, too.