How to DIY a Super Cute and Easy Wrap Friendship Bracelet

Hi guys! Today, I’m going to show you how to make a wrap friendship bracelet.
This is a great project and it’s actually very calming to do this repetitive wrapping motion.
This bracelet makes a great gift and is super easy, so you’ll probably end up making one for everyone you know. Let’s get started.
Tools and materials:
- 4 colors of thread
- Tape
- Scissors
- Ruler
- Crimp ends
- Clasp
- Jump rings
- Pliers
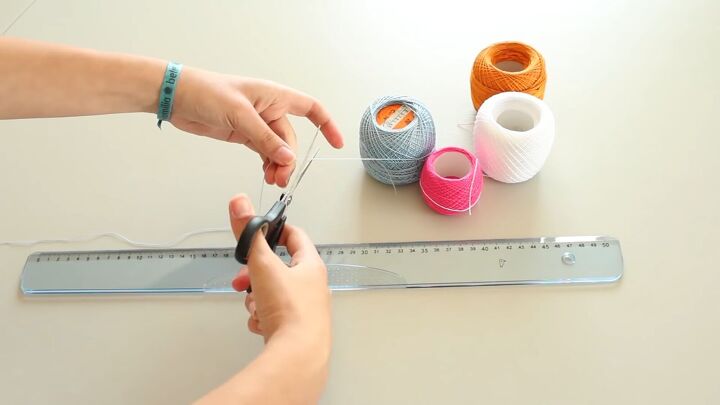
1. Cut your thread
Pick 4 colors you love and cut 4 strings of each, 75 centimeters (29.5 inches) in length.
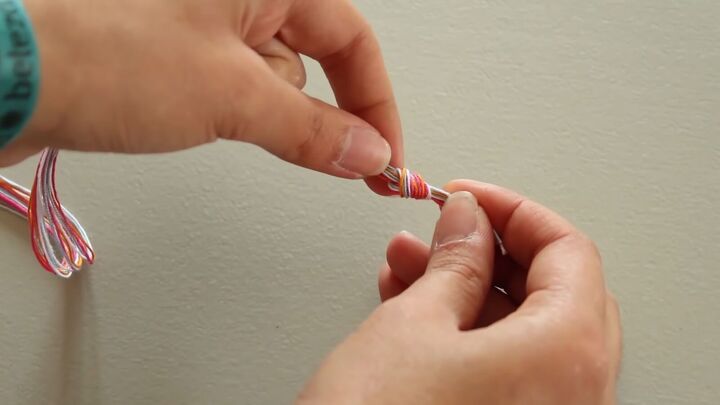
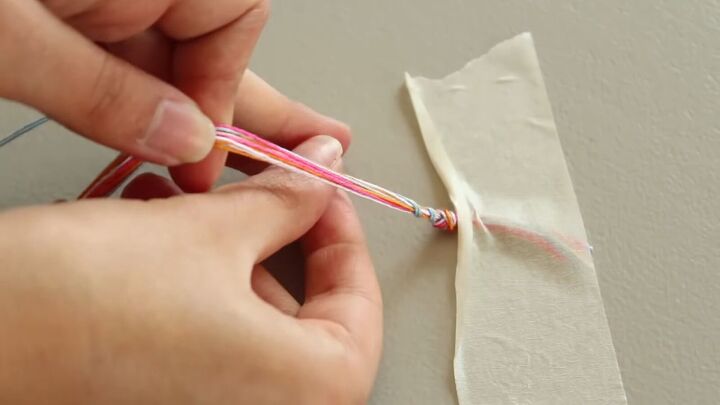
2. Knot the top
Put all the strings together and tie a knot at the top.
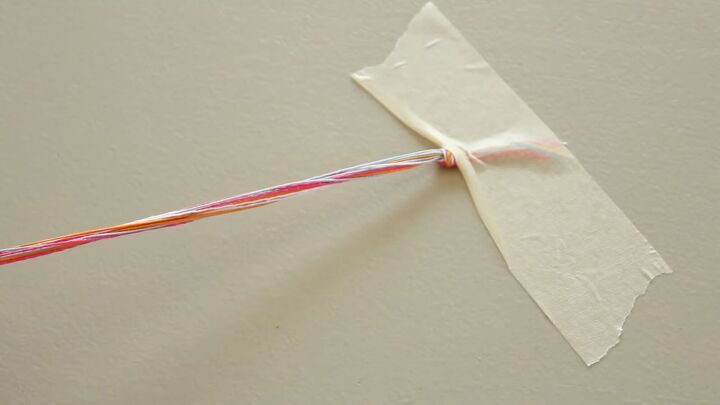
3. Tape it down
Tape the strings down from just above the knot on a steady surface.
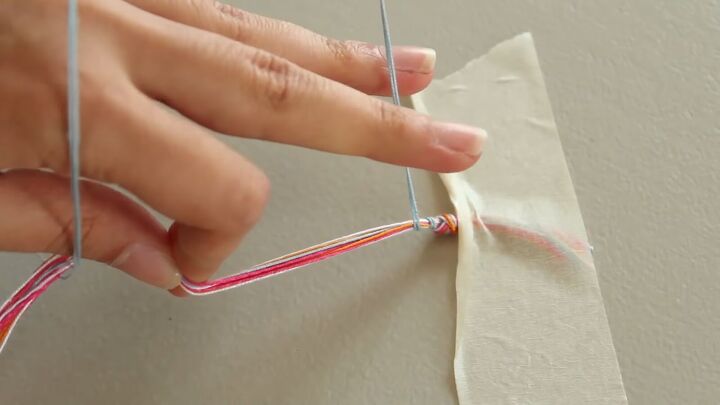
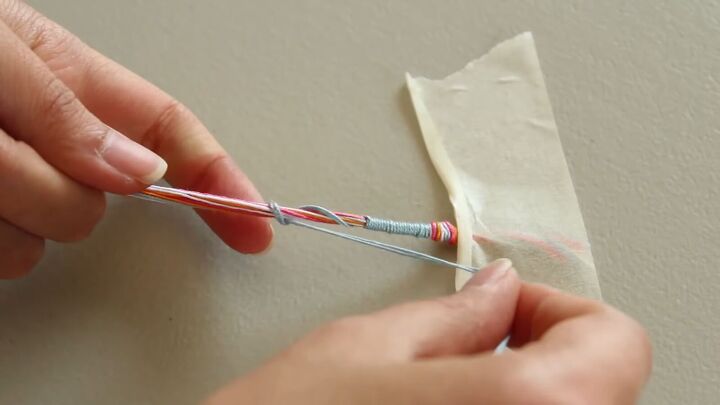
4. Begin wrapping
Take two strings of the color you want to start with and wrap them around.
Hold the two strings in your right hand, between your pointer and your thumb. Hold the rest of the strings in between your left pointer and thumb.
Pass the two strings over the top and grasp them with your left middle and ring finger to keep the looping tight.
Wrap them under, passing them to the right hand again. Wrap it 18 times, as neatly as you can. Then wrap it around one more time and tie a knot.
If you lose your grip while you’re wrapping the string and it uncoils a bit, just tighten it up again by pulling the string and shifting the loops neatly back into place.
When you tie the knot, make sure to slide it up into place so it looks like part of the color block.
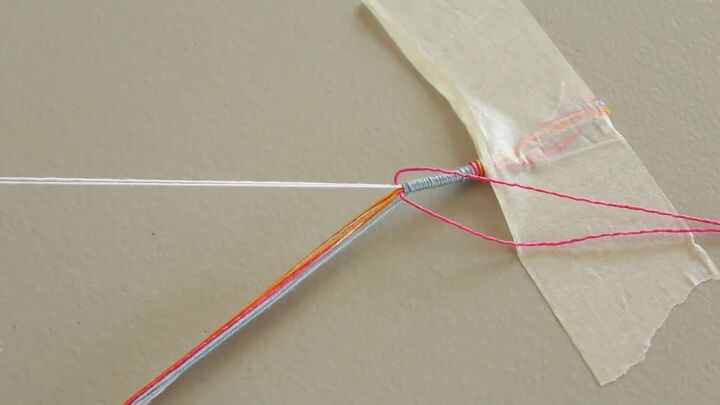
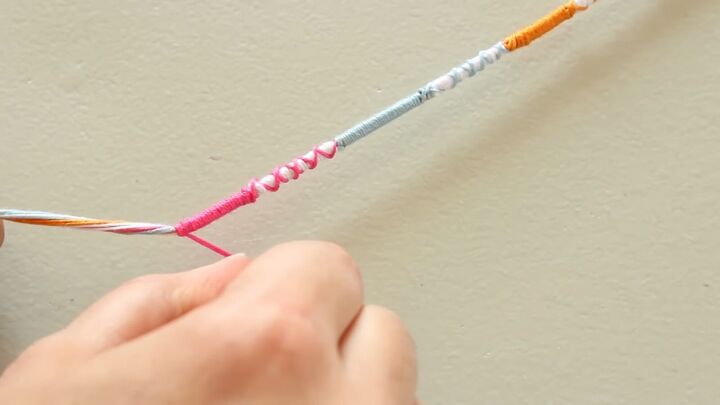
5. Criss-cross
To make the criss-cross section, separate out two strings of two colors.
Push aside one set of strings of the same color. Use the remaining color to wrap around 18 times, repeating the steps you used to wrap the first section.
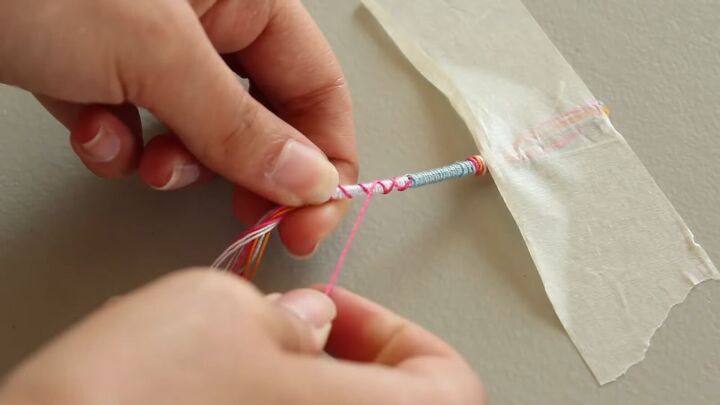
Then wrap one of the strings of the second color diagonally, in a sort of spiral, to the right 5 times and make a knot.
Then wrap the other string to the left diagonally 5 times and make a knot.
6. Continue to the end
Continue wrapping and alternating between plain wrapping with a solid color and criss-cross.
I created nine sections all together. You can do more or less depending on what size wrist you’re making this for.
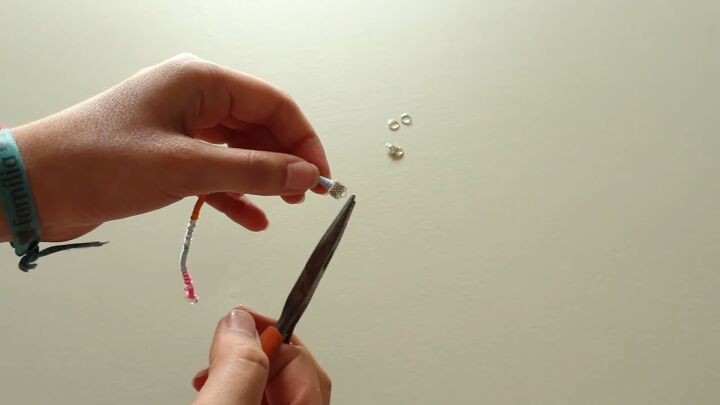
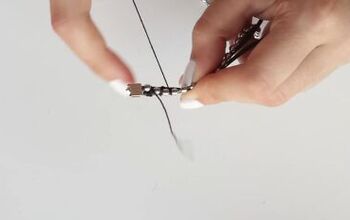
7. Close the ends
Cut the ends of the bracelet and put on the crimp ends. Use pliers to secure the crimp ends in place.
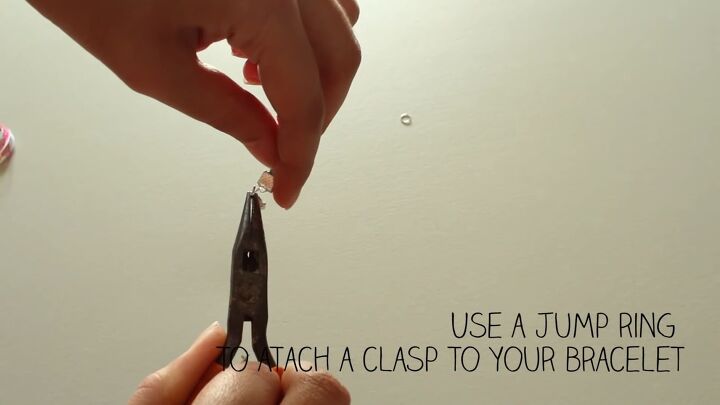
8. Attach the clasp
Use a jump ring to attach a clasp to the bracelet. Use pliers to open and close the jump ring and secure the clasp.
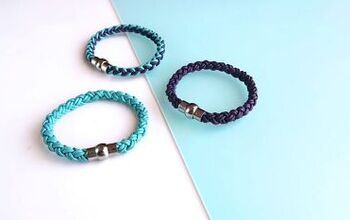
Your bracelet is finished!
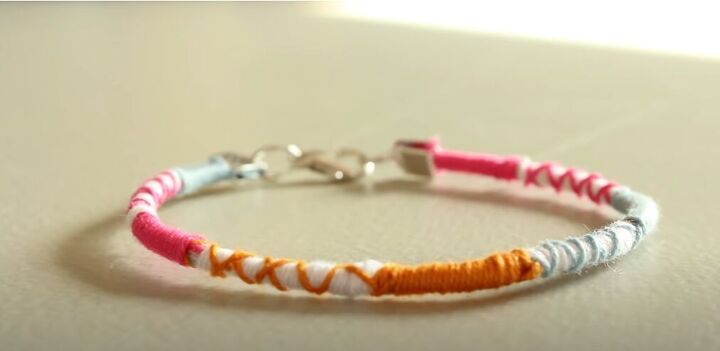
Making friendship bracelets is such a fun project. Just because it’s a friendship bracelet doesn’t mean you can’t make one for yourself also. I love the way mine came out.
Did you enjoy this project? Are you happy with the way yours came out? Tell me in the comments. I love hearing from you.
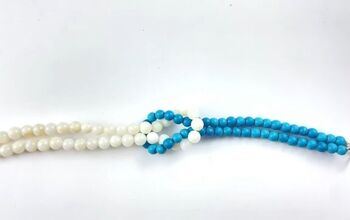
For more DIY bracelet content, check out my post on How to Make a Stone Bracelet Using Macrame & Fish Tank Stones.
The author may collect a small share of sales from the links on this page.


Comments
Join the conversation