How to Do Cute Mermaid Curls on Short Hair in a Few Easy Steps

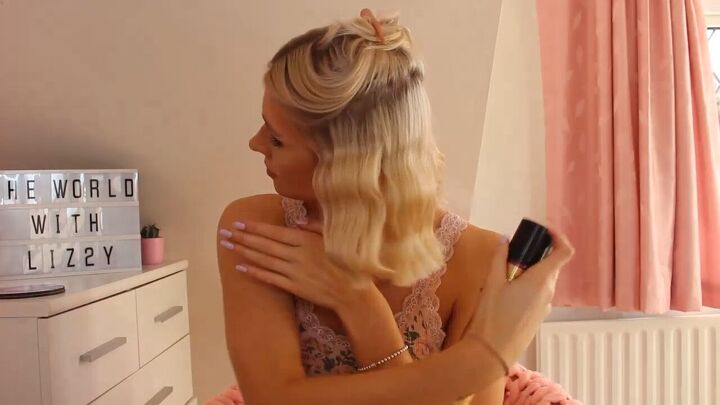
Today, I’m going to show you how to do mermaid curls on short hair. If you’ve been looking for an easy, quick way to add some texture to your hair, then let me introduce you to mermaid curls.
Short hair can be hard to style and add curls to without making your hair even shorter, but mermaid curls are the perfect way to maintain length but still change up your look. Let’s get started!
Tools and materials:
- Mousse
- Hair straightener
- Hairspray
- Hair clips
- Wide-tooth comb

1. Apply mousse
Shower and wash your hair. While your hair is still wet, use a volume and heat protectant mousse in your hair as we will be applying heat.
This will also help your curls stick if you have fine hair like me and have trouble with your curls not holding.

2. Comb in heat protectant
Apply an additional heat protectant spray and brush it through with a wide-tooth comb.

3. Section your hair
We’re going to start by sectioning the hair. Section your hair into two halves: a top half and a bottom half. Tie or clip the top section to keep it out of the way as we work through the bottom section first.
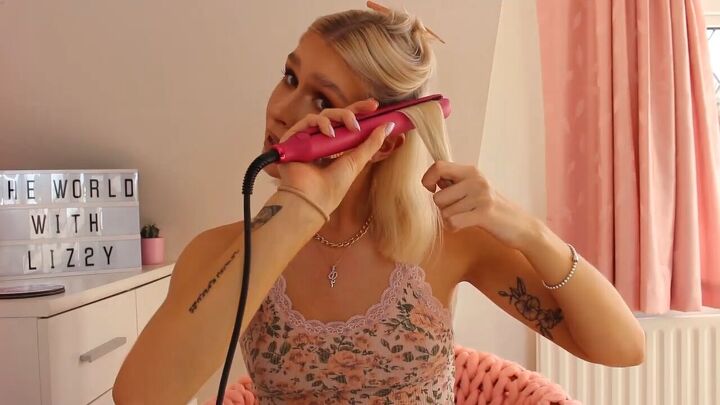
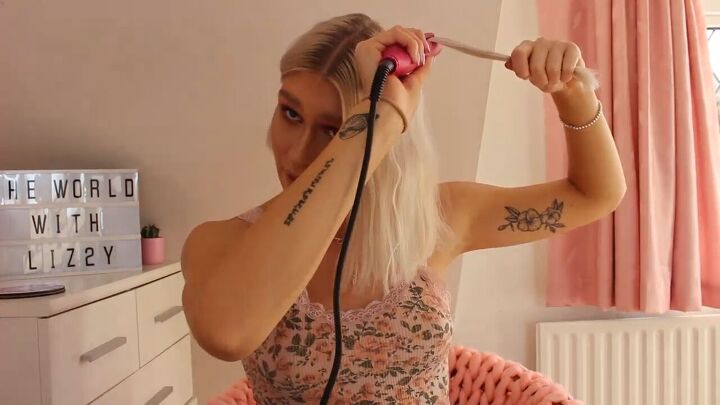
4. Curl the bottom section
To make our mermaid curls, we’re going to use a hair straightener at around 400 degrees Fahrenheit.
Start in the back and make your way forward since the back tends to be trickier to reach around.
Bring your straightener all the way to the top of the hair, but not touching the scalp, clamp the hair down, and turn your straightener towards your head.
Slide the straightener down just a little and turn it away from you.
Repeat this process—slide and turn in the opposite direction—gradually down your hair until you get to the end of the section.
Tip: Keep your straightener parallel to the floor and perpendicular to your hair. If you want more precision, you can separate your hair into more than two sections.
5. Spray the finished curl with hairspray
Once you finish with the bottom layer, spritz the entire section with hairspray.
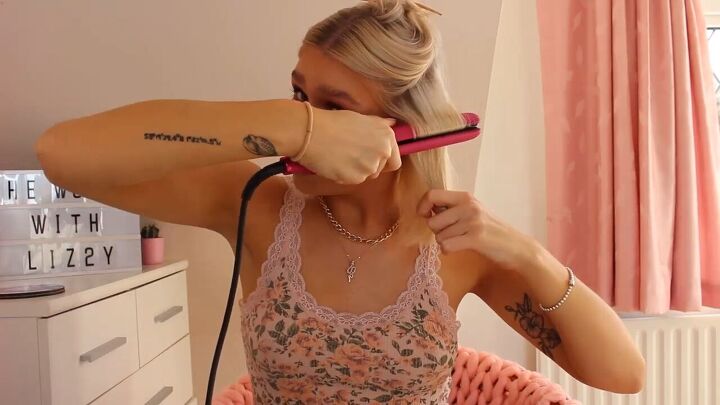
6. Curl the top layer
Repeat for the top section of your hair. This time, though, you want to start the curl closer to the root unlike the bottom section where you can’t really see the roots.
Make sure the space between each curl is even by pulling the straightener down before each twist the same distance.
Also, the number of twists you do with each strand of hair doesn’t matter. They don’t all have to be in perfect synchronization.
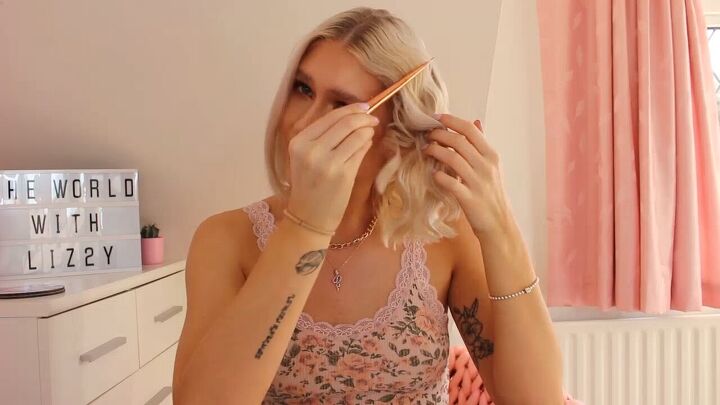
When working on the opposite side, feel free to use a clip to keep the hair out of your face while you work.
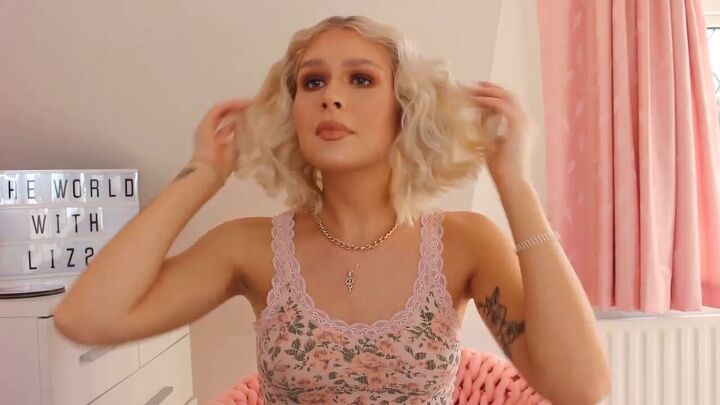
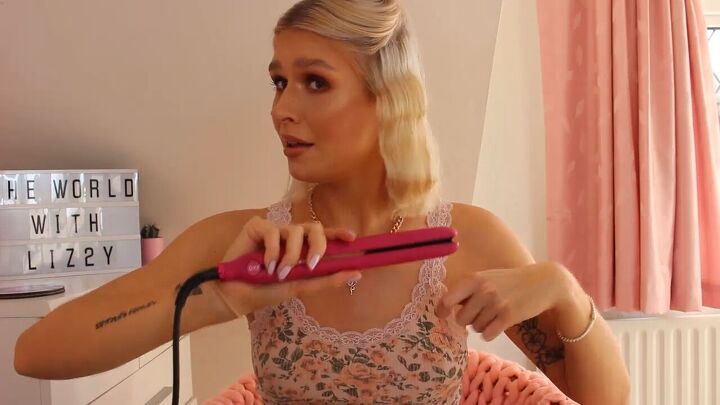
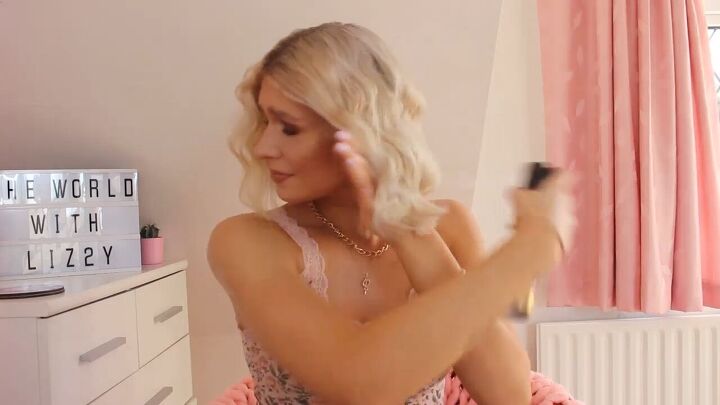
7. Ruffle your hair
When you’re finished, you could keep the waves as they are but I decided to ruffle them up with my fingers.
8. Cover with hairspray
Finish off the mermaid curls with a spritz of hairspray.

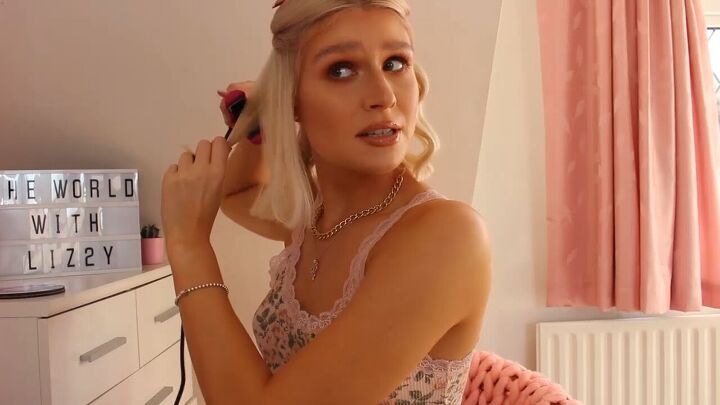
How to do mermaid curls on short hair
Here’s the finished look! If you’re not a fan of the middle part, you can swish it to the side, but I’m a middle part girl.
I hope you guys liked this tutorial on how to do mermaid curls! If you try this, let me know how it turns out for you!
The author may collect a small share of sales from the links on this page.


Comments
Join the conversation
I live this idea! You look beautiful! I wish I had seen it sooner as I wouldn’t have had my hair cut this much yesterday. I’ll try this trick in 2 months when it grows some.