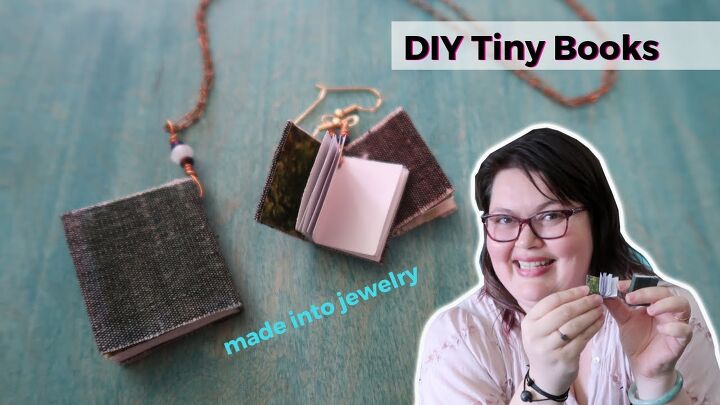
Need a Cool Gift for a Bookworm? Try This Easy Mini-Book Necklace DIY

If there is a bibliophile in your life (a book lover!) then this DIY mini-book necklace and earrings are a perfect gift.
This tutorial will show you how to make the mini-books and then how to make them into jewelry. Let's get started!
Tools and materials:
- Paper
- Ruler
- Scissors
- Cardboard
- Fabric
- Glue
- Jump rings
- Earring hooks and necklace chain
1. Make the book pages
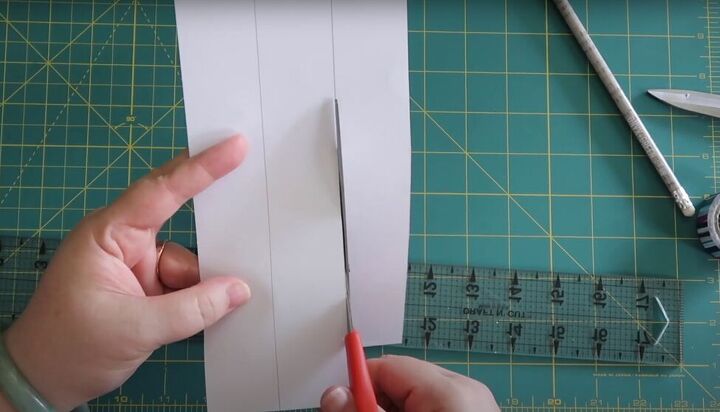
Cut long paper strips that are 1½ inches tall.
For the necklace, cut your strip into 2½ inch wide pieces. Cut 10 pieces and then fold them in half to make the pages of the book. Each page will be 1½ inches tall by 1¼ inches wide when folded.
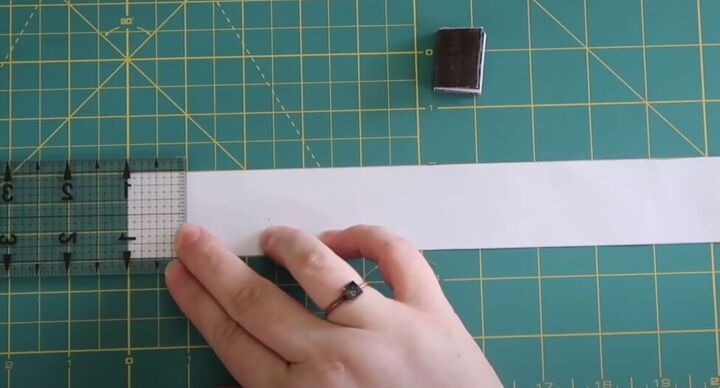
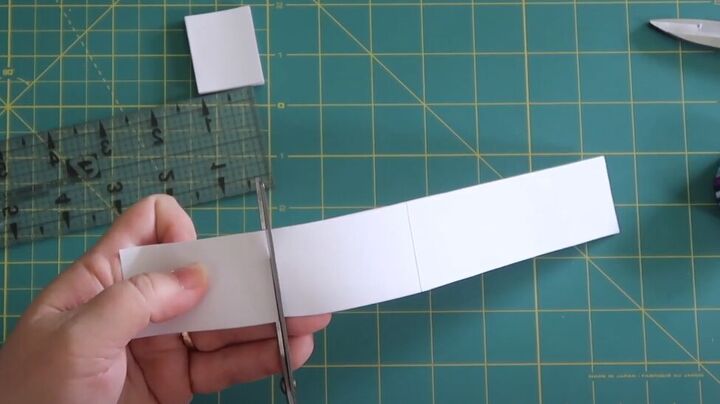
For the earrings, cut the strips into seven 1-inch pieces. Fold each piece so that each page will be 1-inch tall by ¾-inch wide. Repeat for a second earring.
Tip: make sure to get a really sharp crease when you fold the pages, so the pages don’t add too much bulk to your book.
2. Assemble the book pages
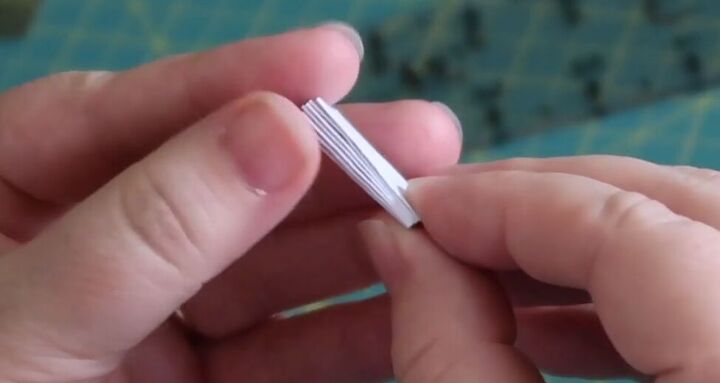
For the necklace, stack 10 folded pages together (don’t insert one into the other), and for each earring, stack 7 folded pages together.
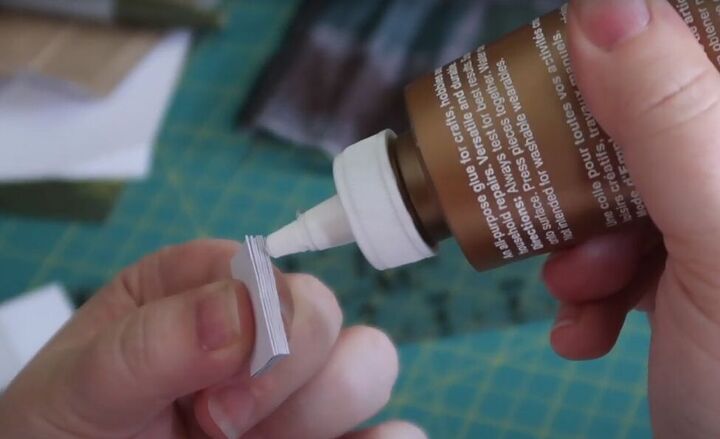
Glue the folded edges of the pages all together. Then clamp the folded edge of the book with a binder clip until dry.
3. Make the book cover
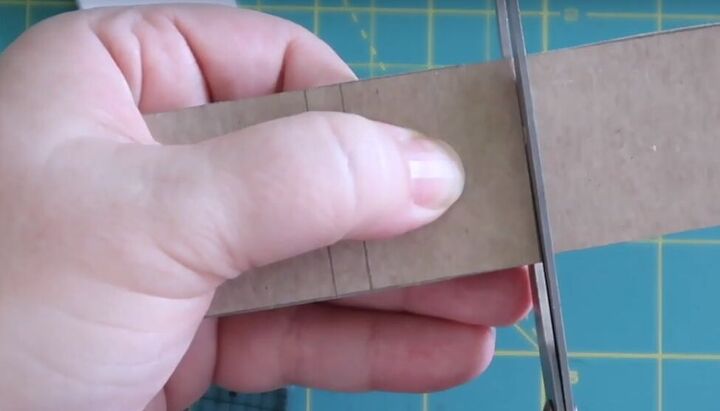
Measure the width and height of your book to make sure you’ve cut it accurately, and then measure the width of the spine, where you glued the pages together.
Cut three pieces of cardboard to the size of the front, back, and spine of the book. Double-check to make sure the pieces fit the book properly.
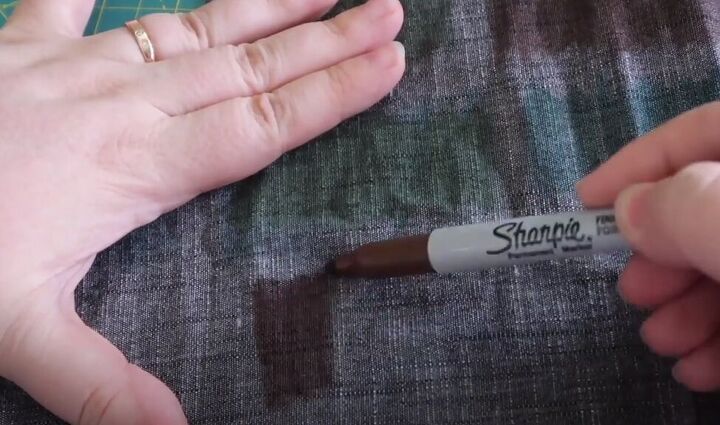
Now, take a piece of fabric that does not have a defined pattern. Use a permanent marker in your color of choice to color in the fabric in sections that will accommodate your whole book cover.

Cut out the swatch of colored fabric, and glue your cardboard book cover pieces to the wrong side of the fabric.
Remember to leave a small space between the pieces, about the width of a credit card, to allow for bending the fabric around the cover. Let the glue dry thoroughly.
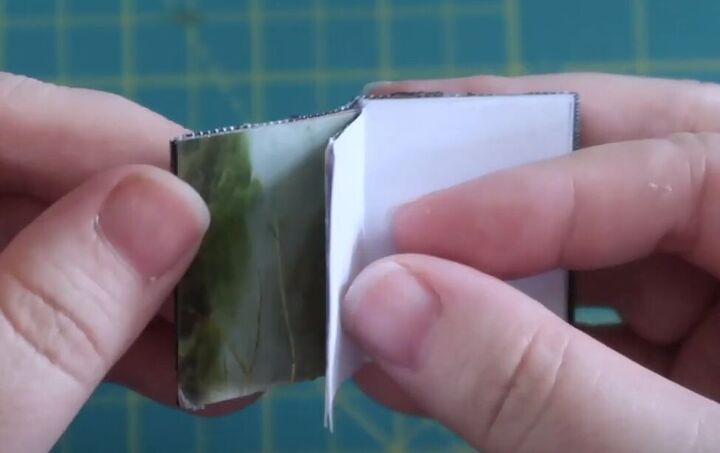
For the inside front book cover, cut pretty patterned paper to fit inside the front and back covers.
Now glue your inside front cover paper to the inside of the front cover and to the top of the first page. Do the same at the back of the book.

Slip a bit of paper between the front cover and first page and the back cover and the last page for protection and then clamp the whole book with a binder clip. Let the glue dry thoroughly.

4. Make the necklace or earrings
Open the book to the middle page and use a thick needle to poke a hole near the top center of the book all the way through the middle of the book and the spine.
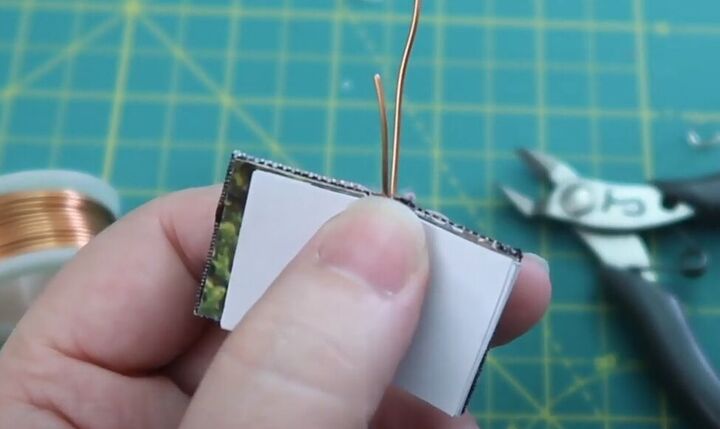
Insert jump rings through the holes and attach earring clasps or a necklace chain to the jump ring. If you don’t want to use jump rings, you can simply use a piece of wire bent into a ring, twisted to close, and cut.
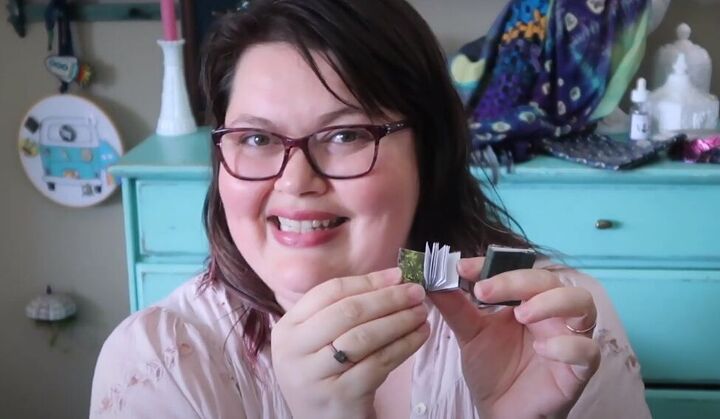
Mini-book necklace DIY tutorial
You and your book-loving friends are going to love this necklace and earrings. What a great way to let everyone know what your favorite pastime is!
Who knows – maybe they will strike up a conversation that ends with some great new book recommendations?
Leave a comment to let me know how you liked this DIY mini-book necklace and earrings tutorial!
The author may collect a small share of sales from the links on this page.


Comments
Join the conversation
love it ..
your so clever ..
Soo neat!