Mini Quilt-as-you-go Keychain
This tutorial is all about how I made a mini quilted keychain using a quilt-as-you-go method.
One thing I always wanted to do but hadn’t done much of until last year is quilting. So when I started I decided to start with a really small beginner’s project to build my confidence.
I had been reading and watching tutorials on a whole range of quilt-as-you-go techniques thinking that was probably the most realistic way for me to get started with quilting.
The method that appealed to me most was the one where you quilt fabric strips straight on to the batting and backing. The backing fabric is cut larger than the batting so that when you are done several squares you can sew them together and fold the excess over to form the binding.
Since I am a bit allergic to creating bias binding from scratch (not to mention fiddling with pinning it on!) I thought this sounded like a method I could get on board with!
So I decided to start with one mini-block as a little beginner project and turn it into a keychain.
This post was originally published on our sister site Scrap Fabric Love.
Here is how I did it.
- Materials Needed – Mini Quilt Keychain:Backing fabric square – mine was 4″x 4″ (10cm x 10cm)
- Batting – I did two versions – one with a 2 & 1/4″ square and one with a 2 & 3/4″ square. (you can use scrap batting but I used a cut off from an old cotton towel for mine).
- Fabric scraps
- Scrap of ribbon
- Two buttons
- Rings for Keyrings
Step 1: Choose your Backing Fabric
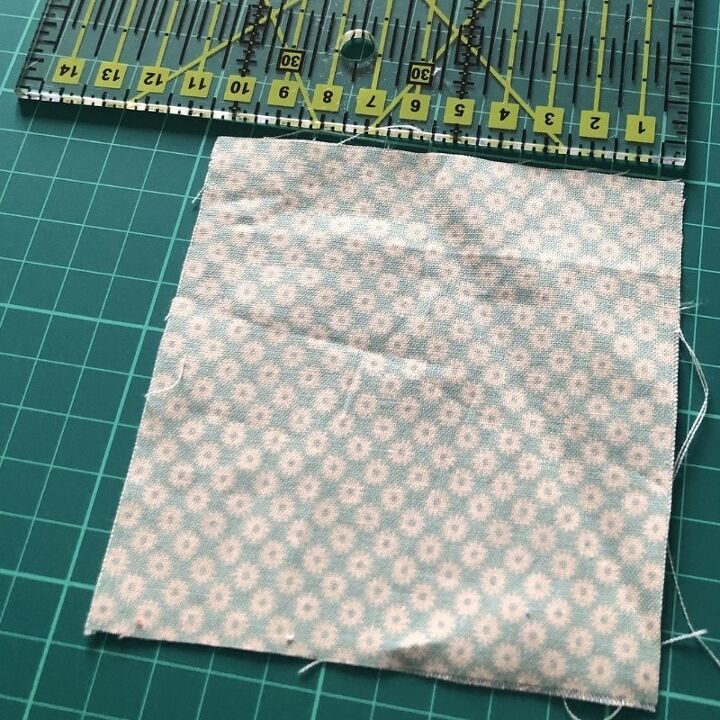
So I already had the backing fabric cut into a square from when I had cut up a bunch of scraps about two years ago thinking I was going to start quilting and never did….my stash of scraps and half finished projects is ridiculous!
The backing square was 4″ by 4″ so I took that as my starting point.
Step 2: Cut your Batting Square
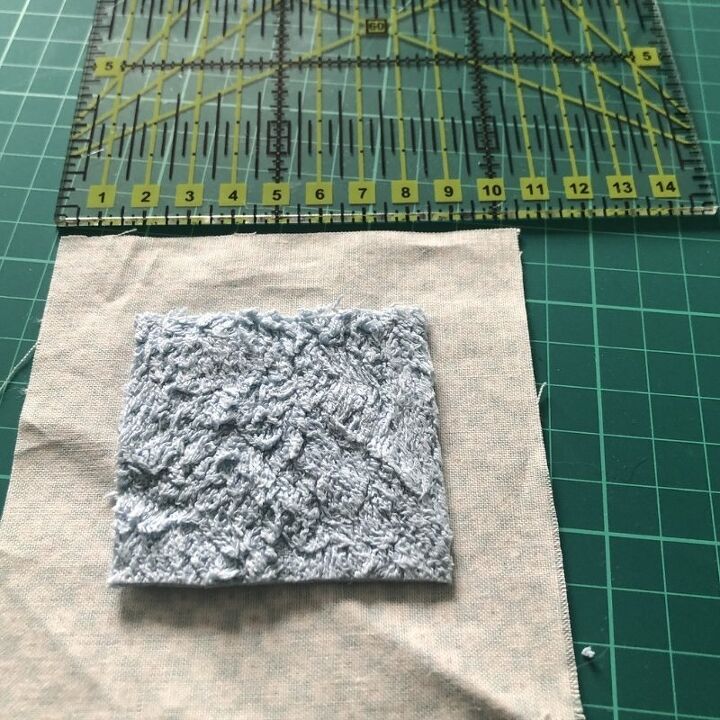
If you have cotton batting to hand you can absolutely use it for this.
But as I was using this as a bit of a practice project I decided to cut up an old towel instead. I used a 100% cotton towel as with this quilt-as-you-go method you iron straight onto the batting.
I ended up doing two versions of this, for the first my batting square was slightly smaller – about 2 &1/4″ square and for my second I cut my batting square a bit bigger to 2 & 3/4″ square. Both with the same size backing square (see the photos above and below for how that effected the size of the quilted block).
The important thing is that there is enough backing fabric to fold over twice and cover the edge of your batting square. You can decide how thin or thick you want the binding to be – so use what you have and don’t stress about the exact size of this.
Step 3: Pick your Scraps!
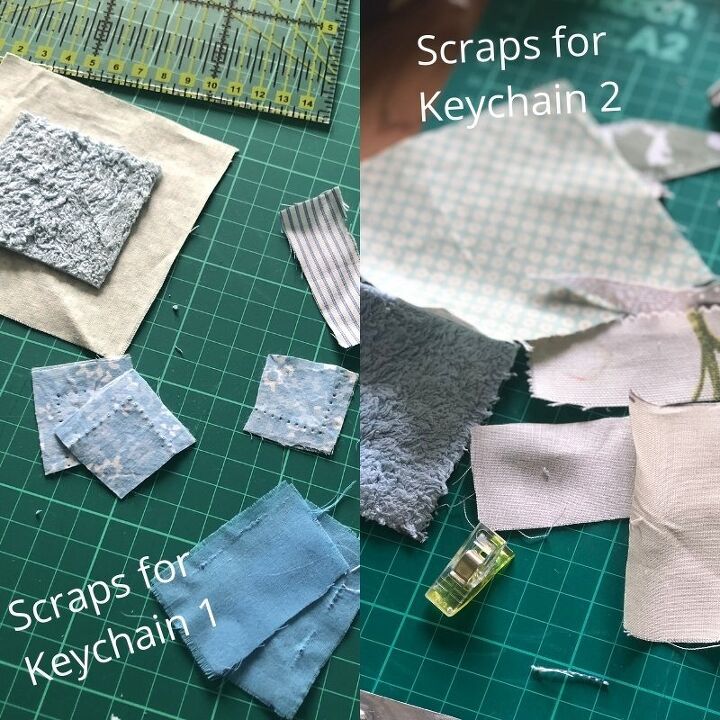
I found some fabric scraps I liked the look of and even a couple crumbs that had puncture marks in them from a previous sewing project!
The main thing I was looking for was for each strip to stretch across the batting square diagonally.
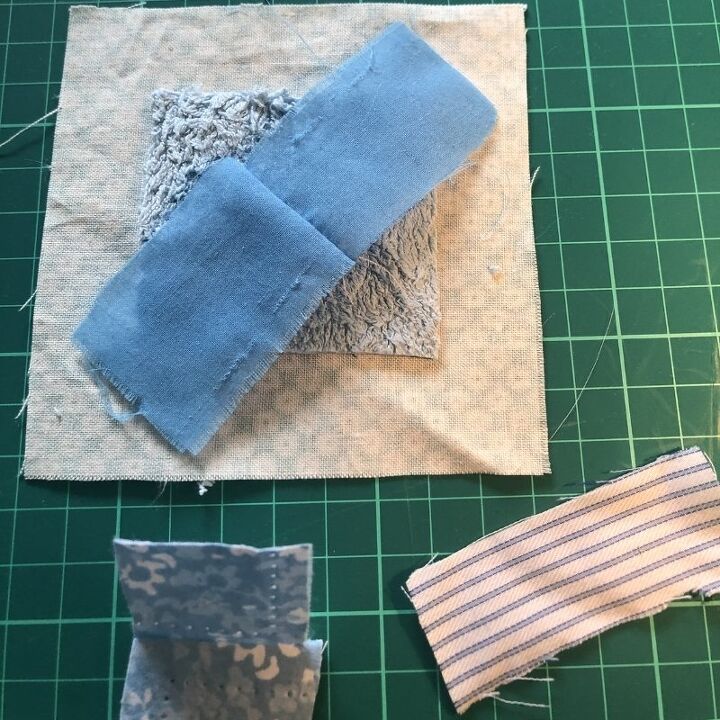
Where they didn’t quite fit I sewed two scraps together to lengthen them.
Step 4: Get Quilting!
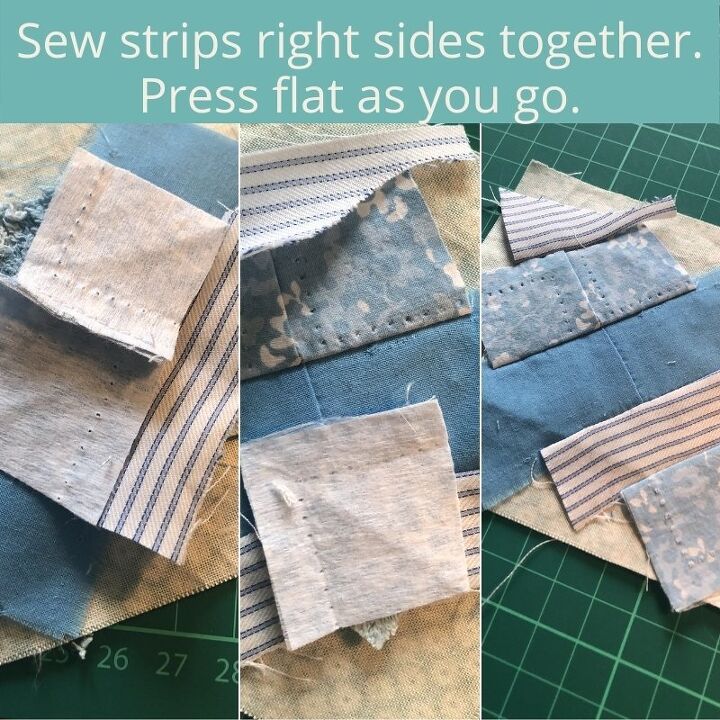
I placed my first two strips right sides together diagonally on my batting square and sewed through the strips, the batting and the backing all at once.
I then repeated this on the other edge of the centre strip and pressed with an iron to get them laying flat.
I repeated this on the outside rows with smaller crumbs. It didn’t take long until my batting fabric was completely covered.
Step 5: Cut Off Excess
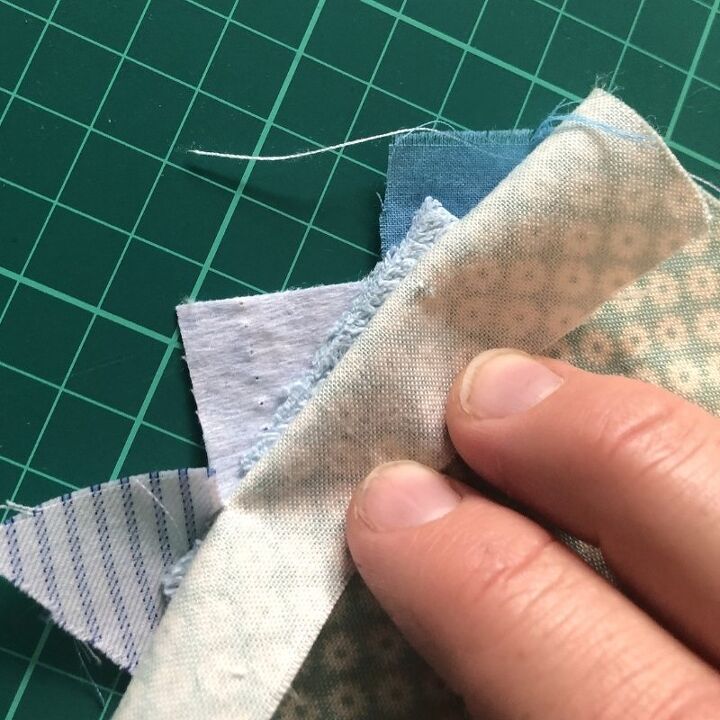
When I was done sewing on my strips I flipped the block over and pinned back the excess backing fabric.
I then trimmed away the excess edges of the scrappy strips to clean up the edges around the batting.
Step 6: Binding
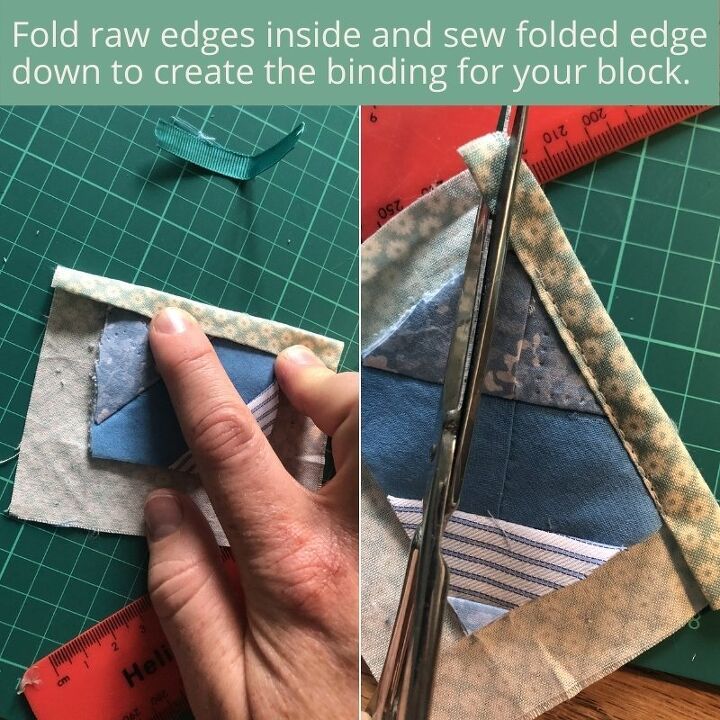
Once the edges were all cleaned up I folded each side of the backing fabric over twice (to hide the raw edges) and placed over the edge of the batting square.
You then stitch it in place and that’s your binding!
I did some trimming when I got to the corners to help them sit a little neater, but I’m not a hospital corners expert so happy to take any tips you have on getting the corners a little crisper!
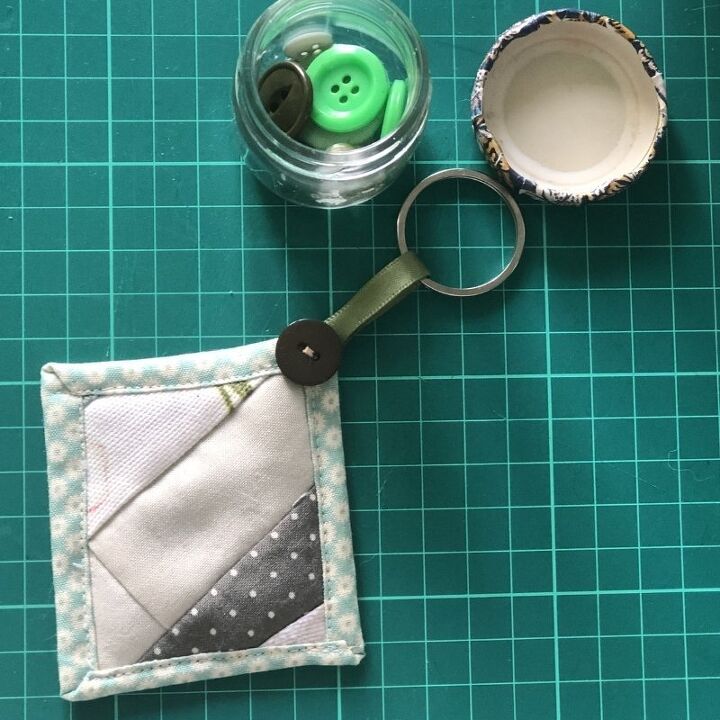
Step 7: Key Chain Loop
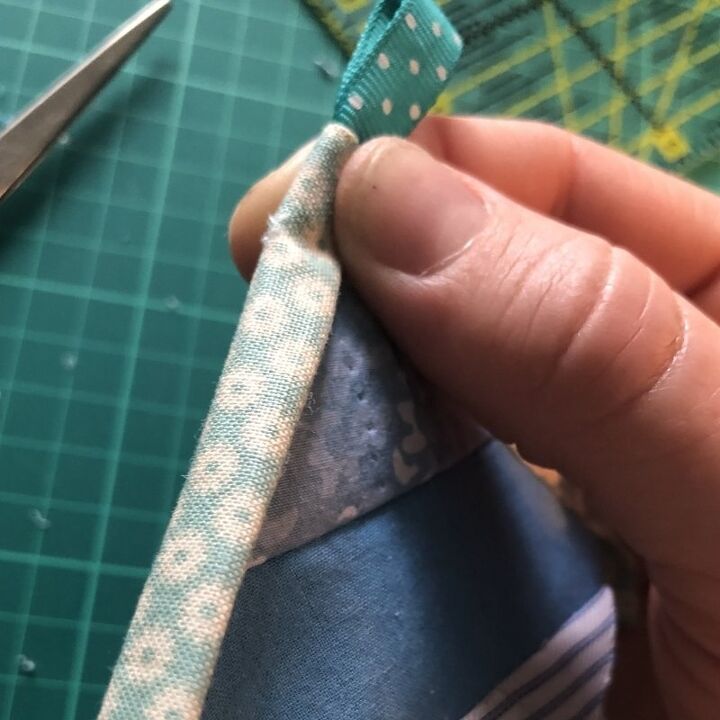
Before I finished my last edge of binding I tucked in the raw edges of a folded loop of ribbon – above one binding edge and below the next.
I then sewed that in place to form the keychain loop.
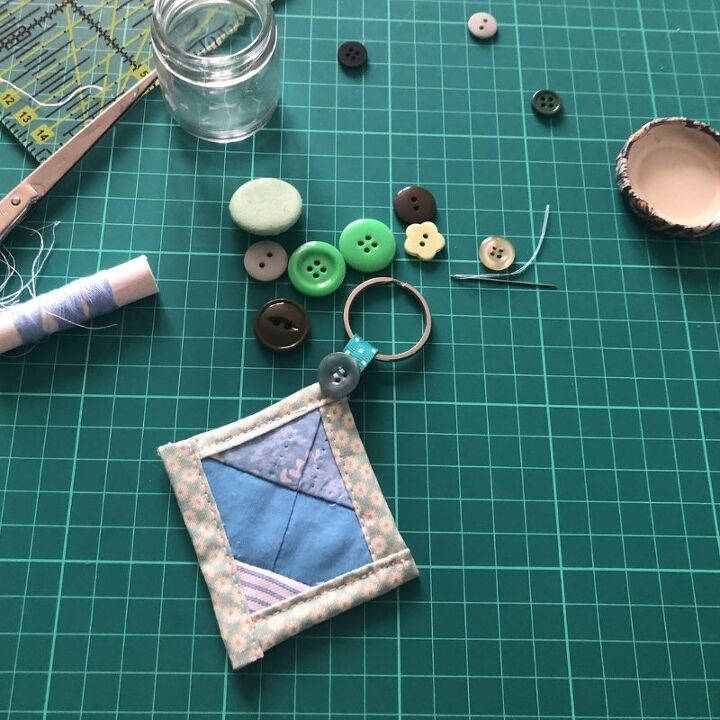
Step 8: Buttons (To Cover the Flaws!)
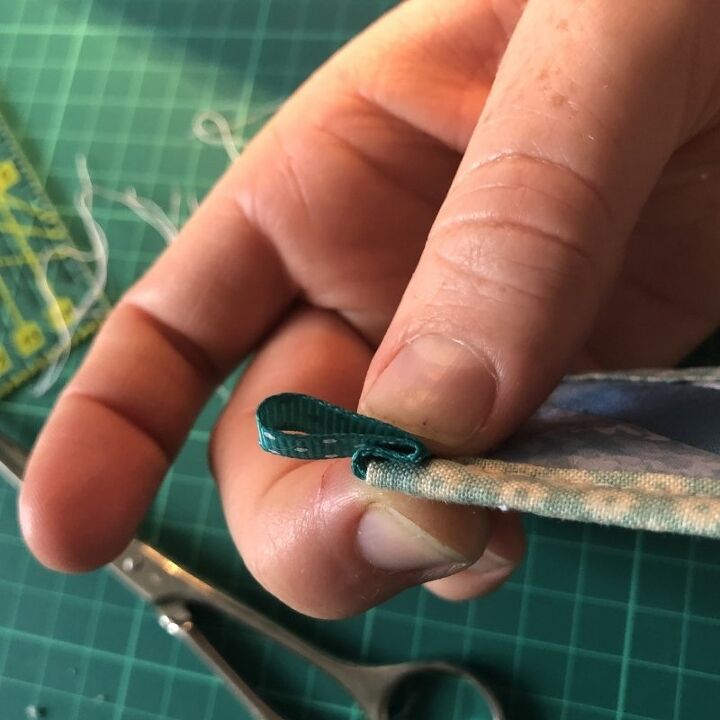
I wasn’t super happy with how the ribbon jutted out so I folded it behind at the back and secured it in place with buttons to the front and back.
Step 9: Add a Keyring
Obviously lastly you need to add the actual keyring for your keys to go on. I buy these in big packs so I can make little projects like these whenever the mood strikes me – keychains are good gifts too!
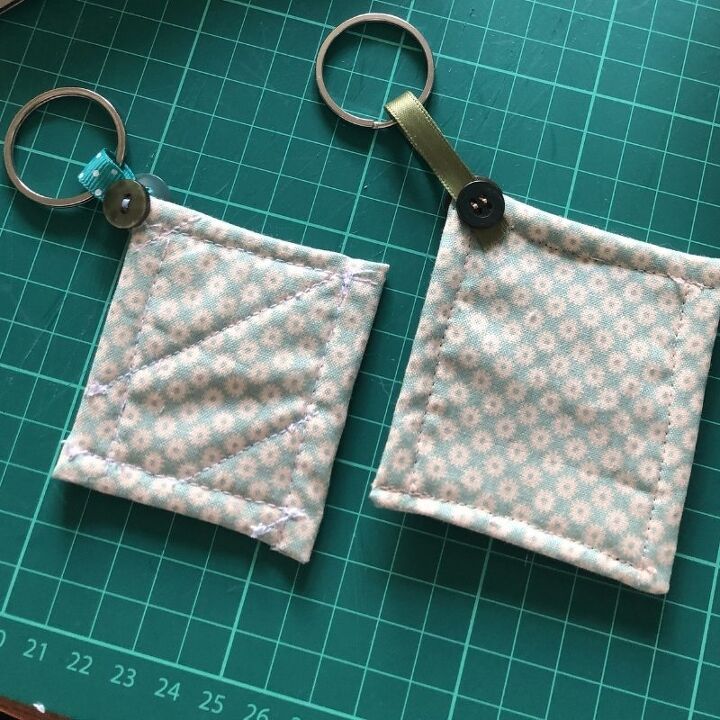
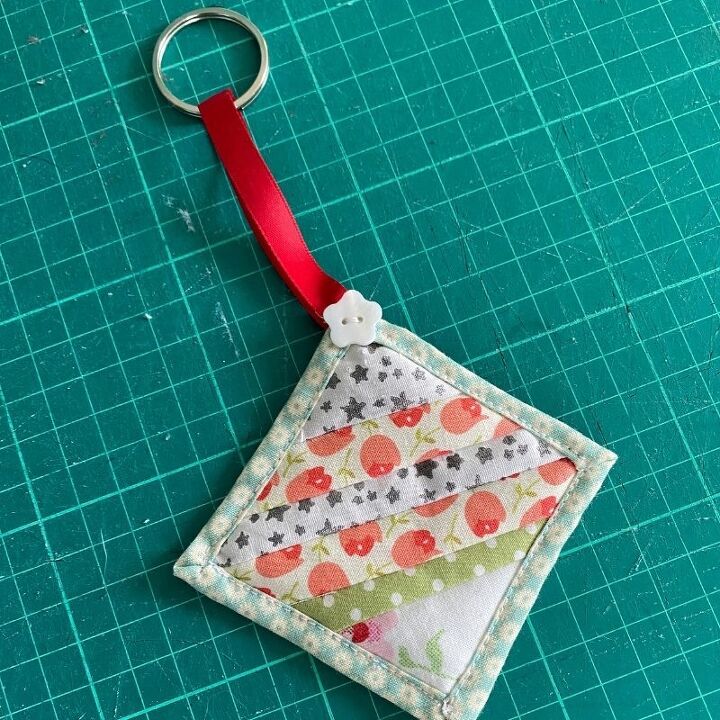
FINISHED MINI QUILT-AS-YOU-GO KEYCHAIN!
I think it’s pretty cute and it was a great way to put some of the skills into practice I’d been reading about without committing to a big project!
There were two things I wasn’t super happy about with my first go (the blue one) that I wanted to do differently after I was done. The greenish one was my second attempt.
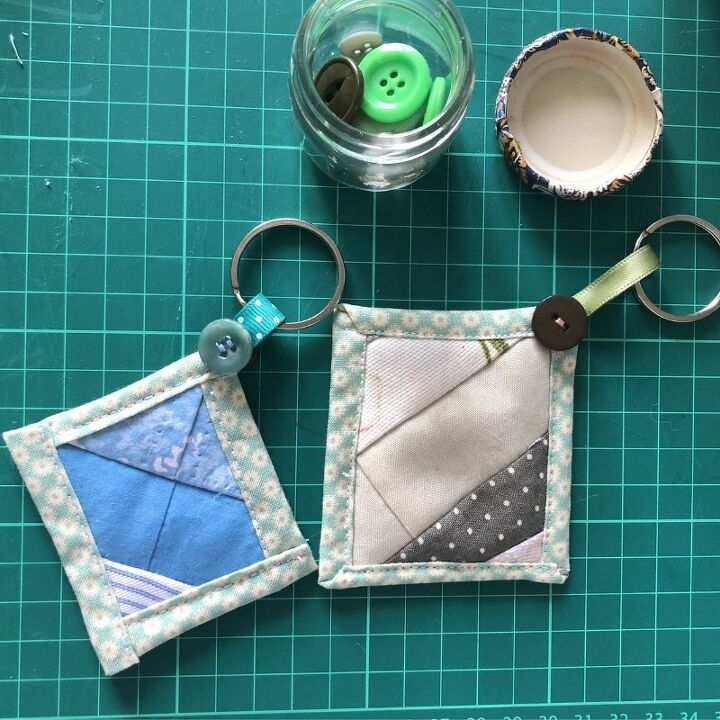
The first was I didn’t love how the stitching looked at the back – this could have been improved with a different thread colour choice but for my second go I decided to try just quilting on the batting and adding the backing square to bind after.
That turned out much neater but I think it would be more difficult to do if you were adding additional blocks to form a quilt or working with bigger blocks, then you would really need to quilt through.
What is your qulit-as-you-go method? Any tips you swear by that you want to share – please drop them in the comments!
The second thing I didn’t love was how the keychain loop ribbon sat.
So for my second go around instead of sewing it into the binding I placed it to the back and hand stitched it down. I still added the buttons to finish it off but I think it sits a little neater this way.
Any tips for adding hanging loops in corners like this? I’d love to hear them!
Video Tutorial
Here is the updated video tutorial using the method with the backing square added after the stitch and flip quilting!
Subscribe to Upcycle My Stuff on YouTube for more fun ideas like this one.
This is the latest one I did when I was filming the video tutorial above.
If you like this idea and you want to save it for later don’t forget to pin it to your quilting or scrap fabric projects board!

Printable Instructions – Quilt as You Go Keychain
Materials
- Backing fabric square - 4"x4" (10cm X 10cm)
- Scrap Batting Square or bit of Old Cotton Towel
- Fabric Scraps in short strips
- Scrap of ribbon
- Keyring
- Two buttons
Tools
- Sewing Machine
- Needle & Thread
Instructions
- Choose your backing fabric - 4" x 4:
- Cut your batting square - 2 & 3/4"
- Pick coordinating scraps that cover your batting square across the diagonal.
- Place the first two strips down on your batting square right sides together and stitch straight through the batting along the raw edges of your scraps
- Flip over the top scrap and fingerpress the seam.
- Add your next scrap right side down on top of the strip with a raw edge showing and repeat the sewing process
- Flip & Fingerpress and repeat steps 4-6 until you have completely covered your backing square.
- Trim excess scrap fabric from around the batting square
- Centre the batting & scrap square onto your backing square - pin in place
- Use the overhang of the backing square to bind the edges of your keychain by folding in the raw edge and making a triangle fold at the corners.
- Stitch your binding down with your sewing machine.
- Take your scrap of ribbon and thread it through a keyring before pinning the raw ends to the back of one corner of your keychain
- But one button to the front of the corner and one on top of the ends of your ribbon.
- Stitch through by hand with a needle and thread.
- Finished Quilt as You Go Keychain!
The author may collect a small share of sales from the links on this page.


Comments
Join the conversation
Good Times! So cute! Thank you!